How to Fix the WIN32K_CRITICAL_FAILURE Error?
Ensure you have the latest version of Windows installed
6 min. read
Updated on
Read our disclosure page to find out how can you help Windows Report sustain the editorial team. Read more
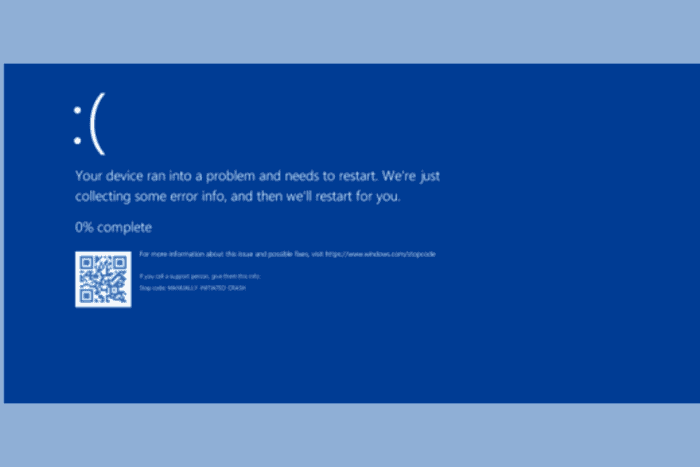
The WIN32K_CRITICAL_FAILURE error with a bug check 0x164 appears due to a failure related to the Win32k.sys driver in Windows, which is responsible for user-mode graphics, core graphical components, or window management. The issue mainly indicates issues with the graphics subsystem or interactions between Windows and your hardware.
First, check if all the system components, especially the newly installed ones, are correctly seated, and ensure there is no dirt or debris in the cabinet. Also, if you have overclocked your system, it might cause instability, so check the settings and make changes accordingly.
How can I fix the WIN32K_CRITICAL_FAILURE error?
1. Update the graphics driver
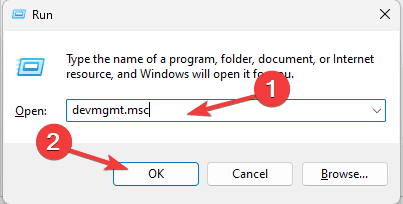
- Press Windows + R to open the Run window.
- Type devmgmt.msc and click OK to open the Device Manager app.
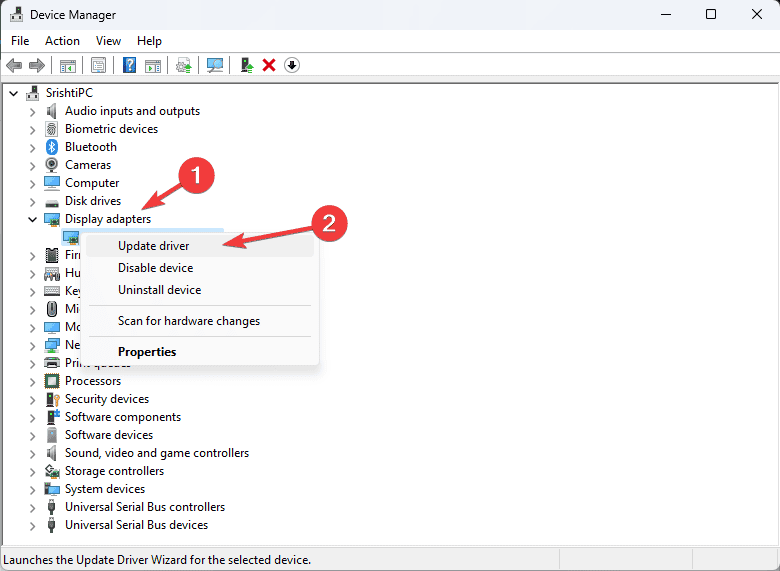
- From the list of components, locate and click Display adapters to expand it.
- Right-click the graphics driver and select Update driver from the context menu.
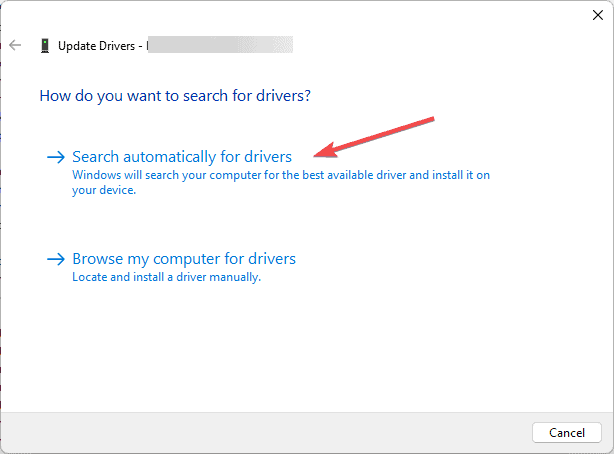
- Click Search automatically for drivers and follow the on-screen instructions to complete.
Windows will try to find the best version available; if it fails to do so, go to the manufacturer’s website and get the latest driver version. Alternatively, you can use a reliable driver updater tool to ensure all the drivers are up to date. If the driver has been recently updated, you can roll back the driver to fix the WIN32K_CRITICAL_FAILURE error:
- Launch Device Manager, and click to expand the Display adapters category.
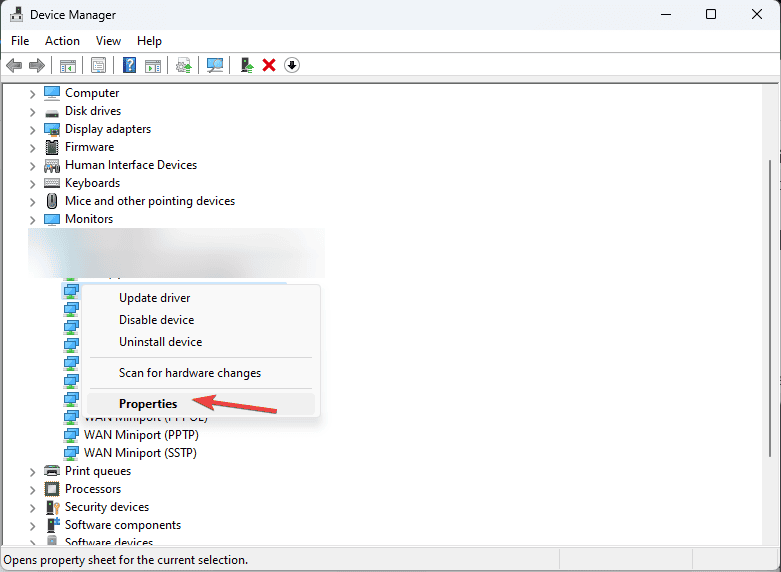
- Go to graphics driver and click Properties from the context menu.
- Switch to the Driver tab, and click the Roll Back Driver button.
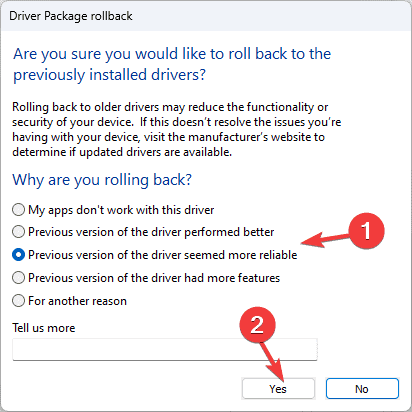
- Select the reason to roll back on the next screen and click Yes.
2. Check for Windows Updates
- Press Windows + I to open the Settings app.
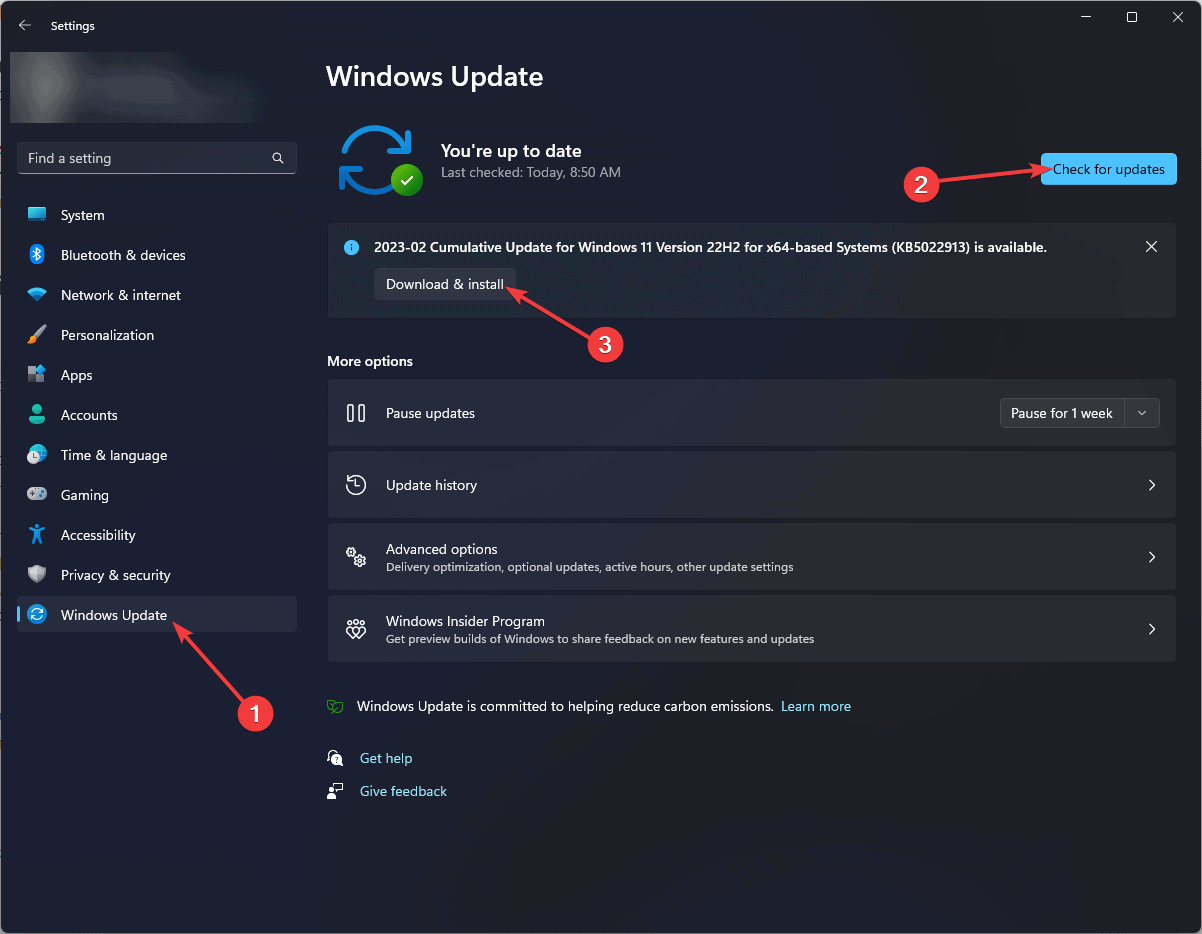
- Go to Windows Update, then click the Check for Updates button.
- If there is an update, click Download & install to update your computer to the latest version, then restart your computer when prompted.
3. Run the Windows Memory Diagnostic tool
 NOTE
NOTE
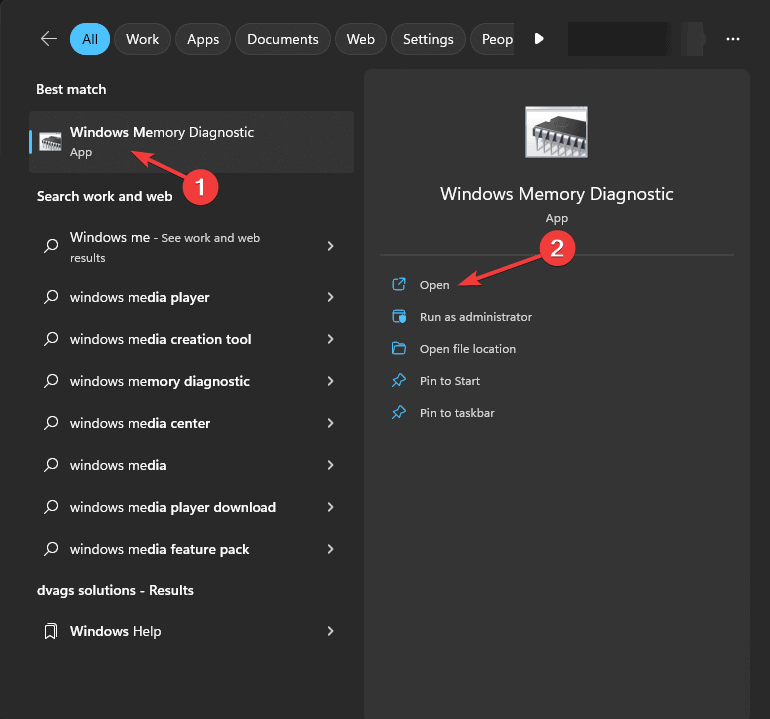
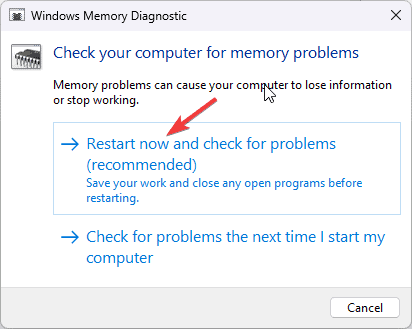
- Press the Windows key, type windows memory diagnostic in the search box, and click Open from the list of options.
- Click Restart now and check for problems.
- The system will now restart and check for memory issues during boot.
Once the scan is complete, you can log in to your computer as usual and see the results. If issues are found in the scan, you might need to reseat your RAM and rerun the scan. If you see the errors again, you might need to replace your RAM.
4. Run the SFC scan
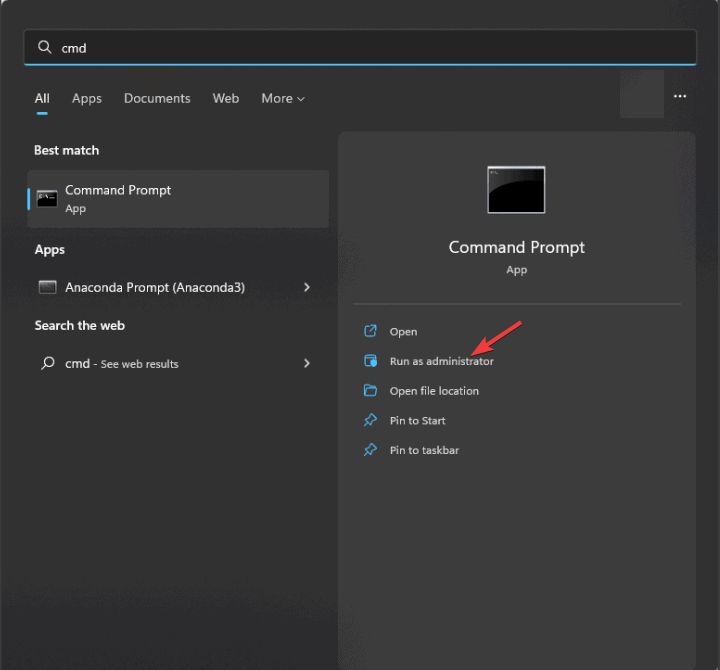
- Press the Windows key, type cmd in the search box, and click Run as administrator from the list of options.
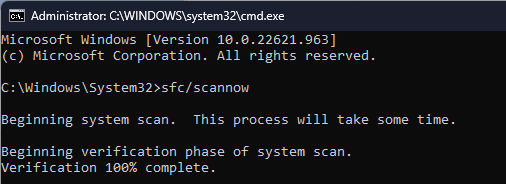
- To repair or restore the missing or corrupted system files, type the following command and hit Enter:
sfc /scannow - Wait for the command to execute, and restart your computer to let the changes take effect.
5. Disable hardware acceleration
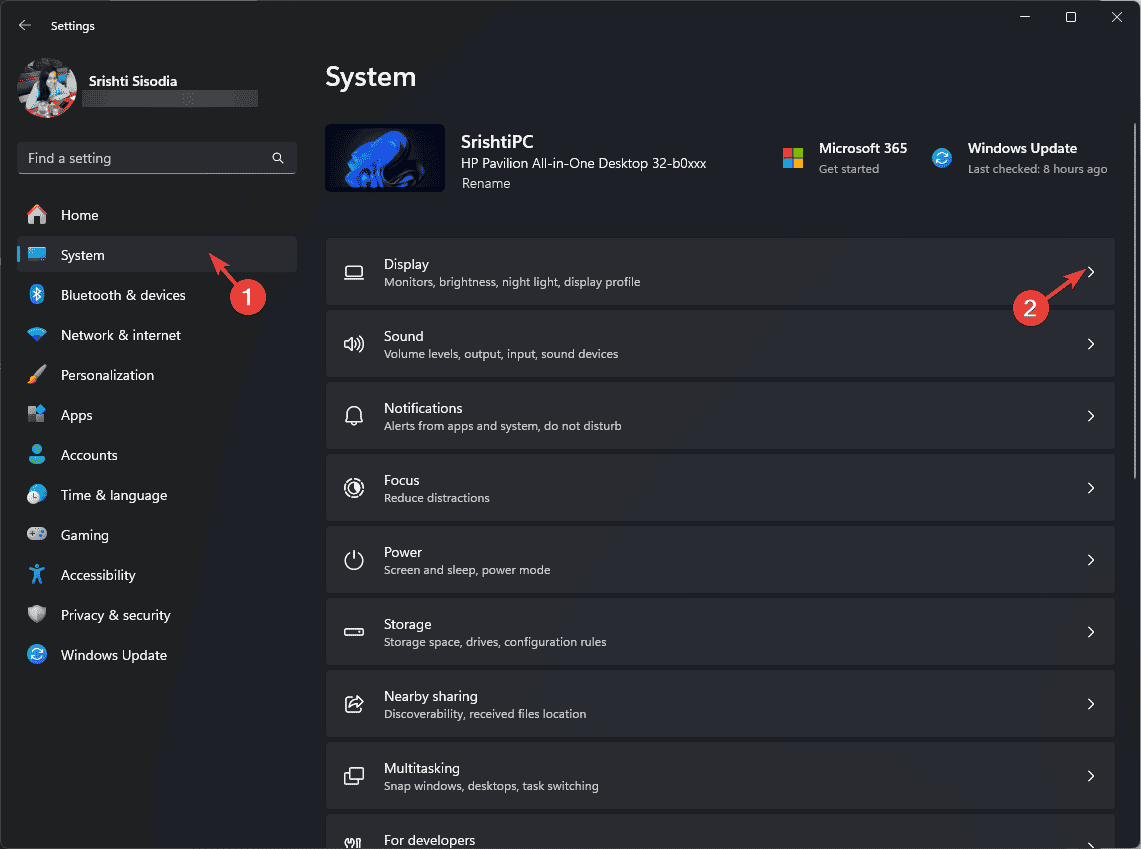
- Press Windows + I to open the Settings app.
- Go to System, then click Display.
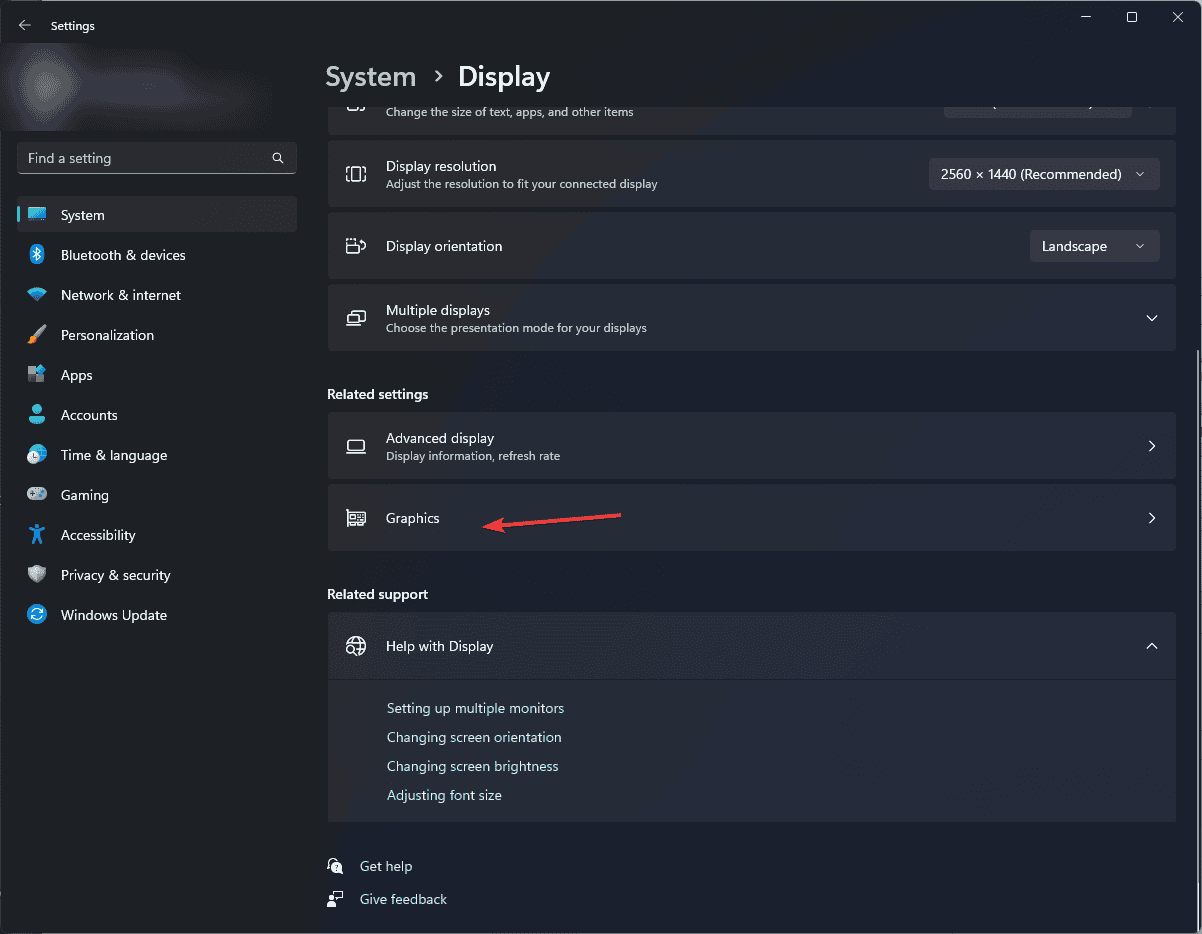
- Scroll to locate Related settings, and click Graphics.
- Under Default settings, click Change default graphics settings.
- On the next screen, locate Hardware accelerated GPU scheduling and toggle off the switch to disable it.
- Restart your computer to let the changes take effect.
You can also try disabling hardware acceleration for Chrome and Office apps to fix the WIN32K_CRITICAL_FAILURE error.
6. Restart your computer in a clean boot
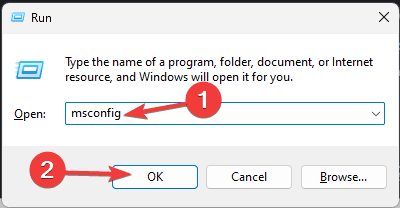
- Press Windows + R to open the Run window.
- Type msconfig and click OK to open the System Configuration window.
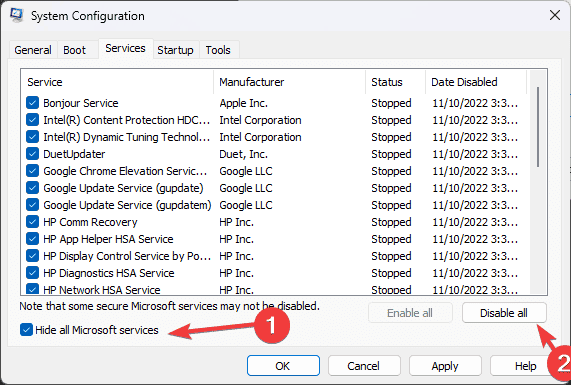
- Go to the Services tab, place a checkmark next to Hide all Microsoft services, and click the Disable all button.
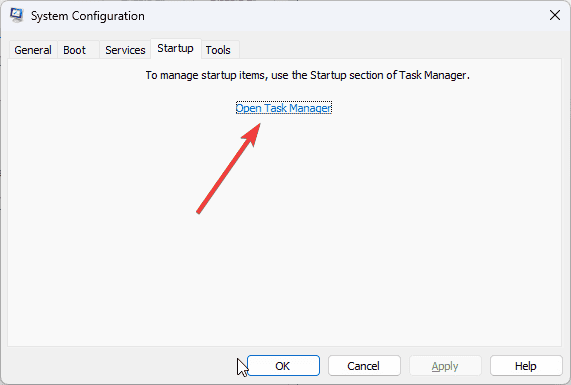
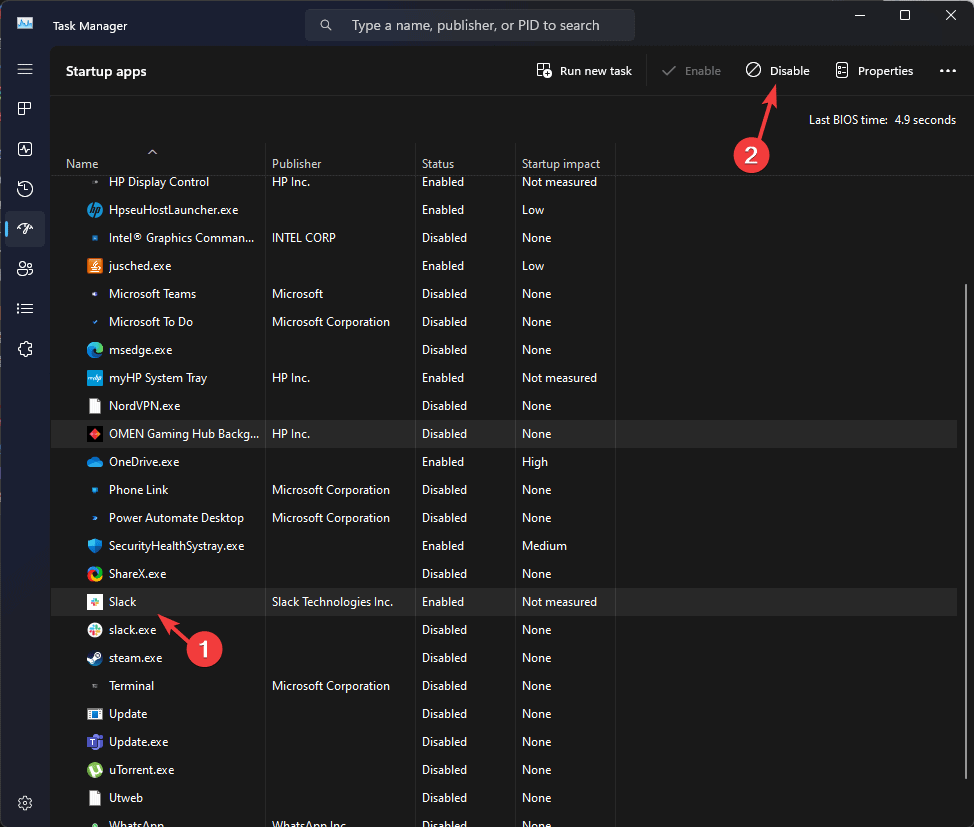
- Switch to the Startup tab, click the Open Task Manager link.
- On the Task Manager window, select all the Enabled items one by one and click the Disable option, then close the window.
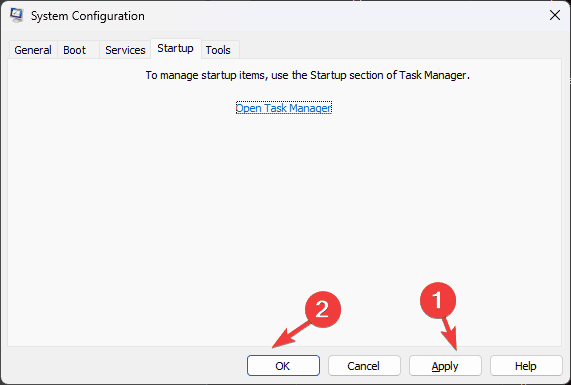
- Back on the System Configuration window, click Apply and OK to save the changes.
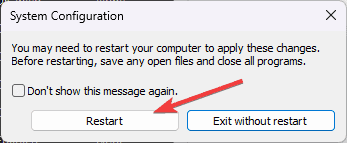
- Click Restart to reboot your PC in clean boot.
Once your computer restarts, try enabling each service and startup one by one to identify which is causing the BSOD error. If none of these are causing the issue, reverse engineer these steps to restart your PC in normal mode.
7. Reinstall Windows
 NOTE
NOTE
Create an installation media
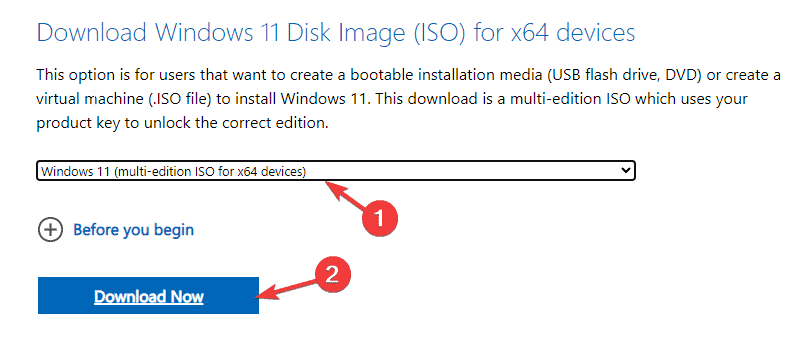
- On another computer, visit the Microsoft software download website and click Download Now.
- When the download is complete, double-click to open the tool and click Yes on the UAC prompt.
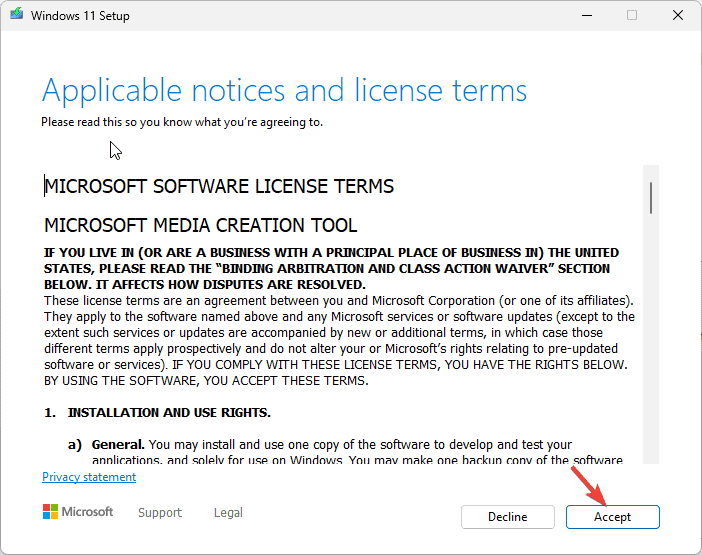
- When the Windows 11 Setup guide opens, click Accept to agree to the license terms and agreements.
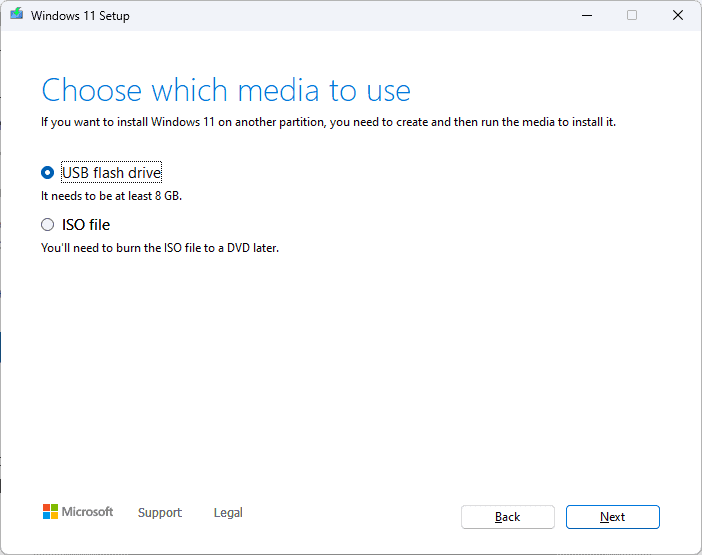
- Plug in your USB drive, choose the USB flash device option on the screen, and click Next.
- Select the language, edition, and architecture, then click Next.
- Choose the USB device and click Next.
- Follow the on-screen steps, click Finish, and eject the USB device safely.
Reinstall Windows
- Plug the USB drive into the affected computer, then press Windows + E to launch the File Explorer.
- Access the USB drive’s root directory, locate and double-click the setup.exe file, then click Yes.
- Choose Change and select any of these options:
- Keep personal files and apps – Preserve personal data, apps & settings
- Keep personal files only – Preserves data & settings, but apps are deleted
- Keep nothing – Removes all the settings, data, and apps.
- Once you have chosen, click Install to reinstall Windows 11 on your computer.
Your PC will restart several times and then take you to the login screen. If nothing has worked, you can contact Microsoft Support for further assistance.
In conclusion, to fix the WIN32K_CRITICAL_FAILURE error, you can ensure all the CPU components are properly seated, then ensure Windows is up to date, then run the SFC scan, memory diagnostic tool, update the graphics driver, disable hardware acceleration, etc.
If you often encounter BSoD errors, you should learn the common reasons for them; read this guide for detailed information. Speaking of errors, we also covered ERROR_ALREADY_WIN32 in our latest article, so don’t miss it.
If you have any questions or suggestions about this BSoD error, feel free to mention them in the comments section below.


User forum
0 messages