Windows 11 Backup Options Missing? How to Get Them Back
Key notes
- Although it may not be apparent at first, Windows 11 has a way to back up your files.
- It's called File History and it's turned off by default, but can be useful to have in some situations.
- This guide will show you how to turn on File History and back up files on Windows 11.

In an update from 2021, Microsoft limited certain backup features on Windows 11. File History was one of those options and it has been a part of Windows systems since Windows 8.
Microsoft did this because it wanted to push people more towards using its OneDrive cloud storage and possibly purchase a subscription to the service. Unsurprisingly, people were not happy with this move and demanded that Microsoft reinstates File History.
What’s so good about File History?
Fortunately, since then, Microsoft has reinstated File History. To be fair, the feature isn’t all that much better than OneDrive cloud storage, but people like to have options and make their own choices on where to save their files.
File History isn’t the default on Windows 11 despite Microsoft bringing it back. You still have to turn it on and set it up to back up your files.
This guide will show you how to turn the backup options on Windows 11, how to back up the system, and configure the feature.
How do I use File History to back up my Windows 11 computer?
1. Turn on File History
- Start by clicking on the magnifying glass icon in the taskbar to bring up the search bar.
- Search for the Control Panel and click the top result that appears to open it.

- When the Control Panel opens, click on System and Security.

- In System and Security, click File History.

- Conversely, you can click on Category next to View by and change the panel’s layout.

- In the drop-down menu, select Large icons.
- In this new window, select File History.

- The Filter History will take some time to search for other drives.

- Once it finds one, click the Turn on button.

- Upon turning on Filter History, click Run now to begin saving your computer’s file to the hard drive.

2. Configure File History
- Staying in the File History portion of the Control Panel, select Advanced Settings on the left-hand side.

- Here you can decide how often copies of your computers should be saved. Click the menu next to Save copies of files to change this frequency from every 10 minutes to once a day.

- You can change how long the copies stay on your computer by clicking the file next to Keep saved versions and making a selection. You can keep them forever, for a set amount of months, or until space is needed.

- Underneath the Versions section is Clean up versions. Clicking this will open the File History Cleanup window which allows you to delete saved versions from your computer.
- You can decide to delete versions older than two years or everything but the most recent.

- Once you’ve decided how far back you want to delete the files, click the Cleanup button.
- Click the link under Events logs to see recent events, errors, and copies you made.

- Once you’ve made your changes, click the Save changes button at the bottom.

- Back in the main File History page, you can change the drive by clicking Select drive on the left-hand corner.

- On this new page, you can select another drive to back up, although, in this guide, there’s only one.

- Below that you can select an existing backup.
- If there’s another drive on the local network that you want to add, click Add network location and locate the drive. But make sure file sharing is on.

- On the main page, you can choose which parts of your computer should not be saved by first clicking Exclude folders.

- In this window, click the Add button to choose what should be excluded.

- Make your selection. In this guide, the Music library will be excluded.
- Click the Select Folder button.

- Exclude as many folders as you want. When you’re done, click the Save changes button.

3. Create System Image Backup
- In the File History, click System Image Backup in the bottom left corner.

- Click Set up backup.

- Select the drive where the backup will go. Then click Next.

- You can choose what you want to back up, but this guide will let Windows 11 choose.

- Review your backup settings in the next window. You can change often Windows 11 is saved by clicking Change schedule.

- Choose how often the backup is saved by making your selection in the menus. Click OK.

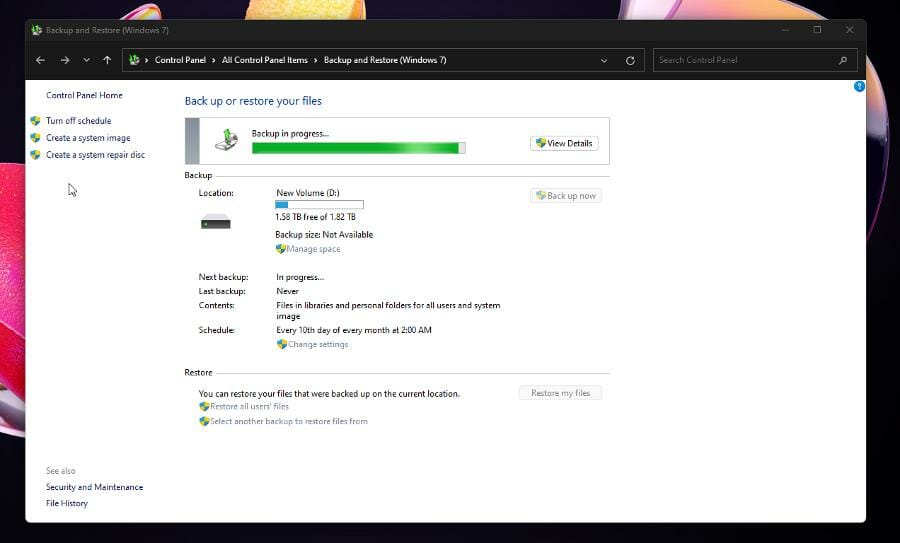
- Click Save settings and run the backup.

- File History will proceed to backup your Windows 11 files. It may take a while before it finishes.

- If you have to back up more than 100GB worth of data, the first backup may take a full 24 hours to complete.
- After it finishes, File History will let you know how big the backup is.

4. Restore personal files
- When it comes time to restore your files, return to the System Image Backup of the File History.
- Under Restore, click the Restore my files button.

- In the Restore Files window, you have a variety of choices from which you can select how to restore the files.
- This guide will select Browse for folders to do an all-around restore, but you select certain files by clicking on either Browse for files or Search.

- Select the backup folder and click Add folder.

- Click Next.

- Then select where you want to restore the files. This guide will select In the original location to make it easy.
- Click the Restore button.

- Give your computer enough time to complete the process. How large the file size is will determine how long it will take.

- Back in the Restore Files window, you can select to restore the files from a particular date by clicking Choose a different date.

- You can choose which backups to restore by clicking on the drop-down menu and making a selection. You can go as far as a year or show every single backup.

- Select the backup from a certain point in time and select the OK button.

- Next, follow the same instructions to restore the backup.
Are there other ways to backup files on Windows 11?
Many people prefer using third-party software over the native apps on Windows 11 and this is no different when it comes to backing up files. There are tons of backup software for the operating system.
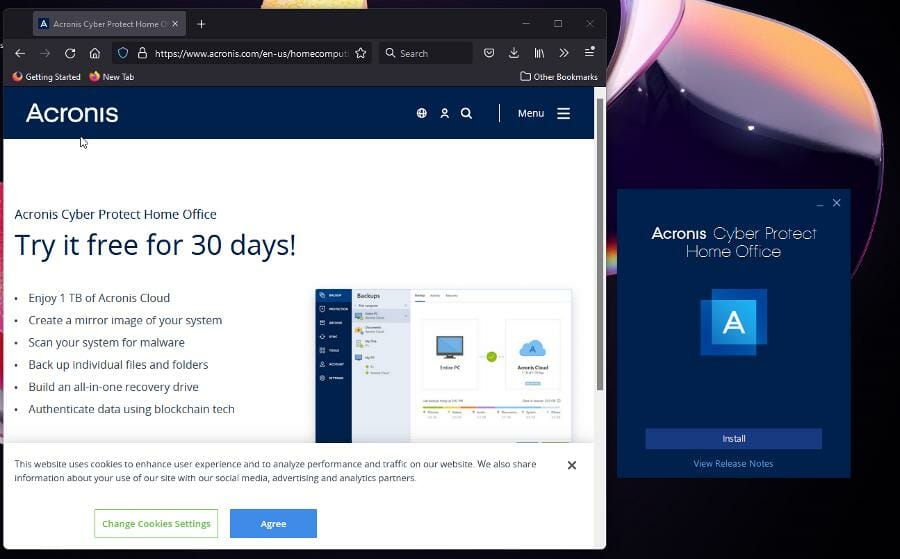
You have choices like Acronis Cyber Protect Home Office and Stellar Data Recovery, to name a few. It’s also recommended that you purchase an SSD in case your computer doesn’t have enough room to back up everything.
And it’s also possible to back up Android device software on your PC as well. The process was originally a tedious one, but so long as you get the right app, backing up those files is a breeze.
Feel free to leave a comment below if you have any questions on other Windows 11 apps. Also, leave comments about reviews that you’d like to see or information on other Windows 11 features.
Read our disclosure page to find out how can you help Windows Report sustain the editorial team. Read more


Improve this guide


User forum
0 messages