How to troubleshoot Windows Movie Maker has stopped working
7 min. read
Updated on
Read our disclosure page to find out how can you help Windows Report sustain the editorial team. Read more
Key notes
- Many users reported that Movie Maker has stopped working, and out-of-date graphic drivers might be to blame.
- Running certain apps also hinders the video editor from running smoothly.
- The Windows Movie Maker troubleshooting process involves switching to Compatibility Mode.
- You could solve the issue fast by choosing an alternative smart tool from Adobe.

Movie Maker is video-editing software that was formerly bundled with older Windows platforms as part of the Live Essentials suite. Some users have stated on forums that Movie Maker stops working for them.
Windows Movie Maker has stopped working and Windows Movie Maker does not start are two of the more regular WMM error messages that pop up on some users’ desktops.
The stopped working error message can pop up when uses try to open files within the video editor. Consequently, the software crashes and closes or freezes during playback.
Below are a few resolutions that might fix Windows Movie Maker’s stopped working error messages and occasional freezes.
What do I do if Movie Maker stopped working?
1. Close other software when running Movie Maker
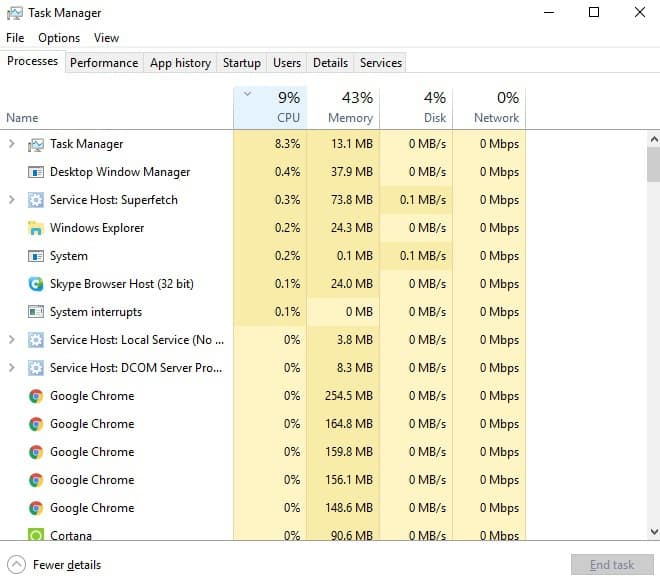
- Right-click the taskbar and select Task Manager to open that utility’s window.
- Then close all software listed under apps on the Processes tab by right-clicking them and selecting End task.
- In addition, you can close some third-party software listed under background processes to free up more RAM for WMM.
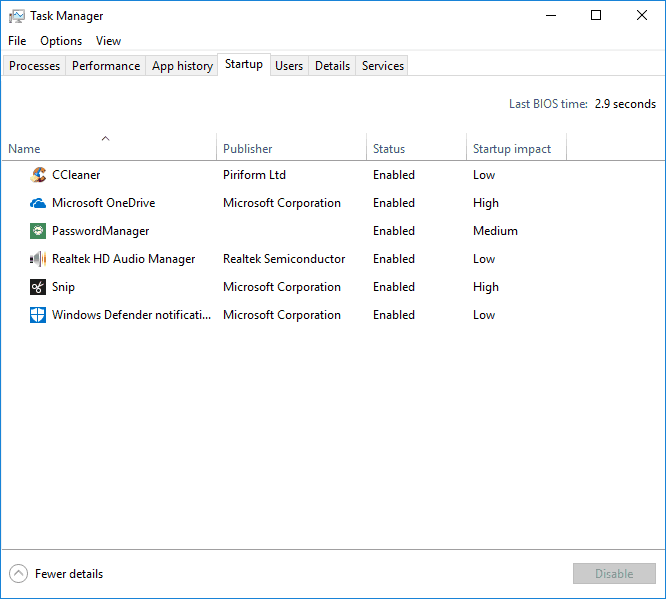
- To remove startup programs, such as antivirus utilities, select the Startup tab. Then select software there and click the Disable button.
Movie Maker might stop working and display a crash error message when there is a lack of RAM on your laptop or desktop.
There might be insufficient RAM for Movie Maker when you’re running lots of other software alongside it. That’s more likely if your desktop or laptop has a small amount of RAM to start with.
So make sure there are no other software windows open on your taskbar when you’re running Movie Maker. In addition, close third-party software in your system tray.
2. Update the graphics card driver
2.1. Update drivers manually
- Press the Windows key + R together at the same time on your keyboard.
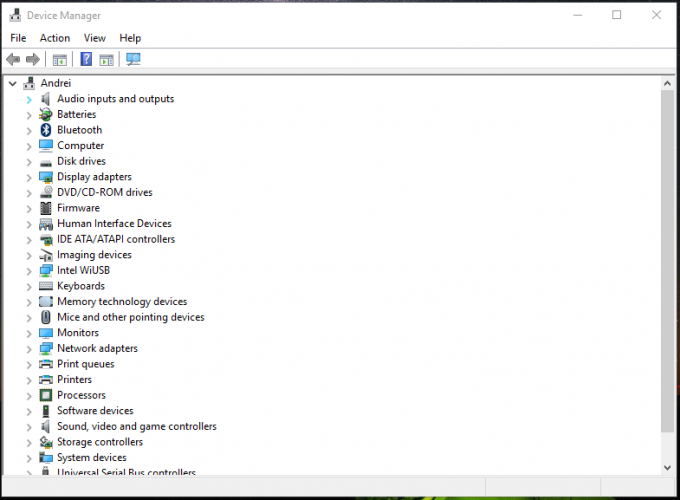
- This should open the Device Manager, which will look like the picture
- From Device Manager find the driver you need to update.
- Right-click on this field and choose Update.
- If an update for this driver is available, follow on-screen prompts and install it.
- When done, restart your Windows 10 system.
You can also troubleshoot the issue by manually updating your system which is not hard to do, just access the Device Manager and follow the instructions above.
On the other hand, updating drivers automatically is more reliable and safe for your PC, plus you only have to select the drivers you need to update and the rest will be done by specialized software.
3. Disable third-party video file filters
- First, open Run by pressing the Windows key + R hotkey.
- In the Run dialogue box, insert the line below and press the Return key:
cmd - Open the folder that includes Movie Maker by entering cd followed by its path in the Command Prompt.
- Then enter the following line to open Movie Maker in its safe mode:
moviemk.exe /safemod - Click the Tools menu.
- Select Options on the Tools menu.
- Then select the Compatibility tab on the Options window.
- The Compatibility tab includes a list of third-party filters. First, deselect filters that end with an .ax extension.
- If Movie Maker still crashes, deselect all the third-party filters on the Compatibility tab window.
The Windows Movie Maker has stopped working error message can often be due to incompatible video filters.
So deselecting third-party video file filters listed on Movie Maker’s Compatibility tab (in the classic version) might fix the software.
4. Use a third-party alternative to Windows Movie Maker
When it comes to editing videos at a professional level, Adobe Premiere Pro is known as an industry standard. This is an advanced tool that comes with a myriad of special effects and professional features.
If you want to transform your footage into a high-quality video then Adobe Premiere Pro encompasses all the functions you need, such as editing videos in any format from 8K to virtual reality.
Cut it, bind it, add soundtracks and special effects, pretty much anything you want is achievable through this timeline-based video editor.
More so, you can now test it out for free for a full 7 days along with all other Adobe products, so go ahead and give it a try.
5. Run Windows Movie Maker in Compatibility Mode
- Some Movie Maker users have confirmed that running the software in compatibility mode can fix the stopped working error.
- To do that, right-click a Movie Maker shortcut icon and select Properties.
- Click the Compatibility tab shown in the snapshot directly below.
- Select the Run this program in Compatibility Mode for check box.
- Select the latest Windows platform that predates your current OS from the drop-down menu.
- Press the Apply button.
- Click OK to close the window.
Some users confirmed that running Movie Maker in Compatibility mode solved the issue they had regarding the Windows Movie Maker troubleshooting process.
Follow the steps we mentioned above and see if it helps you with fixing the issue. If you still experience problems, see the following solutions.
6. Repair the Windows Live Essentials Suite
- To open the Run dialog box, press the Windows key + R hotkey.
- In the Open text box insert the line below and click OK to open the uninstaller window:
appwiz.cpl - Enter Windows Live Essentials in the search box.
- Select Windows Live Essentials, and press its Uninstall/Change button.
- Then select the Repair radio button shown directly below to fix Live Essentials applications.
- Click the Continue button.
The Windows Live uninstaller window includes a Repair option that can fix the suite’s applications. So that’s an option worth noting when you notice that Windows Movie Maker is not working on Windows.
7. Reinstall Codecs
If video playback freezes in WMM, there might be a corrupted video codec on your desktop or laptop. If so, reinstalling a codec might fix Move Maker’s playback freezing and other issues.
The freeware program Codec-Sniper provides an overview of the codecs and filters on your PC and their status. The program tells you if a codec is correctly installed or not with its Status column.
Codec-Sniper also includes a Delete button with which you can erase codes.
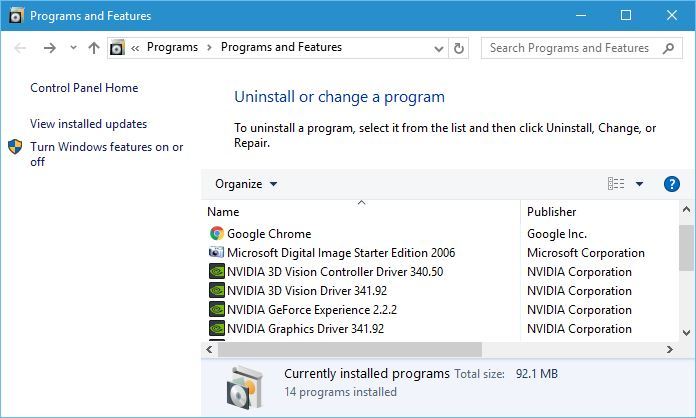
So you can remove video codes with Codec-Sniper. Alternatively, you can uninstall codec packs, such as K-Lite, via the Programs and Features Control Panel applet.
8. Reinstall Windows Movie Maker
- Open the Run accessory in Windows.
- In Run’s text box, insert the line below and press the Enter key:
appwiz.cpl - Next, select Windows Live Essentials and click Uninstall/Change to open the window below.
- Then select the Uninstall option and click Continue to remove the suite.
- Restart Windows before you reinstall Movie Maker.
- Reinstall Windows Live Essentials 2012 by clicking Download Now.
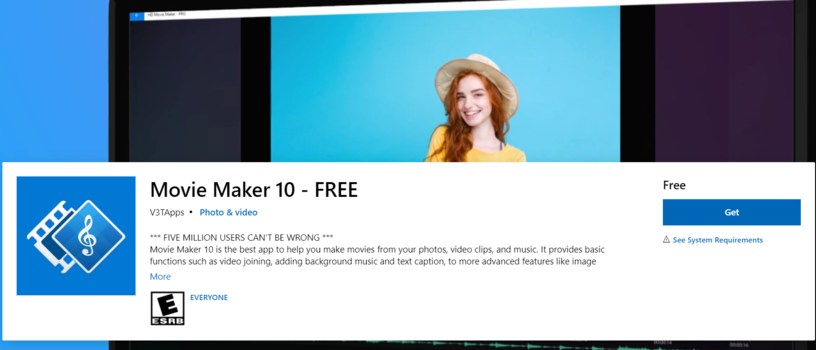
- To add the classic Movie Maker 10 version to Windows, go to the official Microsoft page and click the Get button.
Reinstalling Windows Movie Maker is another potential resolution when Windows Movie Maker is not working. You can download Windows Movie Maker 10 from Microsoft’s website.
Those are some of the best resolutions for fixing Movie Maker stopped working or does not start error messages.
Whether you decide on running a different video tool like Adobe Premiere or choose to troubleshoot the Windows video editor we trust that our option will help you solve the problem.
We’d like to hear more from you on this issue so please drop us a comment in the dedicated section below.






User forum
0 messages