Wondershare Dr.Fone review: Complete toolkit for phone repair
Key notes
- Wondershare Dr.Fone is an excellent toolbox that can help you fix all the problems you may have with your phone.
- This solution covers all Android and iOS devices, including the ones with iOS 15.
- The Windows app comes with dedicated modules for each individual task, including phone backup or data recovery.
Mobile phones have come a long way since they were first introduced. From simple devices that allowed two interlocutors to communicate, they developed into miniature computers that can do many things.
Nowadays, you can use your phone to pay, order, take pictures, and do just about anything that has digital integration.
Since they are so versatile, everyone has a mobile phone. This can be a double-edged sword, however, because we tend to rely on them a lot.
Why is this a problem? Well, if your phone breaks down or somehow gets hacked, your sensitive data can get stolen, or you might be unable to do certain transactions since you can’t use your phone anymore.
Thankfully, there is plenty of software that will make sure your phone works properly and your data is safe. If you’re an Android or iPhone user, Wondershare created a great option for you, Dr.Fone.
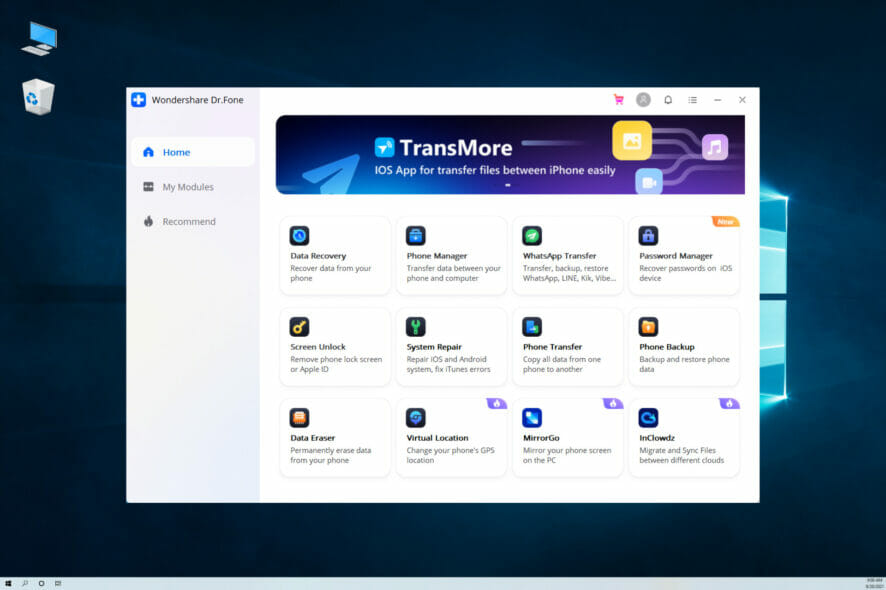
What is Wondershare Dr.Fone?
Wondershare Dr.Fone is an all-in-one toolkit software that was created to offer all the solutions to the problems of your mobile devices.
The software works perfectly with Android and iPhone devices and offers a great array of services such as helping transfer, secure, and backup the data.
It gets constantly updated, getting new features and improving existing ones to create a better experience for the users.
What are Dr.Fone’s main features?
1. Data Recovery
Wondershare lets you recover deleted and lost data from Android devices, iOS, iTunes, iCloud backup services, and broken or compromised Android devices.
Additionally, you can also recover lost passwords in case you no longer remember them, and you can’t access the important accounts as a result.
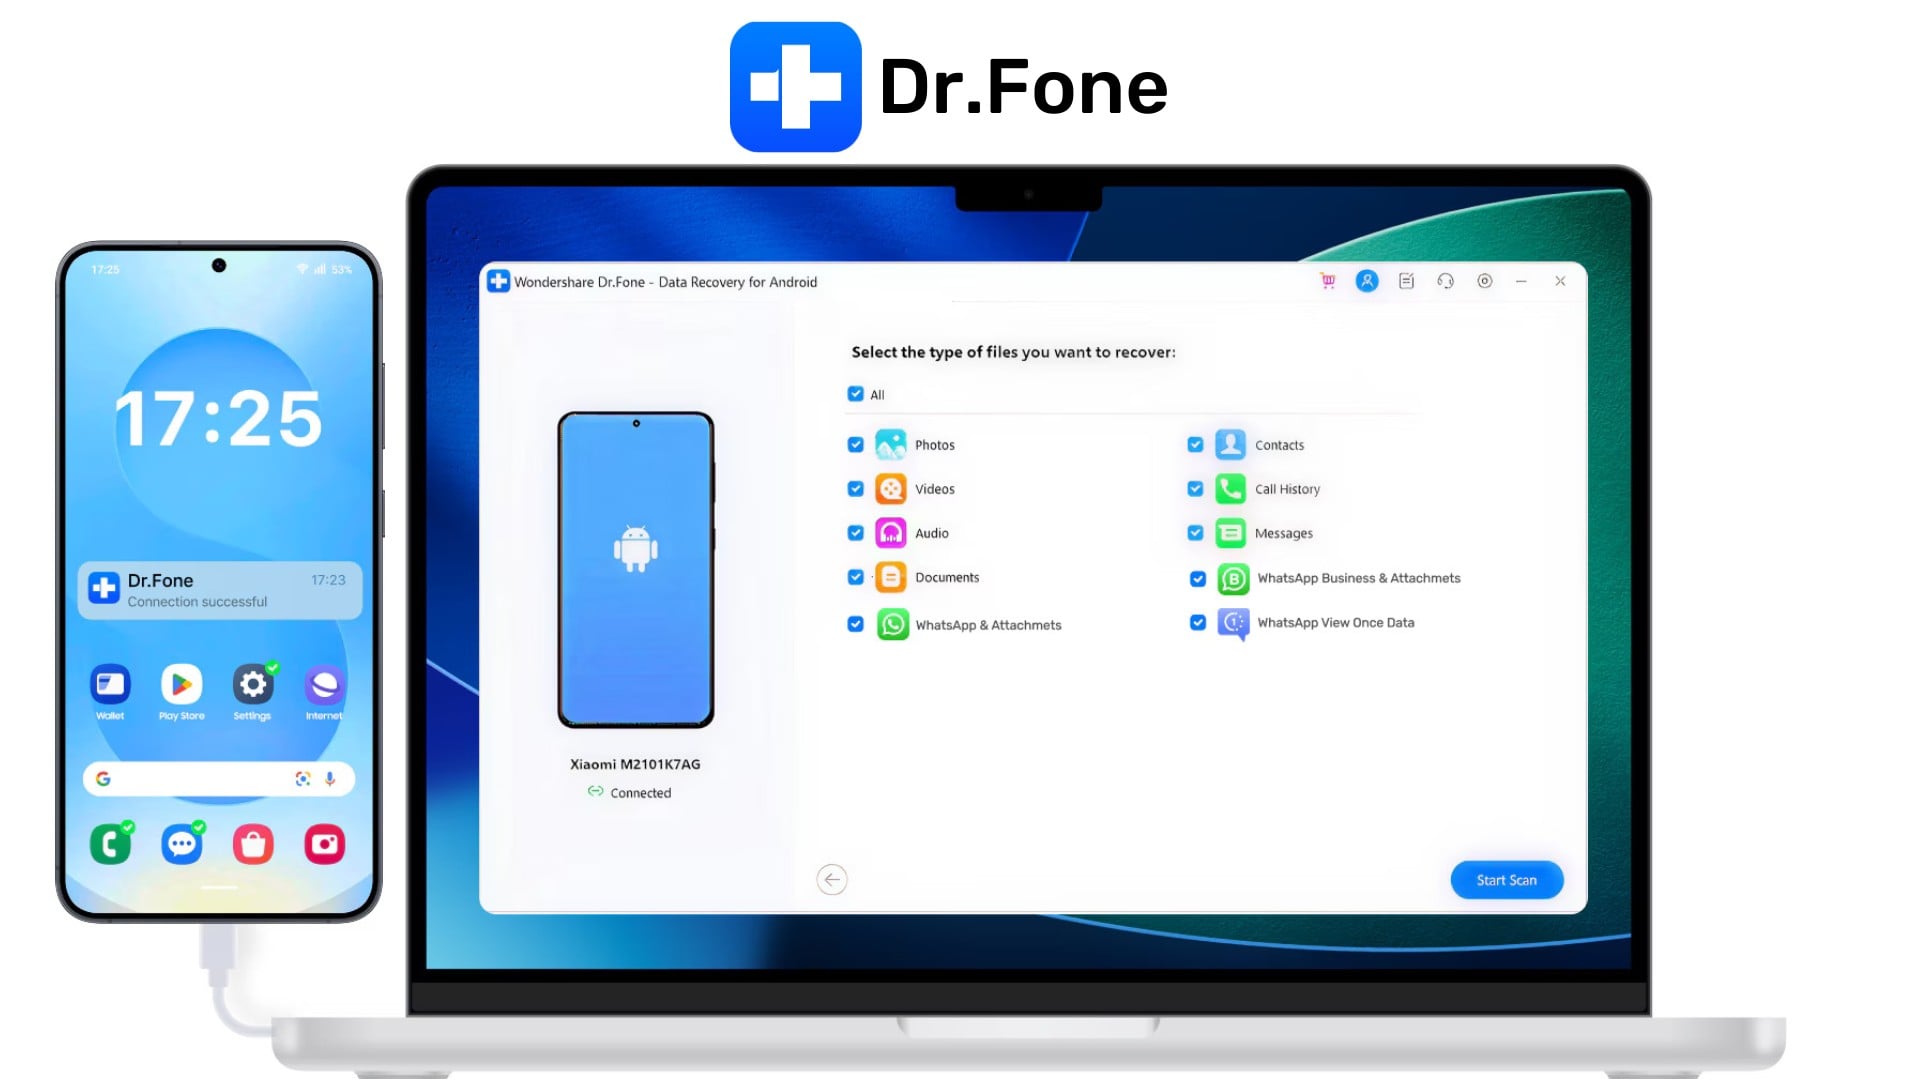
How to perform data recovery with Dr.Fone?
- Open Dr. Fone app and select Data Recovery.

- In the new window, you will be prompted to connect your device to your PC. Connect it and make sure you unlock the screen on your smartphone.

- Next, you will receive all the instructions on how to activate the USB debugging option on your smartphone. It’s necessary for the recovery procedure.

- After you activate the USB debugging feature, Dr.Fone will install the Connector app to your phone. Just follow the procedure indicated on the screen to install it.

- Now select the content you want to recover or click the Select all button to get all, then click Next.

- Next, the Dr.Fone app will be installed on your smartphone. Just tap continue on your device and provide it with the requested permissions. The tool will scan your device and you will be able to backup your data.

- The only thing left to do is to check your smartphone box and to click on Recover to Computer. As you probably noticed, you can also hit the Restore to Device if you already have a back-up and want to restore the data on your smartphone.

Although the solution might seem complicated, most of the steps you only perform once. Once you activated the USB debugging and you have the Dr.Fone apps installed, all is set up.
It’s also important to know that you can also recover data from an SD card, from a broken phone, and from WhatsApp.
Recovering the deleted messages from WhatsApp is a new feature in Dr.Fone – Data recovery (Android) and if you lost them, with this module you can get them back in seconds.
2. Phone Manager
The Phone Manager module allows you to transfer data between your smartphone and PC and it’s extremely easy to use it.
If your phone was set up as instructed on the Data recovery step, you will only need to connect your device to the PC with the USB cable and you’re good to go.
After that, you will be able to transfer your media to and from iTunes (if you have an iPhone), your photos, videos, music, and apps really easily.
You even have an Explorer interface that you can use to copy any other data from your phone or to transfer the files from your computer just by clicking a single icon and indicating the file or folder path.
How to transfer data to and from the mobile and PC?
- Open Dr. Fone and click on the Phone Manager app.

- The app will start and you will see the option to transfer media to and from iTunes or transfer your photos to the PC.

- Of course, in the upper part of the window, you also have tabs for transferring music, video, photos, contacts and even an explorer interface to copy specific data.

As you could see from our guide, it’s extremely simple to transfer the data from your phone to your PC in just a couple of steps.
It’s also important to know that you can also retrieve your information from social networks like Twitter and Instagram from your phone so that you also get a backup of the content.
3. Password Manager
With Dr.Fone Password Manager (iOS), you will never be afraid of missing any iOS passwords.
This new module will help you find them, including Apple ID account and password, mail accounts and passwords, website, app login passwords, saved Wi-Fi passwords, or screen time passcode.
Once you connect your device, Dr.Fone will perform a scan on your device and after a few minutes, you will receive a complete report with all the passwords stored on the device.
How to use Password Manager (iOS) to retrieve your passwords?
- Open Dr. Fone and click on the Password Manager (iOS) to open it.

- Connect your device and make sure you unlock its screen.

- Once it’s connected, click the Start Scan button.

- After it scans your device, you will get a report with all the passwords stored on it.

Getting your iOS passwords and even the Wi-Fi passwords in a matter of seconds is a priceless feature of this app because retrieving them individually can take a lot of time and work.
4. Other important Dr.Fone modules
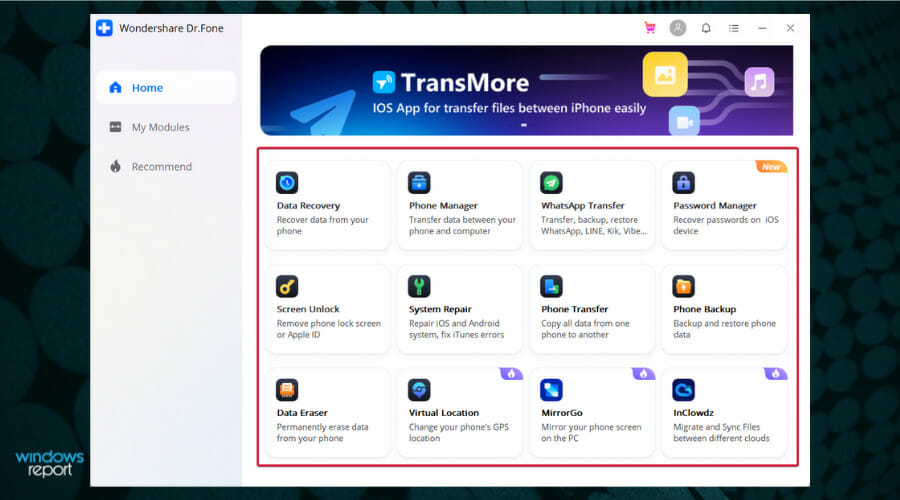
Here, we only covered a few of the most important modules of Dr.Fone, but you have a lot more that we will highlight below.
We have to remind you that the app covers all possible problems with your Android or iOS devices and that’s exactly what you will get.
WhatsApp Transfer
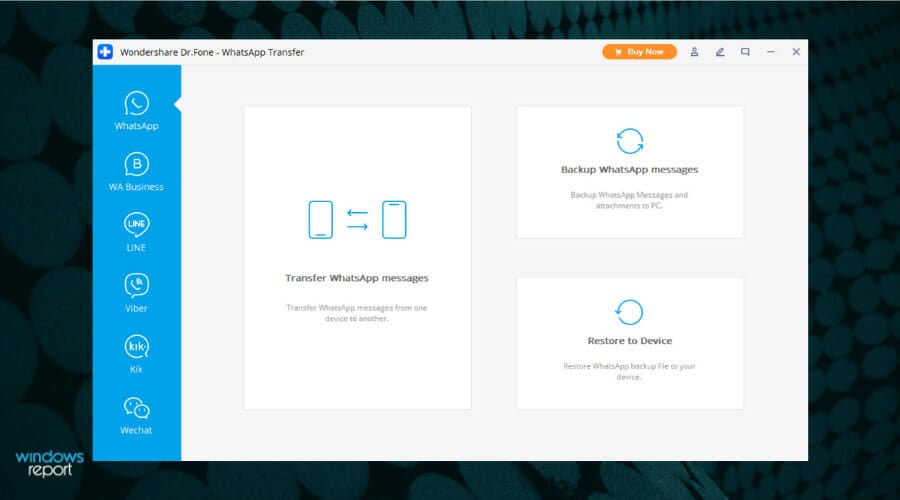
Although you can retrieve all the lost WhatsApp messages by using the Data Recovery module, there is also a dedicated, WhatsApp transfer module that covers all the data from the app.
In fact, with this tool you can transfer the messages from one phone to another, you can backup the messages or restore them to your device.
Moreover, the module also covers other communication apps like Line, WhatsApp Business, Viber, Kik, and Wechat.
Screen Unlock
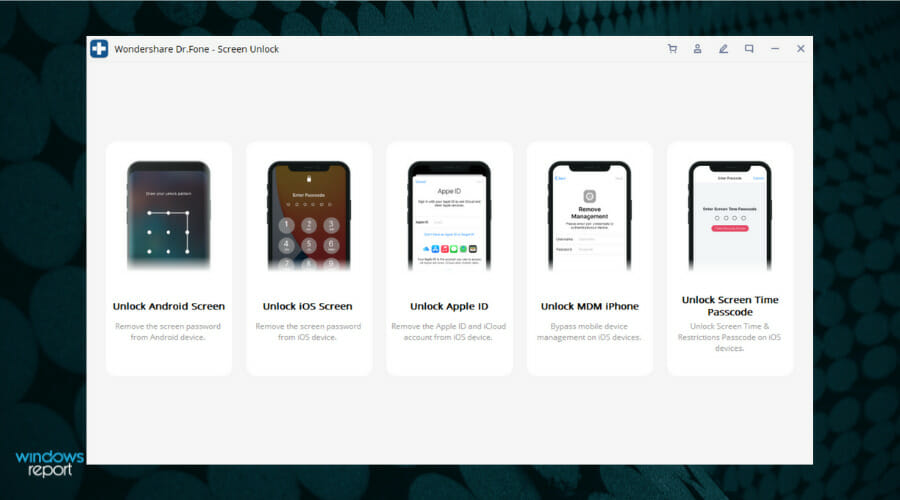
If you locked yourself out of your phone and you forgot how to unlock it, this module is absolutely golden.
Screen Unlock enables you to unlock the screen lock from Android and iOS devices, unlock the Apple ID, bypass mobile device management on iOS devices, and unlock their Screen Time password.
Just connect the device to your PC, select the correct option, and Dr.Fone will do the rest after it scans your mobile.
However, you need to know that some of the procedures involve erasing all the data from your phone so take that into consideration.
Phone Transfer
When you get a new phone, especially if it’s another brand, it’s a pain to sync all your data between the two.
With the Phone Transfer from Dr.Fone, it’s just a matter of connecting the two devices to the same PC and hitting the Start Transfer button from the app.
It’s not even important which one you connect first because you can switch anytime between the source and the target device before starting the transfer.
Phone Backup
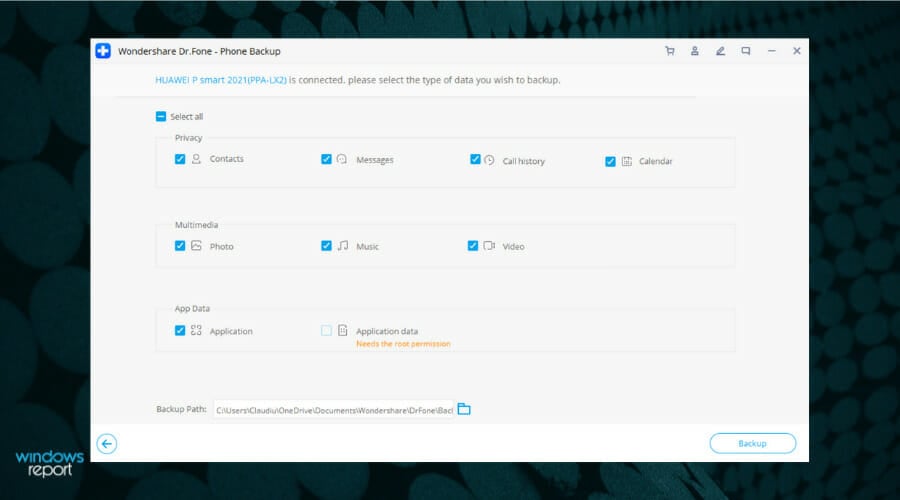
It wouldn’t hurt to create a backup to your phone once in a while because you never know what may happen.
If you have turned on the backup settings for your device, usually, that doesn’t include all the files from your device.
The Phone Backup module also covers the applications and application data from your phone so after that, you will be safe.
System Repair
Do you have problems with your system on your iOS or your Android device? Then you don’t need to worry because the System Repair module from Dr.Fone will manage to fix over 20 possible problems.
The tool can solve issues with the devices stuck in the logo screen, black screens, boot loops, phone crashes, forced apps terminations, update fails, and a lot more.
This module even has a dedicated iTunes repair option that covers more than 100 problems and even syncing errors.
Other modules from Dr.Fone include a data eraser tool, especially if you want to sell or donate your phone.
How can I fix iOS 15 update issues?
Updating from iOS 14 to iOS 15 can be tricky and you might have got update errors which can be frustrating.
Getting to an error or a black screen from a fully functional device can be a painful transformation but the new Dr.Fone version perfectly covers all possible errors that you might get, especially after a failed update.
Here’s how you can solve these iPhone update problems by using a simple module from Dr.Fone.
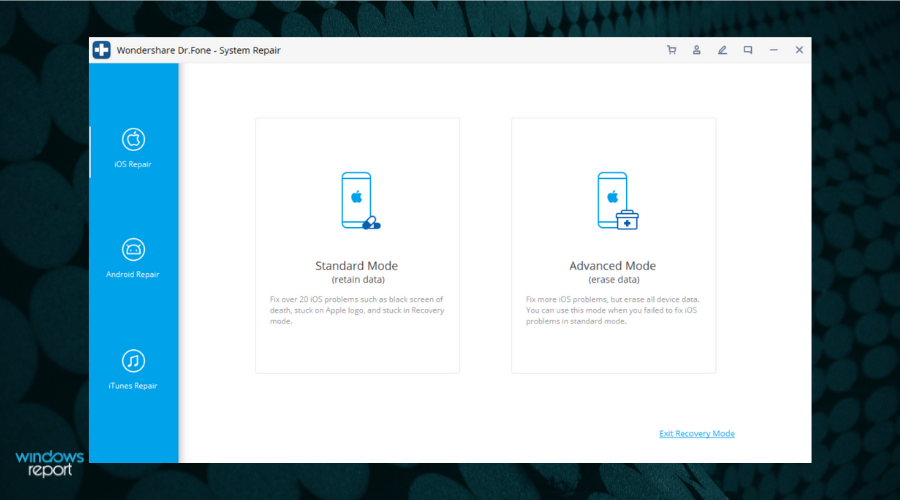
- Start Dr.Fone on your PC and click on the System Repair module.

- Click on Stardard Mode if you want to keep the data from your device or the Advanced Mode to erase all data. We recommend trying the first.

- Follow the exact steps on the screen to carry out the procedure.

- The phone will enter the Recovery Mode and you will be able to repair the system.
Of course, all the modules in Dr.Fone were updated to be used for the new iOS 15 devices and troubleshoot them so if you got one of those, this toolset will get you out of any possible trouble.
How to get Wondershare Dr.Fone?
- Go to the Wondershare Dr.Fone website and hit the Try it free button.

- The download will start shortly and you will get the installer file.

- After installing, click the Start Now button.

- That’s it. Now you only need to click the modules you want to use to download them first.
There are only a few seconds between accessing the Wondershare page and actually using the tools, so you don’t have any waiting times.
As you probably noticed, there is a trial version for Dr.Fone and all the modules so you can test them before deciding whether or not to make the purchase.
Although you can use Dr.Fone for free for a limited period of time, the prices of the modules are decent if you think that a phone repair at a specialized point would cost you a lot more.
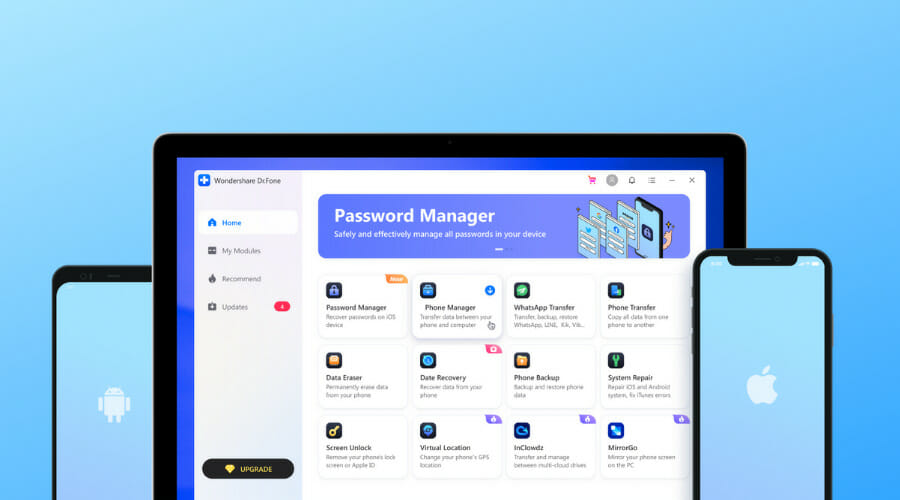
Wondershare Dr.Fone toolkit is available for Windows and Mac and as we already mentioned, covers Android and iOS devices.

Wondershare Dr.Fone
If you have any problems with your phone, all will become in the past with this amazing Dr.Fone toolkit.- Pros
- Simple and comprehensive user interface
- Fixes all the problems with your phone
- Compatible with Android and iOS devices, including iOS 15
- Easy transfer files between your mobile and PC
- Complete backup of your phone
- Separate modules dedicated to each important tasks
- Cons
- Phone scanning takes a bit of time, depending on its content
Final notes
We have reached the end of our review and we hope that not only provided information about Wondershare Dr.Fone, but also explained how to use its most important features.
Our experience with Dr.Fone was pretty satisfying because we managed to create backups for our devices, and we even restored some in record time.
Also, we were impressed by the multitude of available modules and options that cover any possible issue with your phone.
And the fact that you can try, then buy individual modules to tailor your exact needs is also a very budget-savvy option.
Did you try Wondershare Dr.Fone? Leave your impressions and thoughts about it in the comments section below.
Read our disclosure page to find out how can you help Windows Report sustain the editorial team. Read more


Improve this guide

User forum
1 messages