Windows Update Error 0x80242017: 5 Ways to Fix it
Check out the simple methods to resolve the issue
Key notes
- The Windows update error WU_E_UH_NEW_SERVICING_STACK_REQUIRED 0x80242017 appears if a system malfunctions or your computer is missing files.
- This guide will discuss all the expert-tested fixes to resolve this update error.

Coming across an error while updating Windows is more common than you think. One of the popular ones is 0x80242017. It is imperative to fix such errors as they may affect your computer’s functioning.
Here, in this guide, we will discuss some potential fixes to resolve the issue right after examining the reasons for its occurrence of it.
What causes Windows Update Error 0x80242017?
There are a few reasons for the issue to occur, below are listed some of the popular ones:
- Faulty entries in Registry Editor – If there are registry entries of uninstalled apps or corrupt registry entries in Registry Editor, it may cause the issue.
- Missing system files – You might get an update error if the system files on your computer have become corrupt or been deleted accidentally.
- Outdated drivers – If your computer has obsolete drivers, it might cause a lot of issues. And, one of them could be this error.
- Infected with viruses – If your computer is infected with any malware or virus, then you might find it difficult to update your Windows. Run a malware scan to fix the issue before trying again.
What can I do to fix Windows Update Error 0x80242017?
Before engaging in advanced troubleshooting steps, you should consider performing the following checks:
- Disable Antivirus.
- Reboot your computer.
- Run a malware scan.
If these primary checks didn’t work out for you, follow these methods:
1. Reset Windows Update components
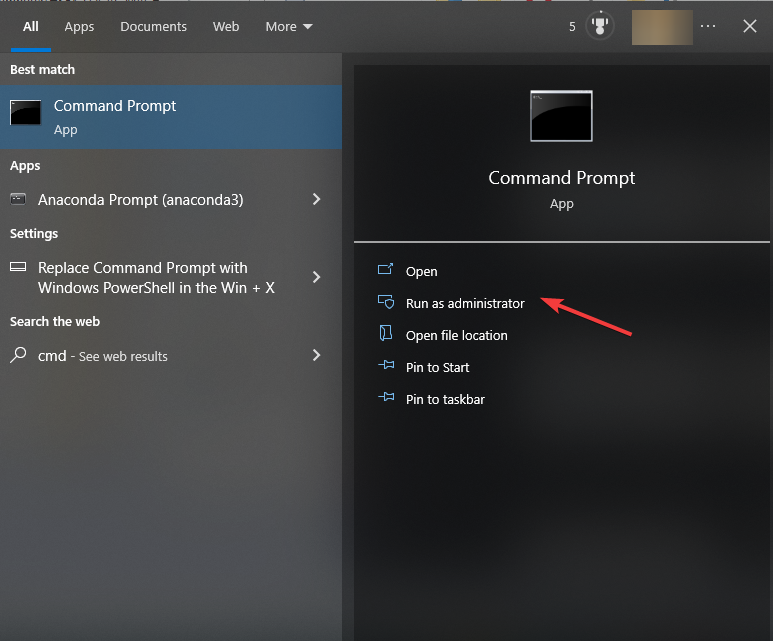
- Go to the Search bar, type CMD and click Run as administrator.
- Copy and paste the following commands and press Enter after each command:
net stop wuauservnet stop cryptSvcnet stop bitsnet stop msiserverren C:\Windows\SoftwareDistribution SoftwareDistribution.oldren C:\Windows\System32\catroot2 catroot2.oldnet start wuauservnet start cryptSvcnet start bitsnet start msiserver
2. Run Windows Update troubleshooter
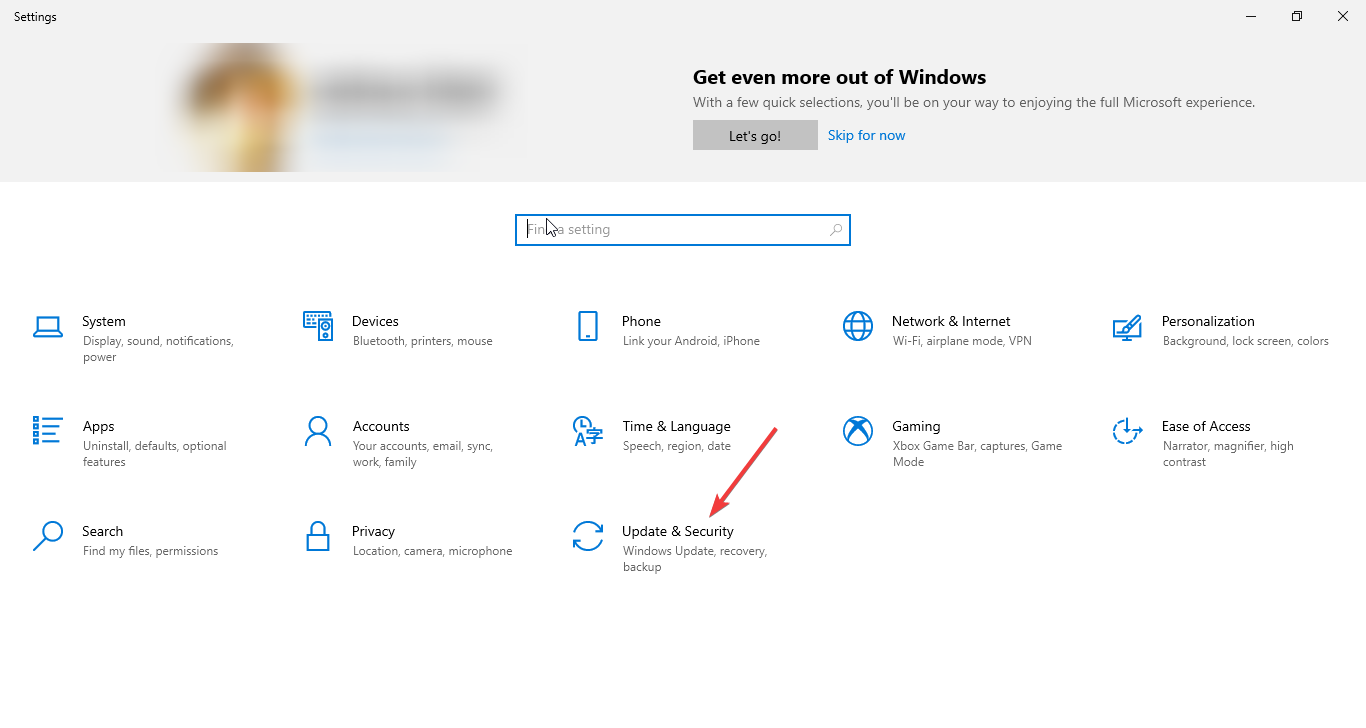
- Press Windows + I to open Settings.
- Go to Update & Security.
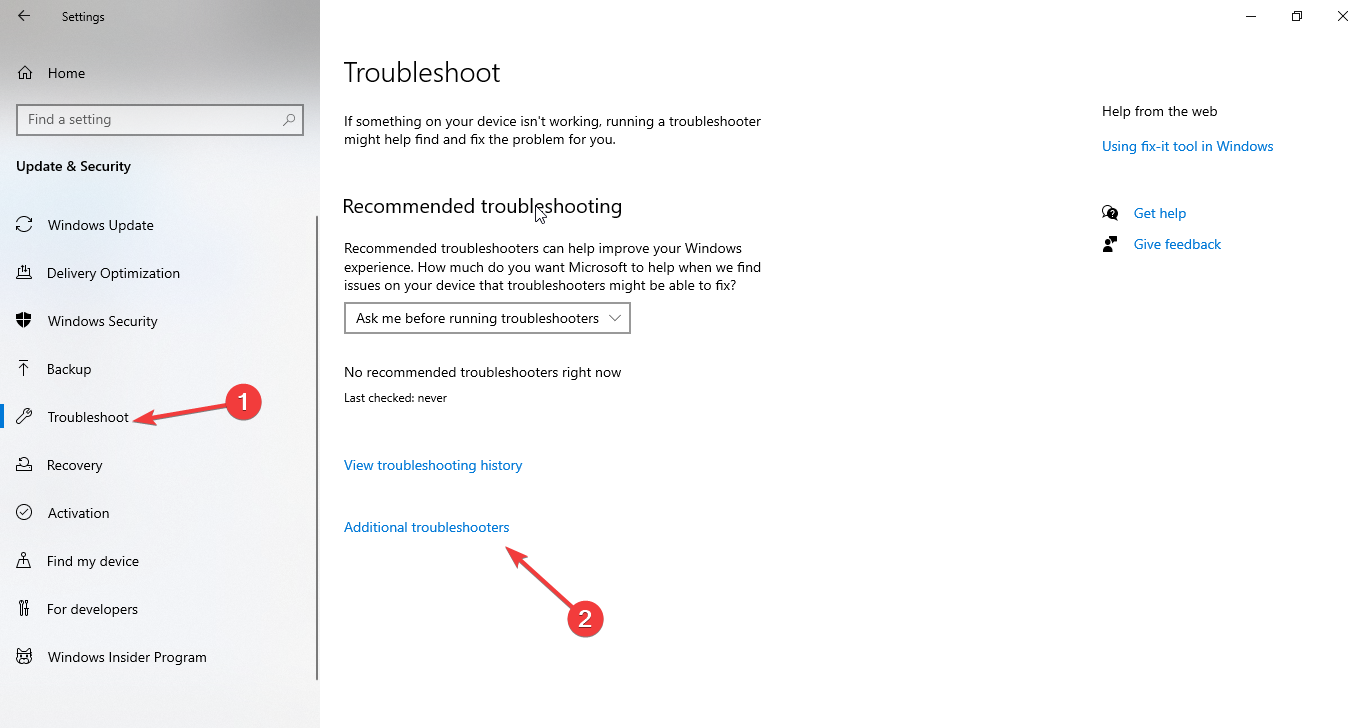
- Now, select Troubleshooting from the left pane, and click Additional troubleshooters.
- From Get up and running, go to Windows Update and select Run the troubleshooter.
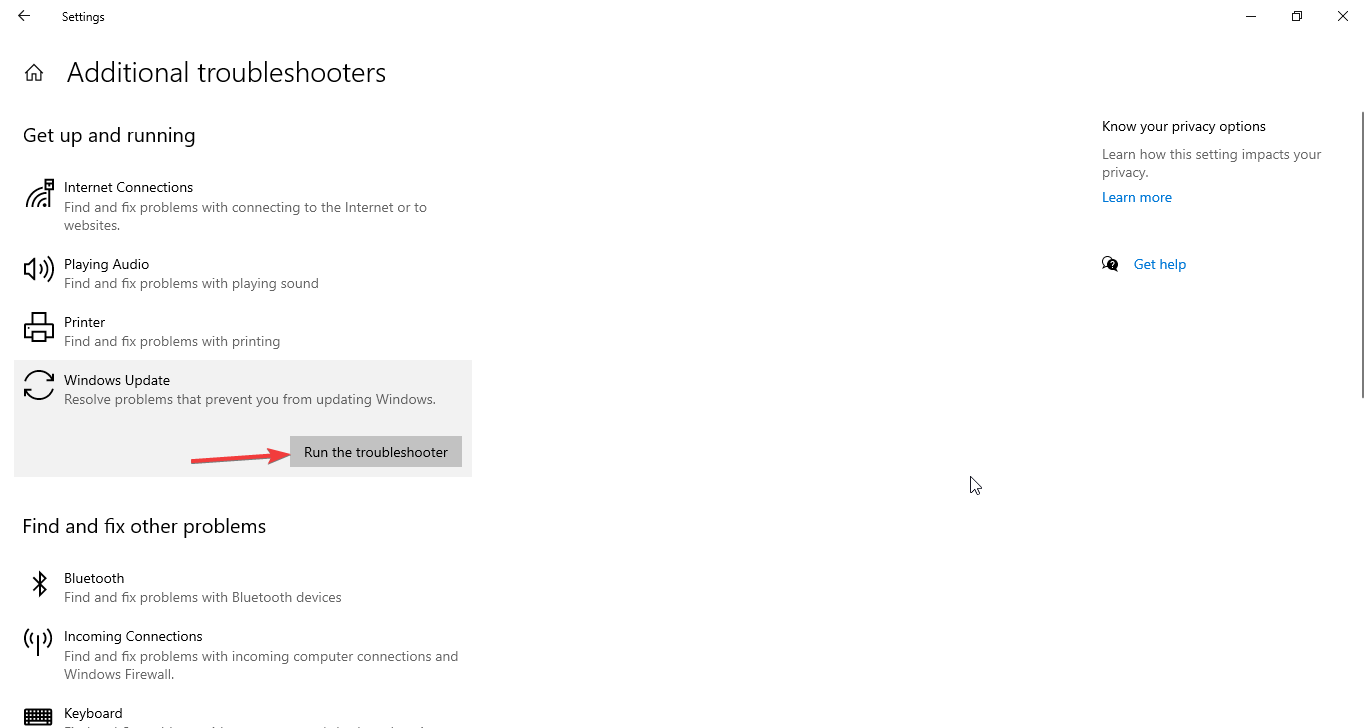
- Follow the on-screen instructions to complete the process.
3. Delete the Software Distribution folder
- Press Windows + E to open Windows Explorer.
- Follow this path:
C:\Windows\SoftwareDistribution\Download
- Press Ctrl + A to select all the files in the folder and click the Delete button from the menu.
4. Allow complete control of the System Volume Information directory
- Go to the Search bar, type CMD and click Run as administrator.
- Type the following commands and press Enter after every command:
net stop sdrsvctakeown /F "C:System Volume Information" /Anet start sdrsvc
5. Run SFC and DISM commands
- Launch Command Prompt using the steps mentioned in methods 1 or 4.
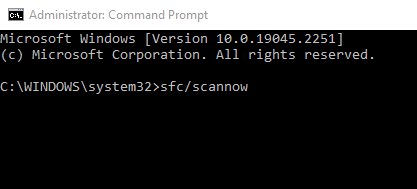
- Copy and paste the following commands and press Enter after every command:
sfc/scannowDISM /Online /Cleanup-Image /RestoreHealth
6. Update outdated drivers
- Press Windows + R to open the Run window.
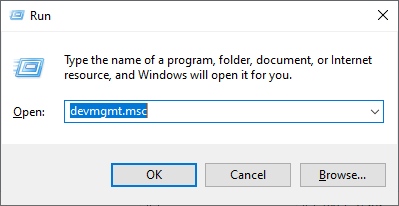
- Type devmgmt.msc and press Enter.
- Inspect all the drivers by selecting a driver one by one, right-clicking on them, and choosing Update driver.

- Follow the on-screen instructions to complete.
- Restart your computer.
Alternatively, to avoid the hassle of inspecting all drivers installed on your PC, use an automated tool like Outbyte Driver Updater. It will run a quick scan, then update and repair all drivers with just a few clicks.

Outbyte Driver Updater
Keep your drivers in check for peak PC performance and an error-free experience.So, these are methods you need to take to fix Windows update error 0x80242017. Try them and let us know in the comments section below.
Read our disclosure page to find out how can you help Windows Report sustain the editorial team. Read more


Improve this guide


User forum
0 messages