How to Use Netplwiz.exe to Create or Remove User Accounts
Netplwiz allows you to easily manage user accounts on your PC
2 min. read
Updated on
Read our disclosure page to find out how can you help Windows Report sustain the editorial team. Read more
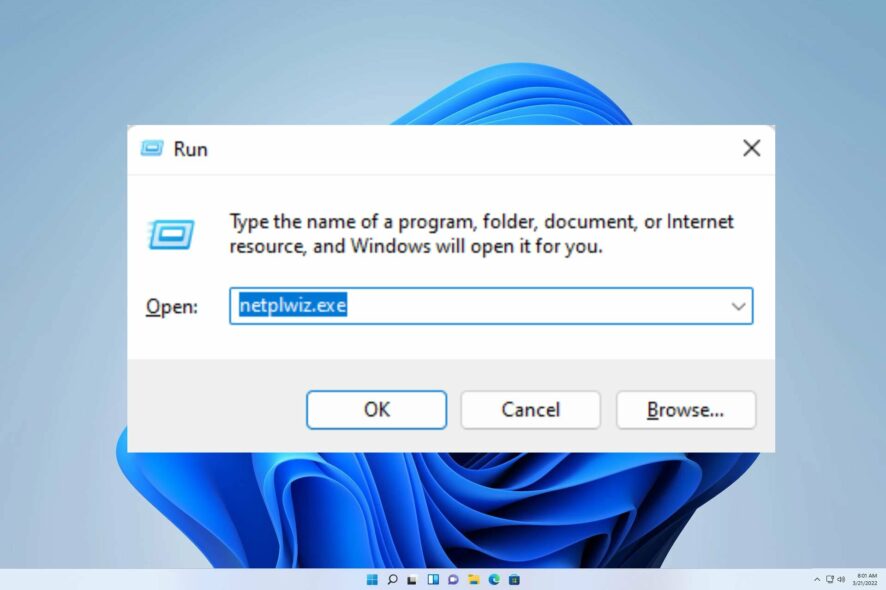
Netplwiz.exe is an efficient tool designed to manage user accounts on Windows 11. You can also modify the user membership from standard to administrator or guest using this applet.
This utility allows users with multiple accounts on a single computer to assign different profiles, such as Standard user, Administrator, or Guest. Its versatility makes it an essential component of any computer’s security.
How can I use netplwiz.exe to manage user accounts?
1. Create or remove a user account
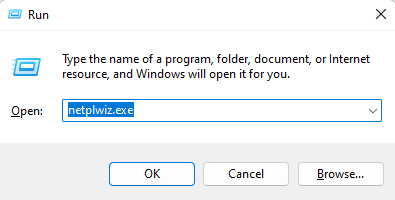
- Hold the Windows + R keys simultaneously to open the run command.
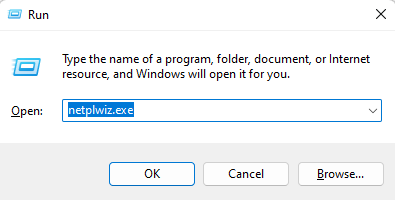
- Now type in netplwiz.exe in the run command and hit OK.
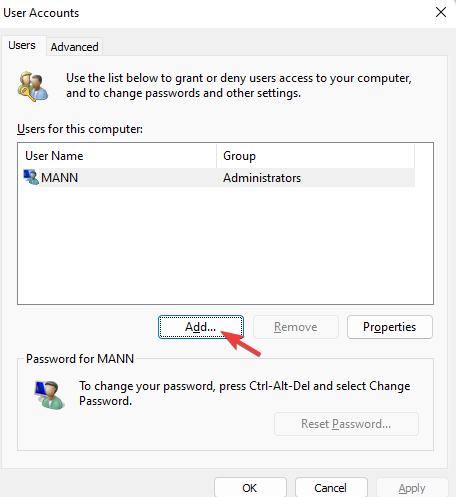
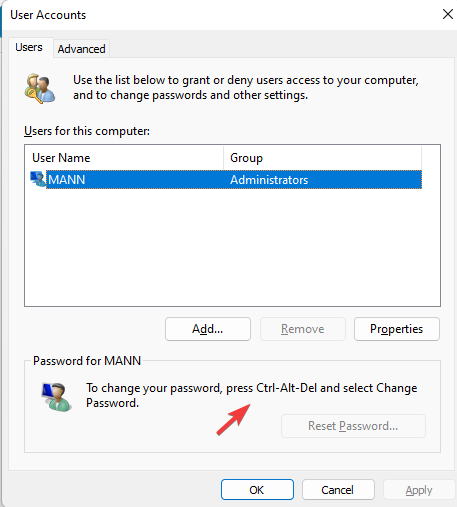
- The moment the User Accounts Control Panel pops up, click on Add.
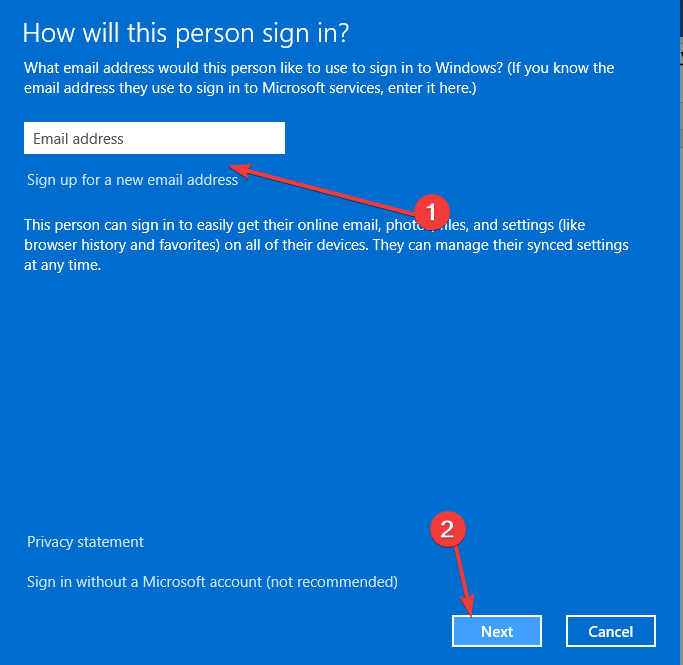
- Next simply follow the instructions to create a new account.
2. Reset your password with Netplwiz
- Press the Windows + R keys together to launch the run command.
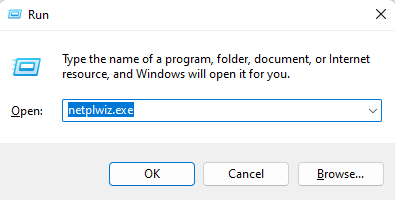
- Input netplwiz.exe inside the run command and hit OK.
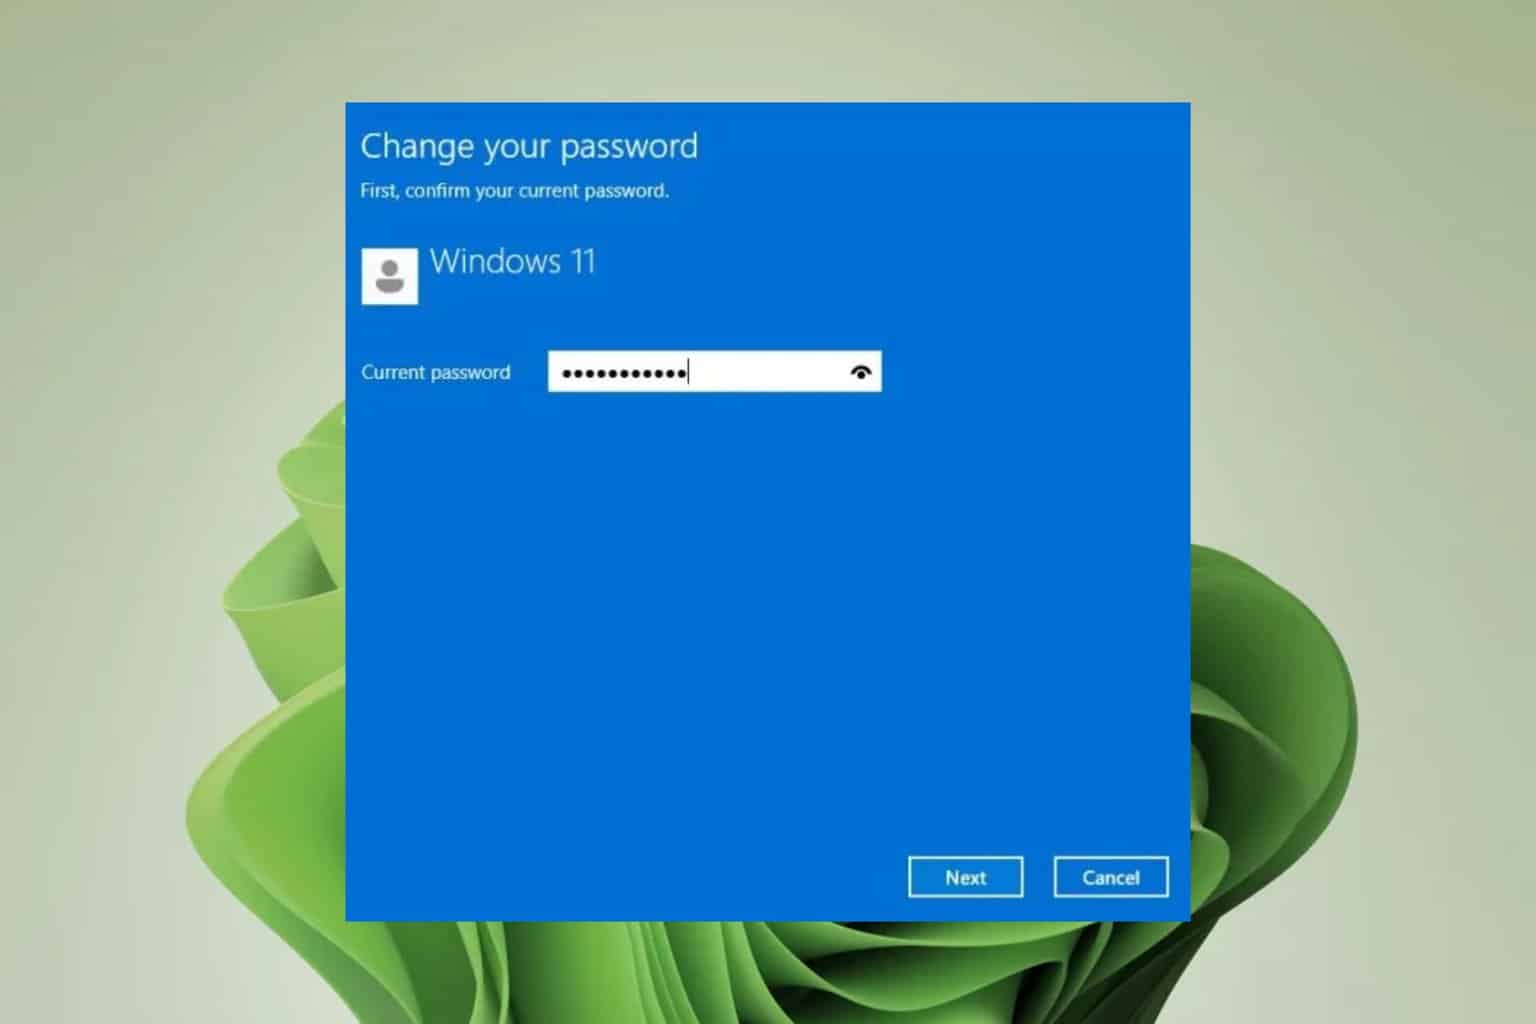
- To change your password, press Ctrl + Alt + Del and select change password.
As you can see, it’s pretty simple to reset any account’s password with this tool.
3. How to manage users with netplwiz.exe
- Press the Windows + R keys together to launch the run command.
- Enter netplwiz.exe inside the run command and hit OK.
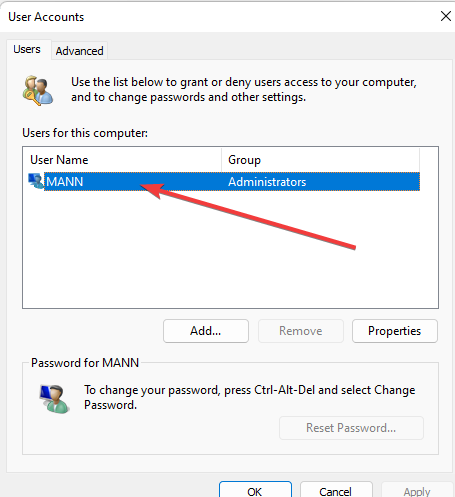
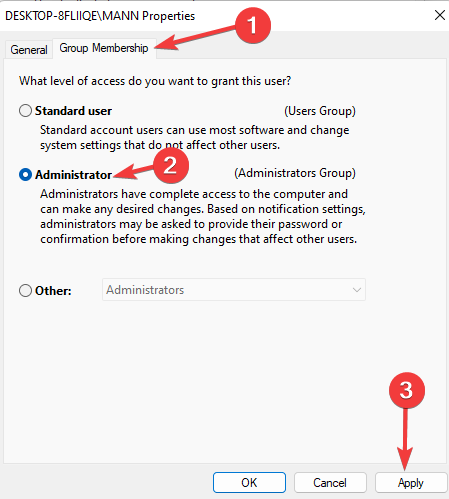
- Double-click your user account name When the User Accounts Control Panel pops up.
- Click on the Group membership and input your settings.
- Lastly, click Apply and reboot your PC.
Exploring the possibility of enabling auto logins in Windows could provide you with a faster way to access your PC, so you might want to try that.
We already talked about this tool in our no checkbox in netplwiz guide, so you might want to check it out for more information.
What do you use this applet for? Let us know by dropping a comment down below.



User forum
1 messages