How to Disable or Enable Power Throttling Windows 11
Boost performance and extend battery life
3 min. read
Updated on
Read our disclosure page to find out how can you help Windows Report sustain the editorial team. Read more
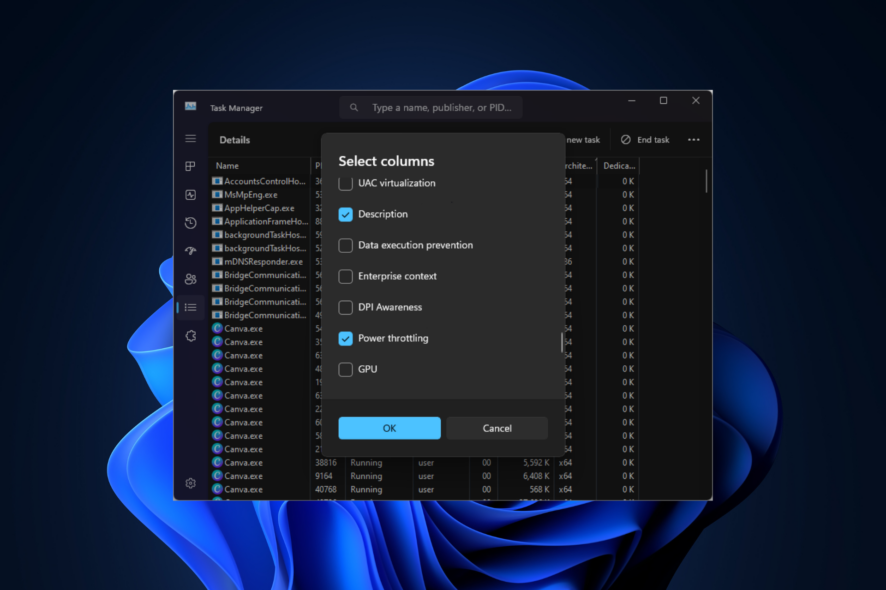
Power throttling in Windows 11 can help save battery by limiting background app activity. However, it may affect app performance.
In this guide, we’ll cover three simple methods to turn Power throttling on or off, so you can easily choose between energy efficiency and full app performance.
How to disable/enable power throttling in Windows 11
1. Using the Power settings
- Press Windows + I to open the Settings.
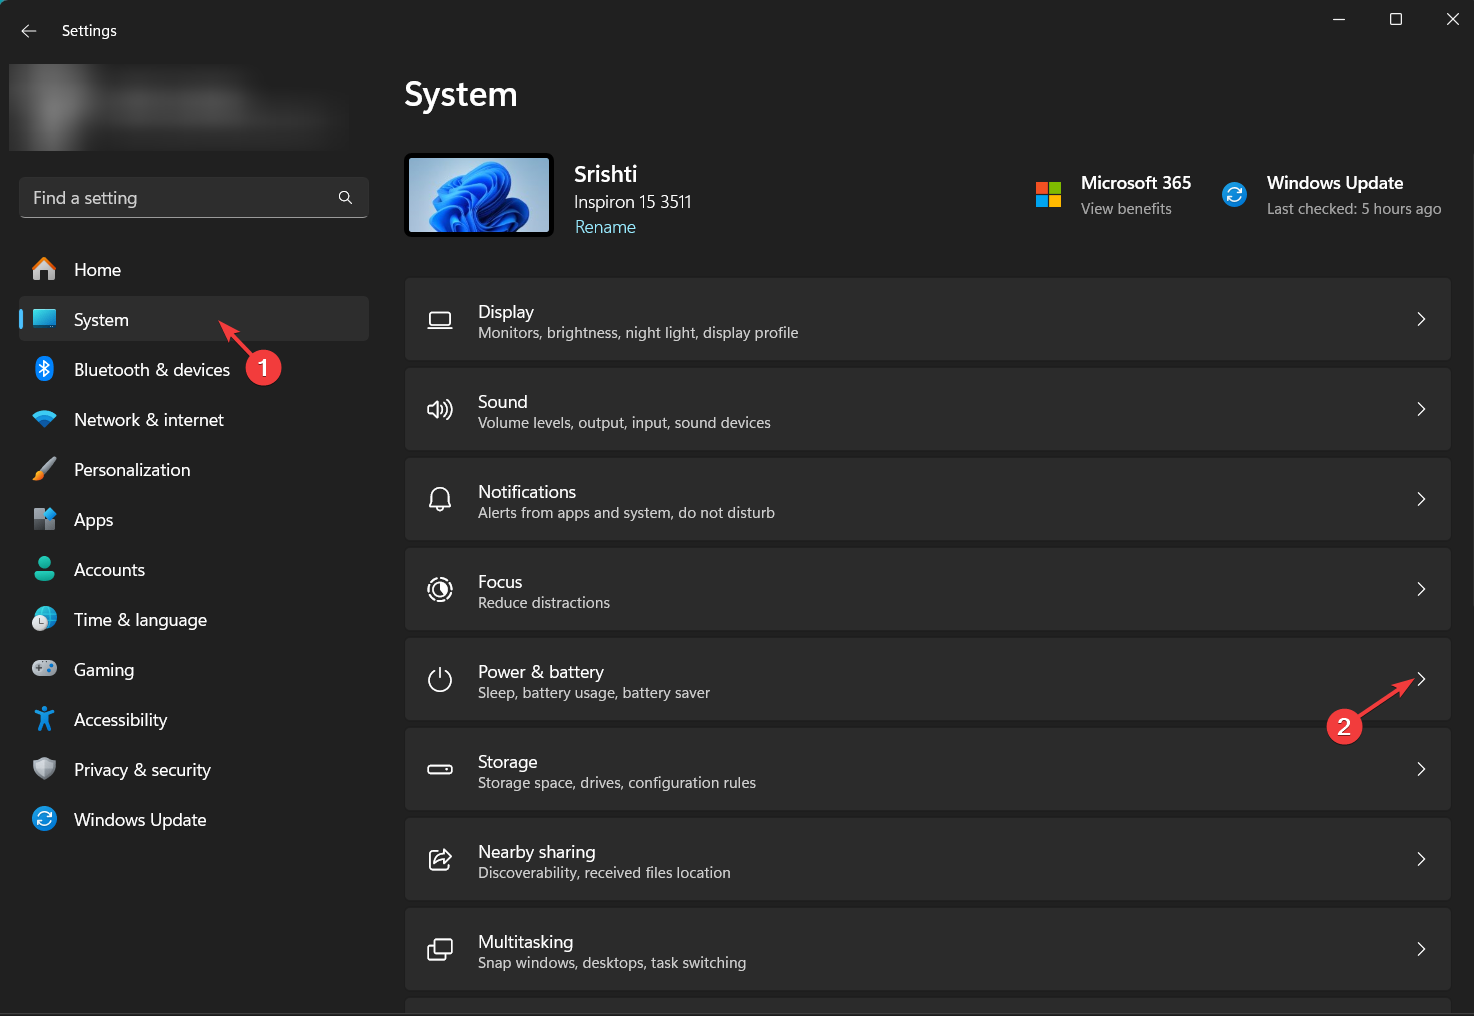
- Go to System, then click Power & battery.
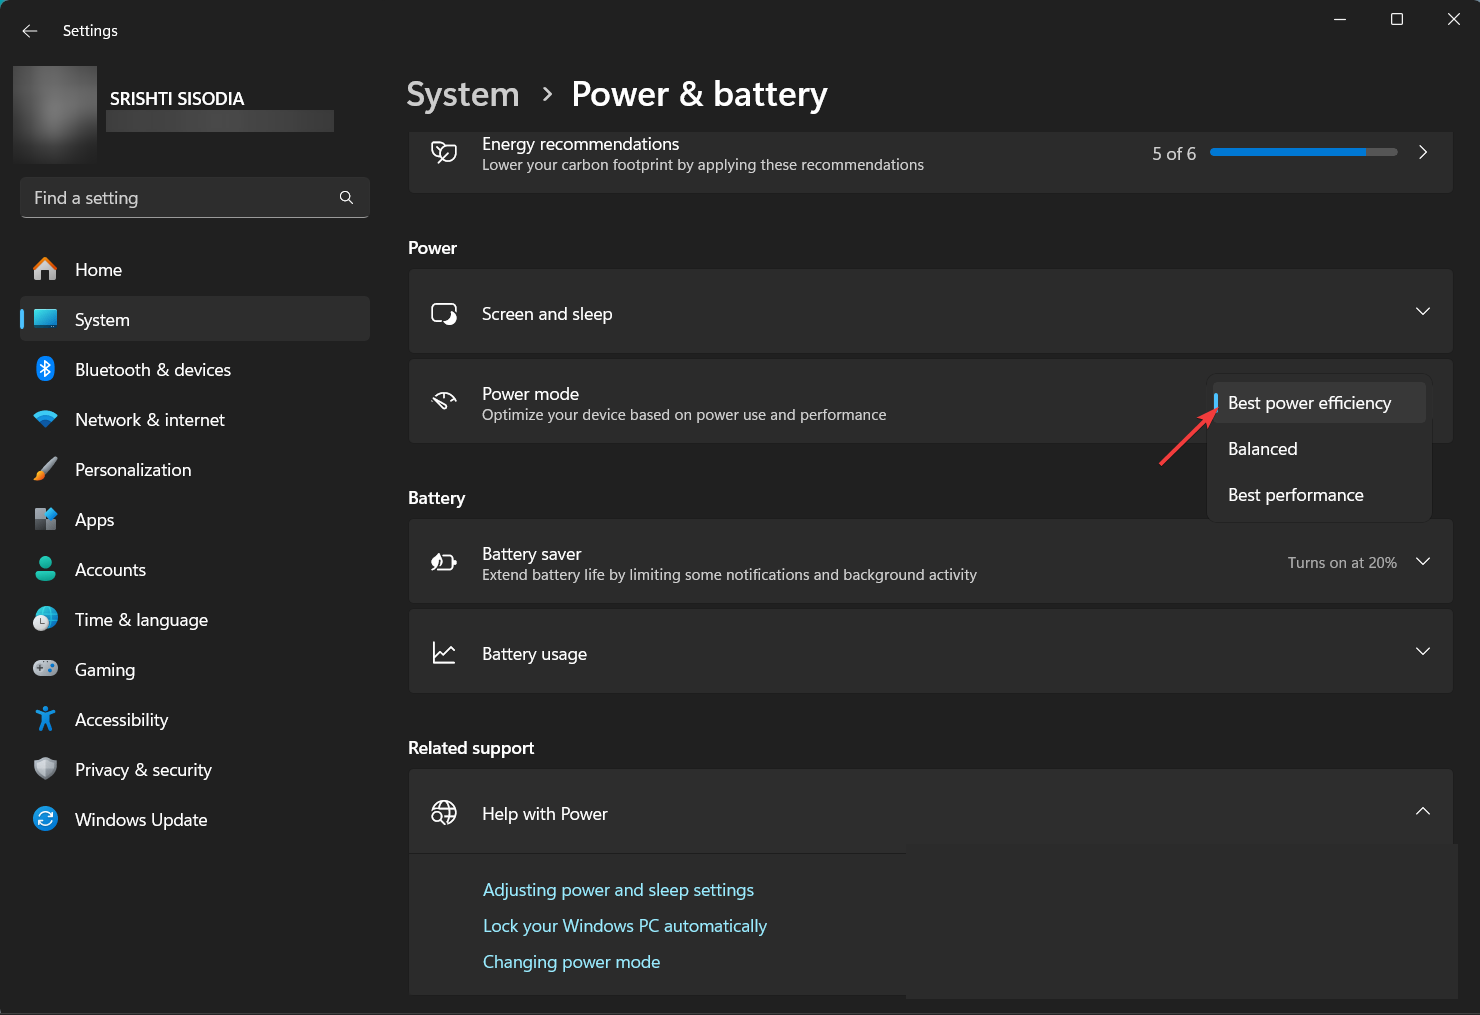
- Locate Power mode, and you will find three options:
- Best power efficiency – Enable Power throttling
- Balanced – Enable Power throttling
- Best Performance – Disable power throttling
- Select Best power efficiency or Balanced to enable Power throttling.
To achieve maximum performance and prevent overheating and damage to your PC, you must also know about CPU throttling.
2. Using the Registry Editor
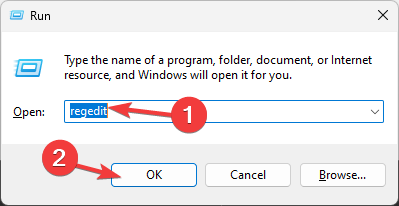
- Press Windows + R to open the Run dialog box.
- Type regedit and click OK to open the Registry Editor.
- First, let us create a back of registry entries, go to File, then click Export. Save the .reg file to an accessible location.
- Navigate to this path:
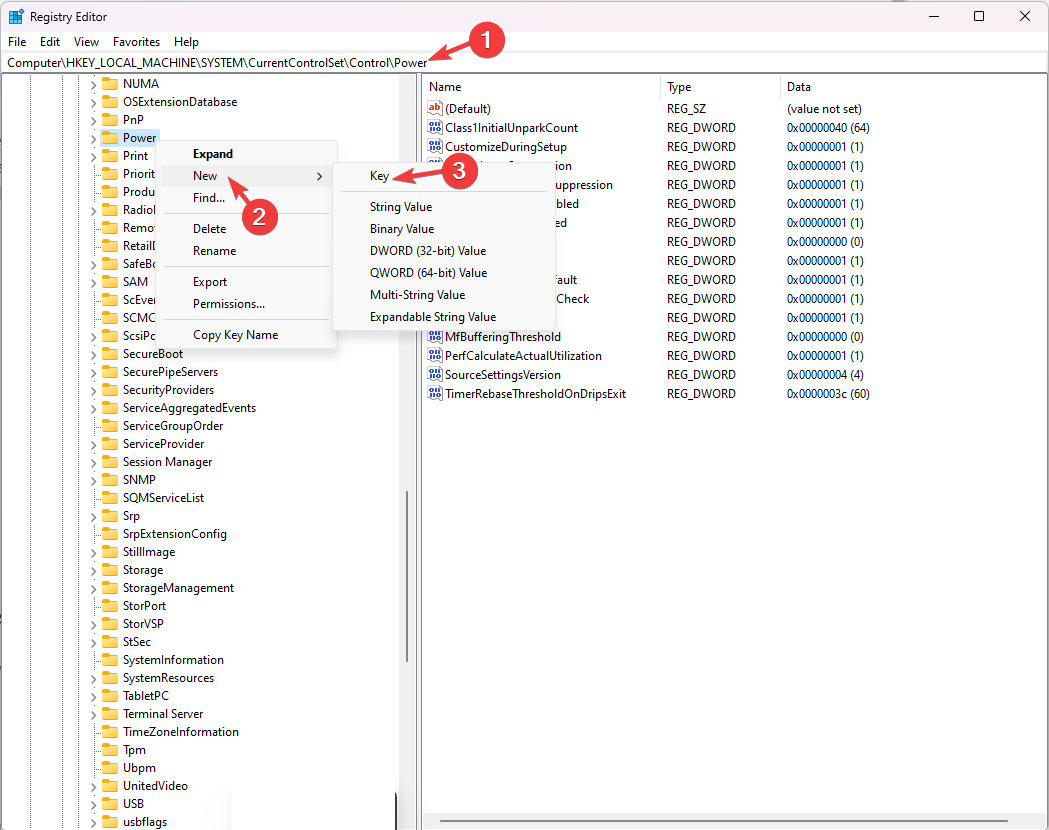
Computer\HKEY_LOCAL_MACHINE\SYSTEM\CurrentControlSet\Control\Power - Right-click Power, select New, then click Key.
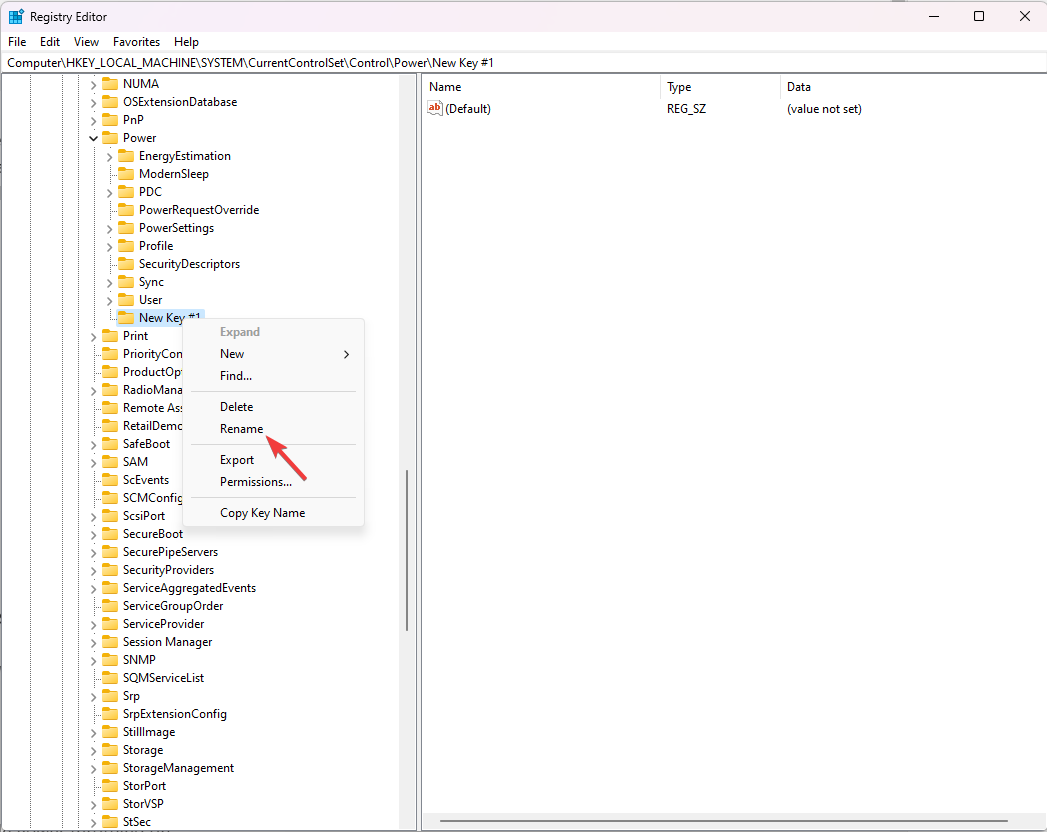
- Right-click the new key, click Rename, name it PowerThrottling, and then press Enter.
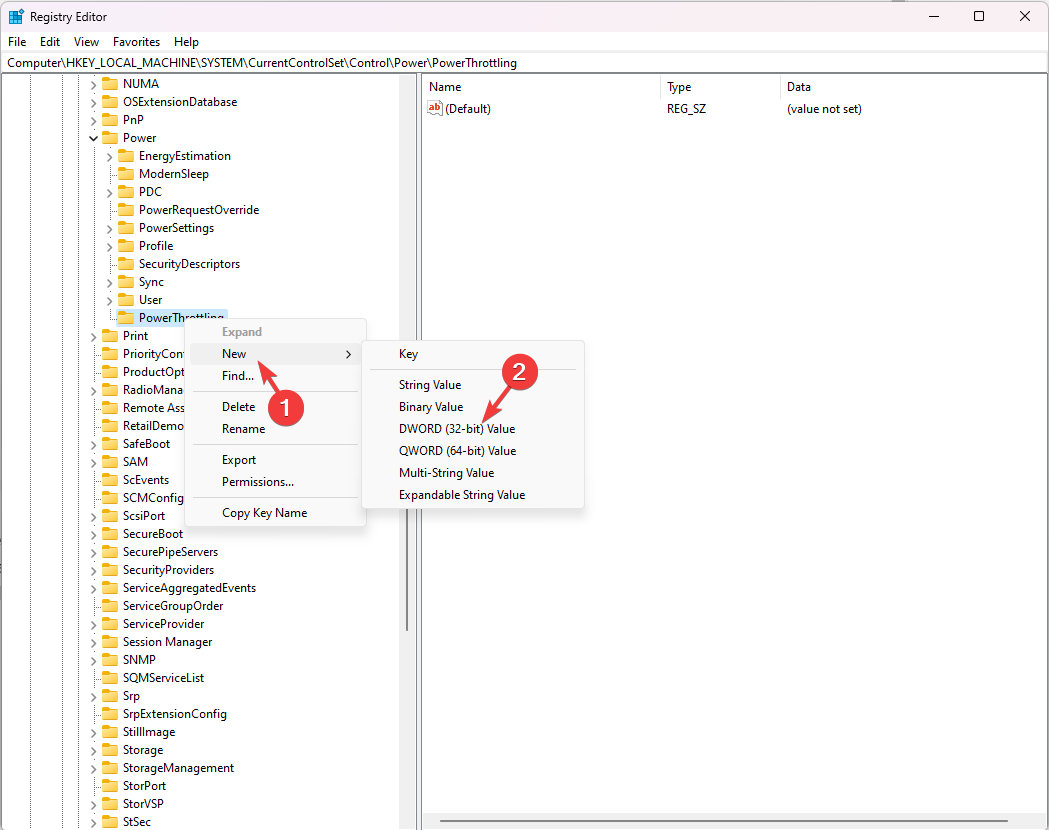
- Select PowerThrottling, right-click, and select New, then DWORD (32-bit) Value.
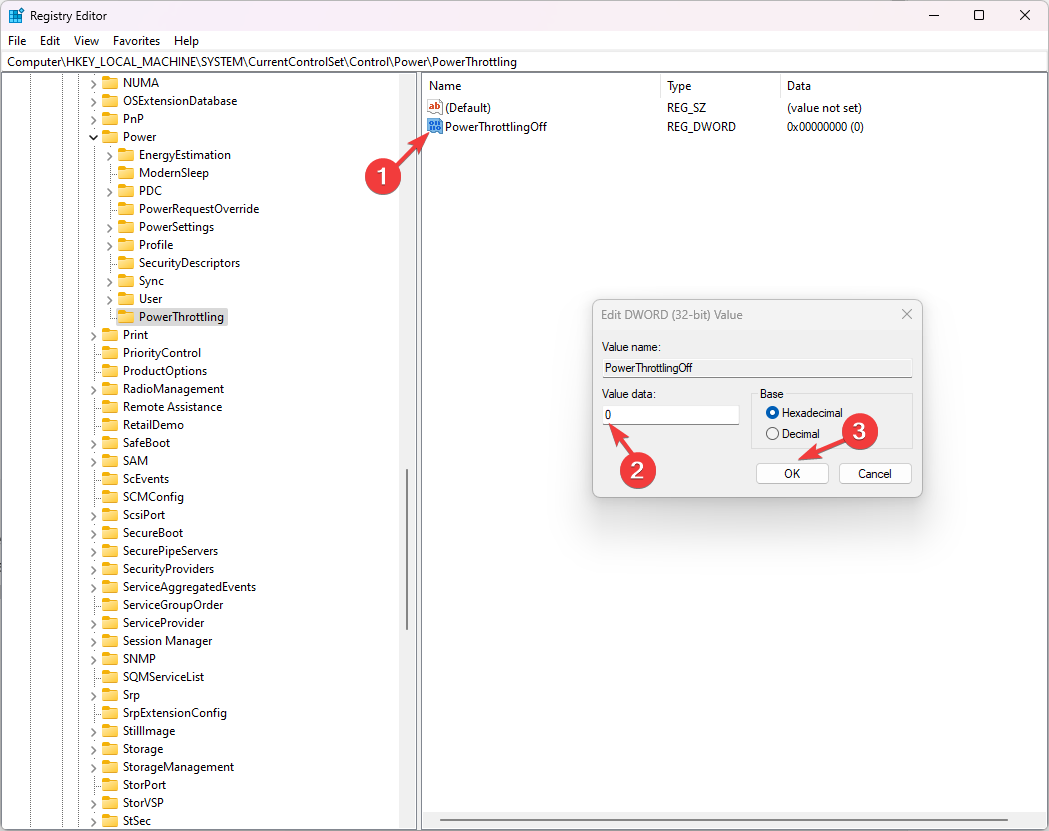
- Now, rename the DWORD as PowerThrottlingOff and press Enter. Double-click PowerThrottlingOff, change the Value data to 0, then click OK to save the changes, then restart your computer.
- To disable the feature, change the Value data to 1, then click OK.
3. Using the Group Policy Editor
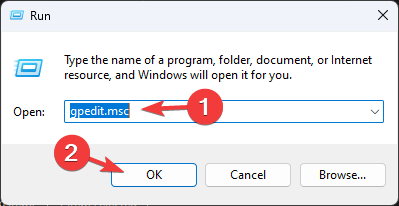
- Press Windows + R to open the Run dialog box.
- Type gpedit.msc and click OK to open Group Policy Editor.
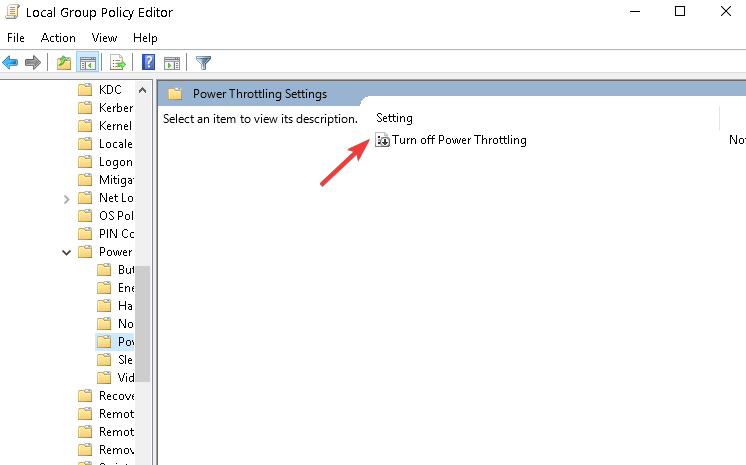
- Go to this path:
Computer Configuration\Administrative Templates\System\Power Management\Power Throttling Settings - Locate and double-click the Turn off Power Throttling policy, select Disabled, and click Apply, then OK.
- Restart your PC to save the changes.
How do I disable Power throttling on Windows 11?
You can reverse-engineer the steps from the above-mentioned methods to disable Power throttling on your Windows computer.
To disable the feature for an individual process, press Windows + I to open Settings>System>Power & battery>Battery usage, locate the app, click three dots, and select Manage background activity.
How can I monitor Power throttling on Windows 11?
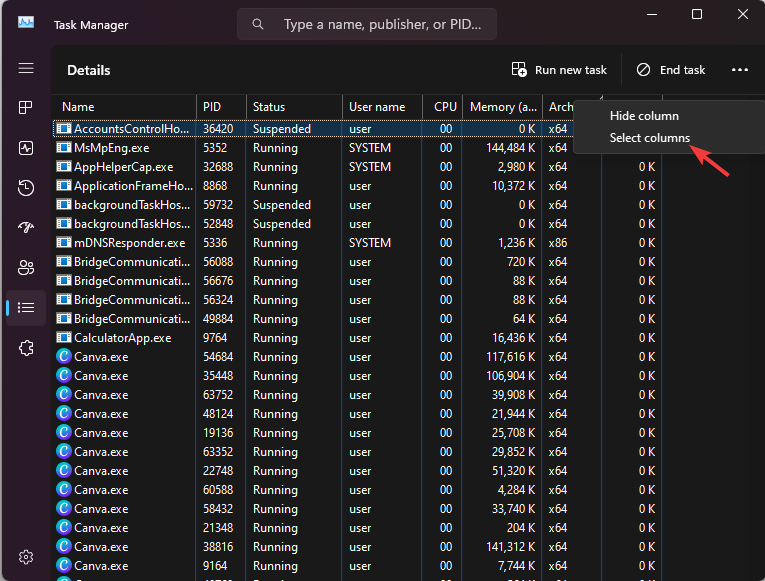
- Press Ctrl + Shift + Esc to open Task Manager.
- Right-click anywhere on the columns, and choose Select columns.
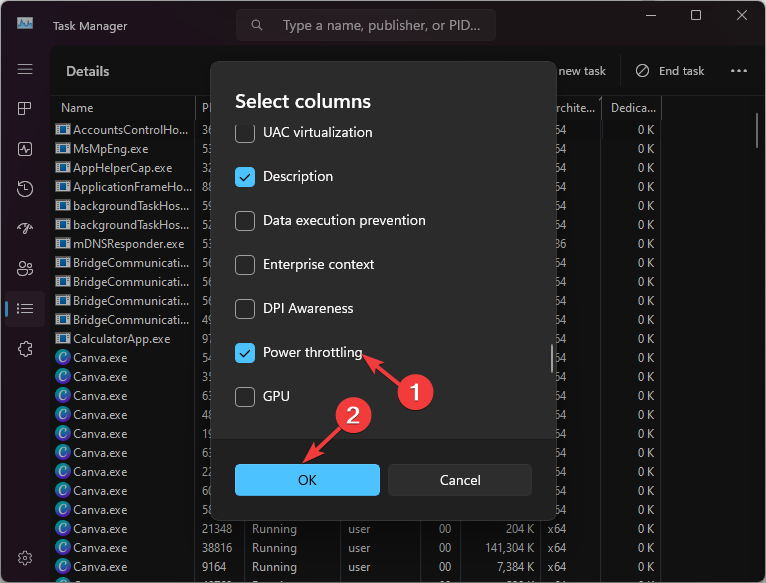
- On the next page, place a checkmark next to Power throttling and click OK.
- A new column will be added, and you can check which Process ID has Power throttling enabled or disabled.
Disabling Power throttling can unleash your CPU’s full potential, delivering peak performance for resource-intensive tasks; however can cost you reduced battery life.
Enabling it can restrict CPU usage for background applications, balancing power consumption and enhancing battery life; however, may cause performance issues.
So as we already mentioned, it totally depends upon your computing requirements. If you have any questions or suggestions about the subject, feel free to mention them in the comments section below.


User forum
0 messages