Here’s how to use the Office Clipboard to make copying and pasting easy and powerful in Office 365
3 min. read
Published on
Read our disclosure page to find out how can you help Windows Report sustain the editorial team. Read more
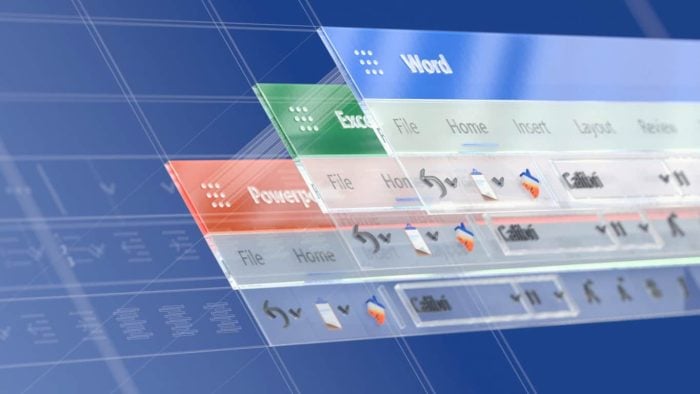
One of the benefits of Office 365 is that it has an in-built clipboard. If you copy and paste items while writing documents, creating spreadsheets, or presentations, the software remembers what you last did, and will keep the item across any of the other Office apps you have or decide to open.
This makes life much easier if you’re looking to go back in time and copy something you might have forgotten about when you started a document. In our latest Office 365 guide, we’ll show you how you can do this and use this clipboard to your advantage.
How to cut and paste items from the Clipboard
To make cutting and pasting items from the Clipboard easier you’ll first need to find it from the Home tab in Word, Excel, or PowerPoint. You’ll notice a launcher icon in the lower right corner of the paste box, so be sure to click this to pop out the clipboard. You can then select the text or graphics from within your document you want to copy and press Ctrl+C.
Your selections will appear in a list on the left side of the screen over time and you can paste an item by selecting it. When you’re finished you can click the (X) button in the list to close it out. You’ll even notice a little preview of photos or charts that you might have copied.
How to delete items from the Clipboard
If your clipboard is getting too full, you can easily delete items from it. To do this, all you need to do is head back into the Clipboard following the steps above. You can then click the arrow next to an item and choose Delete. If you want, you can also click Clear All to clear out the items.
There are many other options too
Once you finish exploring the Clipboard, there are some other options that you can check out. You may look to the bottom of the screen and press the Options button. From here, you’ll be able to control some of the following items:
- Show Office Clipboard Automatically
- Show Office Clipboard When CTRL+C Pressed Twice
- Collect Without Showing Office Clipboard
- Show Office Clipboard Icon on Taskbar
- Show Status Near Taskbar When Copying
Keep in mind that after you open the Clipboard, it will also store content that you’ve copied or cut from anywhere. You also can set the clipboard to store content but remain closed, as long as you have an office program running. However, once you close out an Office 365 program, all clipboard content will disappear and it will be emptied.
Try out the Windows 10 Clipboard History as an alternative
Now that you’ve mastered the Office 365 clipboard, there’s also an alternative that you may consider using. If you’re up and running with the Windows 10 October 2018 Update, you can view your clipboard history. This needs to be enabled from the System Settings by searching for Clipboard and enabling the feature. Once you do, you can hit the Windows Key and V together on your keyboard to see your keyboard history, regardless of which app you’ve copied content from.





User forum
0 messages