Caps Lock is Not Working: 10 Tested Fixes for Windows
Check for any debris or physical problems with the key first
5 min. read
Published on
Read our disclosure page to find out how can you help Windows Report sustain the editorial team. Read more
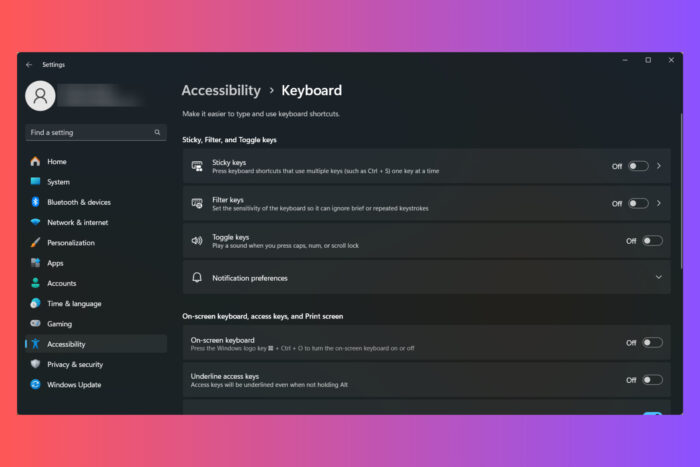
Dealing with a Caps Lock key that’s not working can be quite frustrating, especially when you’re in the middle of important tasks. Whether you’re using a desktop, laptop, or an external keyboard, here are some practical solutions to get your Caps Lock key back in action.
Before starting, check if the key is not working or the light indicator is not functioning. If the Caps Lock button is stuck, use the highlighted guide to fix it.
1. Check for Physical Keyboard Issues
- Connect to Another Device:
- Disconnect your keyboard from your current computer and connect it to another computer.
- If you are using a laptop, connect an external keyboard and check if the Caps Lock key works.
- Enter BIOS Settings:
- Restart your computer and enter BIOS settings by pressing a specific key like F2, F10, Del during startup (check your laptop manual for the exact key).
- Look at the Caps Lock LED in BIOS to see if it lights up when you press the Caps Lock key.
Checking your keyboard on another device or in BIOS can help you determine if the problem is with the keyboard itself or your computer settings. If the Caps Lock works elsewhere, it’s likely a software issue on your computer.
2. Update the keyboard drivers
- Press Windows key + X and select Device Manager from the list.
- Expand the Keyboards section, right-click on your keyboard device and select Update driver.
- Search Automatically for Updated Driver:
- Let your system search automatically for updated driver software.
- If Device Manager doesn’t find an update, you may need to download the driver manually from the manufacturer’s official website.
Updating the keyboard drivers ensures you have the latest and most compatible drivers installed, which can resolve Caps Lock indicator issues caused by outdated or corrupt drivers.
3. Undo problematic updates
For Windows 11:
- Press Windows + I to open Settings and select Windows Update.
- Click on Update history and scroll to Related settings.
- Select Uninstall updates and double-click the update to remove it.
For Windows 10:
- Press Windows logo key + I to open Settings and select Update & Security.
- Click on Update history and take note of the last update installed.
- Select Uninstall updates and double-click the update you want to remove.
Undoing a problematic update can resolve issues that started occurring after a recent update, restoring the functionality of your Caps Lock indicator.
4. Use third-party software
- Download and install software like TrayStatus or Keyboard LEDs from their respective websites.
- Set the software to show the Caps Lock status in the taskbar or via on-screen notifications.
Using third-party software can provide visual or auditory notifications for the Caps Lock status, bypassing the need for the physical indicator light.
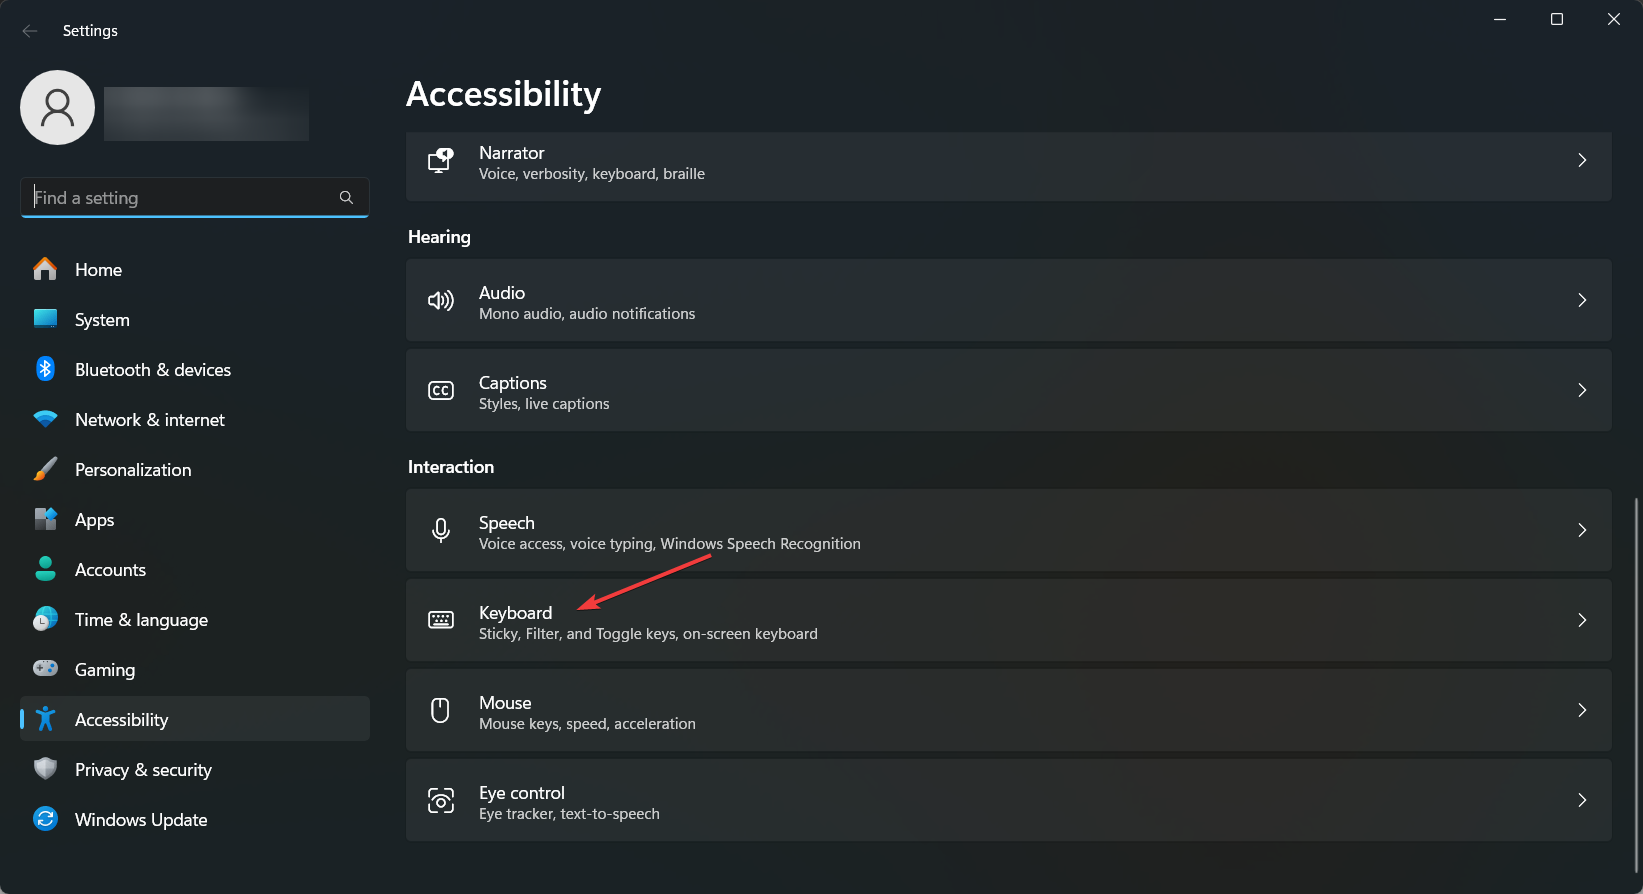
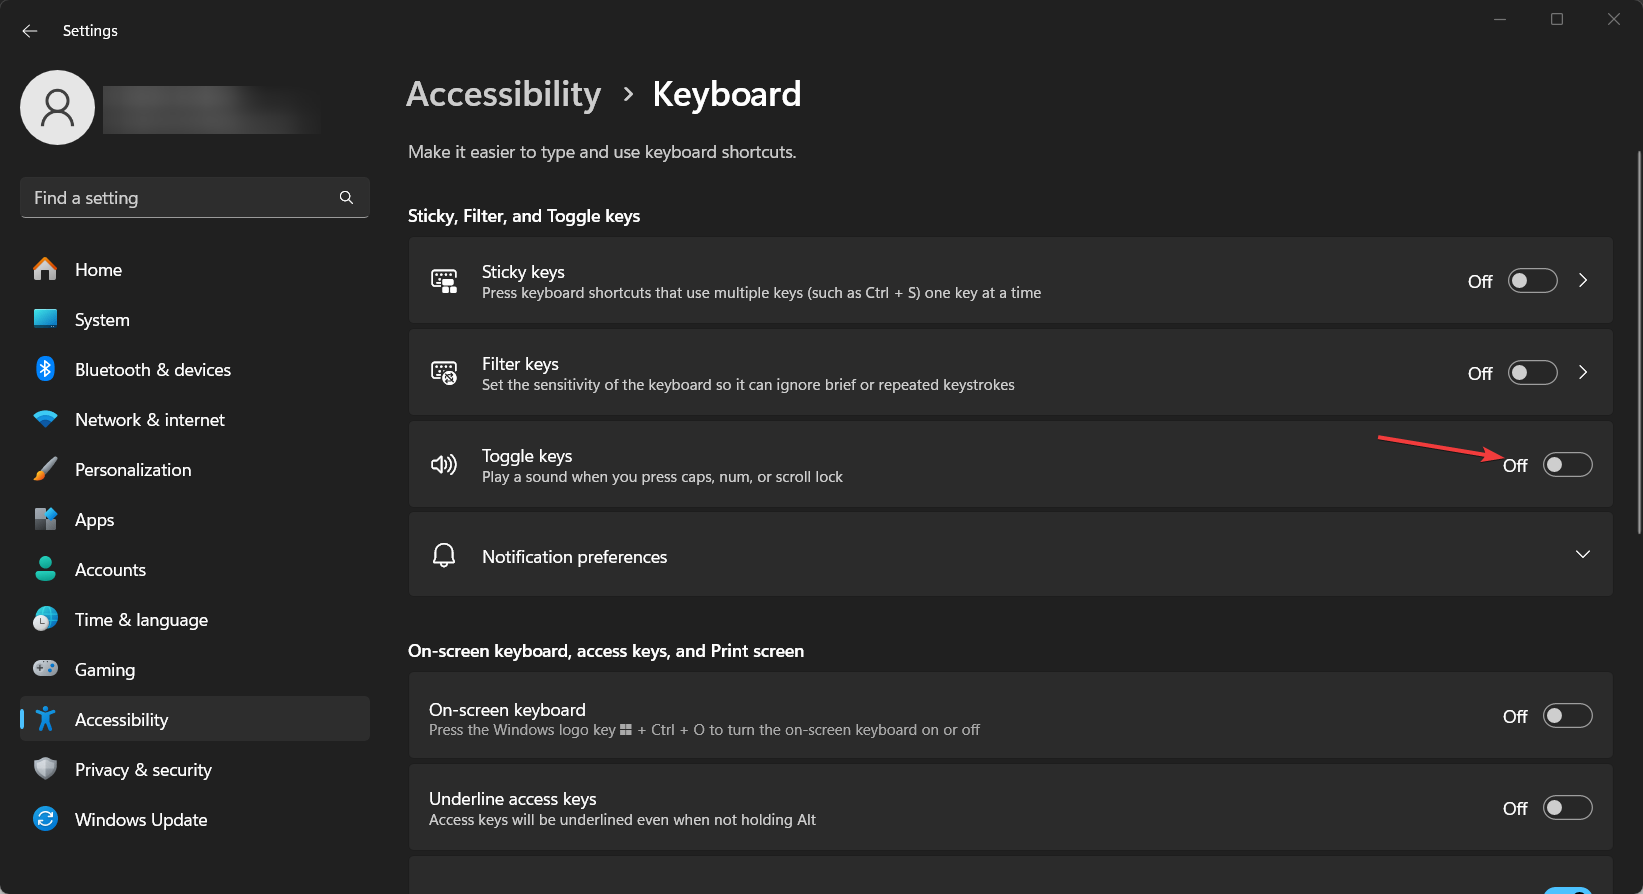
5. Enable Caps Lock sound via Accessibility settings
- Press Windows key + U to open Accessibility settings.
- Scroll down and select Keyboard under the Interaction section.
- Toggle the switch for Toggle keys to turn it on.
Enabling a sound notification via accessibility settings will help you know when Caps Lock is turned on or off through an audio cue.
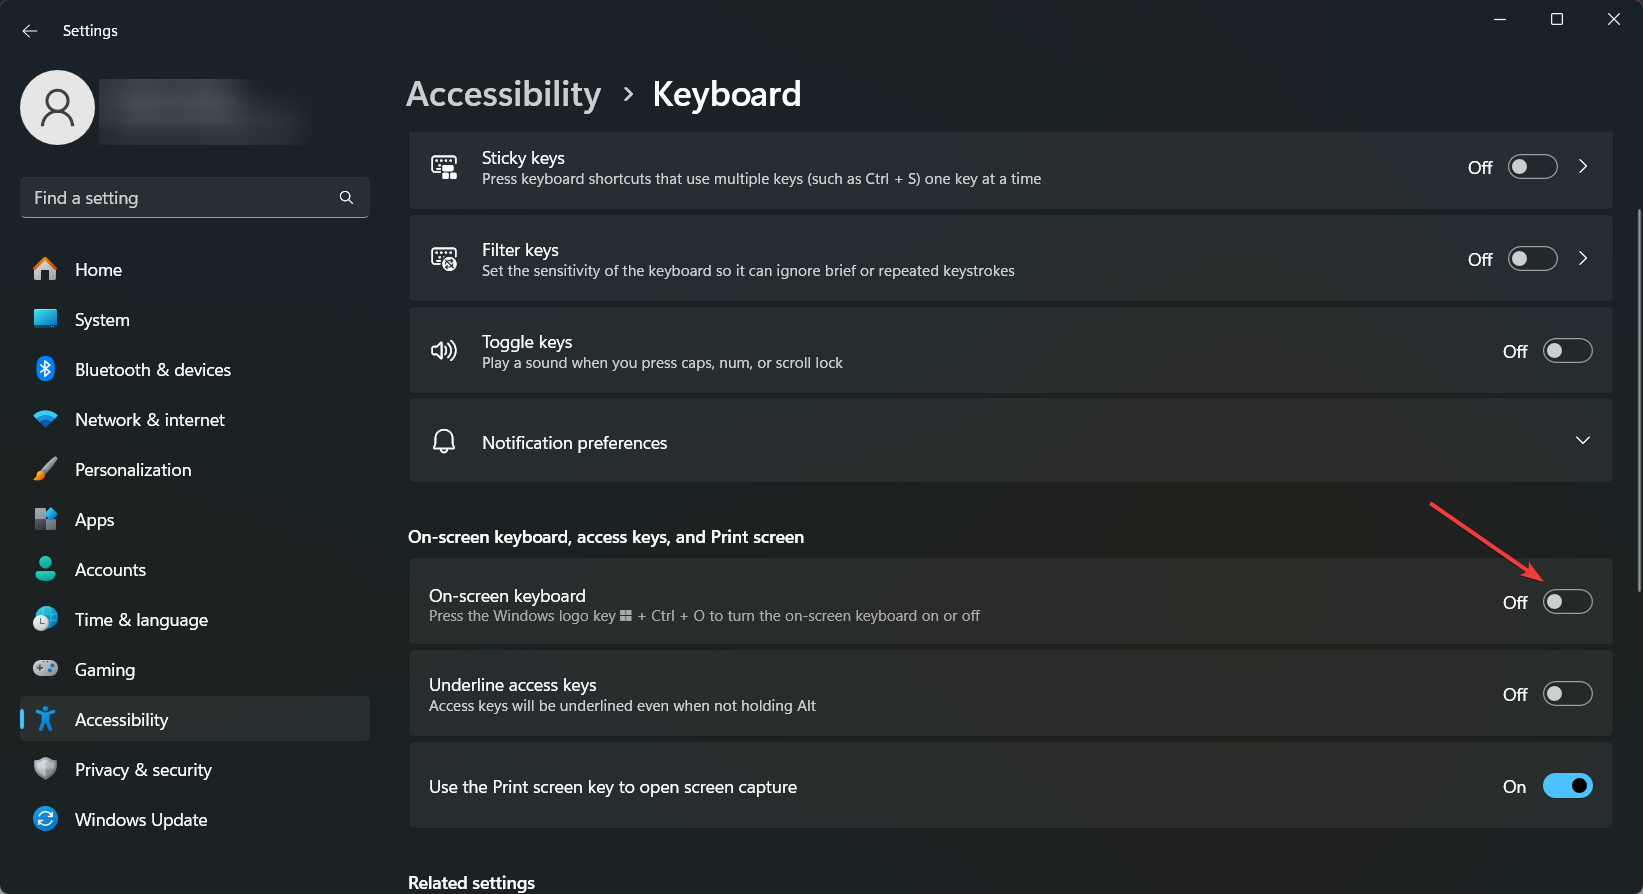
6. Open the On-Screen keyboard
For Windows 11:
- Press Windows + U to open Accessibility settings.
- Scroll down to Interaction and click on Keyboard, then turn on the On-Screen keyboard option.
For Windows 10:
- Press Windows logo key + I to open Settings.
- Turn on the On-Screen Keyboard toggle.
- Go to Ease of Access and select Keyboard.
Using the on-screen keyboard can help you identify if the issue is with your physical keyboard. You can see the Caps Lock status indicator on the on-screen keyboard.
7. Use an external keyboard
- Connect an external USB or Bluetooth keyboard to your computer.
- Check if the Caps Lock key works on the external keyboard.
Using an external keyboard can be a temporary solution if your internal keyboard’s Caps Lock key or indicator is not functioning correctly.
8. Configure Lenovo Keyboard Settings (For Lenovo Users)
- Press the Windows key, type Control Panel, and press Enter.
- Select Hardware and Sound, then View devices and printers.
- Right-click on your PC and select Keyboard Settings.
- In the Mouse and Keyboard center, find the option to Display Caps Lock status on the screen and enable it.
Configuring the settings for Lenovo keyboards allows you to enable on-screen displays for the Caps Lock status, making it easier to know when Caps Lock is active.
9. Reinstall the keyboard driver
- Press Windows key + X and select Device Manager from the list.
- Expand the Keyboards section, right-click on your keyboard device and select Uninstall device.
- Restart your computer to allow Windows to reinstall the correct keyboard driver automatically.
Reinstalling the keyboard driver can resolve issues caused by corrupted drivers, ensuring proper functionality of all keyboard features, including the Caps Lock indicator.
10. Check the BIOS settings
- Restart your computer and press a specific key (usually Del, F2, or F10) to enter BIOS settings during startup.
- Navigate to the keyboard settings and ensure they are configured correctly.
Checking and correcting BIOS settings can solve deeper hardware-level issues that may impact the Caps Lock indicator.
By following these detailed solutions, you should be able to fix the Caps Lock not working issue on your Windows 10 or 11 computer.


User forum
0 messages