How to Get Back the WMIC Feature on Demand on Windows 11
WMIC was deprecated on Windows 11, but you can still install and use it
3 min. read
Published on
Read our disclosure page to find out how can you help Windows Report sustain the editorial team. Read more
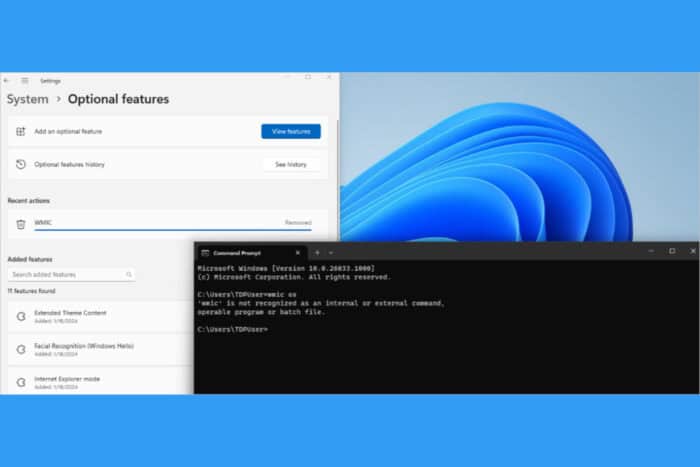
Struggling to get WMIC (Windows Management Instrumentation Command-line) back on your Windows 11 system? The feature was deprecated and replaced by PowerShell for WMI, but you may still reenable and use WMIC FoD. So, if WMIC is not recognized, follow the steps below.
How do I install WMIC FoD on Windows 11?
1. Enable WMIC through Optional Features
- Click on the Start menu and then on the gear icon to open Settings.
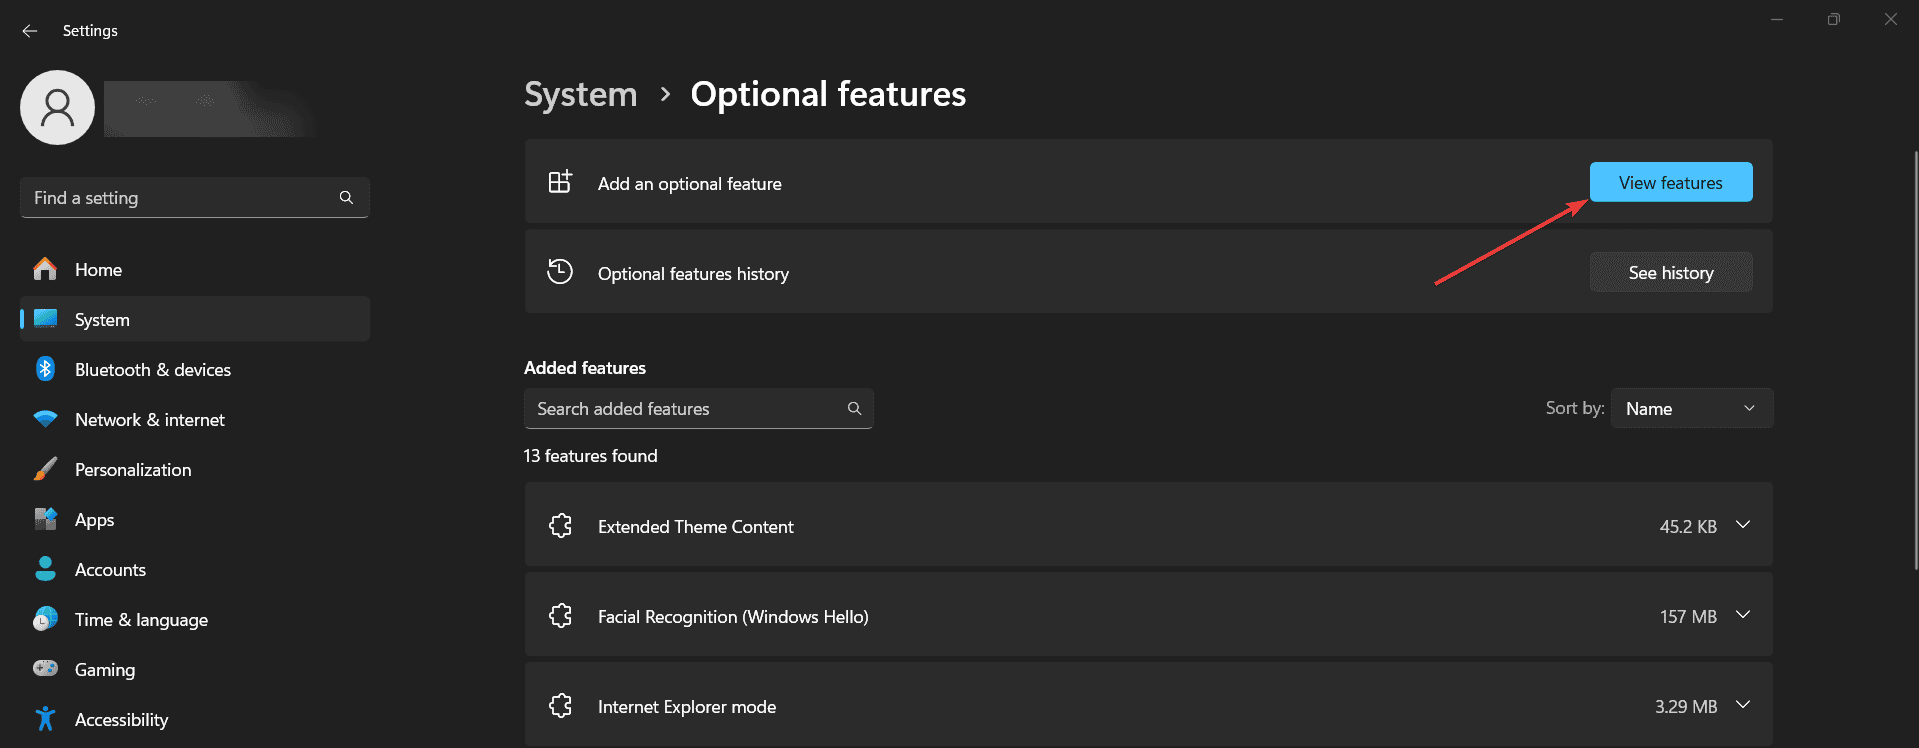
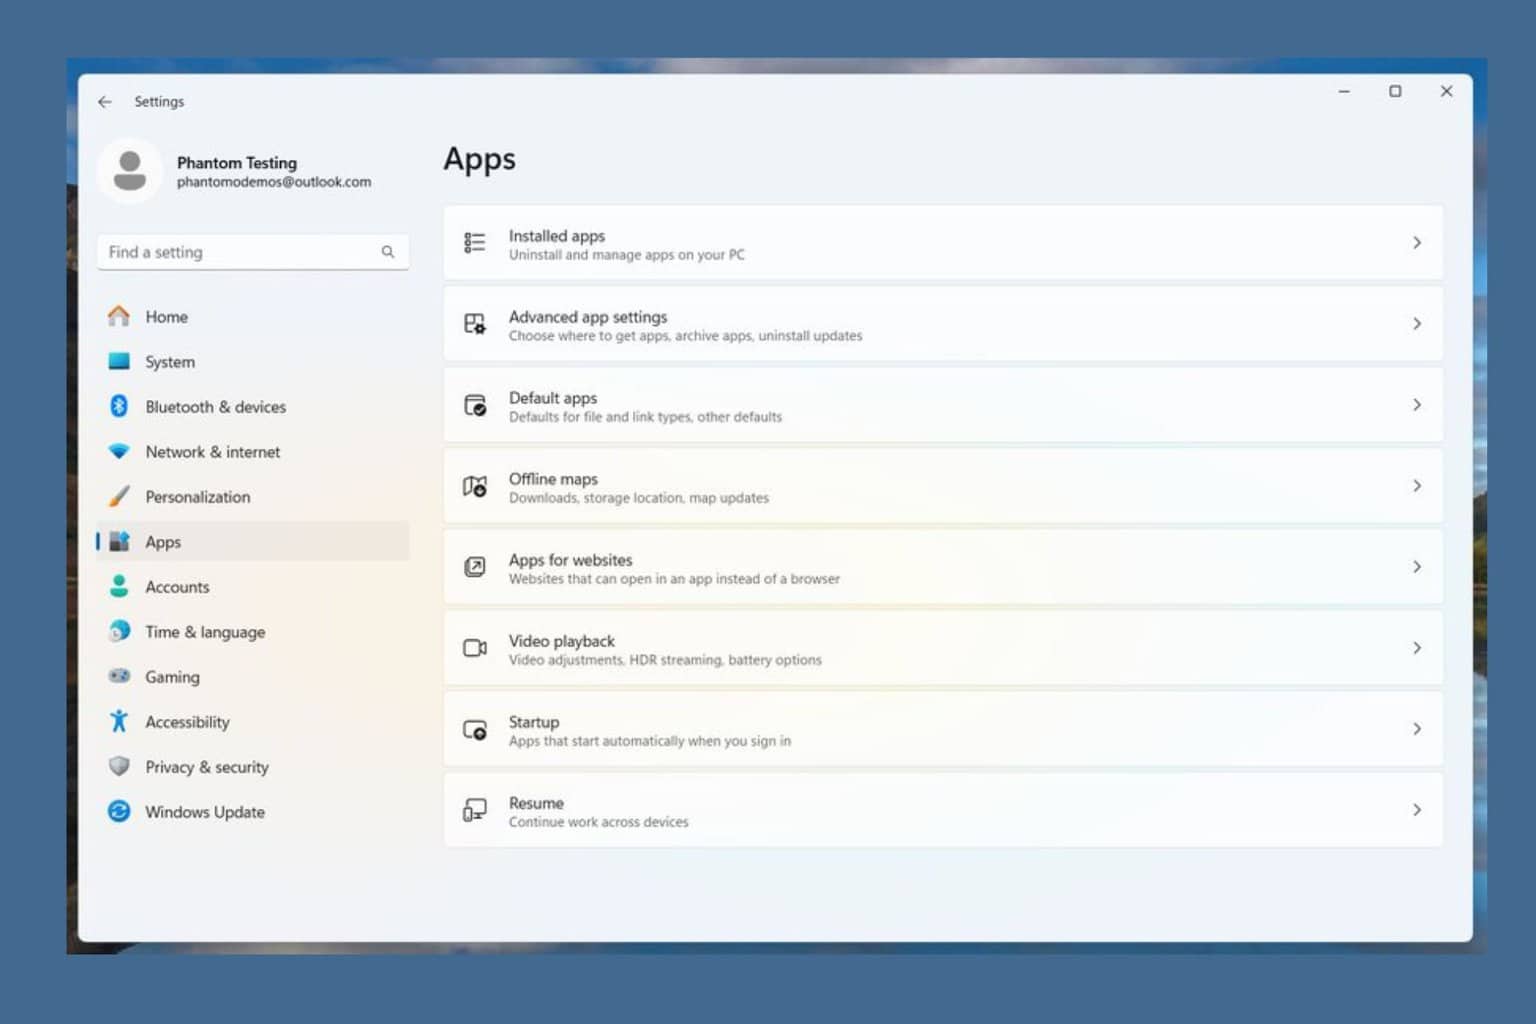
- Go to the System section within Settings and click on Optional features under the Apps & features section.
- Click on View features next to the Add an optional feature option at the top.
- In the search bar, type WMIC and check the box next to WMIC from the search results.
- Click Next and then Install to add WMIC to your Windows 11 computer.
By following these steps, you can easily re-enable the WMIC utility on your Windows 11, allowing you to continue using it for command-line management tasks. If you can’t find it within the search results in the Optional features, that means it’s already installed and the command should work in CMD.
2. Install WMIC using DISM Command
- Press Win + X and select Command Prompt (Admin) or Terminal (Admin).
- To add WMIC, type the following command and press Enter:
DISM /Online /Add-Capability /CapabilityName:WMIC~~~~- Alternatively, if you need to remove WMIC, type:
DISM /Online /Remove-Capability /CapabilityName:WMIC~~~~
- Alternatively, if you need to remove WMIC, type:
Using the DISM command is a quick way to manage WMIC installation directly from the command line, especially useful for advanced users or automated scripts.
3. Check and update the Windows build
- Press Win + R, type winver, and press Enter to see your current Windows build. If your build is lower than 22572, update your OS.
- Open Settings by clicking on the Start menu and the gear icon, then go to Update & Security.
- Click Check for updates and install any available updates to ensure you are on the required build version.
If you are not on the required build version (22572 or later), updating Windows might resolve the issue and enable the option to install WMIC.
4. Create a custom FoD repository
- Use the following command in CMD or Terminal as administrator to mount the Windows image:
dism /mount-image /imagefile:install.wim /mountdir:C:\mount - Mount the Features on Demand ISO using File Explorer, noting the assigned drive letter (e.g., D:).
- Run the following command to export the WMIC feature:
dism /image:"C:\mount\windows" /export-source /source:d: /target:c:\repository /capabilityname:WMIC~~~~ - Use the created repository (C:\repository) as a source to install WMIC with the DISM command:
DISM.exe /Online /add-capability /CapabilityName:WMIC~~~~ /Source:C:\repository
Creating a custom repository allows for more control over the installation process, and is particularly useful in an enterprise environment where multiple installations are required.
5. Use the PowerShell alternative to WMIC instead
- Press Win + X and select Windows PowerShell (Admin) or use the Windows Search feature to run PowerShell.
- Use the following command:
Get-CimInstance -Namespace 'root\cimv2' -ClassName 'Win32_OperatingSystem'
Using PowerShell’s CIM cmdlets offers a modern, supported alternative to WMIC for system management and querying tasks.
By following these steps, you can get WMIC up and running on your Windows 11 system. For future reference, keeping your Windows updated and exploring PowerShell alternatives can help you avoid similar issues.
For those of you who are not aware, here are the differences between WMIC and PowerShell. We also have a helpful guide on how to find the running processes using WMIC.
For any questions or suggestions, hit the comments section below to let us know about them.



User forum
0 messages