Microsoft Word Label Templates: How to Create, Use and Download
You can find tons of free already made label templates online.
4 min. read
Updated on
Read our disclosure page to find out how can you help Windows Report sustain the editorial team. Read more
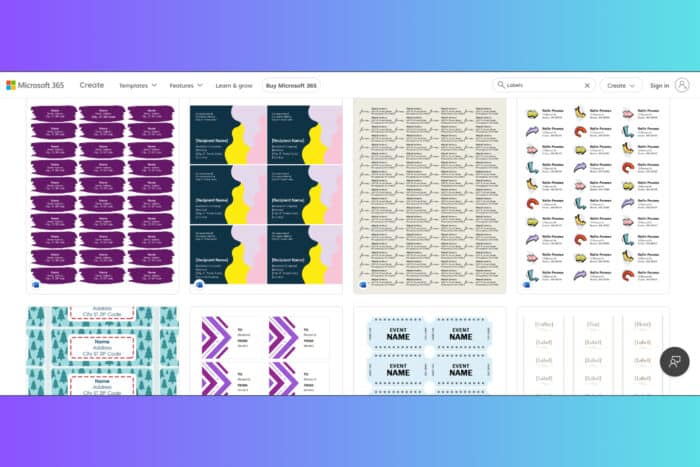
Creating and printing labels in Microsoft Word can be a breeze if you know the right steps. Whether you need to print a full sheet, use pre-installed templates, or create custom labels, there are several methods to suit your needs. Microsoft has a small collection of pre-made labels and you can find some in Word as well. However, you may also check out the much larger collection from WordLabel.
How do I manage label templates in Word?
1. Create and print labels using Microsoft Word
- Start Microsoft Word from your program list or desktop shortcut.
- Click on the Mailings tab in the menu bar, then select Labels.
- In the Envelopes and Labels window, click on the Options button.
- Select your label vendor from the drop-down list (e.g., Avery, Microsoft, etc.).
- Choose the product number that matches your label sheets.
- Enter the text or address in the Address box.
- Highlight the text and use the formatting options to change font and paragraph settings.
- Choose Full page of the same label or Single label depending on your needs.
- Confirm all selections by clicking OK.
- Click Print if ready to print, or New Document to review and edit before printing.
This solution enables you to create and print labels directly from Word, maintaining a professional look without needing third-party software.
2. Download and use pre-installed label templates in Word
- Start Word and click the Mailings tab in the menu bar.
- Select Labels from the Mailings tab.
- In the Labels window, click on the Options button.
- From the Label Options window, choose your label vendor (e.g., Avery, Microsoft).
- Find and select the product number that aligns with your label sheets.
- Confirm your selections by clicking OK.
- Click New Document to open a new document ready with your label template.
- Fill in your label information, then print as needed.
Using pre-installed templates offers a quick and easy way to get started with label printing without manually setting up dimensions.
3. Create a new custom label template in Microsoft Word
- Start Microsoft Word and go to Mailings in the menu bar.
- Click Labels and select the Options button.
- Now, click New Label.
- Name your label template in the Label name field.
- Confirm your page size is set correctly (usually Letter or A4).
- Fill in the height and width of the labels.
- Enter the top margin, side margin, vertical pitch, and horizontal pitch.
- Specify the number of labels across and down on the sheet.
- Click OK to save your new label template.
- Click New Document to start designing your labels.
Creating custom templates is particularly useful for unique label sizes or configurations that aren’t available in pre-installed options.
4. Using Avery Templates in Microsoft Word
- Go to the Avery website.
- Use the search bar to find the template that matches your label product number.
- Download the template in Microsoft Word format.
- Open the downloaded file in Microsoft Word.
- Enter your label information in the template.
- Print your labels directly from Word.
Of course, you can try any other label distribution service you may like, but Avery has pretty good reviews.
5. Print labels from a mailing List
- Start Microsoft Word.
- Click Mailings and select Start Mail Merge, then click Labels.
- Choose your label vendor from the list.
- Select the correct product number for your labels.
- Click Select Recipients and choose your data source (e.g., Excel file).
- Place merge fields where you want the data to appear on your labels.
- Click Preview Results to see how your labels will look.
- Click Finish & Merge and choose Print Documents.
Mail merge is ideal for printing labels from a database or list, saving time by automatically filling in label information.
By following these steps, you can easily create and print labels using Microsoft Word. For future label printing, keep your templates organized and always double-check your label dimensions to avoid misalignment.
After getting the right dimensions and shapes, you can customize them with your logo, graphics and text however you want. Did you know that you may also print labels from Excel? Click the highlighted link to learn how to do that.
We also have a guide on Microsoft Word brochure templates, so don’t miss it for more information. Our latest guide has information on how to use a calendar template for 2024 in Word, so you might want to check it out.
We hope that our guide on Microsoft Word Label Templates offers all the needed information, but feel free to drop a comment below if you have any other question.

User forum
0 messages