Intel Driver Support Assistant Not Downloading [Fix]
Changing the download location can help with this issue
![]() 3 min. read
3 min. read
![]() Updated on
Updated on
Share this article
Improve this guide
Read our disclosure page to find out how can you help Windows Report sustain the editorial team. Read more
If you’re frustrated with the Intel Driver Support Assistant not downloading drivers, you’re not alone. Many users face this issue, but don’t worry—we’ve got you covered with some practical solutions to get things back on track.
What can I do if Intel Driver Support Assistant is not downloading?
Before trying more complex solutions, ensure that the Intel Driver Support Assistant is up to date.
1. Change the download location
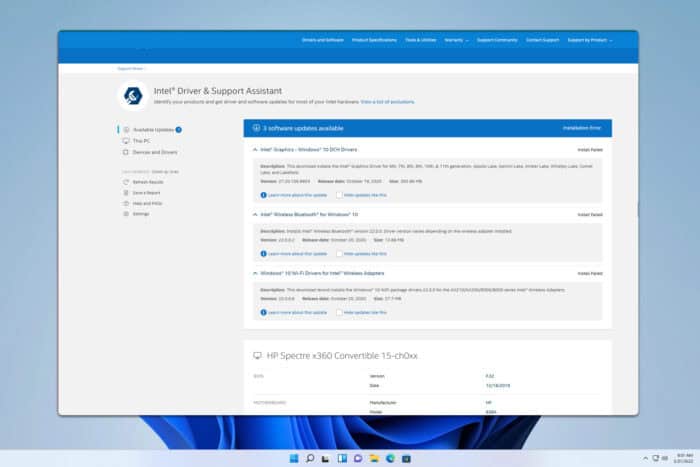
- Open Intel Driver Support Assistant.
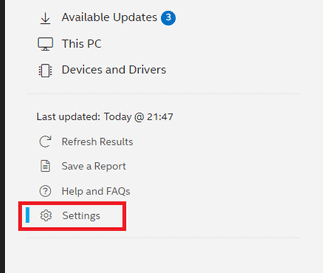
- Go to Settings.

- Scroll to find the Folder Location and click the Change Location button.

- Choose or create a new folder for the driver updates to be downloaded.
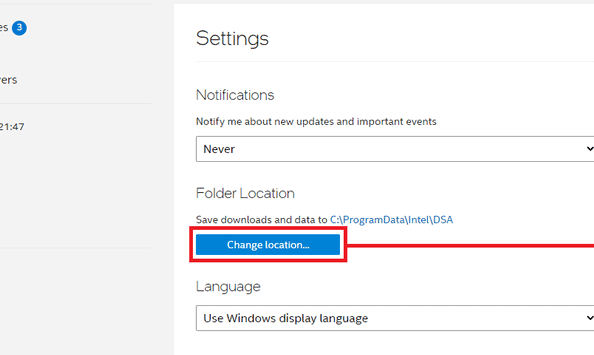
Changing the download location can resolve issues where the Intel DSA faces trouble accessing the default directory due to permission or path issues.
2. Perform a clean boot
- Press Win+R to open the Run box. Type msconfig and click OK.
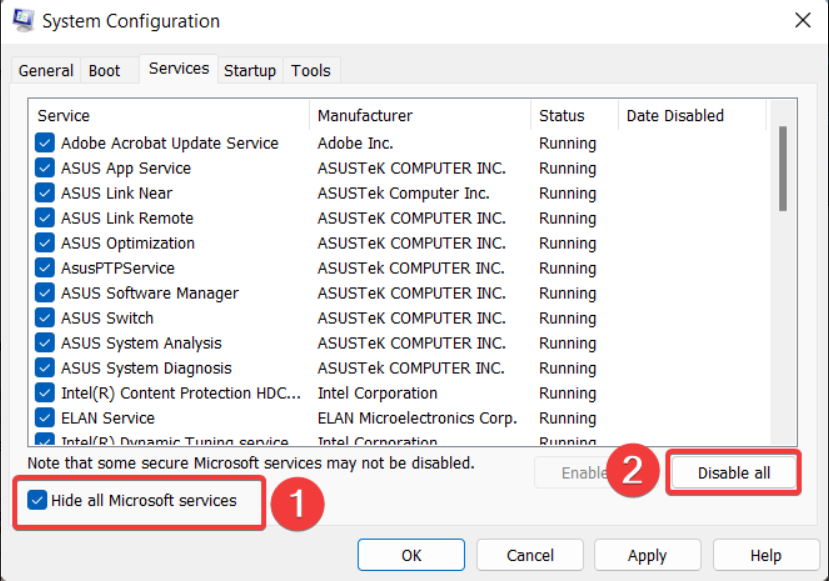
- Navigate to the Services tab and check the box next to Hide all Microsoft services. Disable all the services. Click OK to apply the changes.

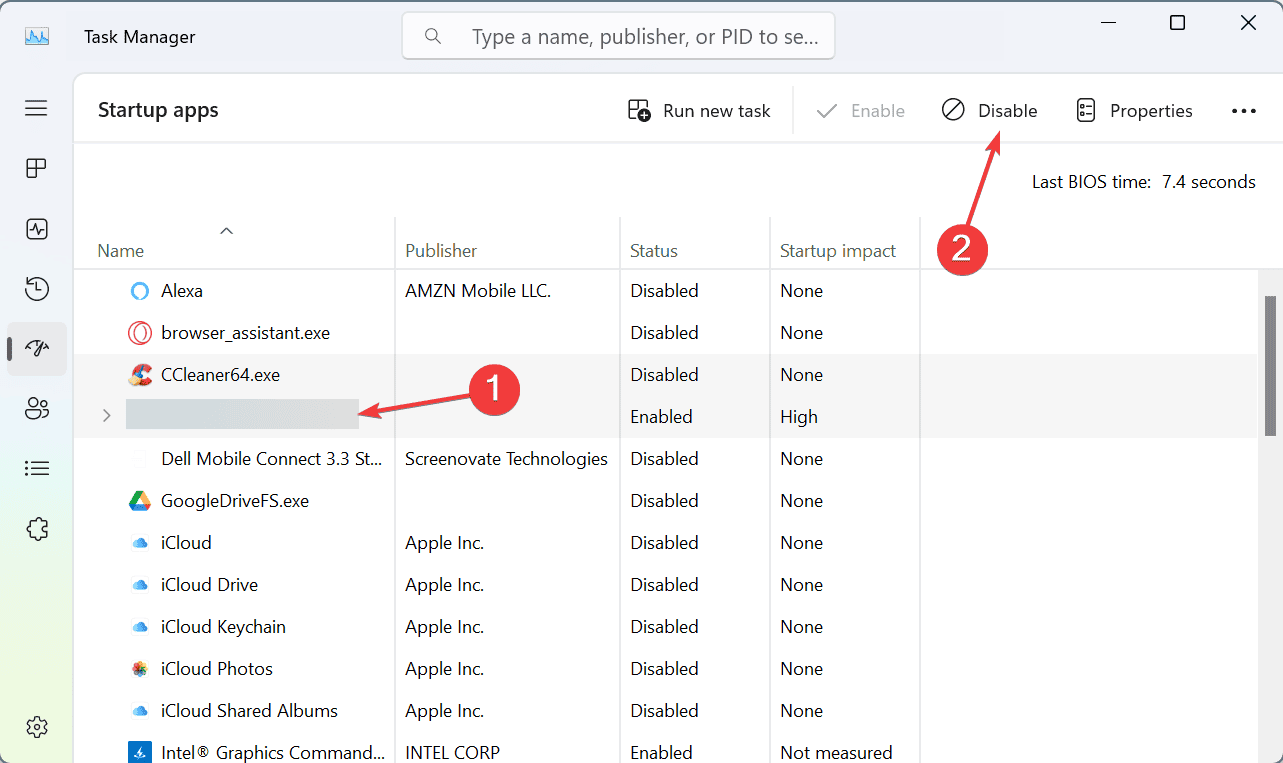
- Press Ctrl+Shift+Esc to open Task Manager, and navigate to the Startup tab.
- Select any programs you suspect might be interfering and click Disable.

- Restart your PC and run Intel Driver & Support Assistant again.
Performing a clean boot helps identify if any third-party services or applications are causing conflicts with Intel DSA.
3. Delete the install history file
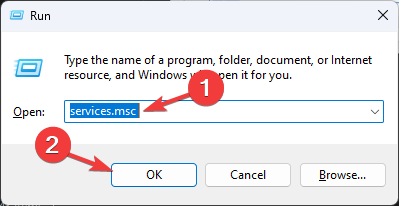
- Stop the Intel DSA services: Press Win+R, type services.msc, and press Enter.

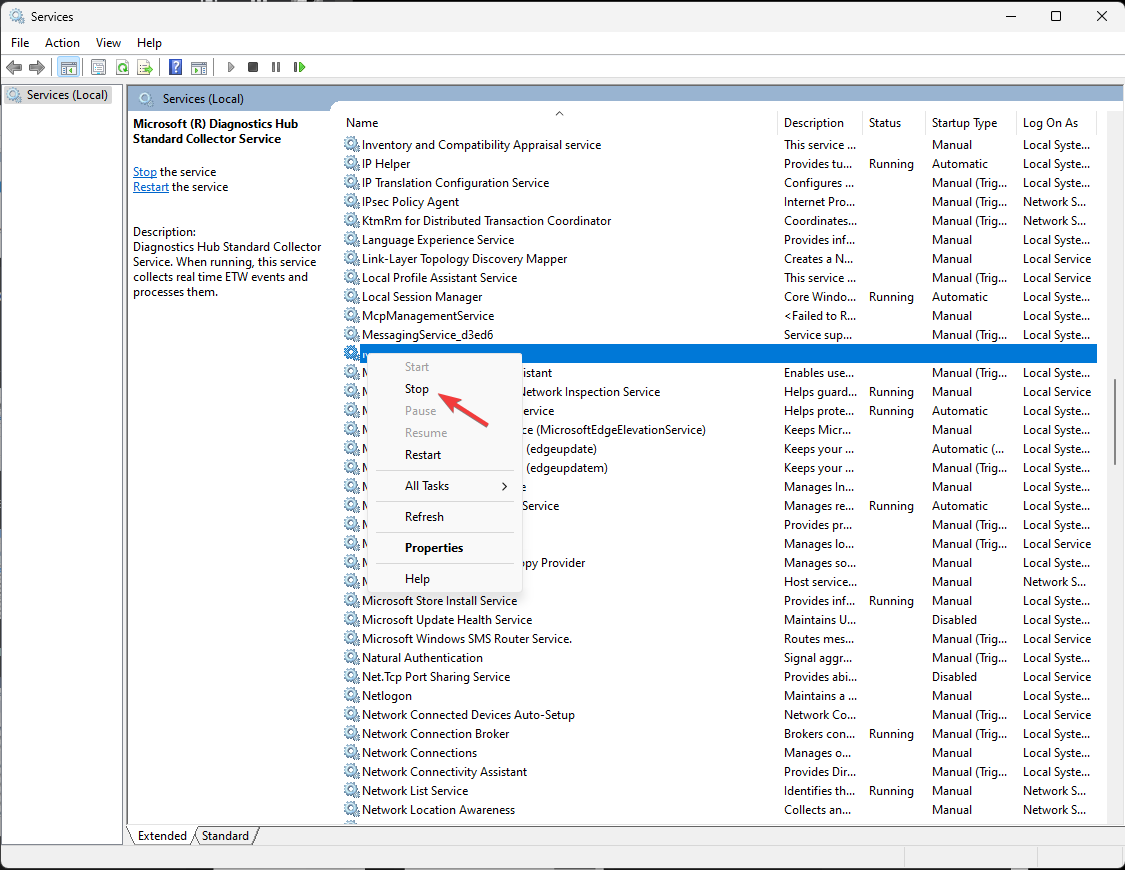
- Find Intel Driver & Support Assistant services, right-click, and select Stop.

- Navigate to
c:\programdata\intel\dsa\ - Delete the install-history.json file.
- Start the Intel DSA services again and relaunch the Intel DSA tray app.
Deleting the install history file forces Intel DSA to re-scan and update drivers correctly without being hindered by previous records.
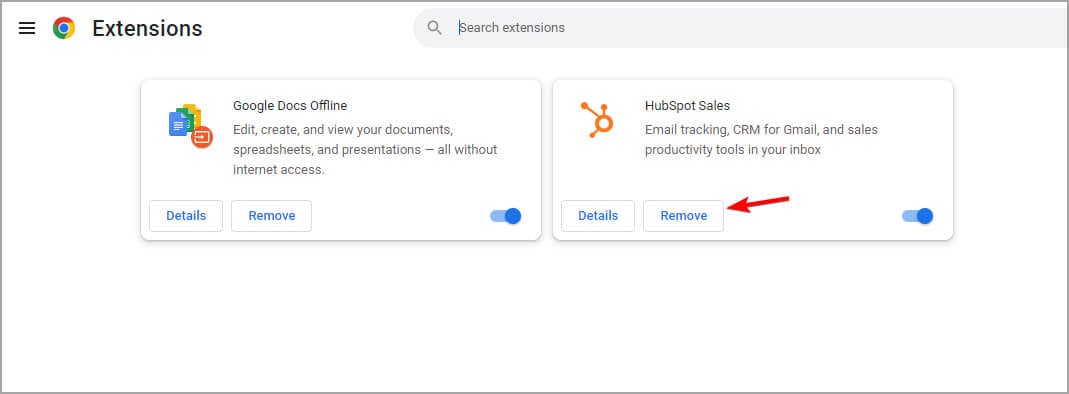
4. Disable ad blockers and browser extensions
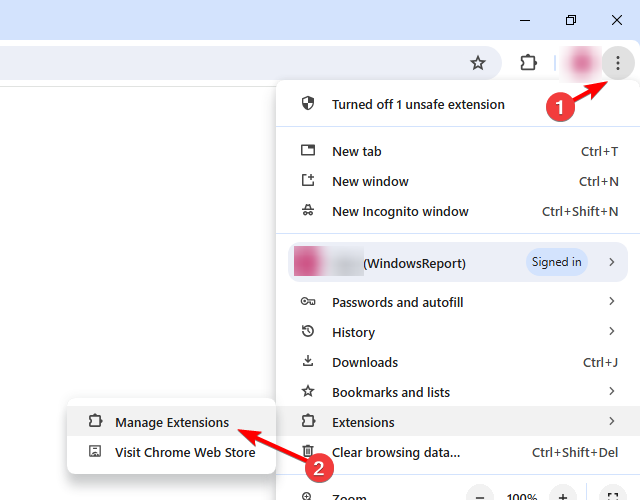
- Click the Menu icon and choose Extensions > Manage Extensions.

- Disable any ad-blocking extensions or privacy-related extensions.

- If the problem is resolved, enable extensions one by one until you find a culprit.
5. Reinstall Intel Driver & Support Assistant
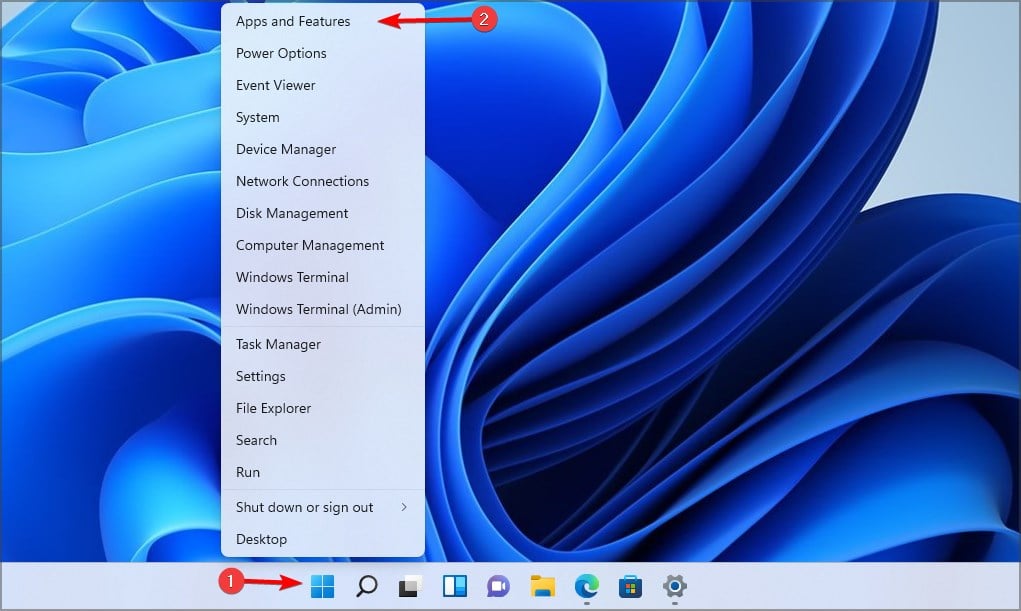
- Press Win+X and choose Apps and Features.

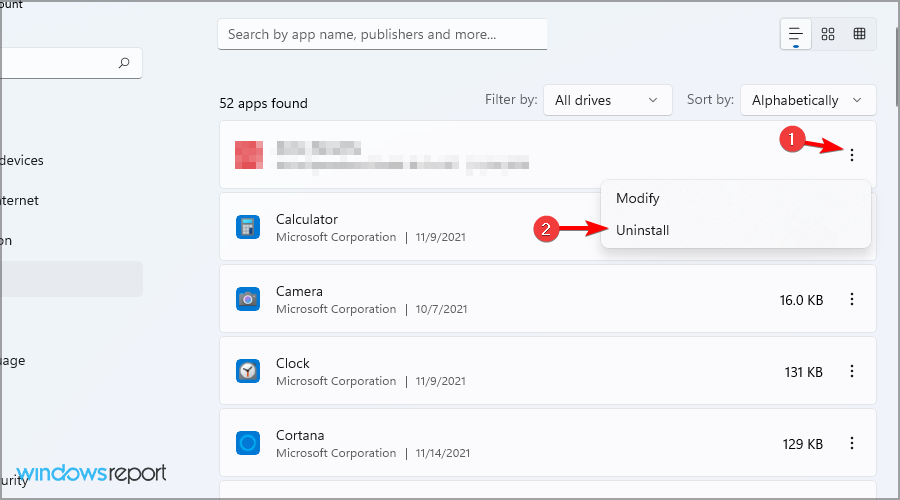
- Click the three dots next to Intel Driver & Support Assistant and choose Uninstall.

- Restart your PC.
- Download Intel Driver & Support Assistant from the official download page.
- After installing, restart your PC again.
If nothing else works, you’ll have to manually update your drivers, or use a different driver updater software.
Why is my Intel Driver And Support Assistant not working?
This can occur due to browser extensions or corrupt installations. For more details, visit our Intel Driver Support Assistant is not working guide.
Following these solutions should help you if Intel ARC driver download failed unexpectedly. If you have found a different solution, share it with us in the comments below.
User forum
0 messages