6 Simple Ways to Fix ERROR_SERIAL_NO_DEVICE
First, ensure your Windows is up to date
![]() 4 min. read
4 min. read
![]() Published on
Published on
Share this article
Improve this guide
Read our disclosure page to find out how can you help Windows Report sustain the editorial team. Read more
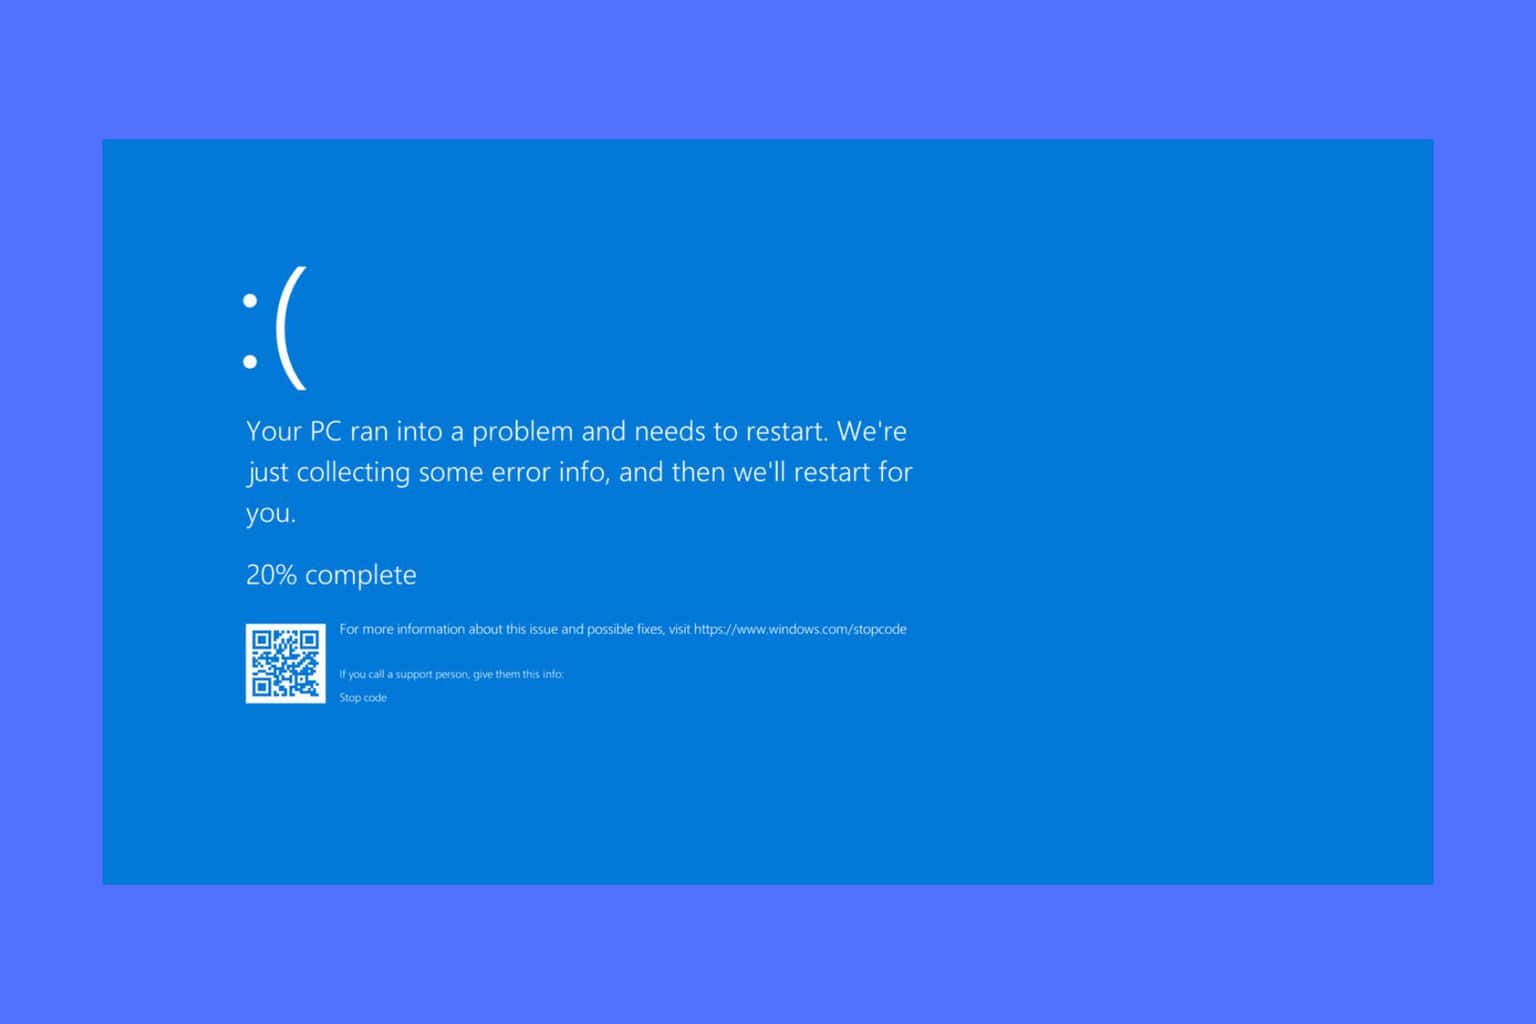
If you have encountered ERROR_SERIAL_NO_DEVICE with error code 1118 or 0x45E and the error message No serial device was successfully initialized. The serial driver will unload, this guide can help!
This means the serial driver was unable to successfully initialize a serial device. It usually occurs due to hardware, driver, or configuration issues.
To begin with, make sure the serial device is correctly connected to your computer. If it’s an internal device, ensure the card or module is securely seated in its slot.
How can I fix ERROR_SERIAL_NO_DEVICE?
1. Check the Device and driver status
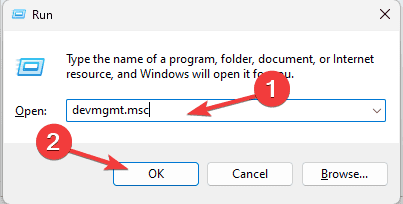
- Press Windows + R to open the Run window.

- Type devmgmt.msc and click OK to open the Device Manager app.
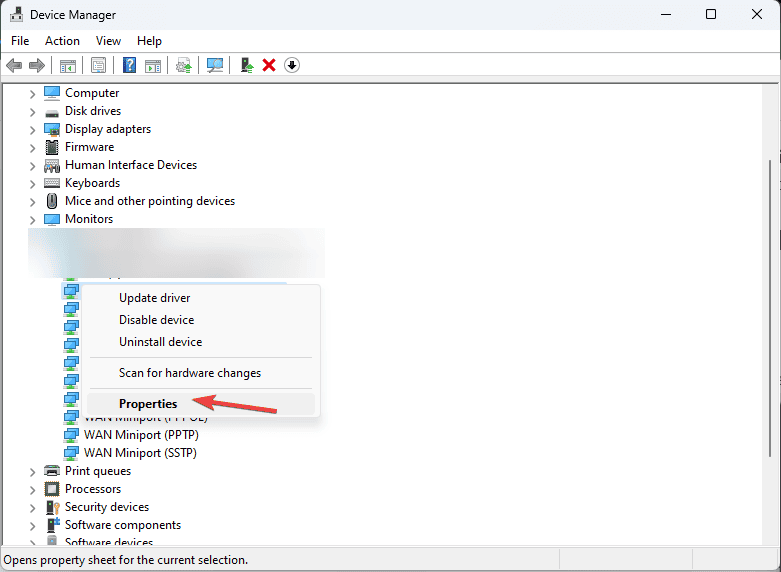
- Locate the Ports (COM & LPT) section, click it to expand, and check if the serial device is listed.
- Right-click the serial device and select Properties.

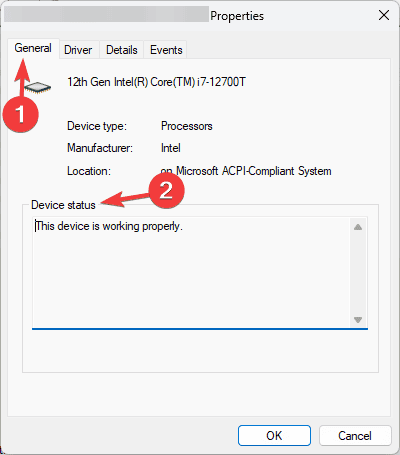
- On the properties window, go to the General tab and check the Device status field; it should say, ” This device is working properly.”

2. Update/reinstall driver
2.1 Update the driver
- Press Windows + R to open the Run window.
- Type devmgmt.msc and click OK to open the Device Manager app.
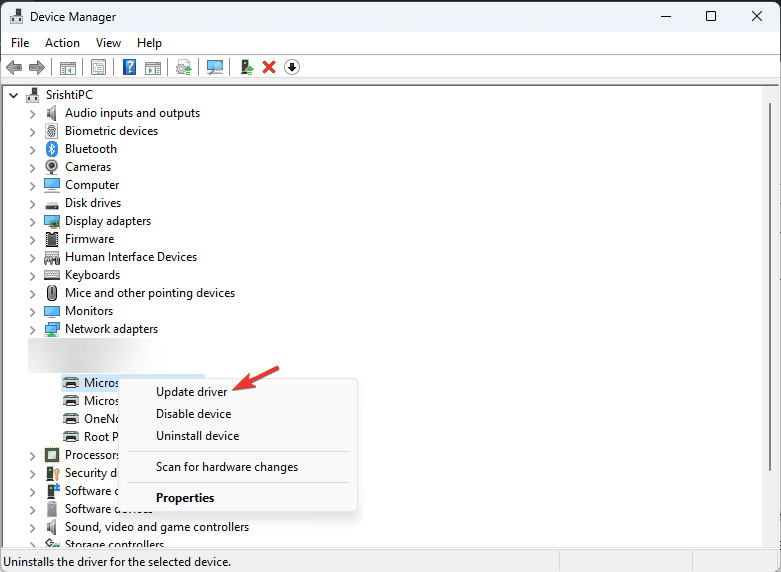
- Locate the Ports (COM & LPT) section, click it to expand, right-click the serial device, and select Update driver.
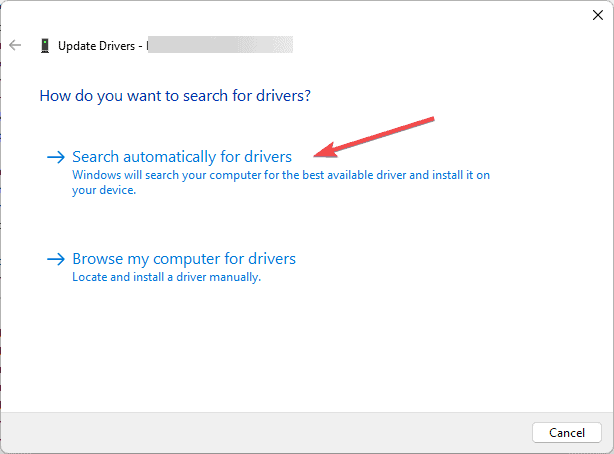
- On the following page, click Search automatically for drivers.

- Windows will now find and install the best driver for your computer. Follow the on-screen instructions to complete.
If Windows cannot find a better driver version, you can also head to the manufacturer’s official website and manually install the driver, or you can use a third-party driver updater tool to update the drivers on your PC safely.
2.2 Reinstall the driver
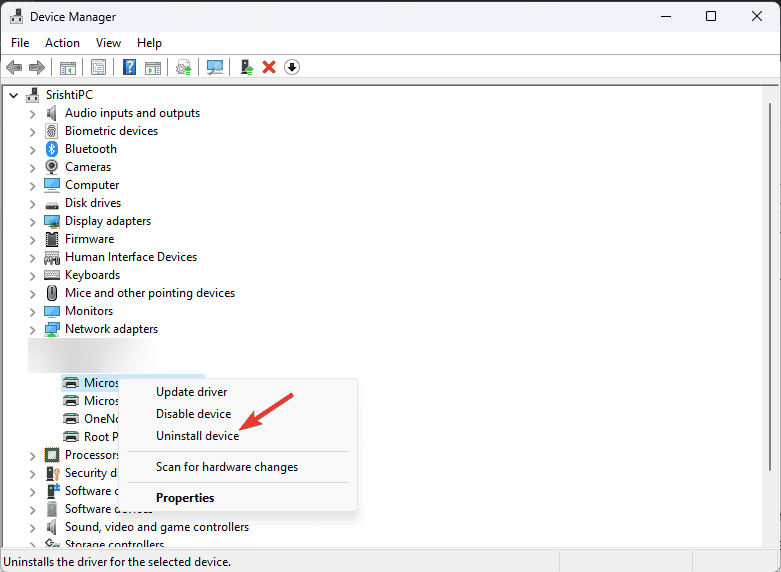
- Open Device Manager again, go to the Ports section, expand it, right-click the serial device, and select the Uninstall device option.
- If available, place a checkmark next to Attempt to remove the driver for this device and click Uninstall.
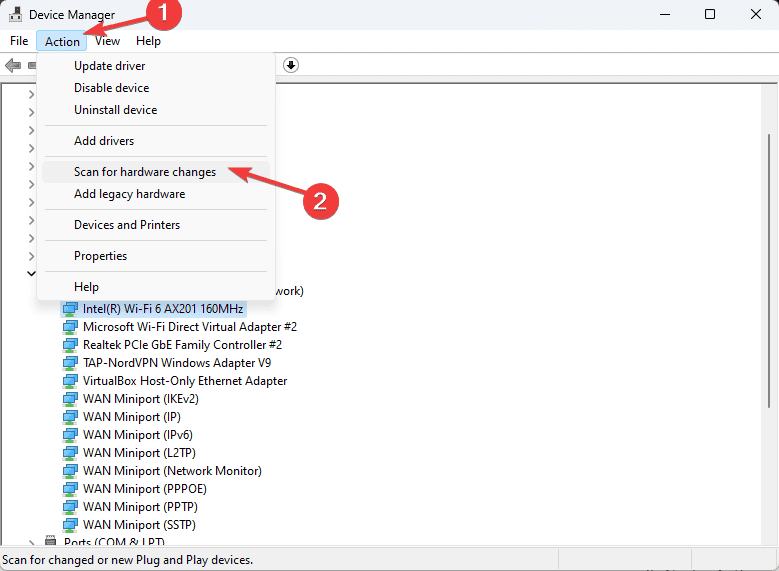
- Once done, go to Action, and select Scan for hardware changes to reinstall the driver.

- Reboot your computer to let the changes take effect.
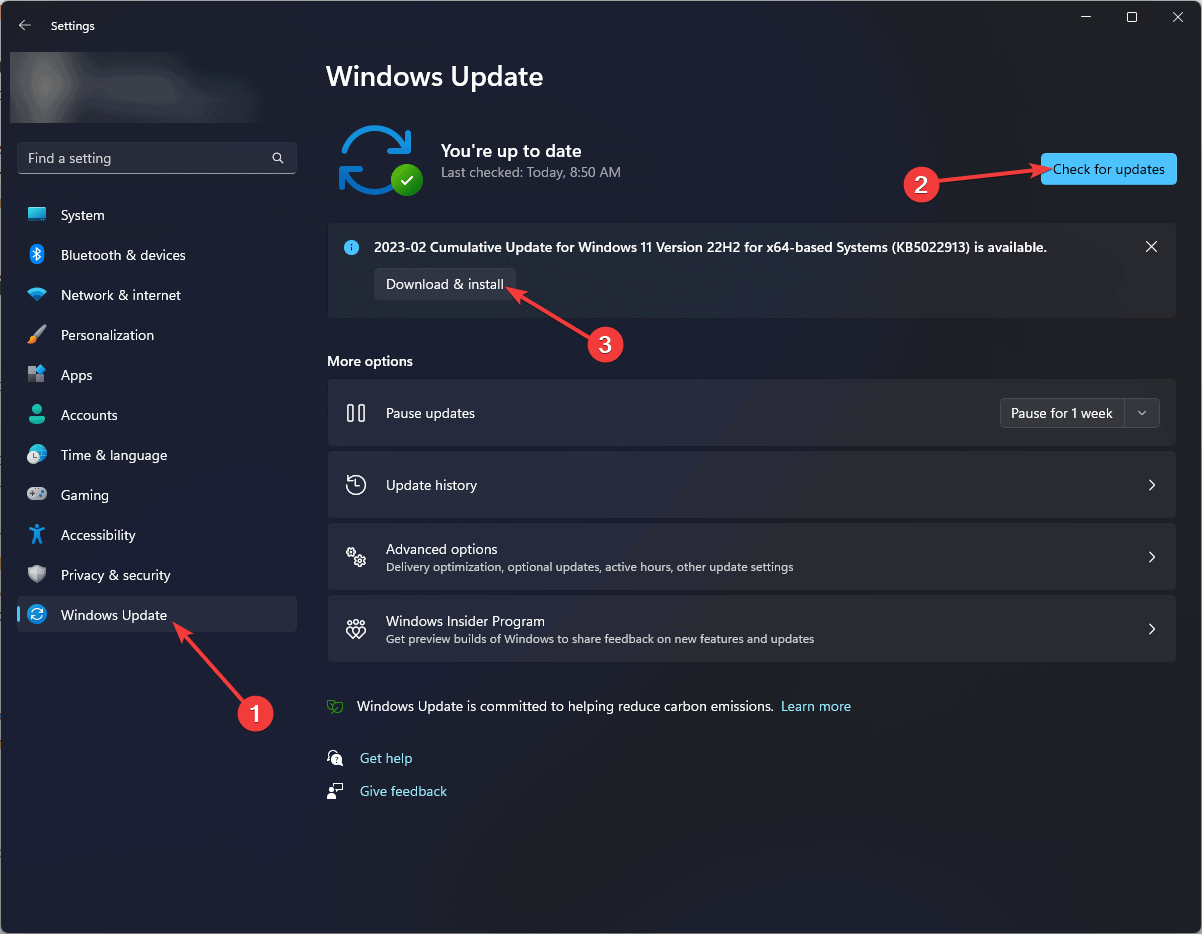
3. Update the Windows
- Press Windows + I to open the Settings app.
- Go to Windows Update, then click Check for updates.

- If an update is available, click Download and install to get it.
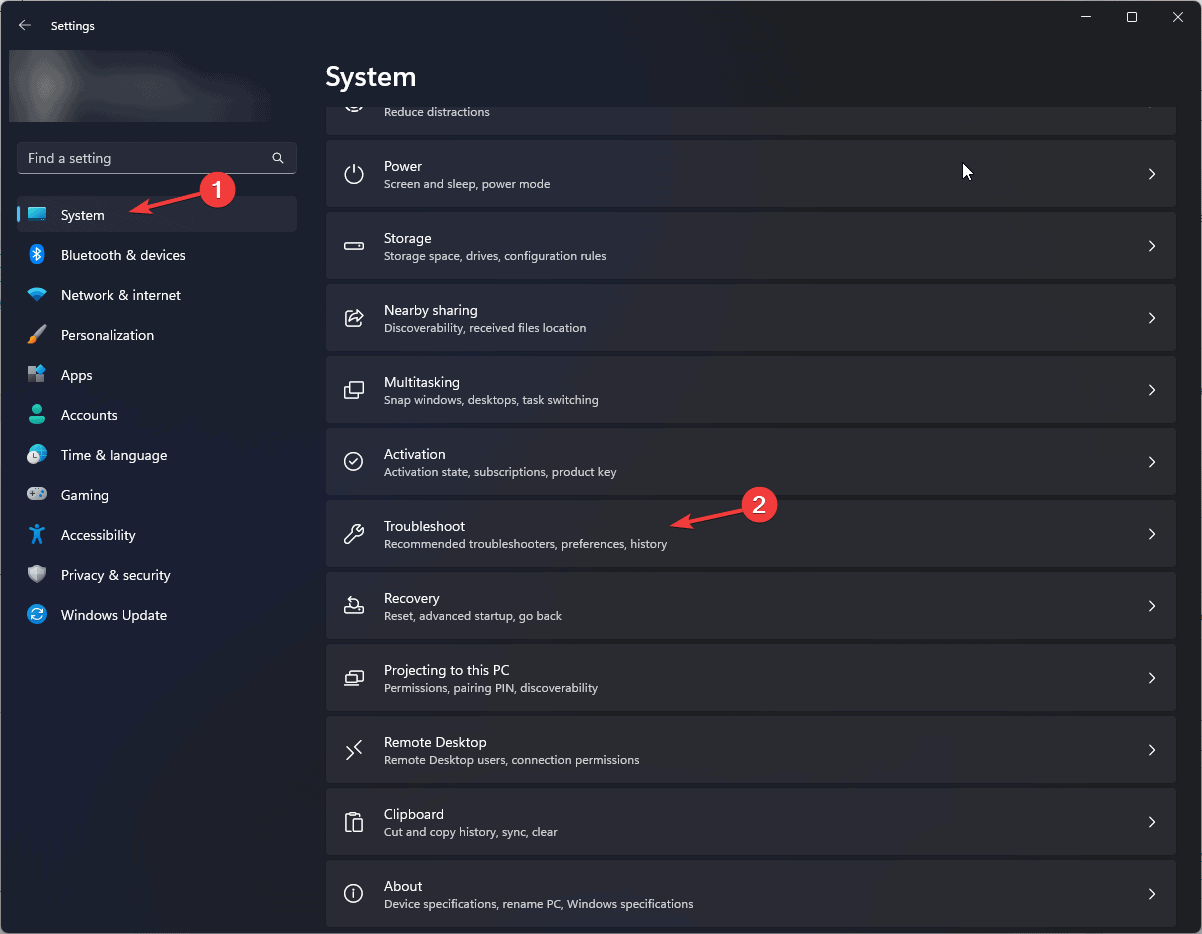
4. Run the Hardware & devices troubleshooter
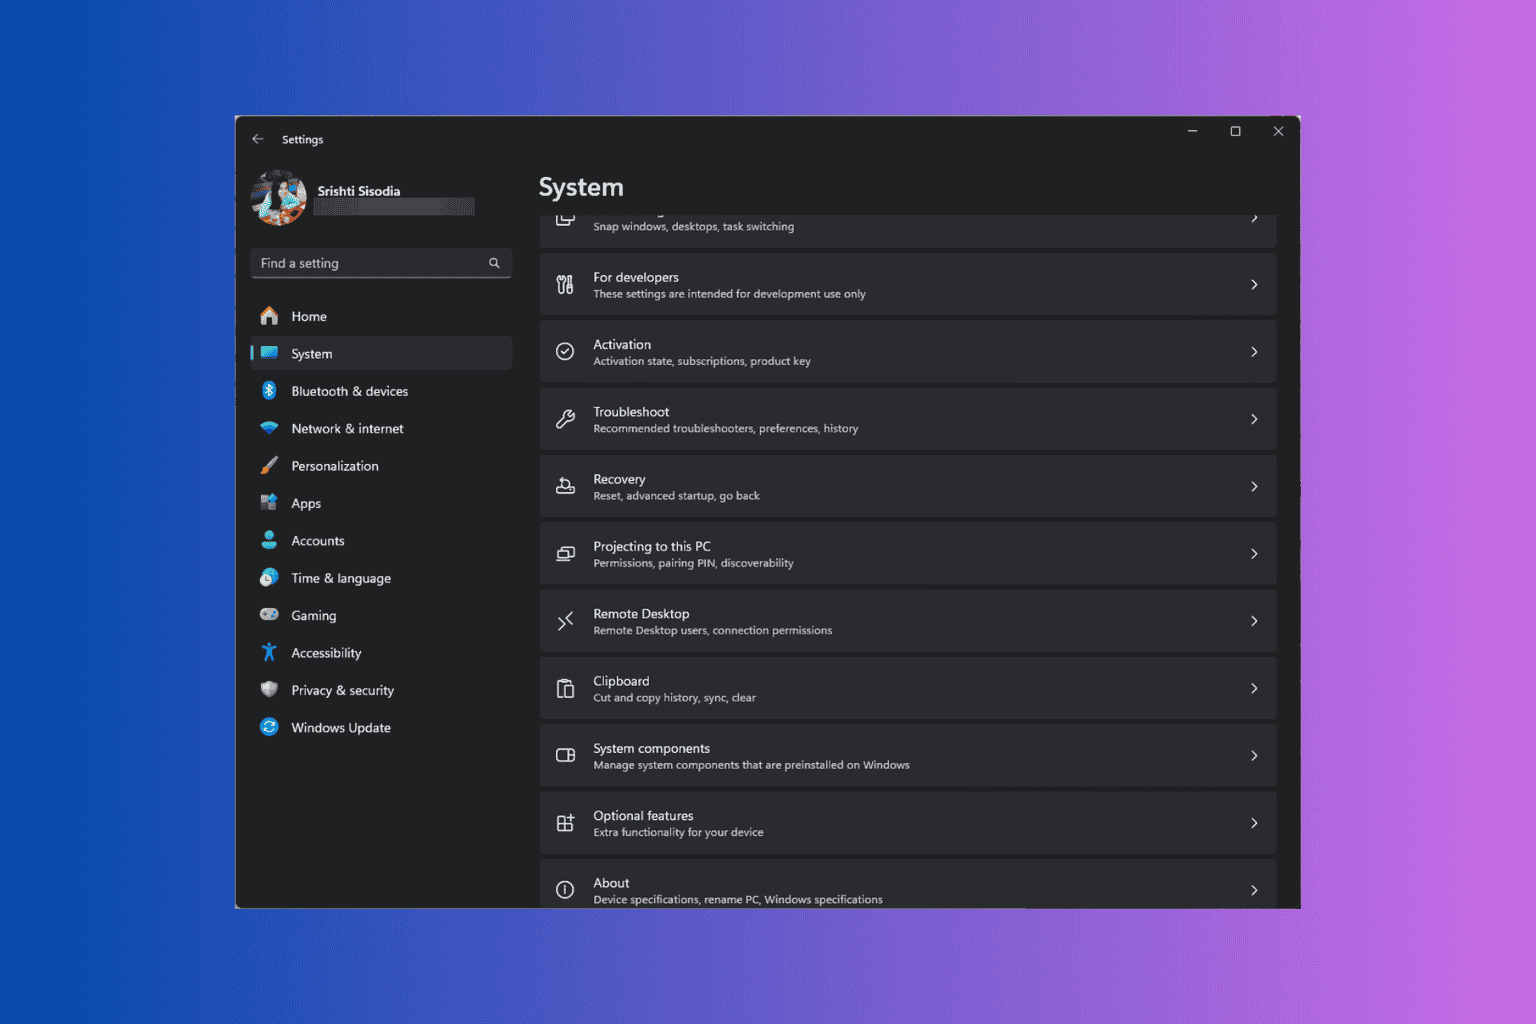
- Press Windows + I to open the Settings app.
- Go to System, then click Troubleshoot.
- Click Other troubleshooters.
- Locate Hardware & devices, then click Run.
- Follow the on-screen instructions to complete the process.

5. Run an SFC scan
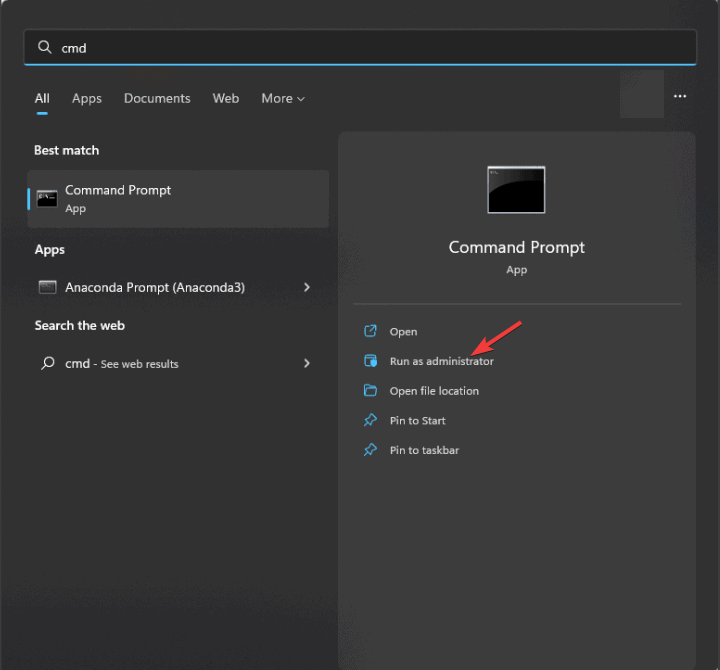
- Press the Windows key, type cmd in the search box, and click Run as administrator.

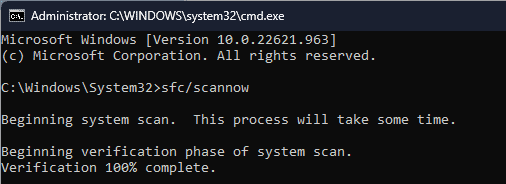
- In the command prompt window, type the following command to repair or restore the corrupted system files and press Enter:
sfc /scannow
- Wait for the scan to complete, then restart your computer to let the changes take effect.
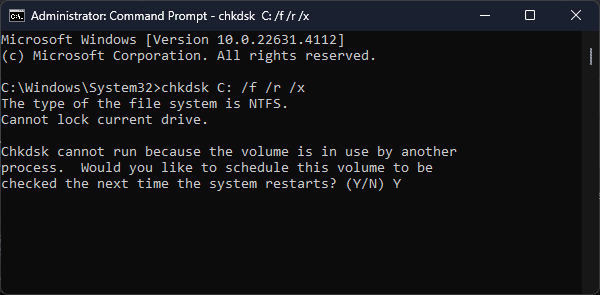
6. Run the CHKDSK scan
- Press the Windows key, type cmd in the search box, and click Run as administrator.
- In the command prompt window, copy & paste the following command to fix errors on the disk, locate bad sectors, and force the drive to dismount before the process starts and hit Enter:
chkdsk C: /f /r /x
- As we are trying to scan the system drive (usually denoted by the letter C:), you will get a prompt to schedule the scan on the next restart. Type Y and press Enter to schedule it.
- Restart your computer to initiate the CHKDSK scan, which will run before Windows loads and check for errors and bad sectors.
- Once the scan is complete, you will receive a summary of the scan and the actions taken to fix the problem.
If you are an advanced user, you can check the BSOD error logs to determine the faulty software component or module and take the necessary steps. You may also try our expert solutions for BSOD on Windows 11.
To avoid these problems, you should run Windows Defender regularly and create a backup of all your essential data.
If you encounter these errors, it is important to check the error message first to understand the error, then proceed with the steps mentioned above.
If you know any more fixes to resolve the ERROR_SERIAL_NO_DEVICE blue screen error, share them with our readers in the comments section!

User forum
0 messages