How to Fix the RAMDISK_BOOT_INITIALIZATION_FAILED BSoD
You might also need to replace the boot drive
5 min. read
Published on
Read our disclosure page to find out how can you help Windows Report sustain the editorial team. Read more
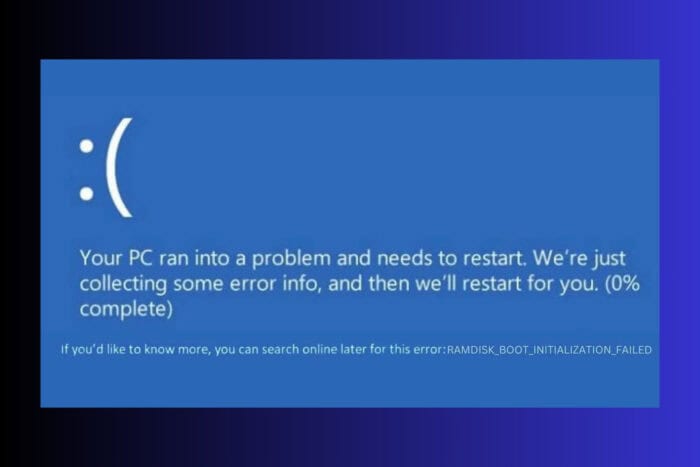
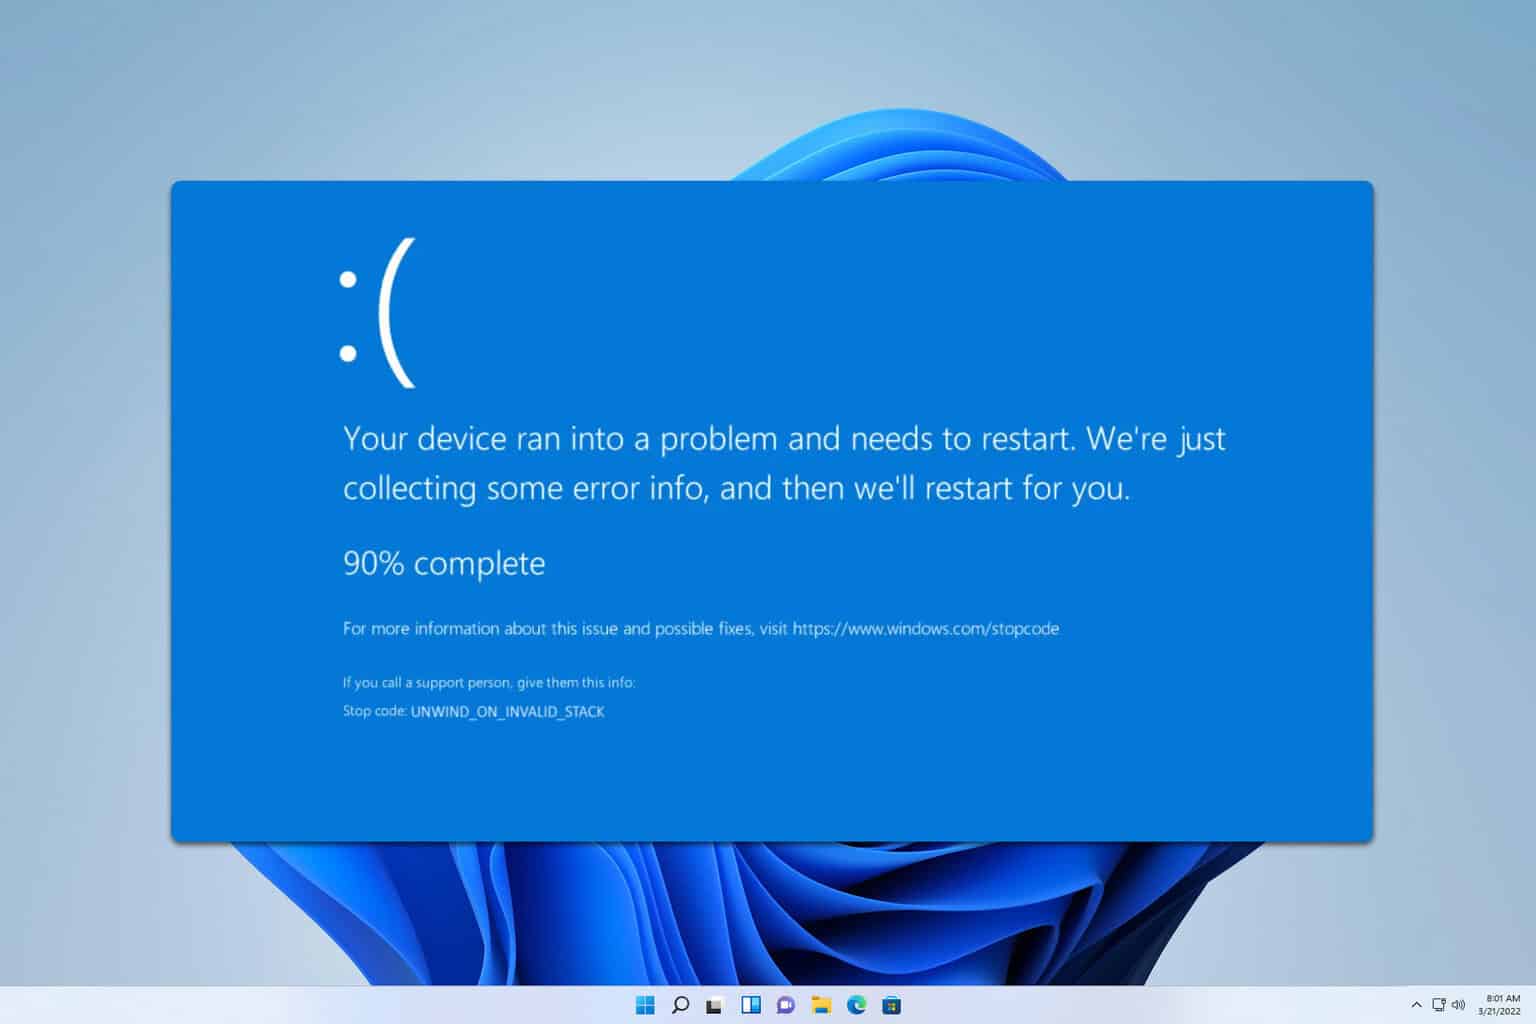
The RAMDISK_BOOT_INITIALIZATION_FAILED bug check usually comes with the value of 0x000000F8. The error points out that that an initialization failure occurred while booting from the RAM disk. It typically indicates a storage drive hardware error, but it may also be triggered by a corrupted system or a driver problem. Before anything else, disconnect all external drives and try to boot the PC normally. If that works, reconnect them one by one to see which one is causing this issue.
How do I fix the RAMDISK_BOOT_INITIALIZATION_FAILED?
1. Use Automatic Repair Mode to boot in Safe Mode
- Reboot your Windows system three times using the Power button until it enters Automatic Repair Mode.
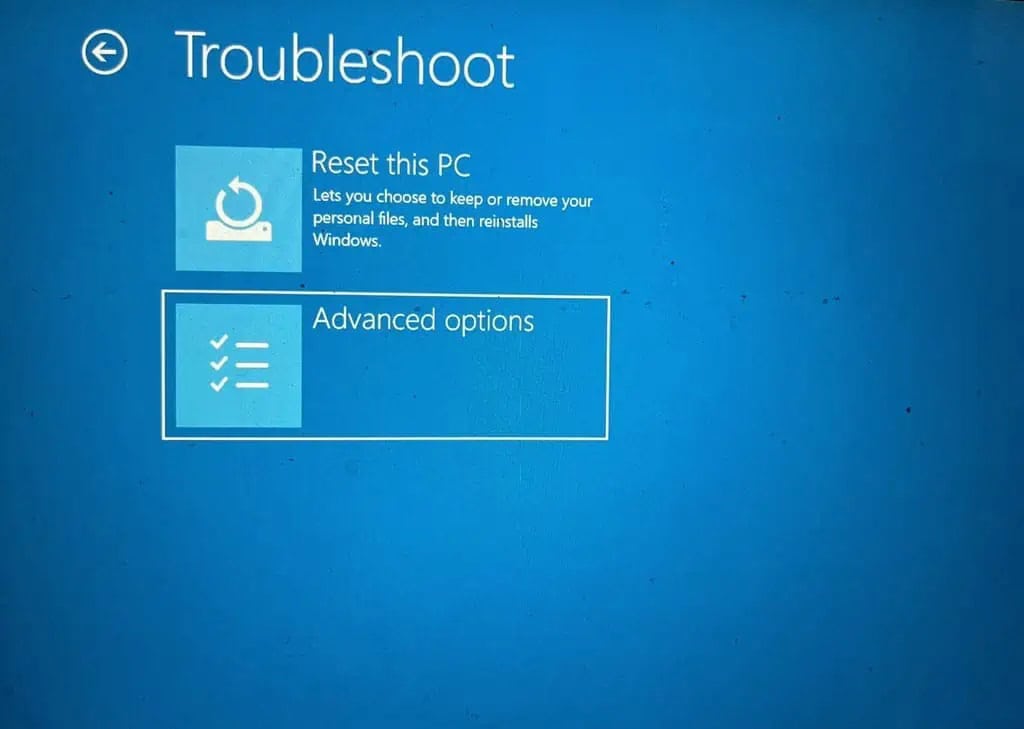
- Select the Troubleshoot option from the menu, then choose Advanced options.
- Click on Startup Settings in the next menu and hit the Restart button.
- After restart, press F5 to select Safe Mode with Networking capabilities.
- If all works well, your system will boot in Safe Mode, giving you a chance to troubleshoot potential software issues.
If your PC is unable to boot in Safe Mode, try to use a USB installation media and follow the next solution to run Command Prompt and perform the scan below or to reset your Windows system.
2. Replace the SMSS.exe file (bootable media required)
- Insert the bootable media into your PC and restart. You might also need to change the boot order to boot from your media.
- When prompted with Press any key to continue… on your screen, do so.
- Set your preferences for Language, Time & Currency format, and Keyboard or input method, then click Next.
- Next, select the Repair your computer option from the bottom.
- In the next menu, select Troubleshoot.
- Under the Troubleshoot menu, go to Advanced options.
- Choose Command Prompt from the available choices.
- In the Command Prompt, input the following commands sequentially, pressing Enter after each one:
cd windows/system32/
ren smss.exe  smss.old
copy c:\windows\system32\dllcache\smss.exe
- Restart your PC and check if the issue has been resolved.
3. Scan your drive and system for errors
- Click the Start button, type cmd and select Run as administrator from the search results on the right pane.
- Type chkdsk /f /r in the terminal and press the Enter key to run the command.
- Wait for the scan to finish, and then restart your computer following the completion of the scan.
- If the system doesn’t boot normally, start Command Prompt again, type the following command and press Enter:
DISM.exe /Online /Cleanup-image /Restorehealth - After completion of the scan, you may also run the SFC scan by entering sfc /scannow and pressing Enter.
If you’ve managed to boot the PC in Safe Mode, you will be able to start Command Prompt and execute the chkdsk command. If not, as mentioned in the first solution, use a bootable media or System Recovery to use CMD. This method will find and fix potential problems with your drive.
4. Uninstall any problematic drivers (if the OS boots in Safe Mode)
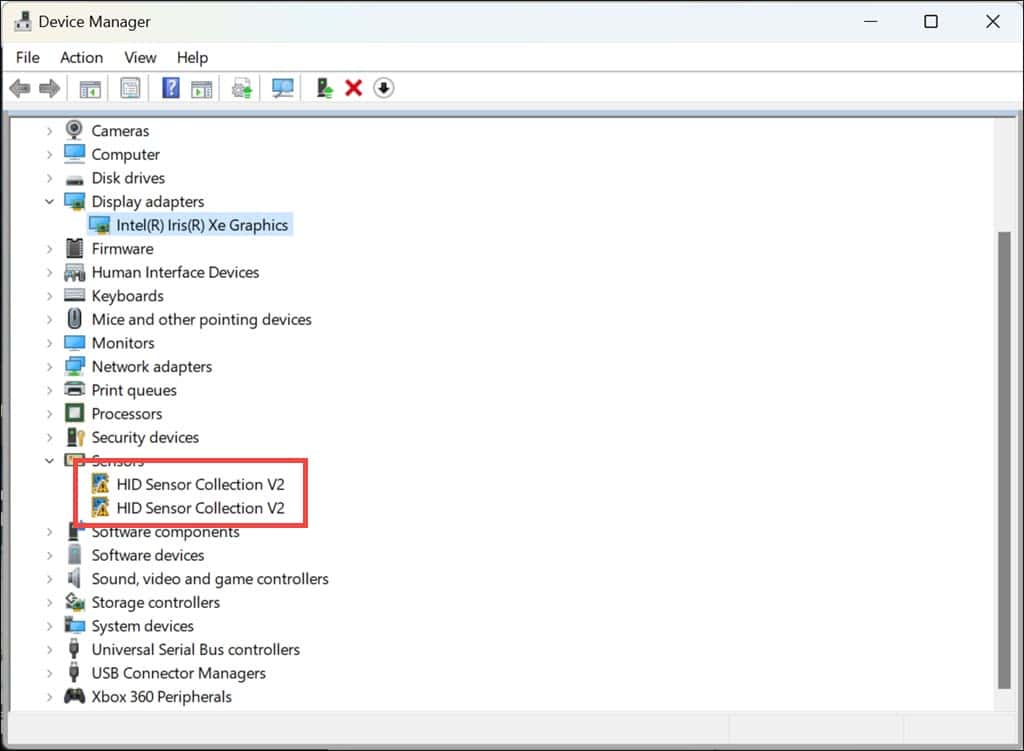
- Right-click the Start button and select Device Manager.
- Expand the categories on the left and look for devices marked with a yellow exclamation mark.
- Right-click on them and select Uninstall device.
- Reboot your computer so that Windows can automatically reinstall the necessary drivers.
Look especially at the IDE controllers section because they are most likely to cause the RAMDISK_BOOT_INITIALIZATION_FAILED BSoD. You may also select Update driver instead of uninstalling and selecting Search automatically for drivers or Browse my computer…in case you already have a driver you downloaded straight from the manufacturer’s website.
We also have a list of the best driver updater tools that will automatically refresh all your drivers with only a few clicks.
5. Restore the OS to a previous point
- Initiate Automatic Repair Mode by restarting your system three times using the Power button.
- Select the Troubleshoot option, then choose Advanced options.
- Now, click on System Restore and click Next to start the process.
- Choose a restore point that has a date previous to the RAMDISK_BOOT_INITIALIZATION_FAILED event.
- Click Finish and wait for the system to be restored to that previous state.
If none of this works, the last resort would be to reset your system or reinstalling Windows entirely by using the bootable media you have used before.
We would also recommend trying the bootable drive on another system and check it for any connection or physical damage if possible.
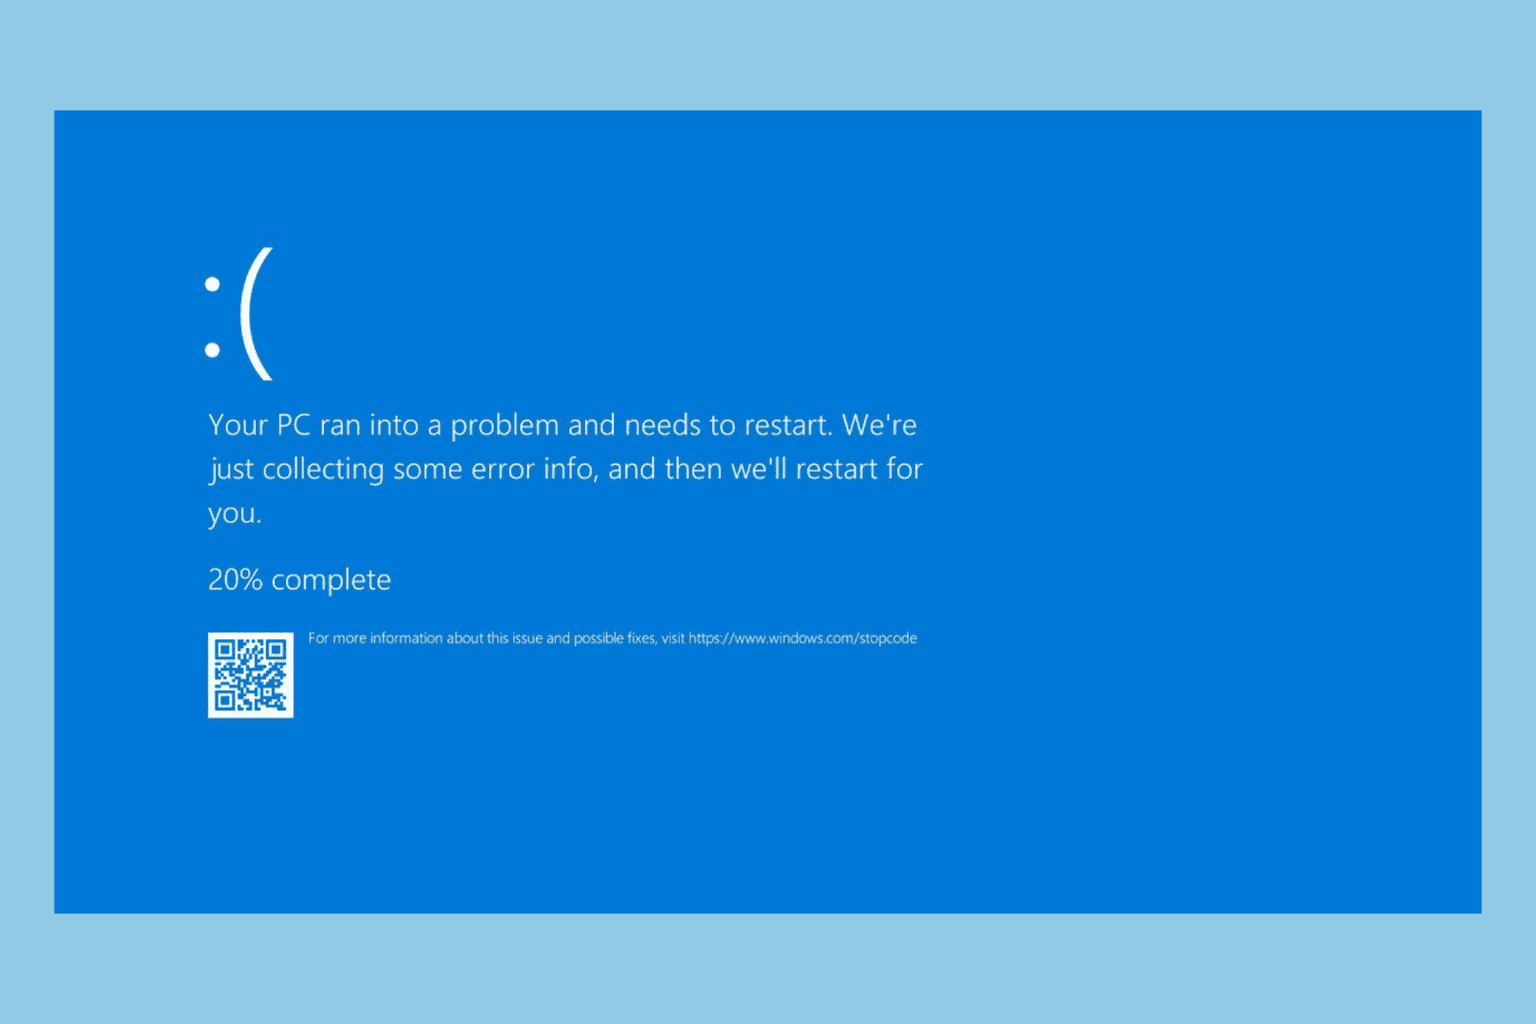
We remind you that BSoD error typically point to a hardware error, but you can look further into the causes of Blue Screen bug checks. If possible, you may also use a BSoD viewer to find more information about the crash.
Hopefully, by using the solutions above you were able to fix the RAMDISK_BOOT_INITIALIZATION_FAILED BSoD. Let us know in the comments below if it worked for you.
User forum
0 messages