KB5043076 shows up as installed on Windows 11, but it won't show in the update history
KB5043076 is a mandatory patch.
3 min. read
Published on
Read our disclosure page to find out how can you help Windows Report sustain the editorial team. Read more
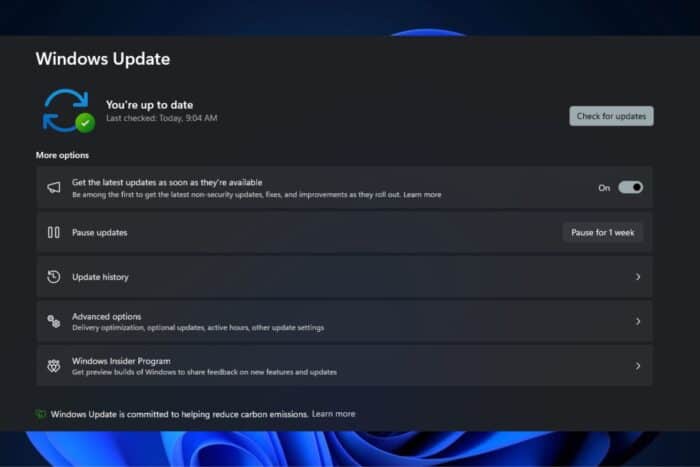
Microsoft released KB5043076 last week as part of the September 2024 Patch Tuesday updates for Windows 11. It’s a mandatory update. However, like any other Patch Tuesday update, this one has its fair share of issues.
Reportedly, Windows Update Standalone Installer will show KB5043076 up as installed, but the update history won’t show it that way, confusing many users.
Windows update keeps asking me to install 2024-09 Cumulative Update for Windows 11 Version 23H2 for x64-based Systems (KB5043076). I’ve tried three times and each time I get that “something didn’t go as planned” message. So now I went to the Windows Update Standalone Installer and ran the update from there. But when I do, it tells me that it’s already installed on the system! But it’s not (doesn’t show in update history either). How do I fix this?
Since the patch was only released last week, Microsoft hasn’t said anything about it yet, but there are some fixes you can try to solve the bug. To do so, install KB5043076 on your Windows 11.
1. Run Windows Update Troubleshooter
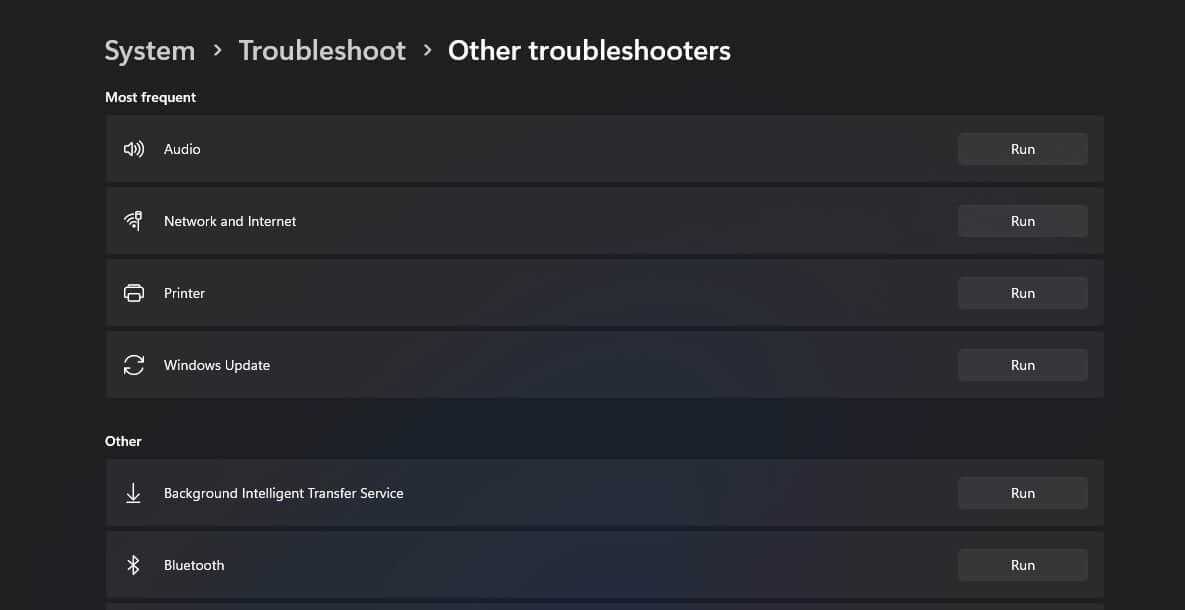
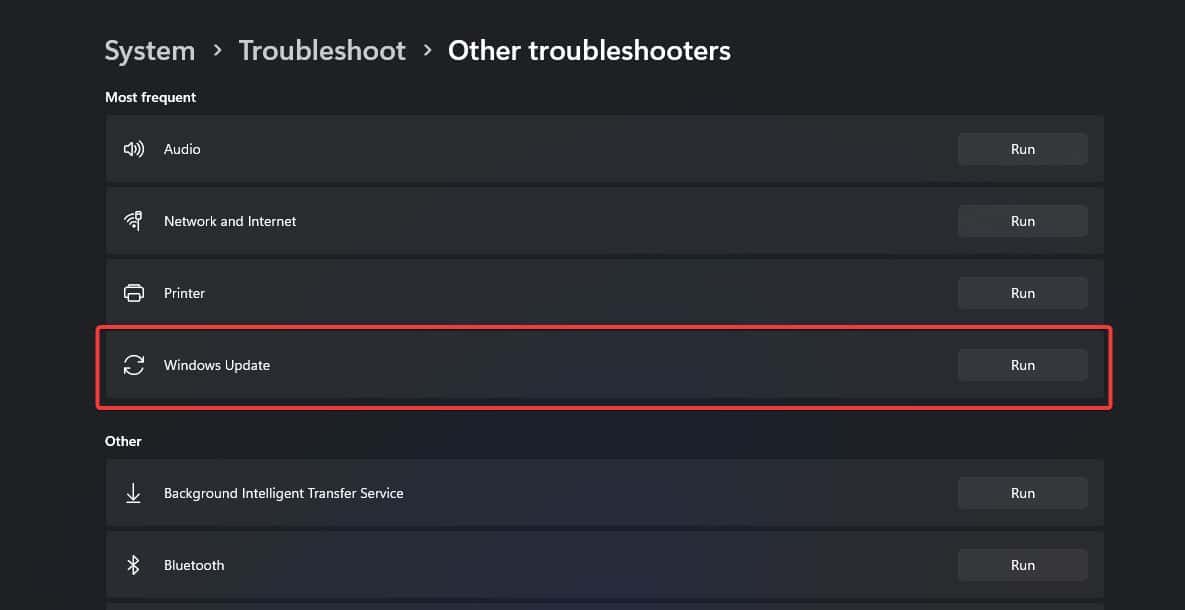
- Go to Start > Settings > System > Troubleshoot > Other troubleshooter
- Go to Windows Update > Run
- Restart your device
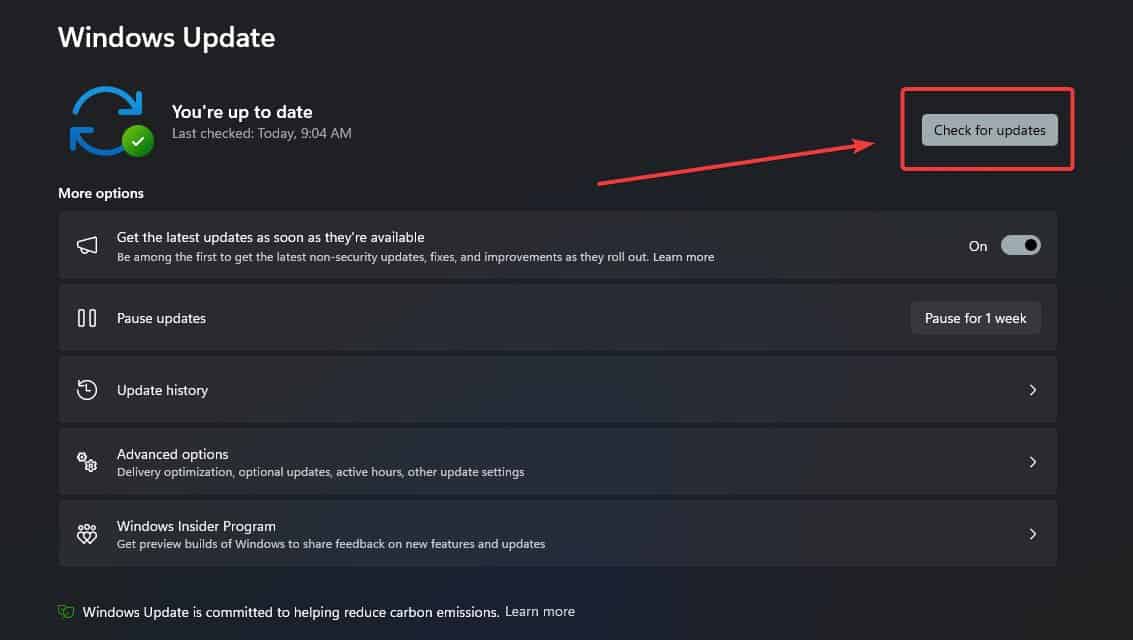
After restarting your device, try to install KB5043076 on Windows 11 again by going to Start > Settings > Windows Update > Check for updates.
2. Fix Windows 11’s KB5043076 with Run
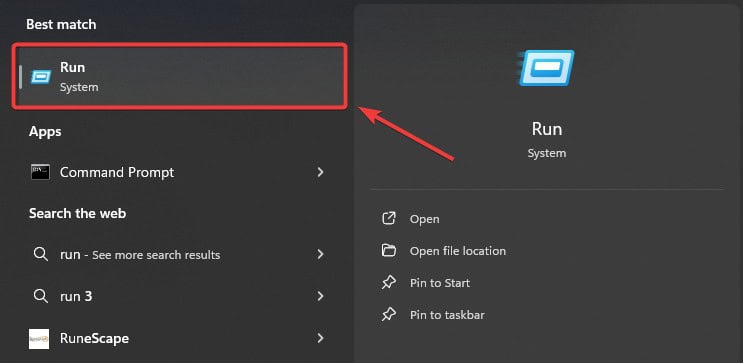
- Open Run, and type: services.msc
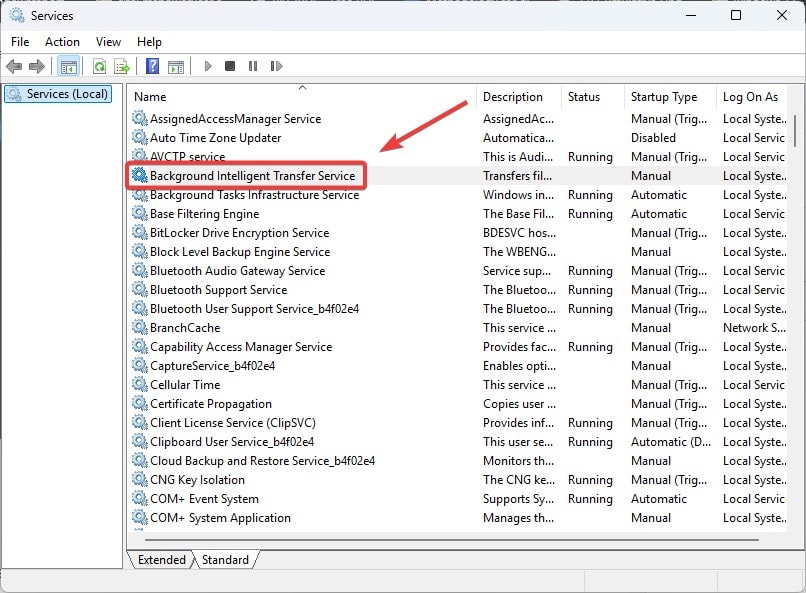
- Go to Background Intelligent Transfer Service
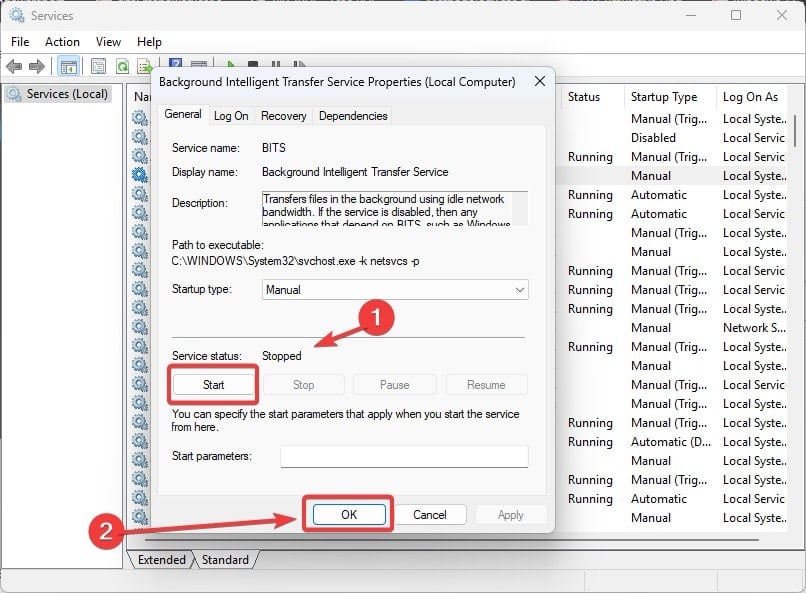
- Click on Start on the Status panel, and then OK.
- If the status is Running, right-click it, and then hit Restart.
You’ll have to scroll down to the same list and find Windows Update, and then repeat the same steps, as mentioned above.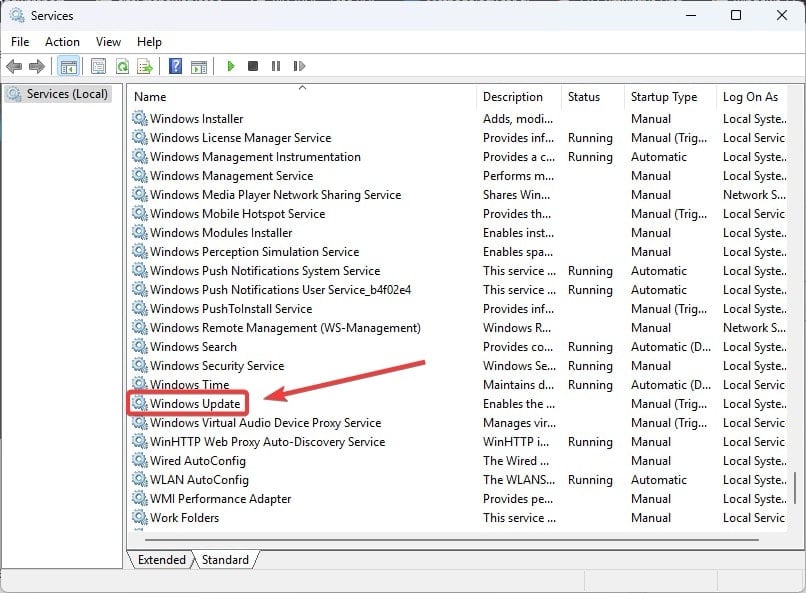
3. Run an SFC and DISM scan
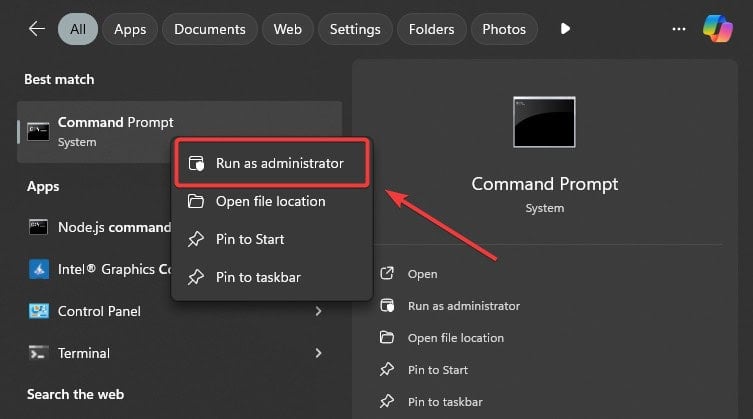
- Open Command Prompt with admin rights.
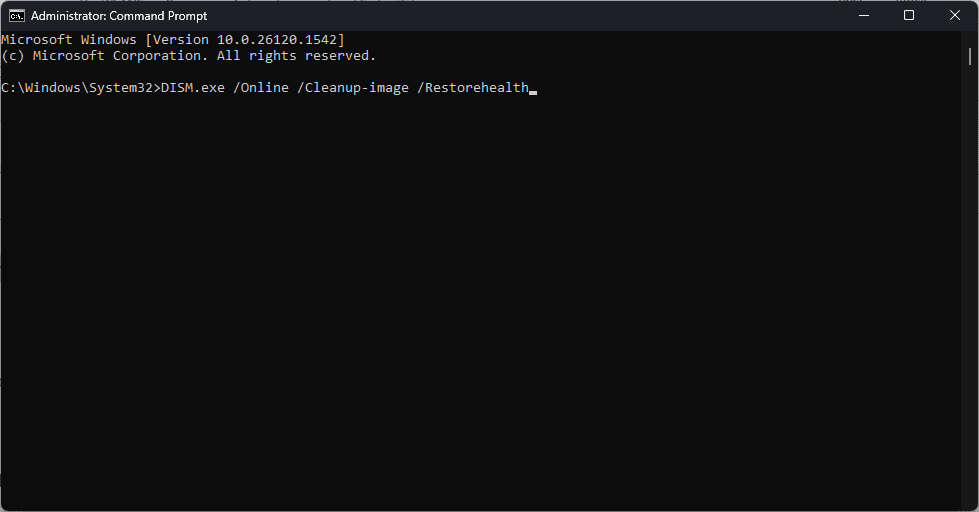
- Type in: DISM.exe /Online /Cleanup-image /Restorehealth
- Let the scan proceed.
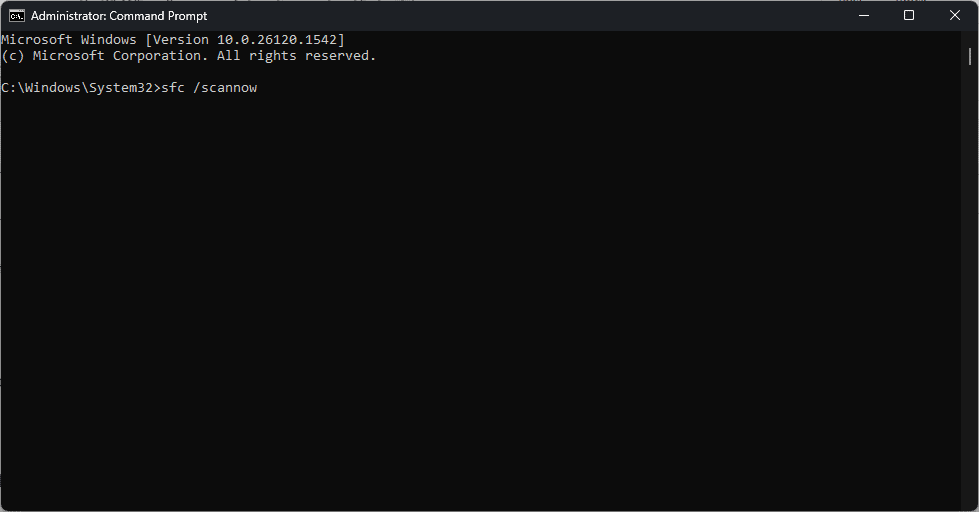
- Then type in: sfc /scannow
After the process (it might take 10-30 minutes, depending on the device), restart your PC and try to download and install KB5043076 on your Windows 11 device.
4. Install KB5043076 in Windows 11 by resetting the Windows Update Components
Ultimately, you can also try to reset Windows Update Components, but this process is harder than the others and requires some technical knowledge to understand. Either way, if you want to try it, follow our comprehensive guide.
Let us know which of these solutions worked for you, and if you have any other recommendations, please share them below in the comments section.





User forum
0 messages