Couldn’t Install RSAT in Windows 11? Apply These Fixes
![]() 3 min. read
3 min. read
![]() Updated on
Updated on
Share this article
Improve this guide
Read our disclosure page to find out how can you help Windows Report sustain the editorial team. Read more
RSAT or Remote Server Administration Tools is a component that allows administrators to remotely manage the other computers running the same OS. But, if things are not right, you might not be able to install RSAT in Windows 11.
There are a bunch of errors that you encounter here, for instance, the RSAT installer encountered an error 0x8024001d. No matter the cause, there are a bunch of methods that prove effective in every situation.
So, if you couldn’t install RSAT in Windows 11 yet, execute the fixes listed in the next section.
What can I do if I couldn’t install RSAT in Windows 11?
 NOTE
NOTE
1. Use the PowerShell command
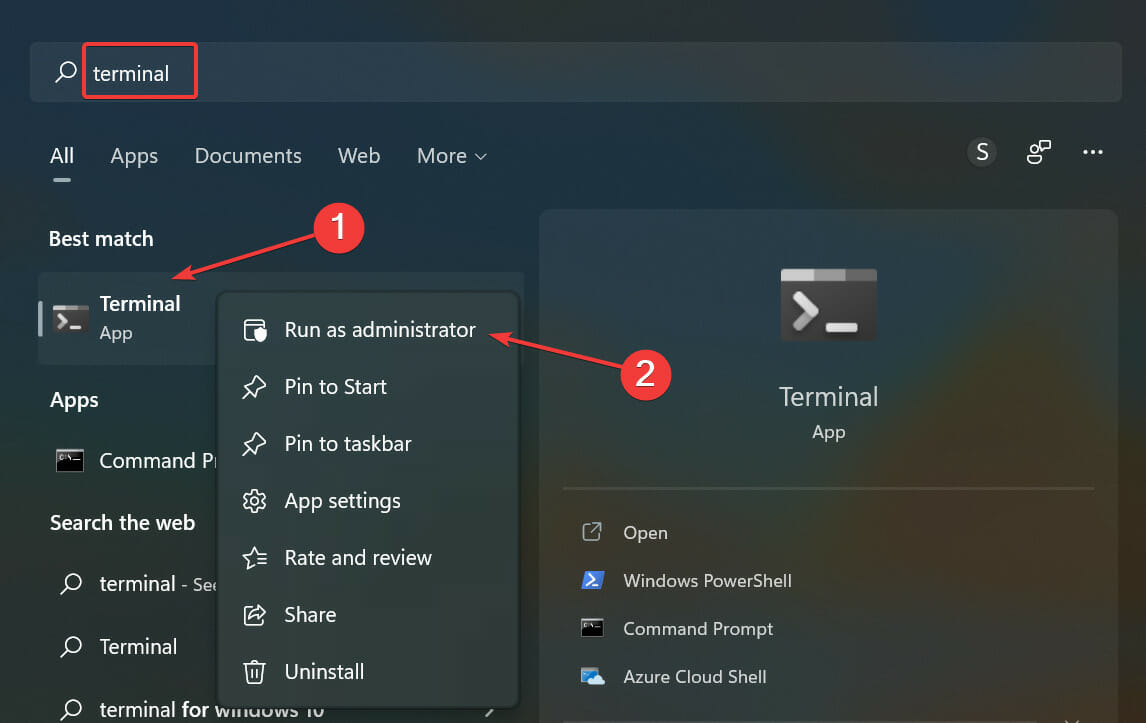
- Press Windows + S to launch the Search menu, enter Terminal in the text field, right-click on the relevant search result and select Run as administrator.

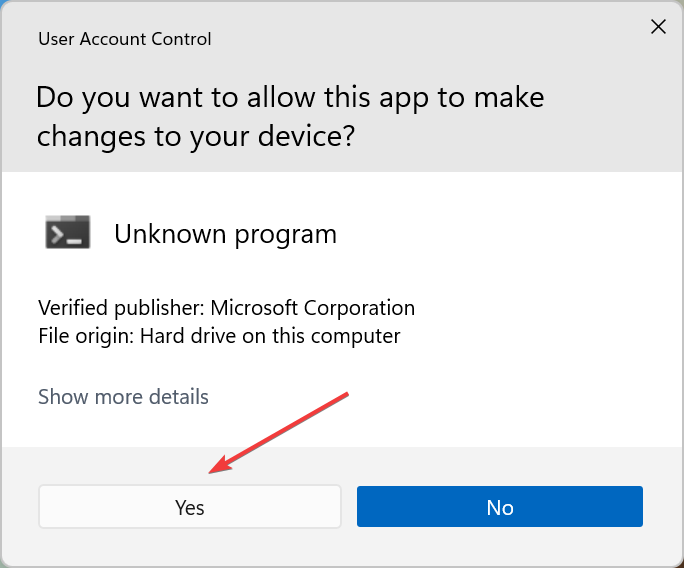
- Click Yes on the UAC (User Account Control) prompt that pops up.

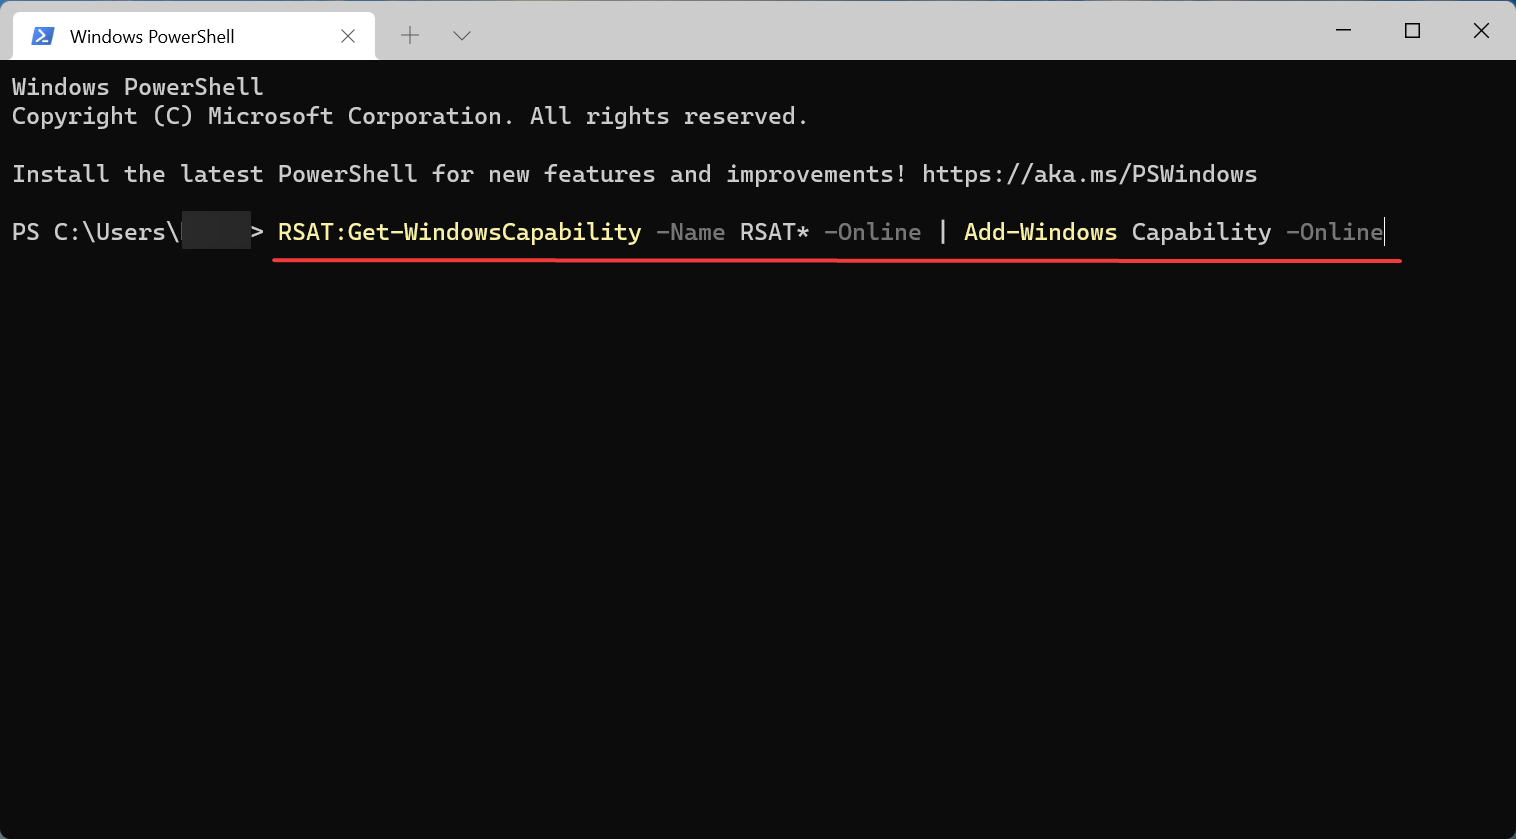
- Now, paste the following command in PowerShell and hit Enter to install RSAT:
Get-WindowsCapability -Name RSAT* -Online | Add-Windows Capability -Online
This is probably the quickest way to install RSAT but is not known to many. Also, the chances of encountering an error while installing RSAT in Windows 11 using PowerShell are minimum. So, make sure to try this method, and if it doesn’t work, head to the next one.
2. Modify the Registry
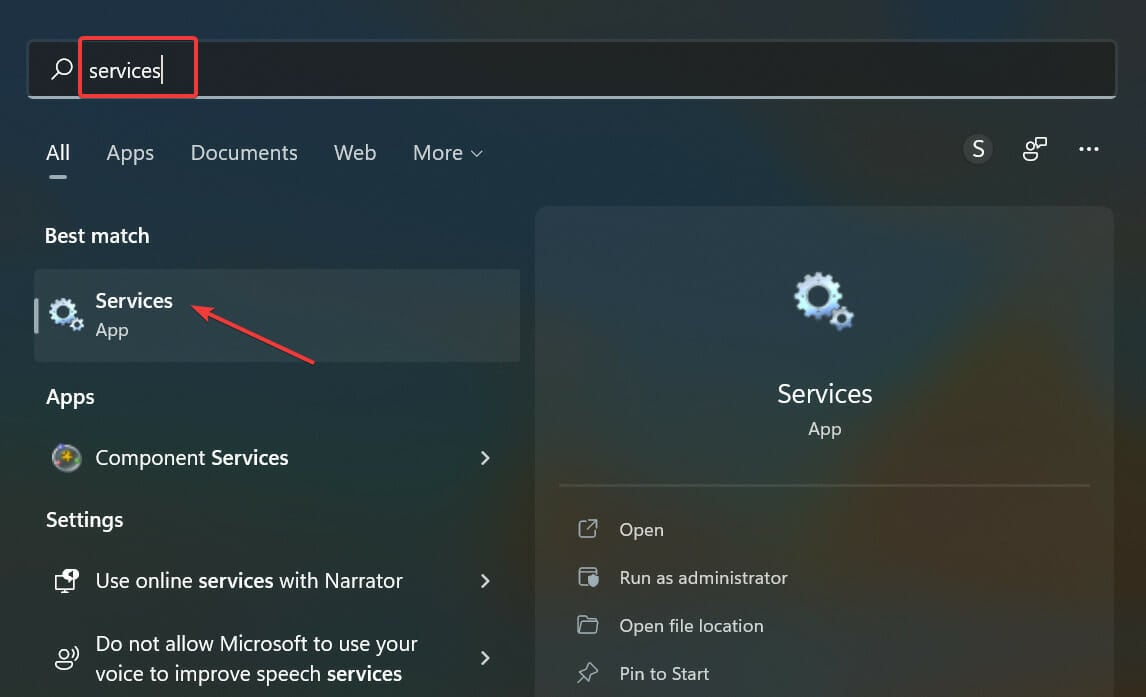
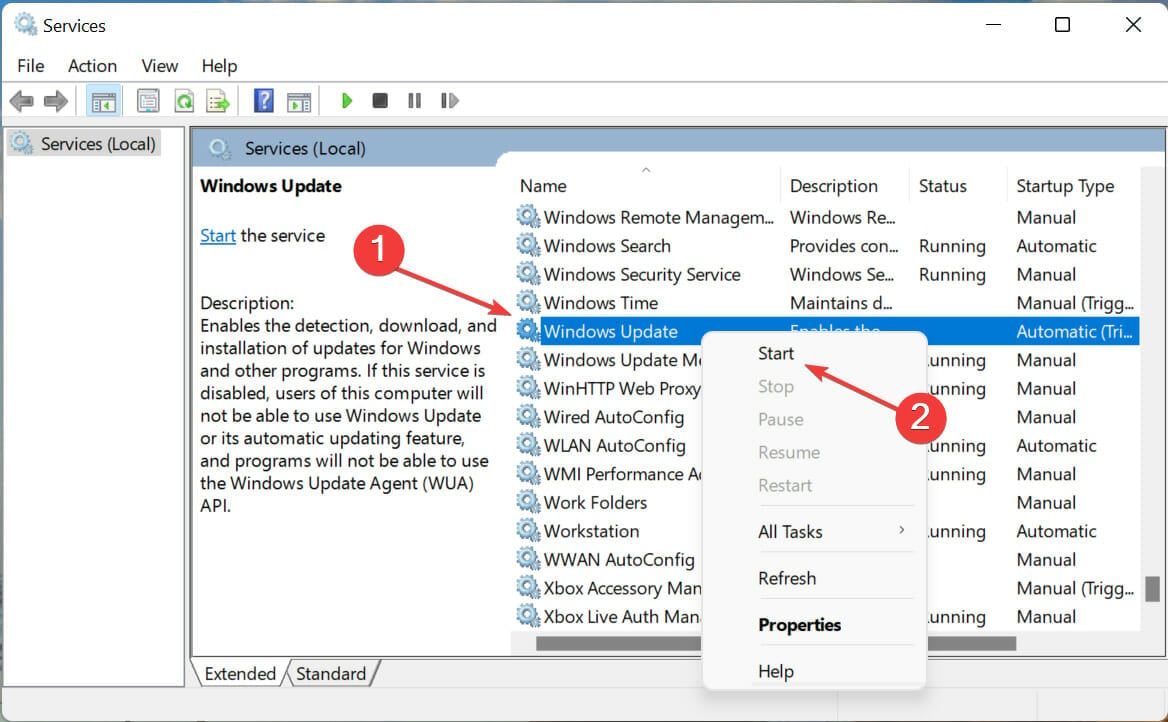
- Press Windows + S to launch the Search menu, enter Services in the text field at the top, and click on the relevant search result.

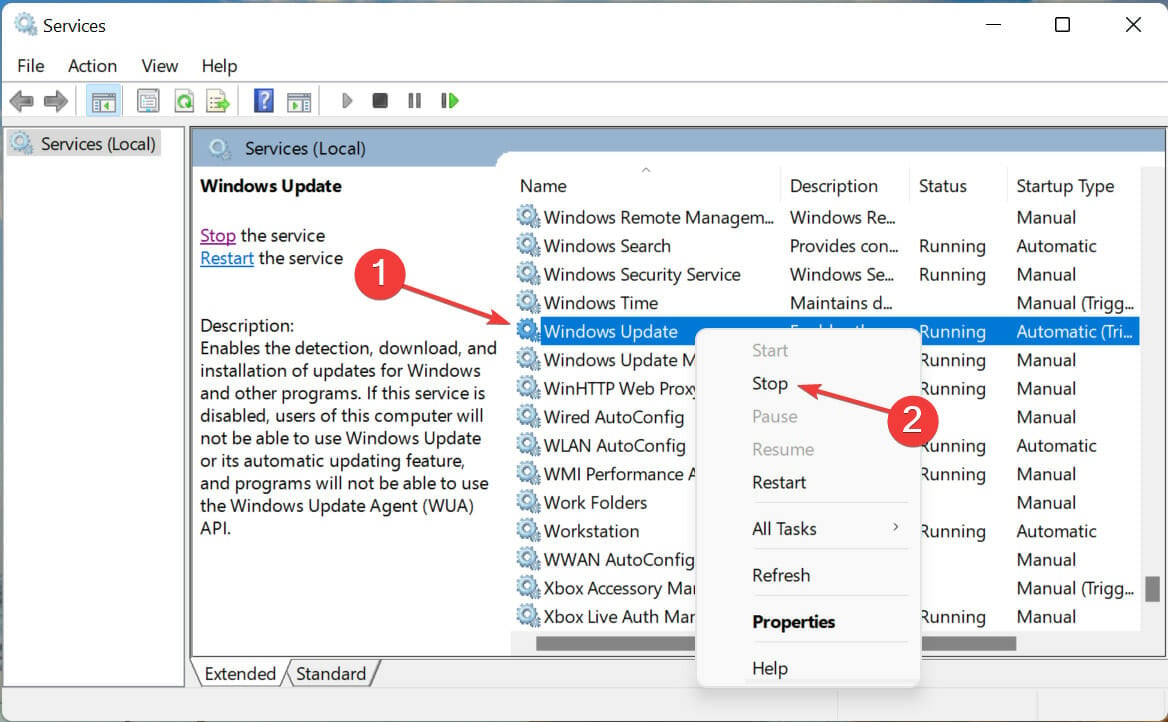
- Locate the Windows Update service, right-click on it, and select Stop from the context menu.

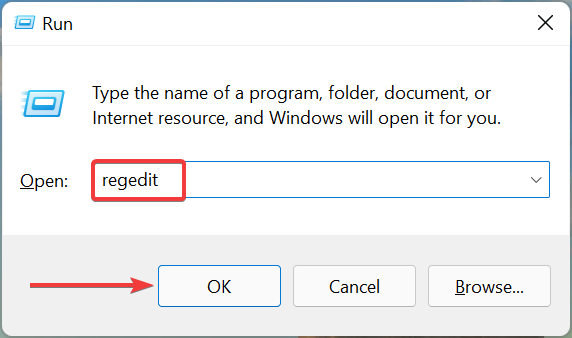
- Now, press Windows + R to launch the Run command dialog box, type/paste regedit in the text field, and either click on OK or hit Enter to launch the Registry Editor.

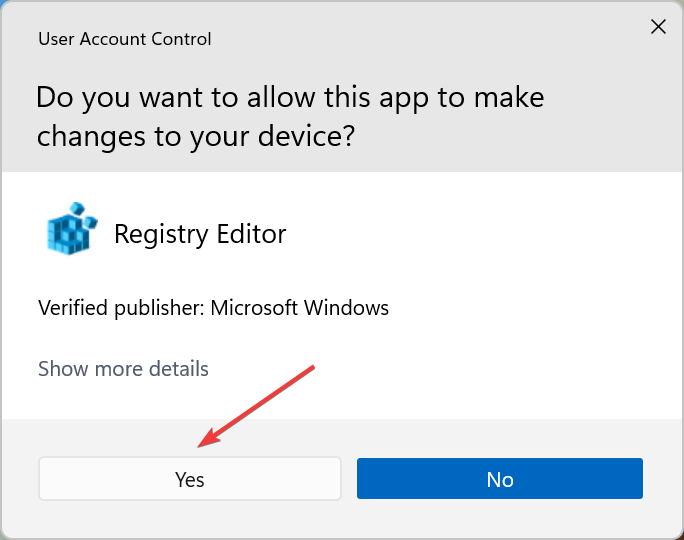
- Click Yes on the UAC prompt that appears.

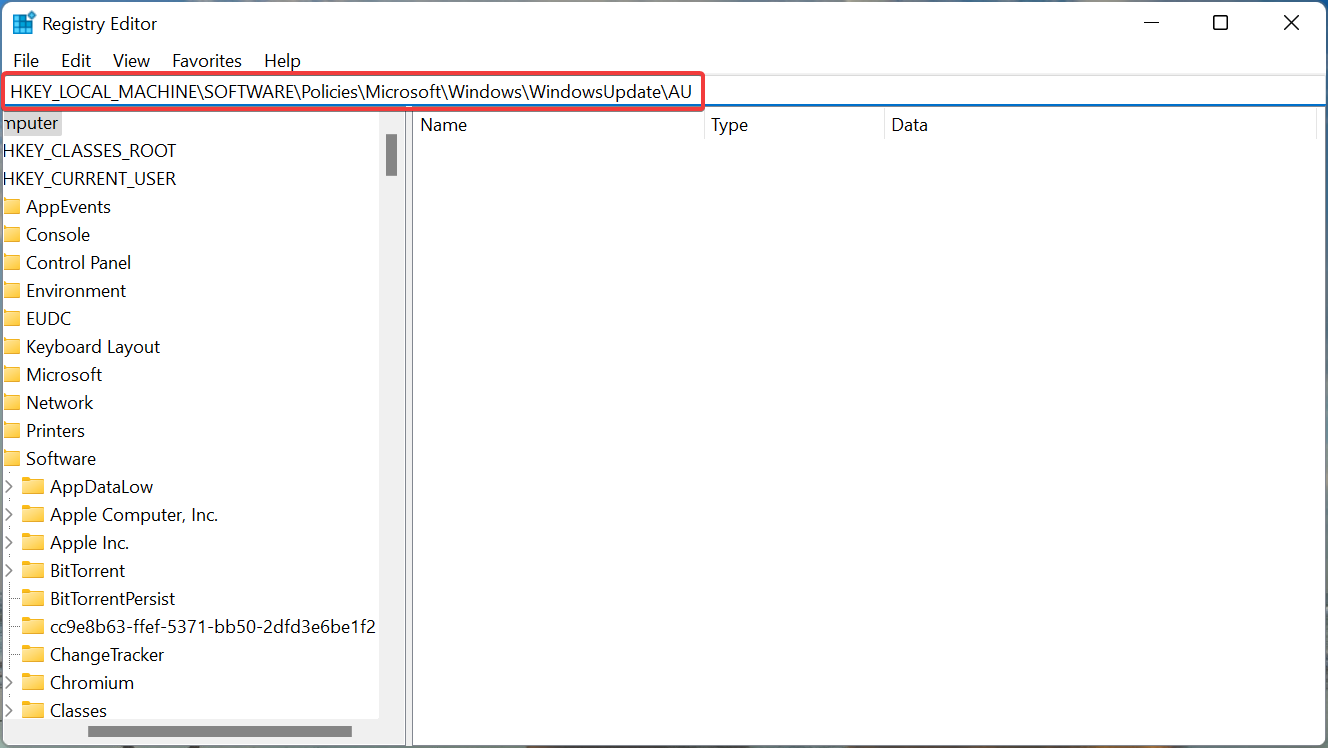
- Paste the following path in the address bar at the top, and hit Enter:
HKEY_LOCAL_MACHINE\SOFTWARE\Policies\Microsoft\Windows\WindowsUpdate\AU
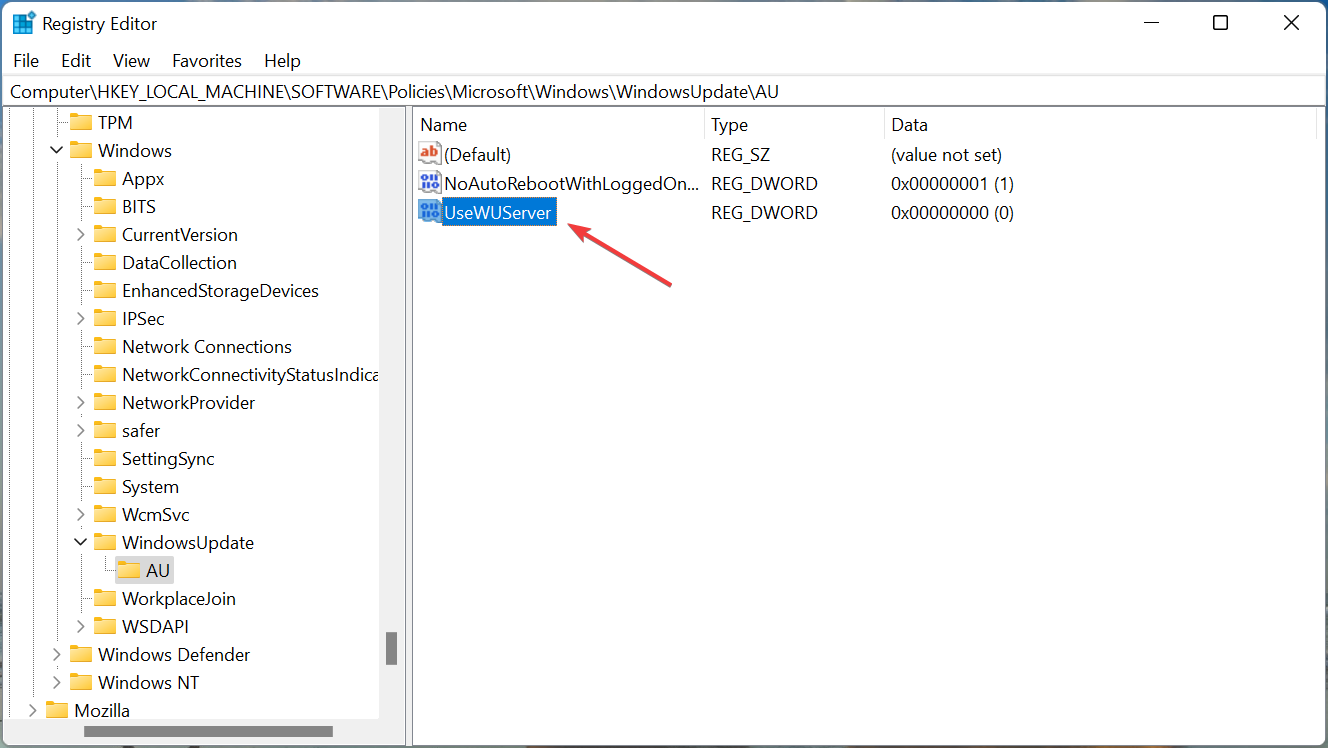
- Double-click on the UseWUServer key.
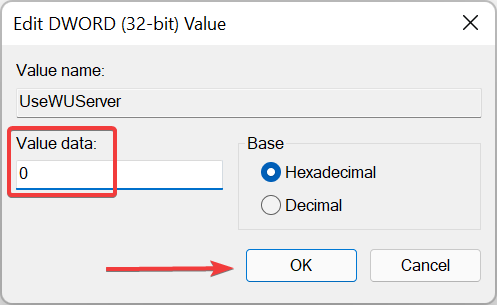
- Next, enter 0 under Value Data and click on OK to save the changes.

- Once done, again go to the Services app, right-click on Windows Update, and select Start from the context menu.
Restart the computer for the changes to come into effect and check if you are able to install RSAT in Windows 11.
3. Make changes to the group policy
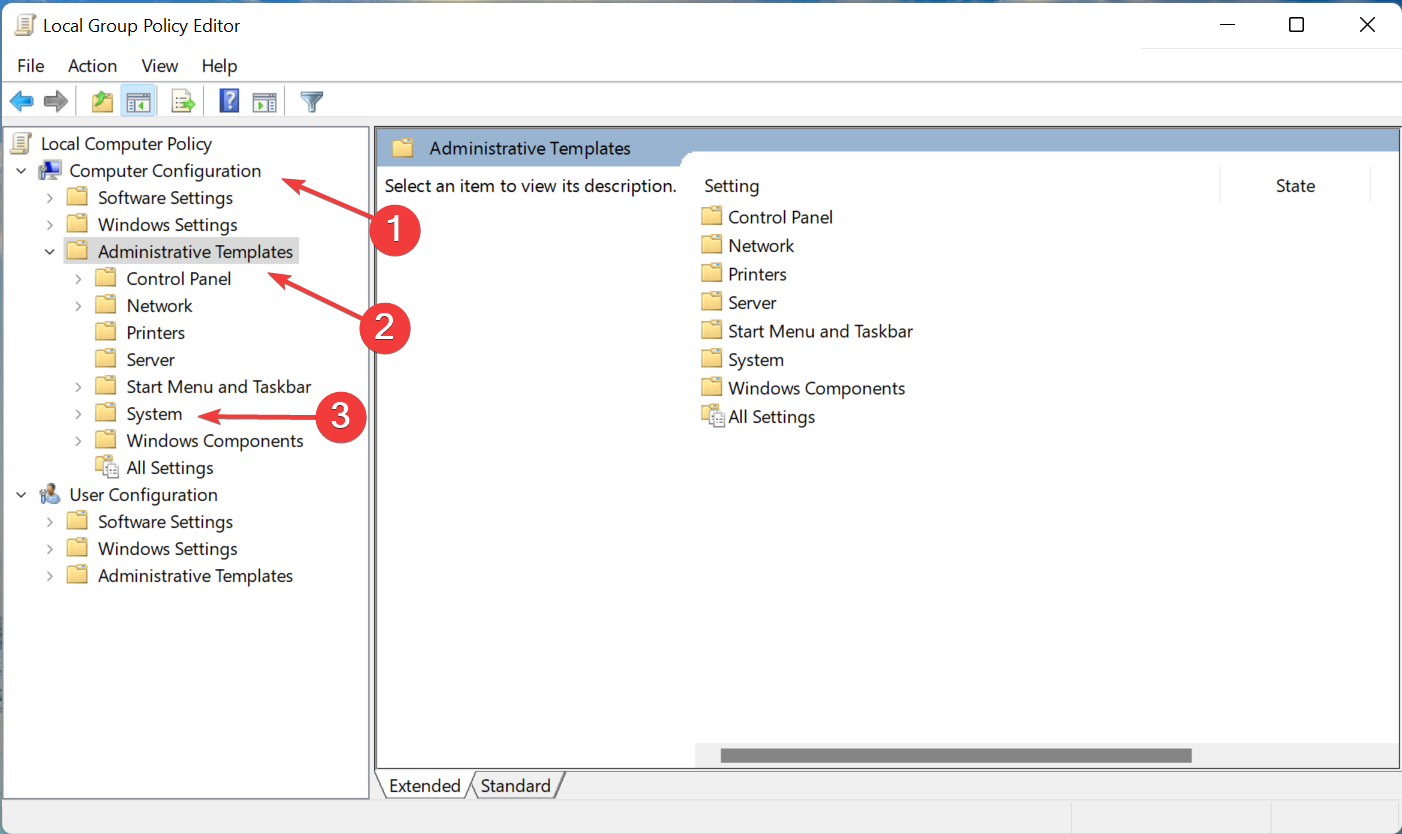
- Press Windows + R to launch the Run command, type gpedit in the text field, and either click OK or hit Enter to launch the Local Group Policy Editor.
- Now, double-click on Administrative Templates under Computer Configuration and then on System from the options under it.

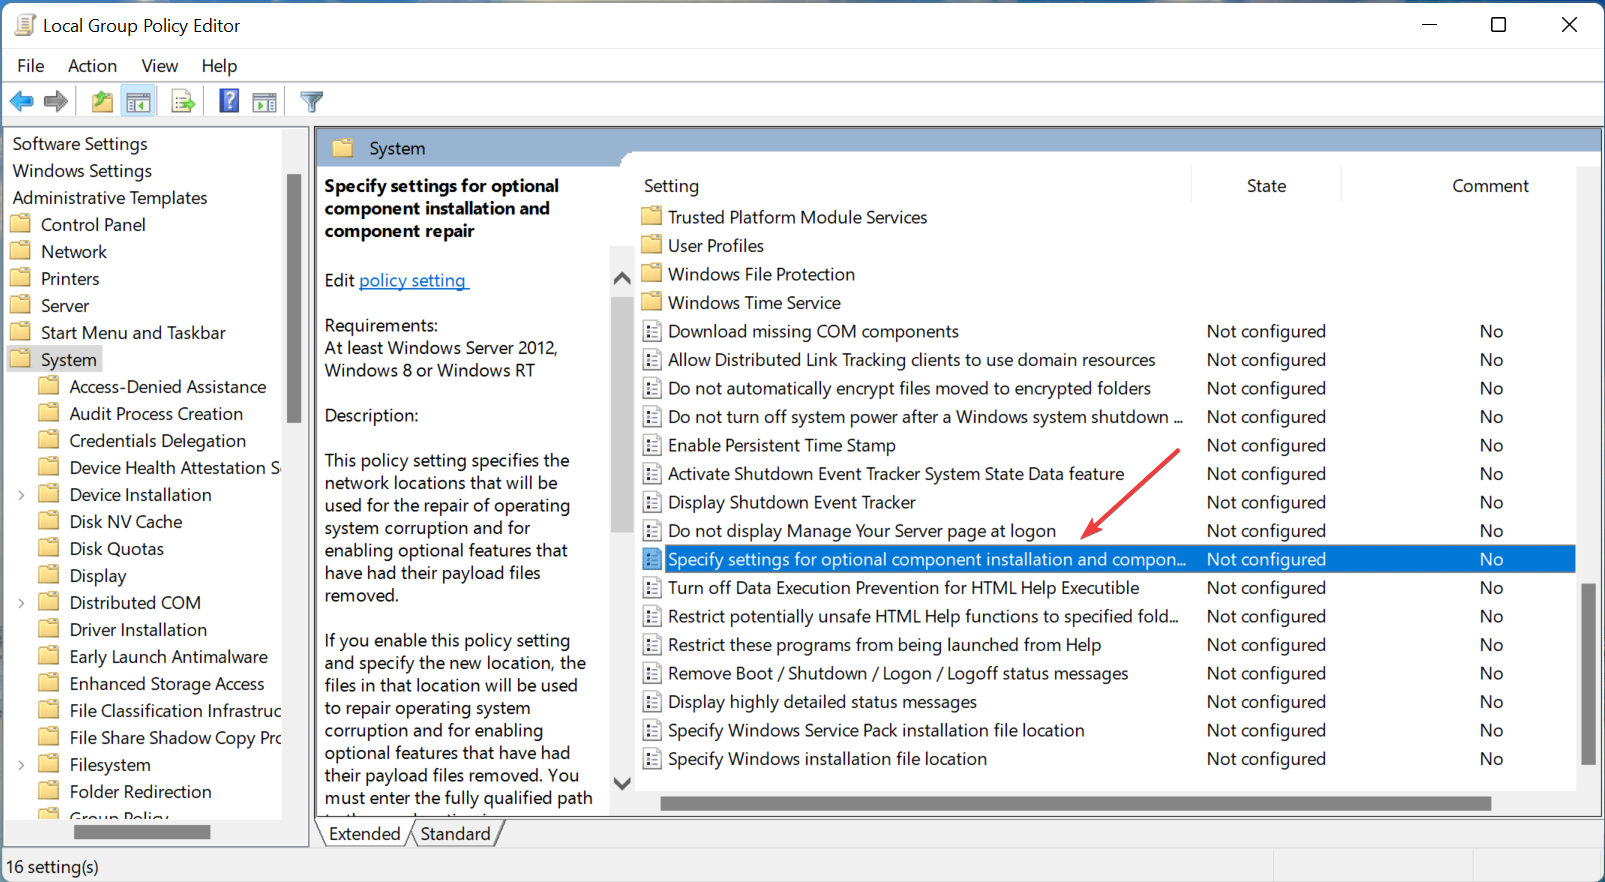
- Double-click on the Specify settings for optional component installation and component repair policy on the right.

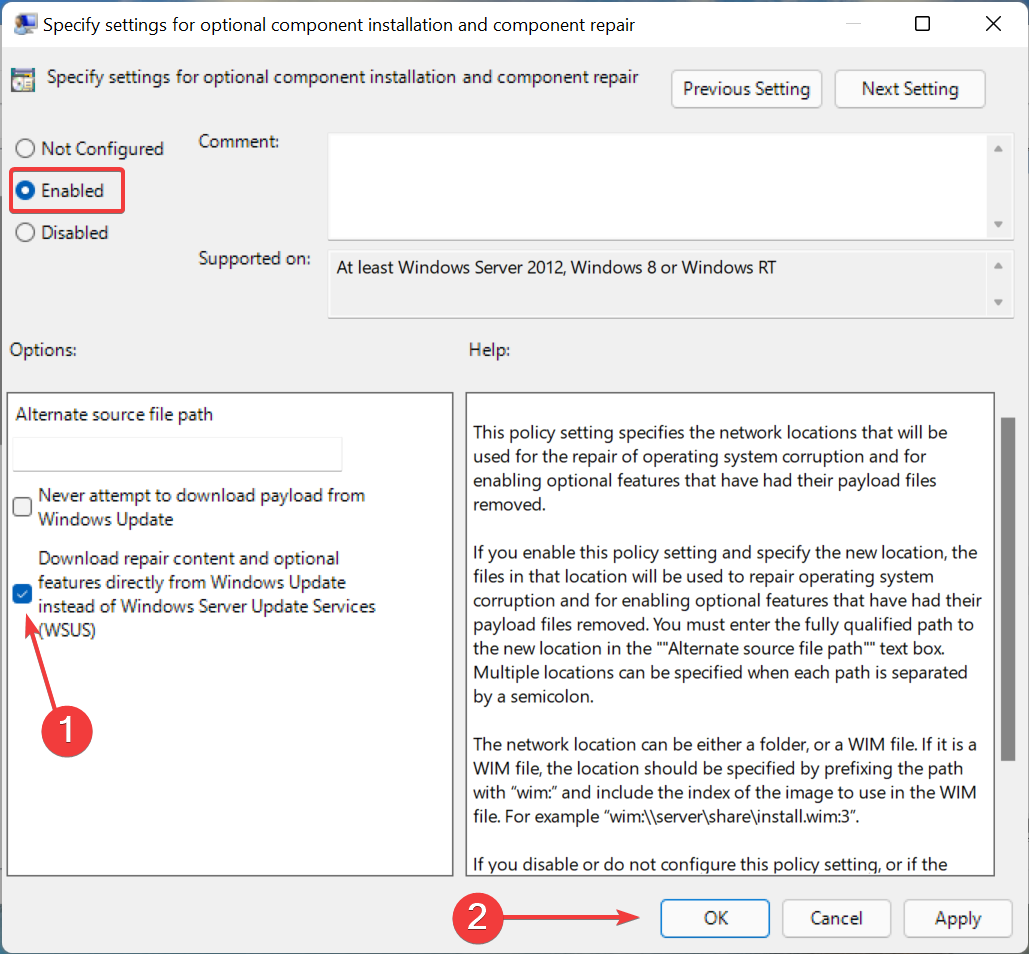
- Next, select Enabled from the top, tick the checkbox for Download repair content and optional features directly from Windows Update instead of Windows Server Update Services (WSUS), and then click on OK at the bottom to save the changes.

- Once done, restart the computer for the changes to come into effect.

The three methods listed here should have helped you install RSAT in Windows 11, and prevented or bypassed any error.
Also, if RSAT crashes frequently, learn how to fix it because this indicates compatibility issues and can lead to problems. Besides, learn all the ways to get RSAT in Windows 11.
Keep in mind that you can’t install RSAT on Windows 11 ARM, so if you’re using that version you’ll have to wait for Microsoft to add support for it.
Tell us which fix worked for you in the comments section below.


User forum
0 messages