Download & Install RSAT on Windows 11 + Offline Installer
Access settings menu for quick access

RSAT on Windows 11 is an incredibly useful tool that makes remote managing simple and easy, and today, we’re going to take a closer look at this feature and see how to properly install it.
How can I install RSAT on Windows 11?
1. Use the Settings menu
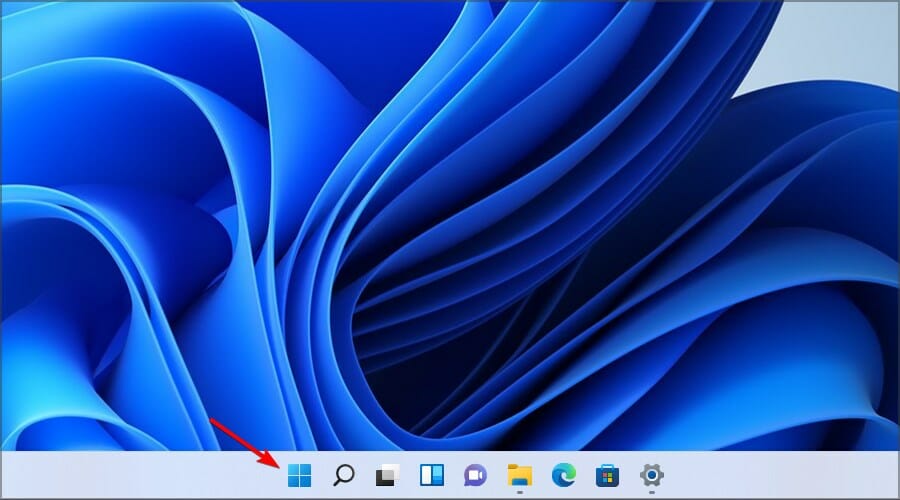
- Press the Start menu button in the Taskbar.
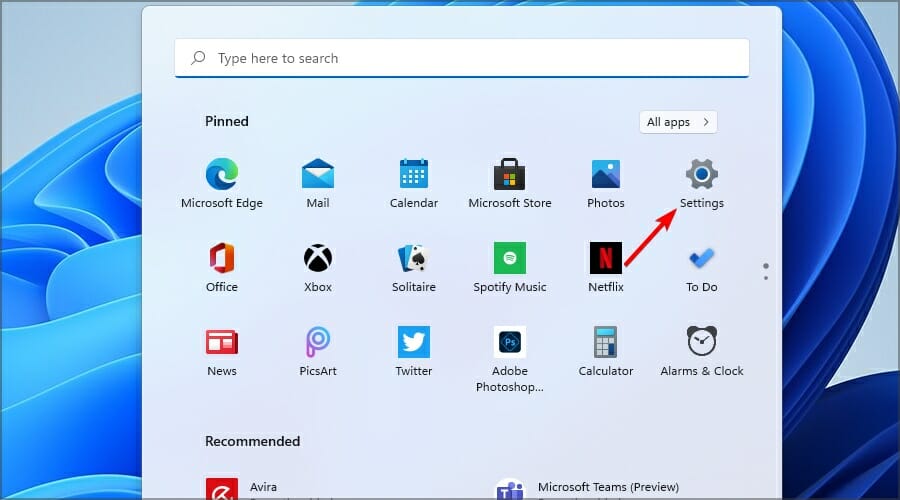
- Now click the Settings icon.
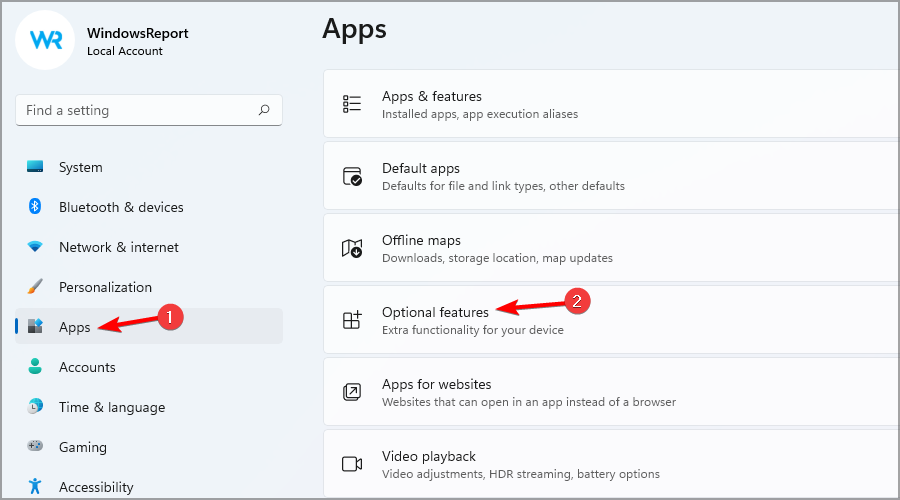
- From the left-side menu, select Apps, then click on Optional Features on the right-side menu.
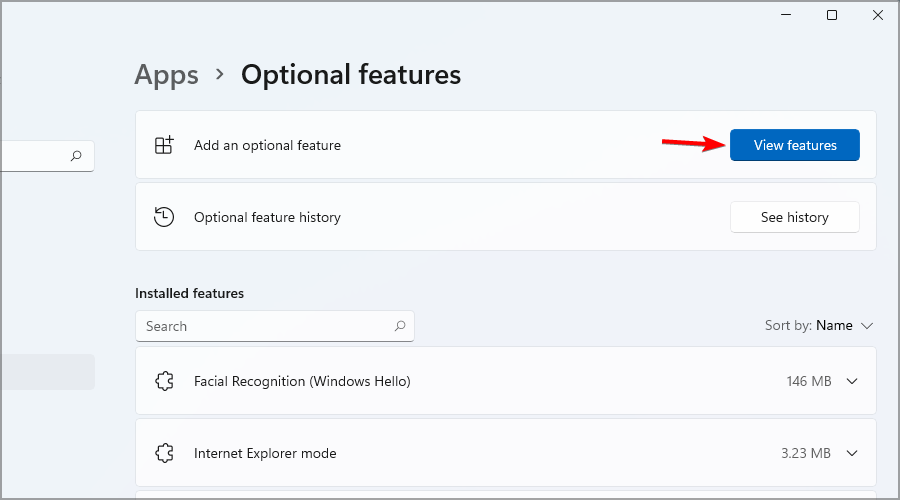
- Now click on the View features button, which is colored blue.
- Type RSAT in the search tab and select all the variants you want to install. Click Next to proceed.
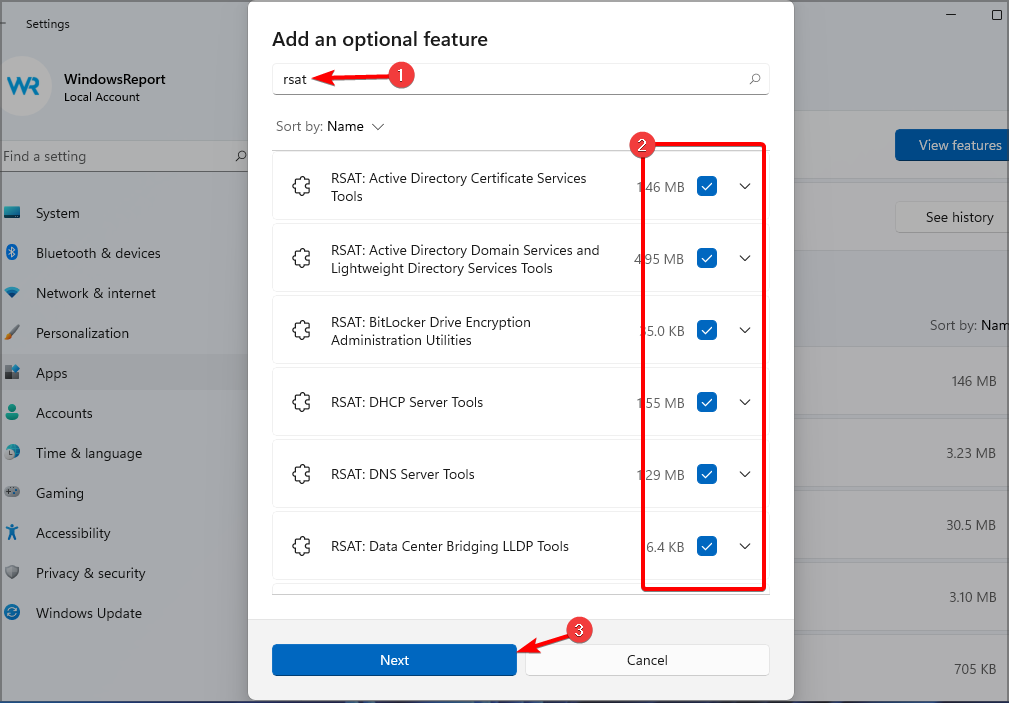
- Wait while the selected components are installed.
A few users reported that RSAT isn’t available in Optional features, but we tackled that issue in a different guide.
2. Install RSAT on Windows 11 using PowerShell
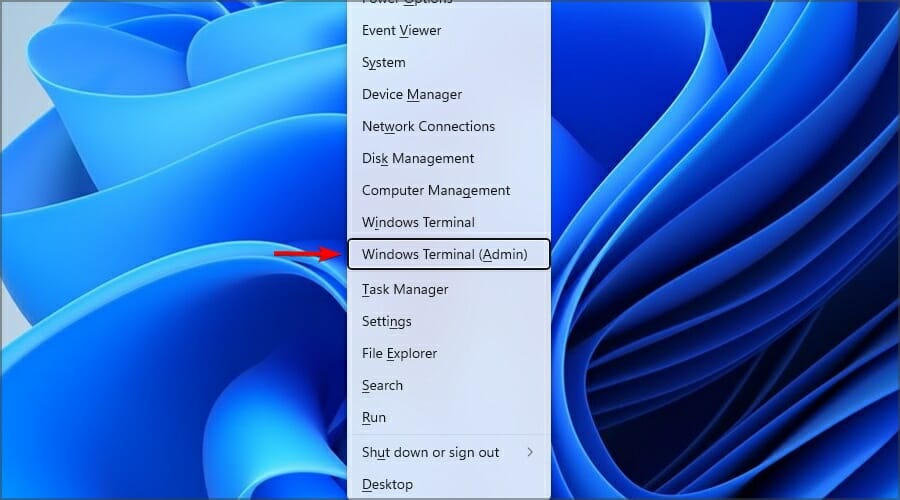
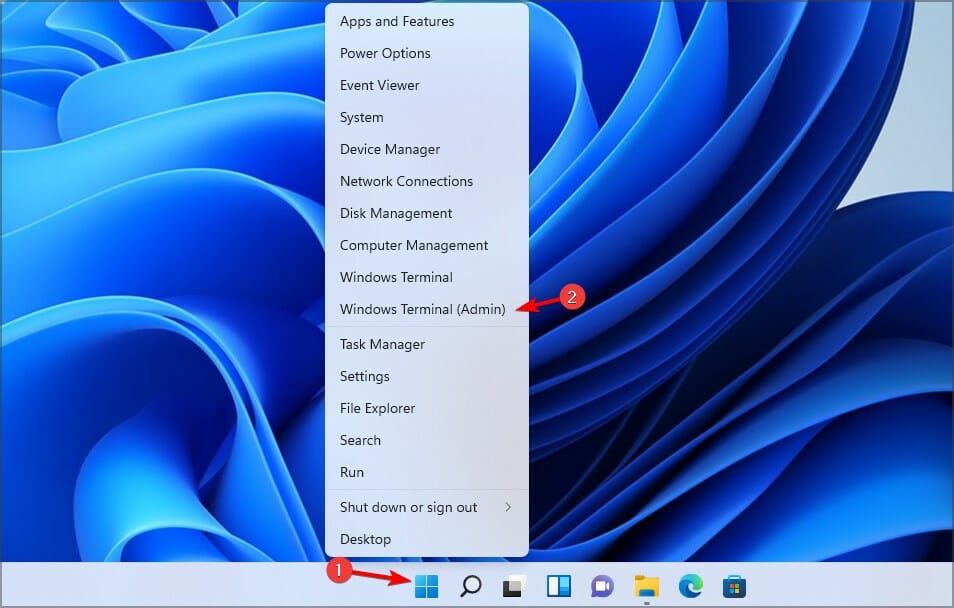
- Press Windows Key + X and select Windows Terminal (Admin) option.
- Type or paste the following command and press Enter to run it:
Get-WindowsCapability -Name RSAT* -Online | Add-WindowsCapability -Online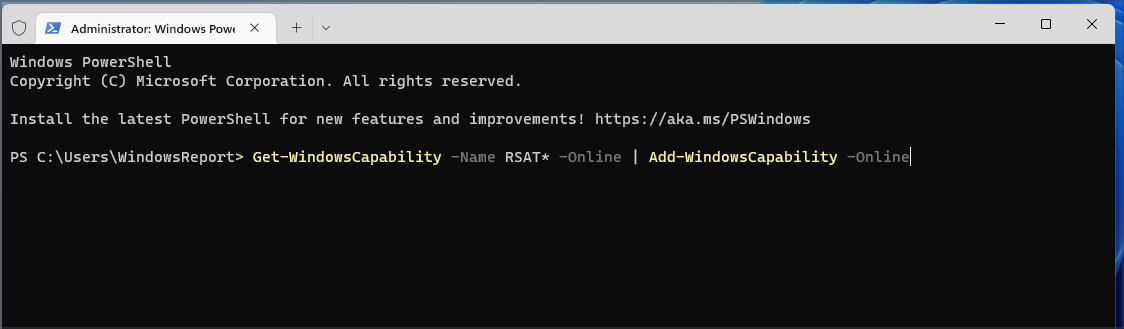
- The process will take a few minutes, depending on the capabilities of your system.
- Optional: Alternatively, you can install individual RSAT components. Do to that, use the following command but replace the tool-name with the actual name of the tool:
Add-WindowsCapability -Online -Name tool-name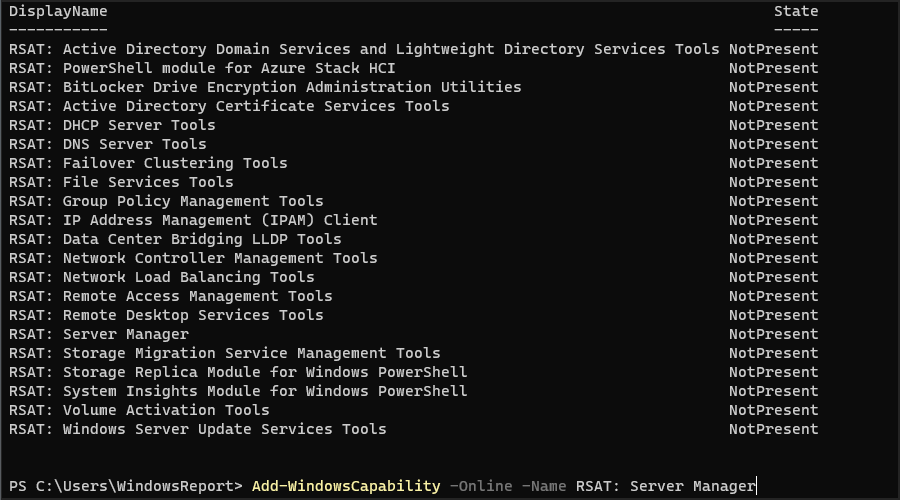
If you need more information, you can check all the RSAT components and their specifications on Microsoft’s dedicated webpage.
How can I check which RSAT features are installed?
- Right-click the Start button and select Windows Terminal (Admin) from the list.
- Type or paste the following command and press Enter to run it:
Get-WindowsCapability -Name RSAT* -Online | Select-Object -Property DisplayName, State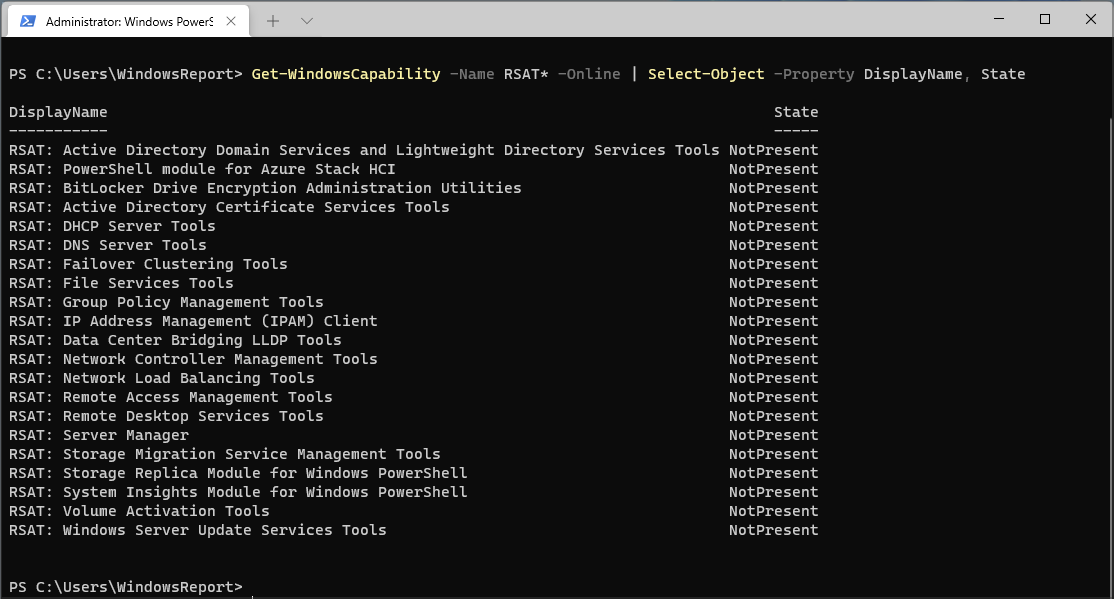
- Now, you will see the list of all RSAT components installed on your computer. This way, you will know exactly what to install. In our case, there isn’t any installed.
If you couldn’t install RSAT on Windows 11, check our detailed guide to complete the installation. In case the installation went without issues, head to our how to use RSAT guide to learn how to utilize it.
RSAT is necessary if you want to use gpedit.msc on Server Core remotely, so don’t hesitate to install it.
Keep in mind that these instructions won’t work if you’re trying to install RSAT on Windows 11 ARM since RSAT isn’t available on ARM platform.
Before you go, don’t miss our latest guide on how to download SysAid on Windows 10.
As you can see, it’s pretty simple to download RSAT on Windows 11, but if you encounter any issues, don’t hesitate to let us know in the comments.
Read our disclosure page to find out how can you help Windows Report sustain the editorial team. Read more


Improve this guide


User forum
8 messages