Apex CPU Time Limit Exceeded: How to Fix This Error
Often, excess nest loops will cause this error
4 min. read
Updated on
Read our disclosure page to find out how can you help Windows Report sustain the editorial team Read more
Key notes
- Users will likely encounter the apex CPU time limit exceeded error once the Salesforce timeout limit is exceeded.
- Firing many triggers on one update is one of the major causes of this error.
- To avoid this error, users can use map-based queries as it also saves a lot of time.
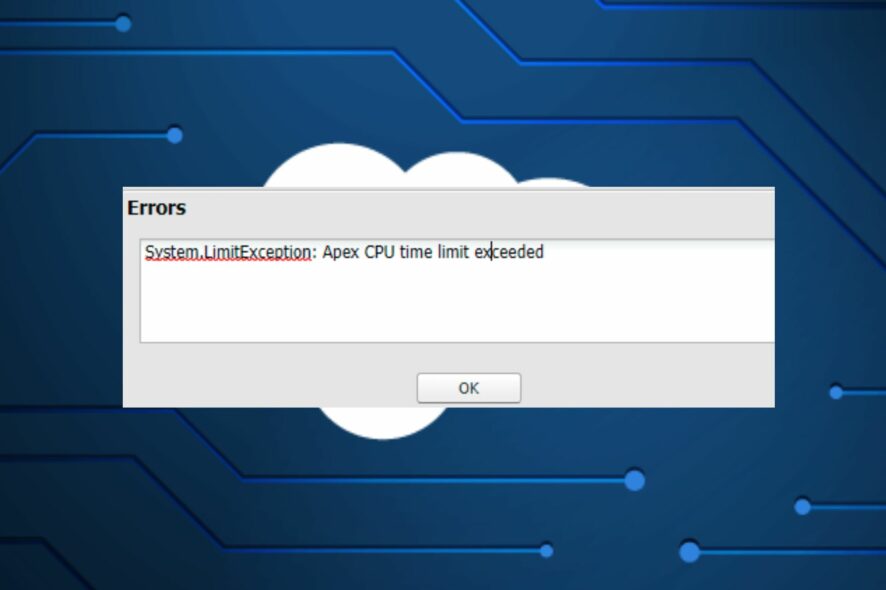
Some of our readers have recently reported that while writing and testing some codes, they encountered the apex CPU time limit exceeded error message.
Salesforce has a timeout limit for transactions based on CPU usage and once reached this error message comes up. In this article, we will discuss how to fix this issue.
What causes Apex CPU time limit exceeded error?
There can be several reasons why you are experiencing the apex CPU time limit exceeded error. Below are some of the potential reasons:
- LoggingEnabled set to True – The most likely reason for an error that says Apex CPU time limit exceeded when you submit an order is that the LoggingEnabled custom setting is set to true. Set LoggingEnabled to false to solve the issue.
- Trigger logic entered multiple times – Another reason behind the apex CPU time limit exceeded is that the trigger logic is fired multiple times. Once trigger logic ends, it is followed by workflow to update the record which then causes the trigger logic to re-enter. This can then cause the CPU timeout error.
- Excess nested loops – Loops with more than two levels can significantly lengthen CPU time. Instead of cramming too much into a single set of nested loops, try employing multiple code blocks.
- Code in the managed packages – This is, unfortunately, a BlackBox, if the code in a managed package takes too long to execute, it will result in this error. To fix this, you need to reach out to the vendor for assistance.
Since you now know some of the possible reasons behind the apex CPU time limit exceeded error, let us proceed to how you can fix this problem.
How can I fix the apex CPU time limit exceeded error?
Before trying any of the advanced solutions provided in this article, whenever you encounter the error, try to perform the following preliminary checks:
- Disable any unnecessary Process Builder flows if possible.
- Check your CPU temperature on Windows 11.
- Restart your PC.
- Avoid multiple automation per object – every object should have an automated plan based on the demands of the company and the Salesforce team supporting it
- Avoid Nested Loops – Using Maps is a quick and easy approach to eliminate nested loops.
Having tried the above checks, and the issue persists, you can now explore the advanced solutions provided below.
1. Set LoggingEnabled to False
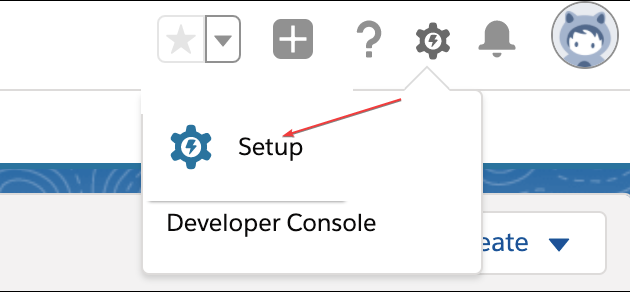
- Go to the Lightning environment, click the Settings gear icon, and click Setup.
- Type Custom Settings in the Quick Find text field then click on Custom Settings.
- Navigate to General Settings and click the Manage link next to it.
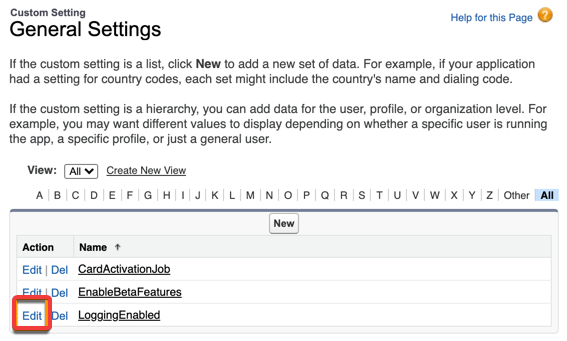
- Then, click on the Edit link next to LoggingEnabled.
- Now, change the text in the Value field with the word false and click on Save.
The LoggingEnabled setting uses more processing power than is necessary for day-to-day operations. Changing the settings to false reduces the likelihood of receiving the apex CPU time limit exceeded error.
2. Use Salesforce Flow instead of Process Builder
Process builder processing is reported by many users to always trigger the apex CPU time limit error.
According to Salesforce, process builders and workflow should not be used for automation, but using Salesforce Flow can save users from CPU timeout errors.
3. Use Map-based queries
To avoid extra loops, use map-based queries. Below is an example of a map query used for loop to get record ID which increases the CPU time:
List<Account> accList=[Select Id,Name from Account limit 100]; Set<Id> setIds=new Set<Id>(); for(Account acc: accList){ //More CPU time for sure due to looping setIds.add(acc.id); }
Using Map query saves the CPU a great deal of time and it has proven to be one of the best solutions for the apex CPU time limit exceeded error.
Alternatively, you can explore our dedicated guide on the best ways to limit the CPU usage of a process for further information that can help you prevent the error next time.
And that’s it on how to fix the apex CPU timelimit issue. If you have any questions or suggestions on the best fix to apply for this issue, do not hesitate to use the comments section below.



User forum
0 messages