Set Up Automatic Reply in Outlook [Step-by-step Guide]
Don't be shy to explore more email clients with even easier auto-reply rules.
2 min. read
Updated on
Read our disclosure page to find out how can you help Windows Report sustain the editorial team Read more
Key notes
- Setting an automatic reply in Outlook is not such a complicated task.
- We’ll show you how to do it step by step – all it takes is a bit of settings tweaking.
- While Outlook is as popular, you mustn’t ignore other possibilities.
- Feel free to explore more email clients with easy automatic reply rules!
Did you know that you can set up an automatic reply in Outlook?
This feature can be incredibly useful, and in today’s article, we’ll show you how to set it up on your PC.
How to set up an auto-reply message in Outlook?
1. Enable Automatic Replies in Outlook
If you’re using an IMAP or POP email account, you need to enable automatic replies on your own by following these steps:
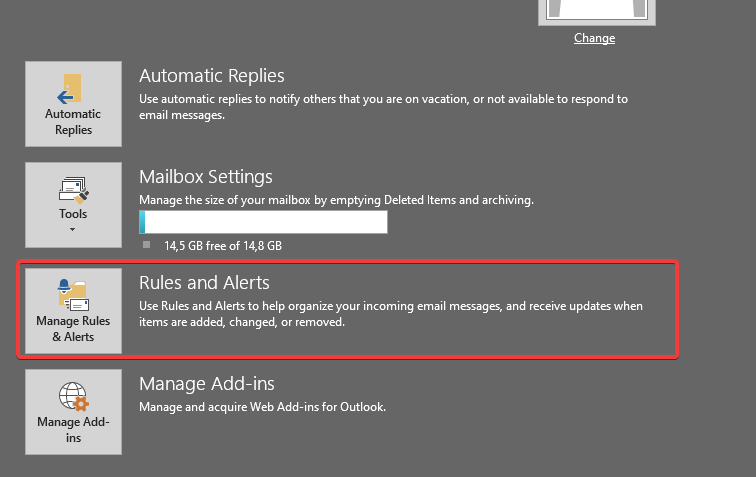
- Go to File > Manage Rules & Alerts.
- Choose Email Rules and check the checkbox next to the auto-responder rule.
- Click OK to save changes.
2. Create an email template in Outlook
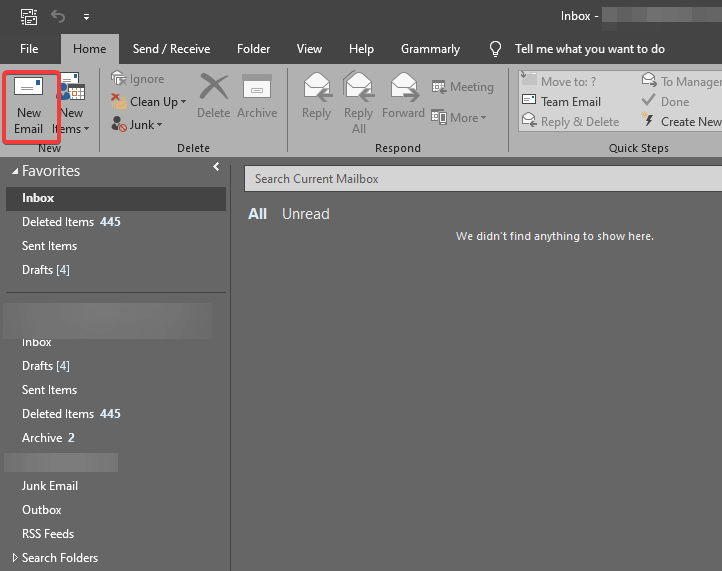
- Select New Email from the toolbar.
- Create a template message. Once you’re done, click on File > Save as.
- Set Save as type to Outlook Template and enter the desired name. Click the Save button.
3. Create Automatic Reply Rule in Outlook
Another method to set up automatic reply in Outlook is to set up an automatic reply rule on the app. This will ensure that Outlook will reply in your stead to messages you receive, using a template designed by you.
1. Open the Outlook app.
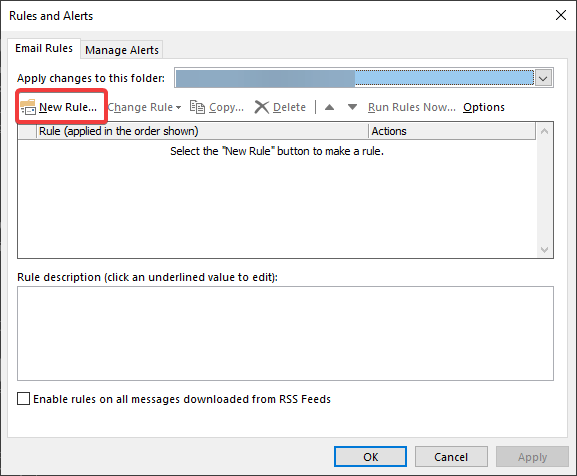
2. Go to File > Info > Manage Rules & Alerts.
3. Navigate to the Email Rules tab.
4. Select your email account in the Apply changes to this folder field.
5. Click on New Rule.
6. Select Apply rule on messages I receive in the Start from a blank rule field.
7. Check the Where my name is in the To box option and click Next.
8. Select Reply using a specific template.
9. In Step 2: Edit the rule description field, click on the specific template link.
10. Set Look In to User Templates in File System.
11. Select the template you created in the previous section and click Next.
12. In Select exceptions list, check the except if it is an automatic reply check box.
13. Enter the desired name for this rule and select Turn on this rule check box.
14. Click Finish and OK and the automatic reply should be enabled.
4. Enable Automatic Replies for Exchange Accounts
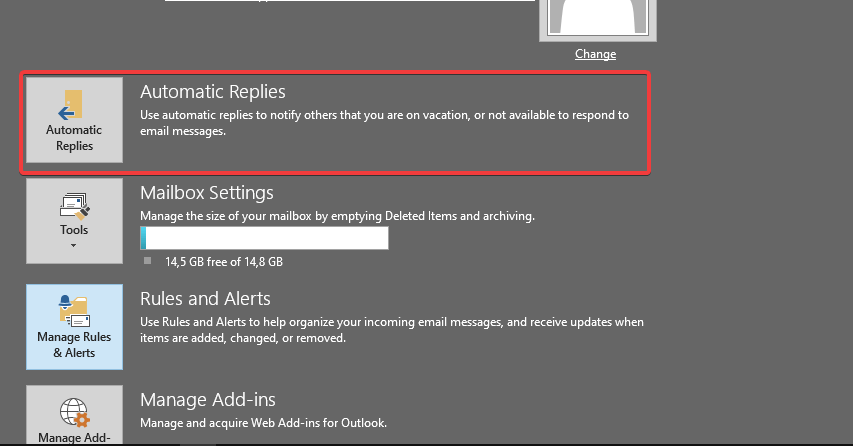
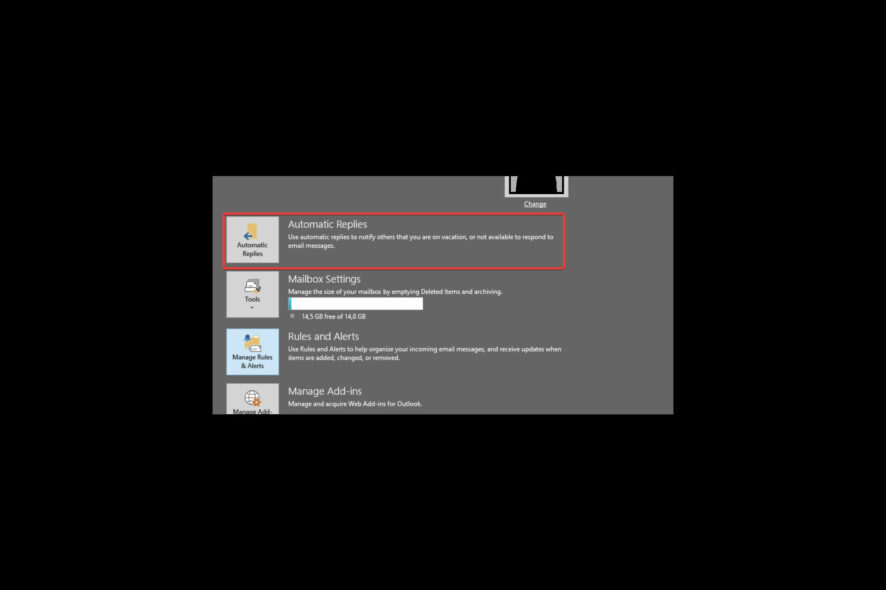
- Go to File > Info and select Automatic Replies.
- Select Send automatic replies.
- Enter the desired message in the text box.
- Optional: You can check Only send during this time range option if you want to send automated replies in a specific time frame.
- You can also configure different messages for contacts inside your organization or outside of your organization by selecting the appropriate tab.
- Once you’re done, click OK.
There you go, a quick and easy guide on how to set up an automatic reply in Outlook. Should you find automatic replies too heavy as a message, find out how you can add a reaction to your Outlook emails.
If you found this helpful guide, feel free to let us know in the comments section below.

