Download BlueStacks Android emulator for Windows 10/11
Version 5.1.100.1020

Bluestacks reached its fifth iteration for Windows PCs: BlueStacks 5. You can download it for free from the tool‘s official website.
With the help of this Android emulator, you can play your favorite mobile games on your Windows 10 PC up to six times faster than on any phone.
Of course, that also depends on the number of resources that you have on the system you are running it on.
BlueStacks is an American technology company that gave its name to the Android emulator for Windows and Mac.
This is one of the best free Android emulator recommended for playing games like PUBG Mobile or Lineage 2 Revolution and enjoy a new gaming experience on your PC.

BlueStacks
Get the best Android apps and run them in the comfort of your Windows system.How can I download BlueStacks for Windows 10?
Follow these steps to install BlueStacks on Windows 10:
- Download BlueStacks. You can also download it and get a free game so go ahead and enjoy it!

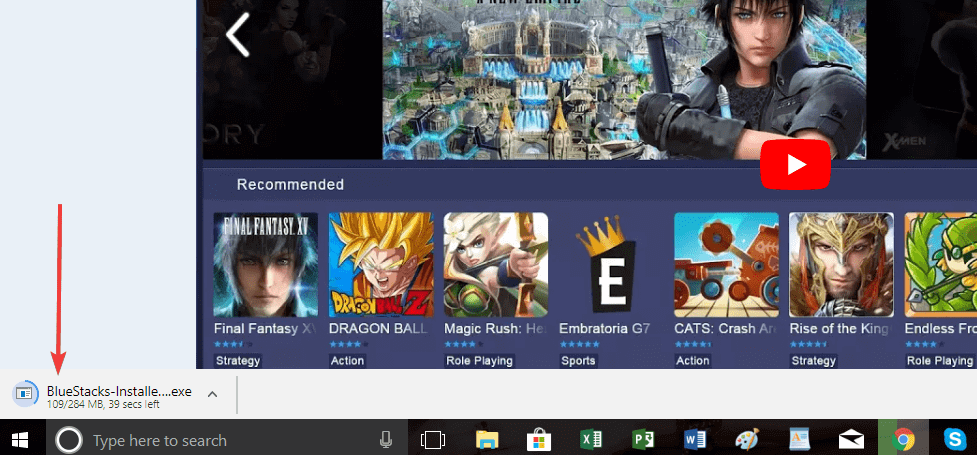
- Next, you will see the .exe file for BlueStacks-Installer being downloaded. Once it’s finished, click on it and run it.
- If you get the Do you want to run this file? pop-up, just ignore it. BlueStacks is completely safe and will not harm your PC. Go ahead and click Run.
- Do the same for the next step, if you get the Do you want to allow this app to run on your device? Click Yes.
- Now, you’re almost there. Go ahead and click Install to start installing BlueStacks on your PC.
- Wait until the installation process is finished. As suggested by BlueStacks, you might want to disable your antivirus temporarily. Don’t worry, it won’t let any viruses in. Once it’s finished, click on Complete.

- Now, you need to wait a couple of minutes in the Starting the Engine step of the process. This is needed for the Android Emulator to assess your PC performance and work accordingly.
- Next, you will need to log in with your Google account. This might seem annoying, but it is actually a sign that BlueStacks has a professional relationship with Google, thus being able to download any Android game or app on your PC. If you are already logged in with a Google account, make sure to use that one.

- The final step is to make sure everything is running smoothly on your PC. Go ahead and install your favorite game.
All games come from the Google Play Store itself, and most of them are free. Install one, see if it runs on Bluestacks. You can download any Android game that you wish.
How can I download Bluestacks for Windows 11?
- Head to the Bluestacks official website and click the Download button for your preffered version.

- Wait for the installer to download, then click the exe file.

- Click Yes in the User Account Control.

- Now click on the Install now button.

- Let the wizard download all Bluestacks packages and install them to your PC.
- When the installation is complete, the wizard will automatically start Bluestacks.

- Now you can get apps from the Play Store or Game Center. You can access and use any mobile device app that is available in the Play Store.

- Sign up with your gmail account and enjoy mobile apps on your PC.
If a game is not available in your country you can circumvent that problem using one of the best VPNs for Bluestacks to run Android apps & games on PC.
Read our disclosure page to find out how can you help Windows Report sustain the editorial team. Read more


Improve this guide


User forum
1 messages