Can’t put your laptop to sleep? Here are a few solutions
Key notes
- It’s frustrating when you can’t put your laptop to sleep. You clearly have other things to attend to.
- In this scenario, change the Windows Update Services setting or the power settings in Windows.
- In case of owning a Mac, check out these tips to keep the music playing when the laptop is closed.
- For similar tips, do not hesitate to visit and even bookmark this Laptop & Computer Issues Hub.

Sleep mode helps you turn off your computer’s system, or parts of it, at least until the time you don’t need them.
For laptops, it helps save the battery, but for both PC and laptop, you can prevent burn-in for the monitor screen.
With the Windows operating system, there are several options you can use to conserve power when you’re not using your laptop or computer, like Sleep, Hibernate, and/or Hybrid Sleep.
However, sometimes you can’t put the laptop to sleep, and this can be annoying because you may have other things you want to attend.
Another option would be to want to keep it off such that others won’t access your documents, yet you don’t really want to shut it down completely.
Sleep is usually controlled by your display driver, so if this happens, there could be something preventing your laptop from going to sleep, so try the troubleshooting fixes below to resolve the issue.
What to do if my laptop won’t go to sleep?
- Scan for malware
- Change Windows Update Services setting
- Install version 9 or 10 of the Intel Management Engine Interface (MEI) driver
- Run the Windows 10 Show or Hide Updates troubleshooter package
- Reset the Update Services setting
- Change the power settings in Windows
- Disable Hybrid sleep
- Generate Power Report
- Easily fix the System Required Request error
1. Scan for malware
Malware applications can cause sleep issues. That’s why you should scan your laptop for malware in order to resolve the issue. As always, you can use Windows Defender or your own antivirus program.
However, if you want better security, we recommend you use a third-party antivirus as well. Many good security utilities have very high detection rates and are equipped with a complete set of features that ensure real-time protection against all threats.
If you do not know where to start, you can try out a few options, because most worthy antivirus software have free trial versions.
2. Change Windows Update Services setting
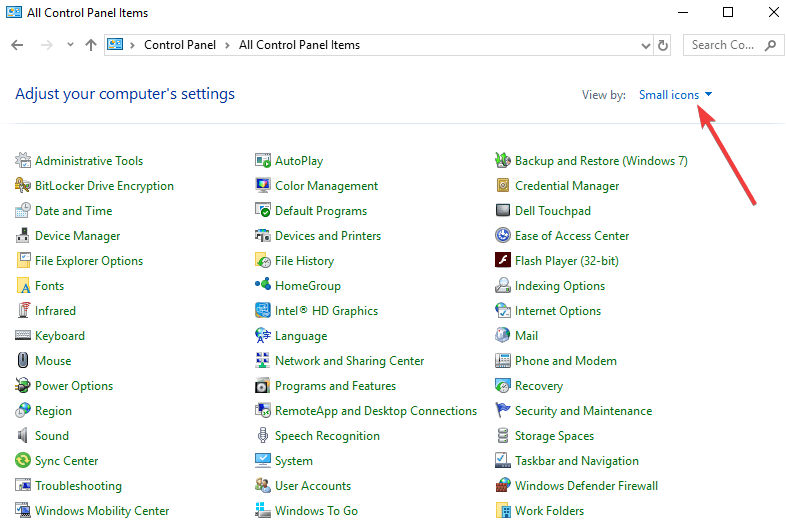
- Click Start and select Control Panel.
- Select View by and set to Small icons.
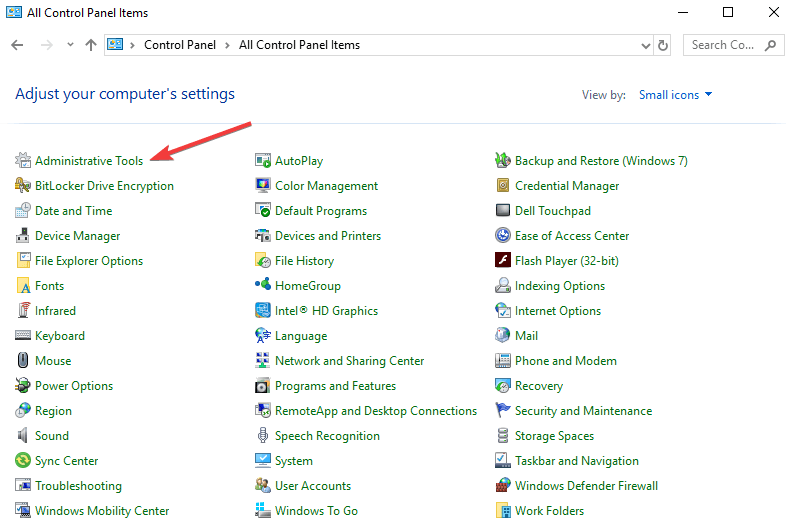
- Click Administrative Tools.
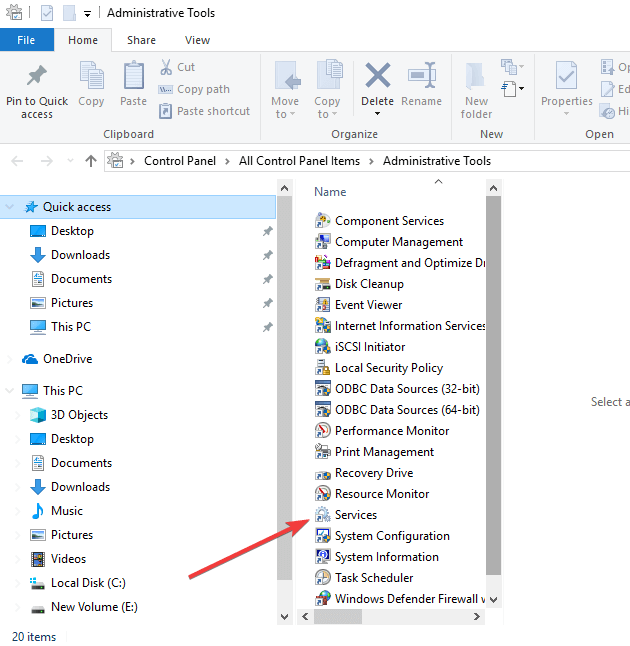
- Open Services.
- Double-click Windows Update to open Properties.
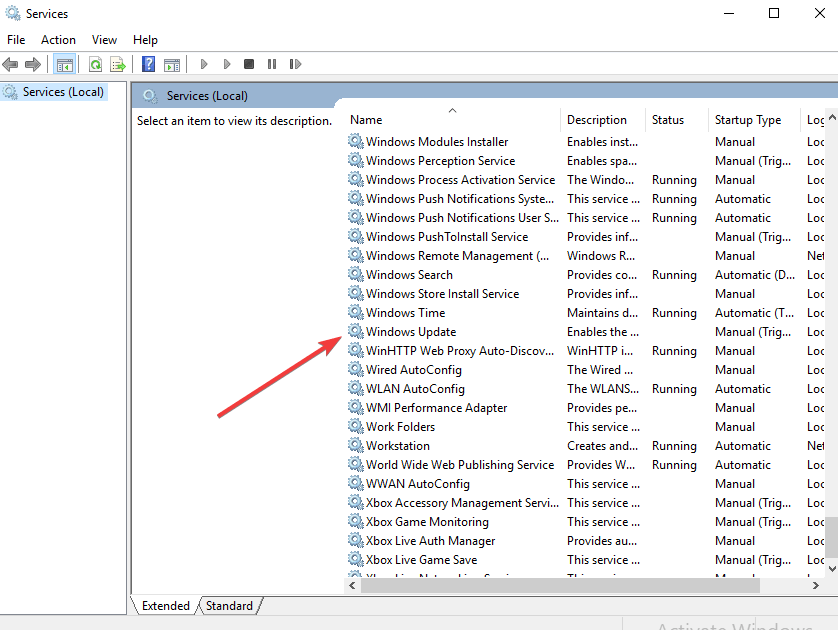
- Click Stop to stop the service from running.
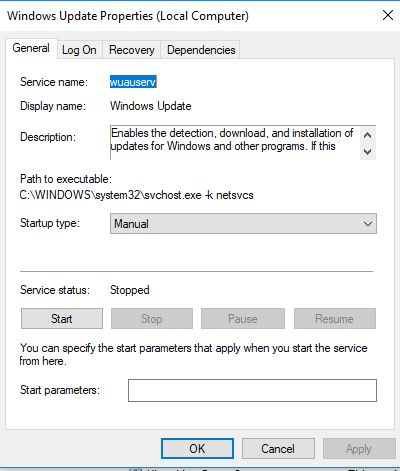
- Select Manual on the Startup Type drop-down menu
- Click OK.
3. Install version 9 or 10 of the Intel Management Engine Interface (MEI) driver
- Ensure you have the correct version of the MEI driver installed.
- Go to your laptop’s manufacturer website.
- Type the computer model number and select your model number from the list.
- On the Software and driver results page, select Microsoft Windows 8.1 on the Version drop-down menu, and then click Change.
- Download the MEI driver version 9 or 10 from the Driver-Chipset
- If an MEI driver version 9 or 10 is not listed, download and install the appropriate driver from Version 9.5.24.1790 1.5M works for most models
- Install the MEI driver. If you receive a dialog warning about replacing a newer version of the software, accept it.
You do not need to uninstall version 11 before installing version 9 or 10. An existing version of the driver must be installed in order to install version 9 or 10.
4. Run the Windows 10 Show or Hide Updates troubleshooter package
Another option to consider is running the troubleshooter package. All you need to do is to hide updates to the MEI driver.
This will block your system from automatically reinstalling or showing updates for version 11 of the MEI driver.
5. Reset the Update Services setting
You can also try to change the Windows Update Services setting from Manual back to Automatic (Delayed Start).
After doing that, do not hesitate to restart your computer in order to complete the process.
6. Change the power settings in Windows
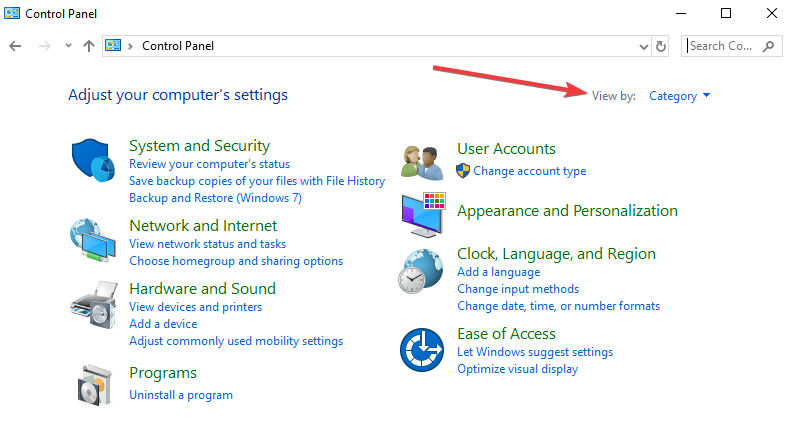
- Click Start and select Control panel.
- Click View by and set to Small icons.
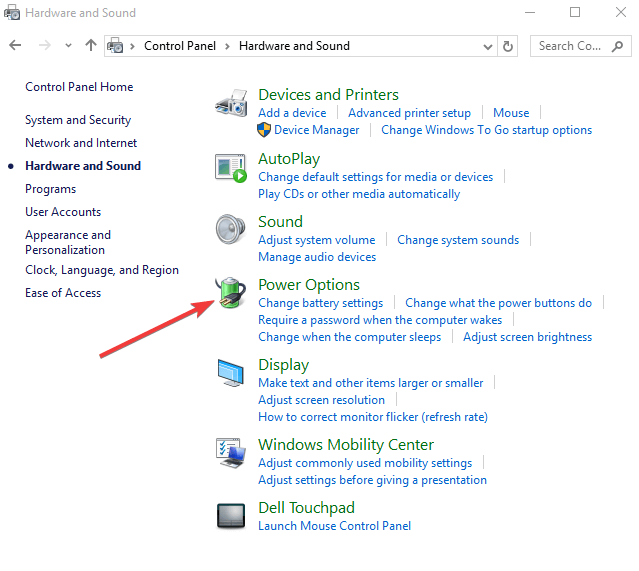
- Click Power Options.
- Click Change plan settings next to the plan you want to change.
- On the Change settings for the plan window, choose the display, sleep, and brightness settings you want to use.
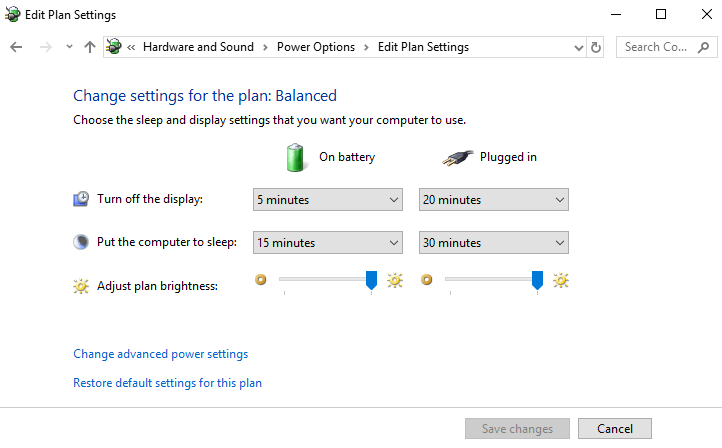
- To change more power settings, click Change advanced power settings.
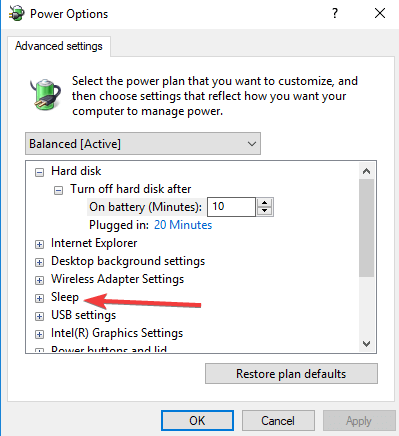
- On the Advanced settings tab, select the power plan from the drop-down menu
- Expand the category you want to customize
- Expand each setting you want to change, and select the values you want to use.
- Click OK, and then click Save changes.
- Restart the computer.
7. Disable Hybrid sleep
- Click Start and open Control Panel.
- Click View by and set to Category.
- Click Hardware and Sound.
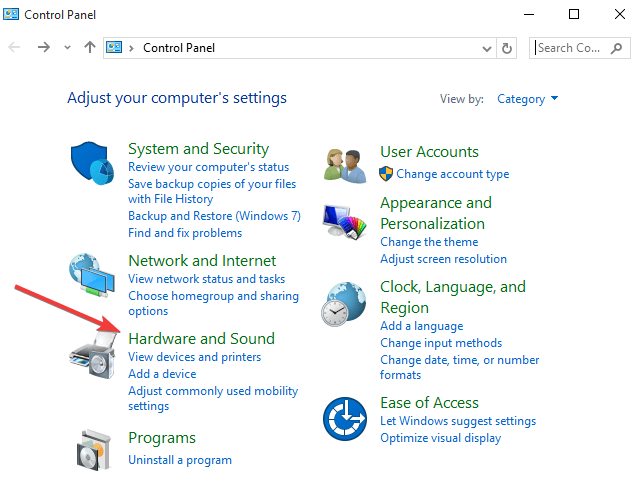
- Click Power Options.
- Click Change plan settings for the power plan that is selected.
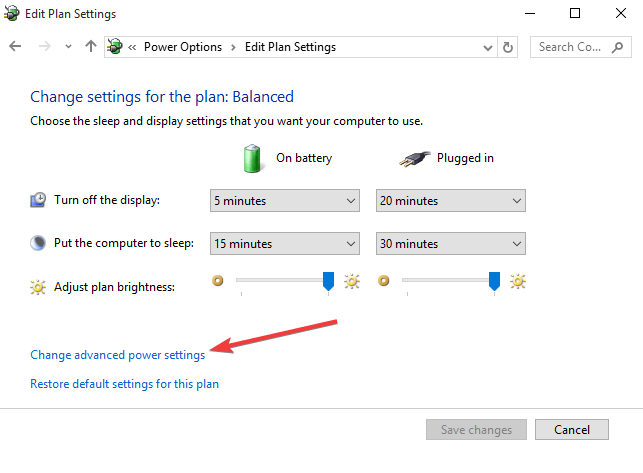
- Click Change advanced power settings.
- Expand Sleep.
- Expand Allow hybrid sleep.
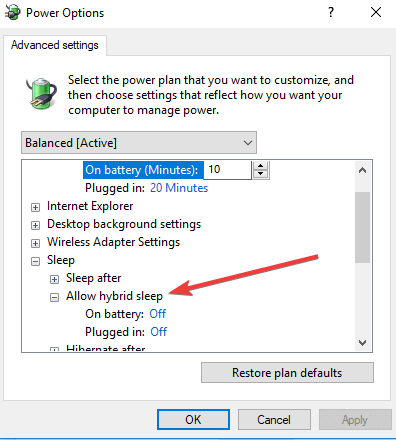
- Select Off from the On battery drop-down menu
- Select Off from the Plugged in drop-down menu.
- Click OK.
Hybrid sleep may cause your laptop not to go into sleep mode, but you can change the advanced power settings to disable this setting. use the above steps in that regard.
8. Generate Power Report
- Type CMD in the search box then right-click Command Prompt and select Run as Administrator.
- In the administrative command prompt, type in the following command: exe /energy.
- Look at the errors section.
- To view the report, go to C: Windows/System32 and open the energy-report.html file in your browser. Copy the report to your desktop then open from there.
The power report can reveal why you can’t put your laptop to sleep. To run it, do as described above.
9. Easily fix the System Required Request error
- Remove yourself from the Windows HomeGroup if you are joined to one as it can get corrupted or misconfigured causing the laptop to think there’s an active remote request, thus it won’t sleep. Open Control Panel > HomeGroup > Leave the homegroup.
- Turn off media streaming. This feature turns your computer to a local media server for access to media files. To turn it off, go to Control Panel > Network & Sharing Center > Change Advanced Sharing Settings > Media streaming > Choose media streaming options > Block All > OK. Restart your computer once this is done.
- Check the SRVNET driver as it is related to your network. Update your network card driver, or download it from the manufacturer’s site.
- Override SRVNET in your operating system such that even remote connections will be overridden so that your laptop can sleep. To do this, click Start > type CMD in search box > right-click Command Prompt > select Run as Administrator and type powercfg /requestsoverride DRIVER srvnet System. Your laptop should go to sleep after this. You can undo this command by typing powercfg /requestsoverride DRIVER srvnet.
One of the errors that cause your laptop not to sleep is the System Required Request: The device or driver has made a request to prevent the system from automatically entering sleep. Driver Name FileSystemsrvnet
The SRVNET error is the most common culprit when you can’t put a laptop to sleep. To resolve it, consider applying the above tips.
Did any of these solutions help? Let us know in the comments section below.
Read our disclosure page to find out how can you help Windows Report sustain the editorial team. Read more


Improve this guide


User forum
0 messages