How to Change the Motherboard Without Reinstalling Windows
You won't need to reinstall Windows if you change the motherboard
6 min. read
Updated on
Read our disclosure page to find out how can you help Windows Report sustain the editorial team Read more
Key notes
- In most cases, you can change your motherboard without reinstalling Windows since the OS will adjust itself after the hardware replacement.
- This is a highly technical process, and if you’re not careful, you can cause permanent damage to your computer.
- Keep in mind that changing your motherboard will remove your Windows license, so be sure to activate it again.
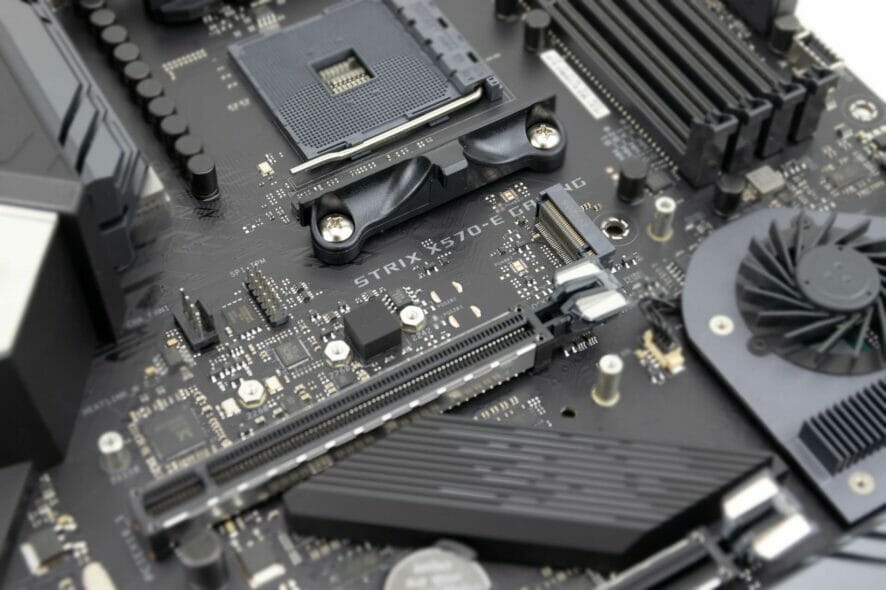
Upgrading your PC is relatively simple, and in most cases, you just need to remove one component and replace it with a new one and that’s it.
However, the process can get a bit complicated if you’re trying to upgrade your motherboard. This is because all your hardware is connected to it, so you’ll need to remove it beforehand.
In today’s guide, we’re going to show you how to change the motherboard without reinstalling Windows, so be sure to closely follow our instructions.
Do I have to reinstall Windows after replacing the motherboard? In most cases, that won’t be necessary. Windows will automatically detect that there was a hardware change and install the required drivers during the first boot.
However, if you have an OEM Windows license that is associated with a certain machine, you can’t change the components on that machine because the system will detect it as a new one.
In this particular case, you’ll have to completely reinstall the OS. If you’re looking for reliable hardware that is future-proof, consider getting a TPM 2.0 motherboard.
Do I have to activate Windows after replacing my motherboard? Although it’s not necessary to reinstall your operating system, you should know that Windows needs activation after the motherboard replacement.
This is expected since the PC stores the activation key on your motherboard, and if you replace it, the system won’t be able to find it.
How can I change the motherboard without reinstalling Windows?
1. Remove the old motherboard
- Turn off your PC and unplug it from the wall outlet.
- If your power supply has a switch on it, set it to the Off position.
- Leave your PC disconnected for a few minutes.
- Now remove the computer case.
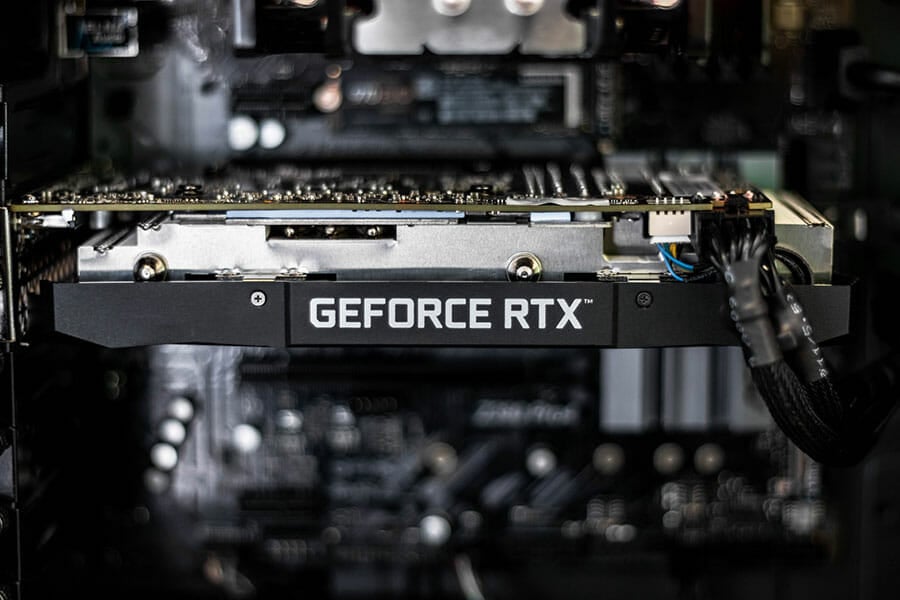
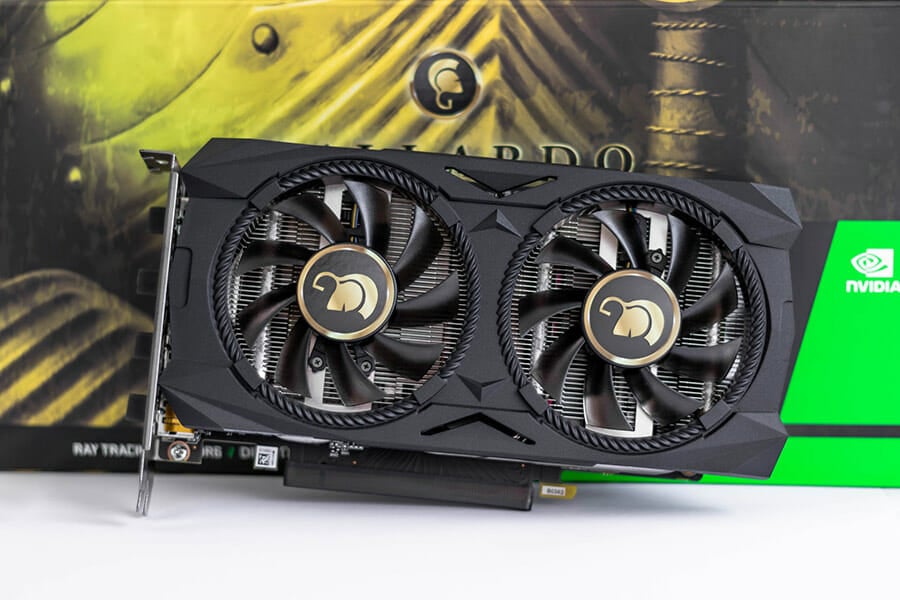
- First, remove any hardware that you have connected to your motherboard. This includes PCI-E cards, such as your graphics card, etc.
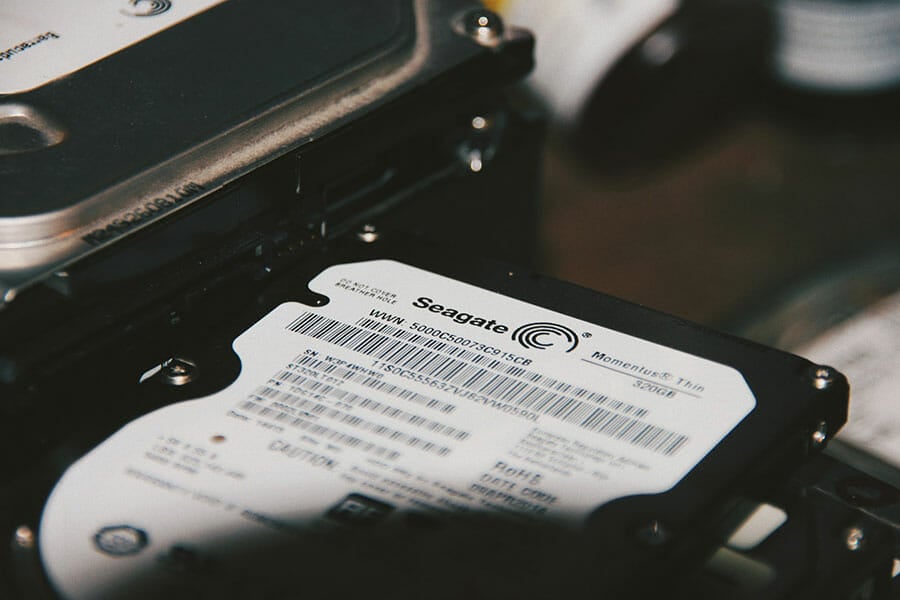
- Next, you need to disconnect any storage devices that are connected, such as HDD and SSD drives.
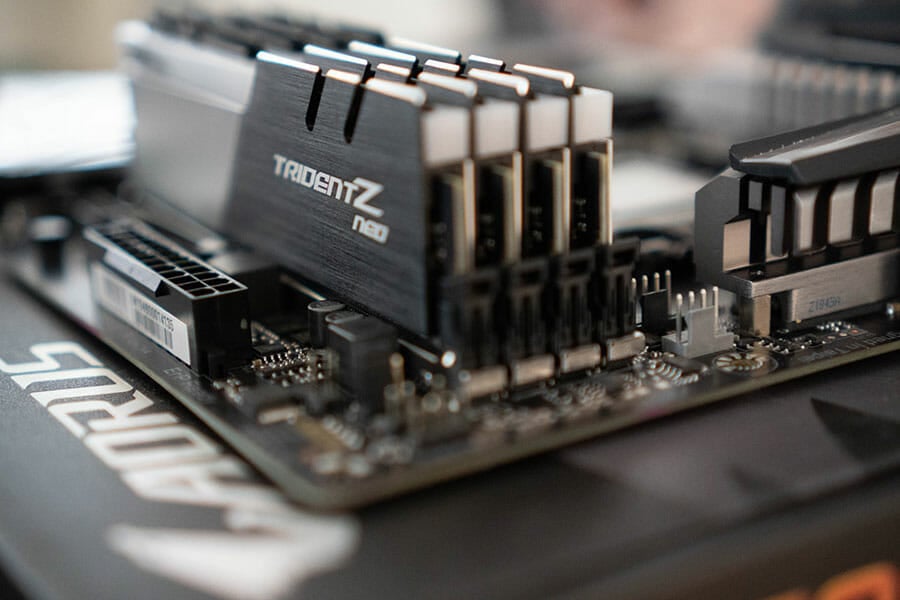
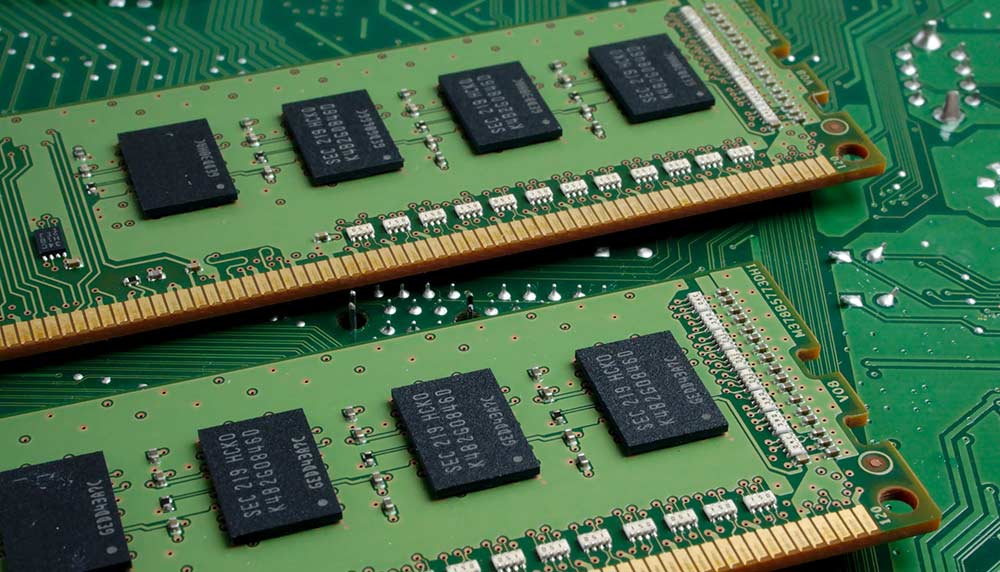
- Remove your RAM by releasing the lock mechanism. Store your modules in a safe location.
- Disconnect any power cables that are connected to your motherboard. There should be two connectors: a 20/24 pin connector and a 4/8 pin connector.
- Remove the CPU cooler. This process varies depending on the cooler that you’re using.
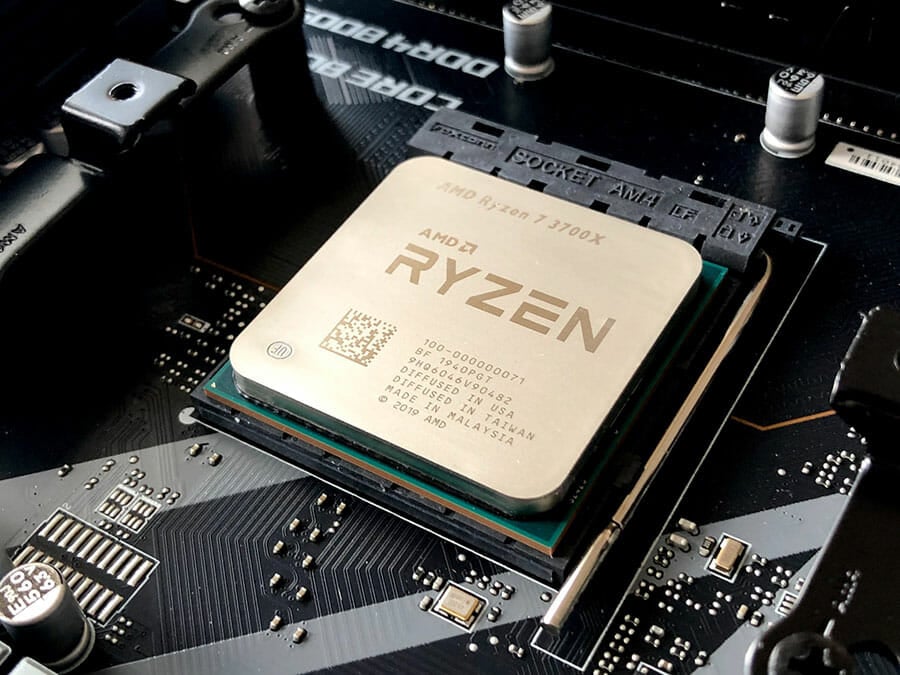
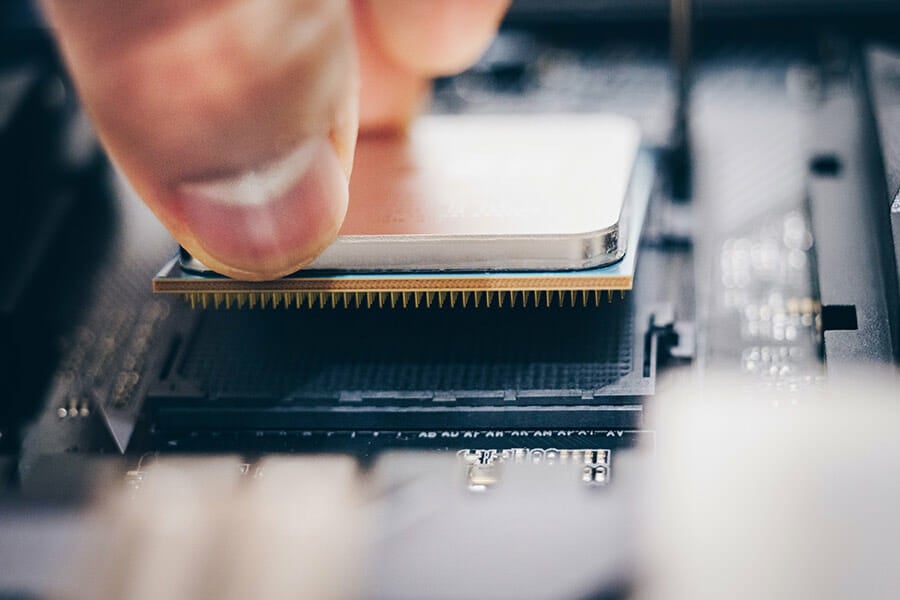
- Raise the CPU lever and remove your CPU carefully.
- Be careful that you don’t damage your CPU and store it in a safe location.
- Now you should disconnect the front panel connectors. This includes audio, USB, and power/restart connectors.
- Locate the screws that are holding your motherboard. There should be 4-8 of them. Remove the screws carefully.
- Double-check if all cables are disconnected from the motherboard. If any cables are left, you might snag them and damage your PC.
- Carefully remove your motherboard.
- Lastly, remove the IO plate from the back of the case.
2. Insert the new motherboard
 NOTE
NOTE
- Mount the RAM modules to the new motherboard.
- Now take your CPU and clean the thermal paste residue carefully with a microfiber cloth and rubbing alcohol.
- Now do the same for the heatsink.
- Raise the CPU level and insert your CPU carefully. The CPU can be inserted only in one position, and if you’re not careful you will permanently damage your CPU.
- The CPU should fit in the socket without any use of force. Once the CPU is in place, carefully lower the lever.
- Add the thermal paste to your processor. You need less than a pea-sized amount. If you use too much paste, it will spill over your motherboard and damage it, so be cautious.
- Now add your cooler and connect its power cable to the CPU fan pins on the motherboard.
- Take the new IO plate and add it to the back of the case.
- Take your motherboard and place it on the standoffs on your case.
- Use the screwdriver to tighten the motherboard to the standoffs.
- Now you need to connect the main motherboard power cable (20 or 24 pins) and the CPU power cable (4 or 8 pins).
- After doing that, take your storage devices and connect their cables to the motherboard.
- Connect the front panel cables. This includes power, USB, and audio headers. Keep in mind that power headers need to be connected to specific pins, so be sure to check your motherboard manual for instructions.
- Now add your PCI-E cards, such as your graphics card for example.
- Double-check once again if everything is properly connected.
- Close your computer case and set the switch on the power supply to the On position.
- Press the Power button on your case and wait for Windows to boot.
- Windows might perform the initial setup because of the hardware change.
How do I activate Windows after changing my motherboard?
1. Using the Settings app
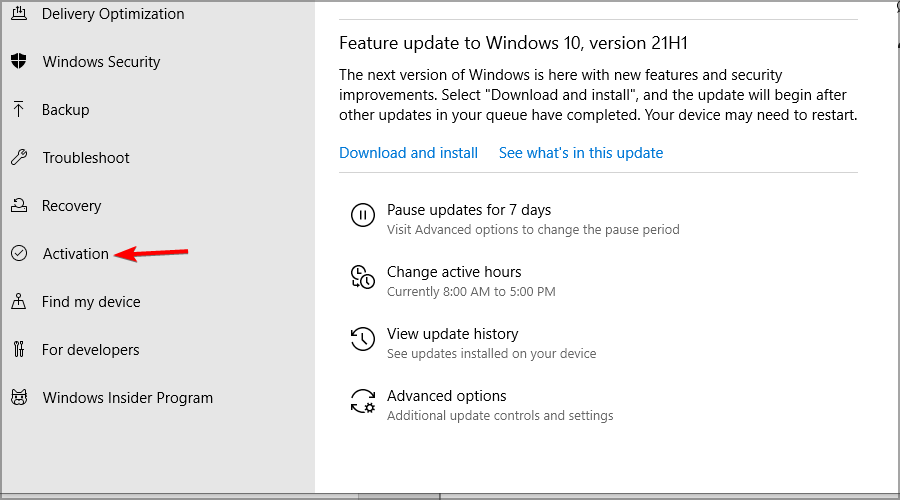
- Press Windows Key + I to open the Settings app.
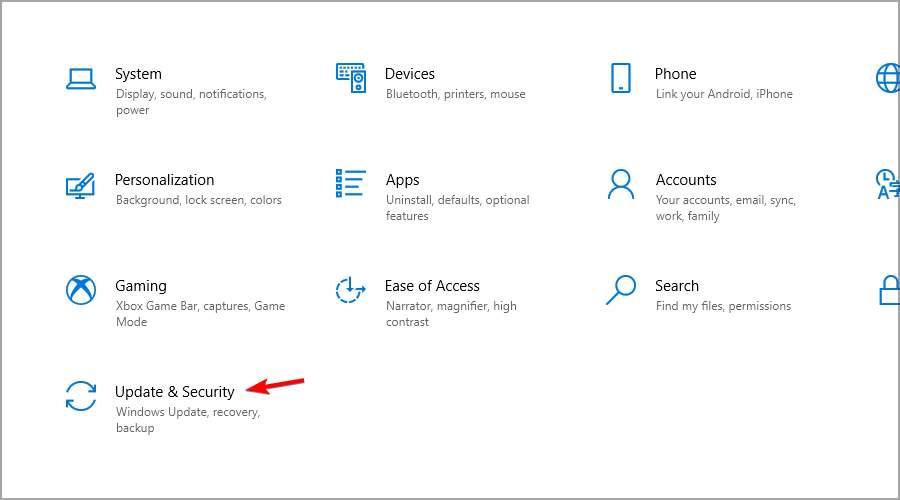
- Navigate to the Update & Security section.
- Select Activation from the left pane.
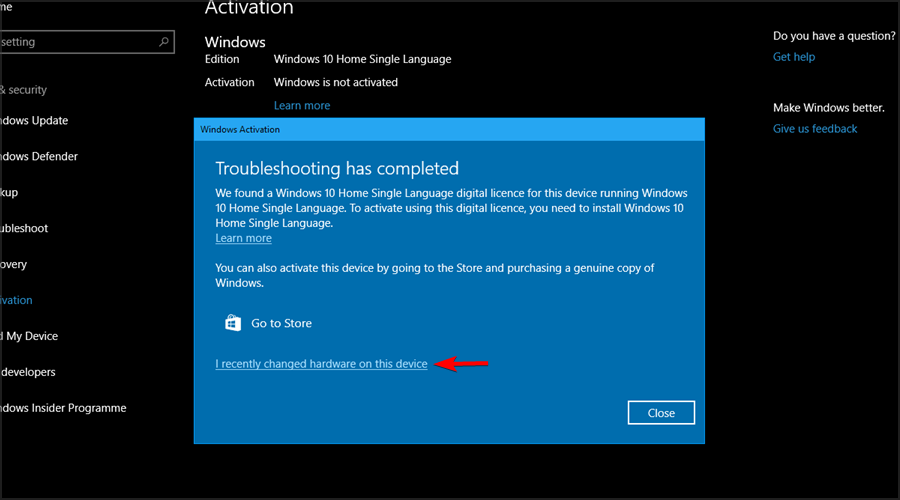
- Choose Troubleshoot in the right pane.
- Select I recently changed hardware on this device.
- Enter your Microsoft credentials when asked to.
- Select your device and click on Activate.
Keep in mind that for this process to work, you need to associate your activation key with your Microsoft account beforehand.
2. Using the product key
- Press Windows Key + I shortcut to open Settings.
- Go to the Update & Security.
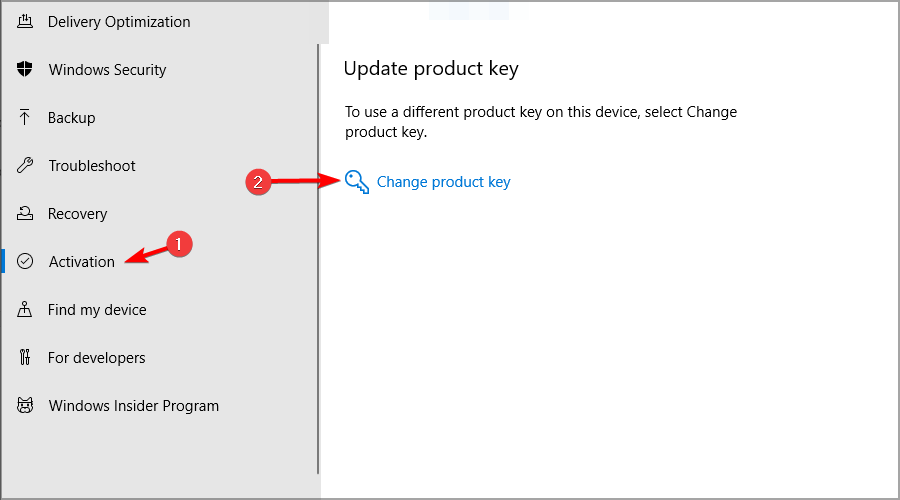
- Select Activation and click on the Change product key.
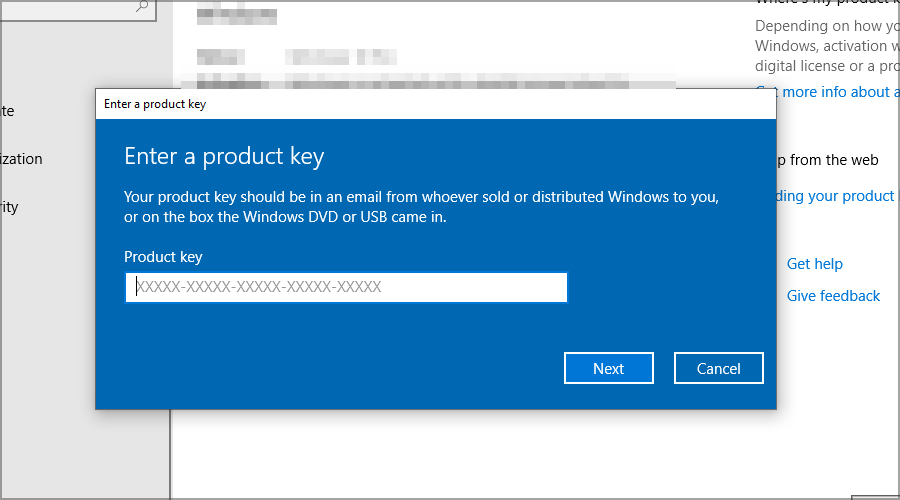
- Enter your product key.
For more information on how to do this, we suggest reading out how to activate Windows guide.
What to do if my PC is beeping after changing the motherboard?
In case your computer is beeping after changing the motherboard, turn it off immediately. This is an indication of a major error.
Check if your hardware is properly connected and try to start your computer again. If the beeping continues, try to memorize the pattern.
This is known as beep code, and you can use it to troubleshoot hardware issues that you have. Keep in mind that each motherboard has a different set of codes, so find the ones that match yours.
As you can see, it’s easy to change the motherboard without reinstalling Windows, and in most cases, your system should work without any issues.
In case any problems occur, and your OS can’t boot properly, we suggest reading our guide on how to reinstall Windows.
Have you ever replaced your motherboard and it required you to reinstall your operating system? Let us know in the comments below.

