How to change the search box color on Windows 11
Some like it, and some hate it.
3 min. read
Updated on
Read our disclosure page to find out how can you help Windows Report sustain the editorial team Read more
Key notes
- Microsoft is back with another monthly release of the Windows 11 insider build.
- In 25309, devs can also change the color of the search box on their taskbar/start menu.
- For some, it can be annoying, and you can disable it with a registry tweak on ViVeTool.
The time of the month is here: Microsoft announced the latest Insider Build for Windows 11 with a bunch of slight tweaks in features, live on the Dev Channel.
Just like what the Redmond tech giant did by revamping the volume mixer feature and migrating File Explorer to WinAppSDK in Insider Build 25309, devs on the channel have figured out that you may be able to change the color of your search box in future Windows 11 stable releases.
As noted by Windows enthusiast @PhantomOnEarth, the feature is available in the recent build, but some users reported that they didn’t like the appearance that much and wanted to revert to the old style.
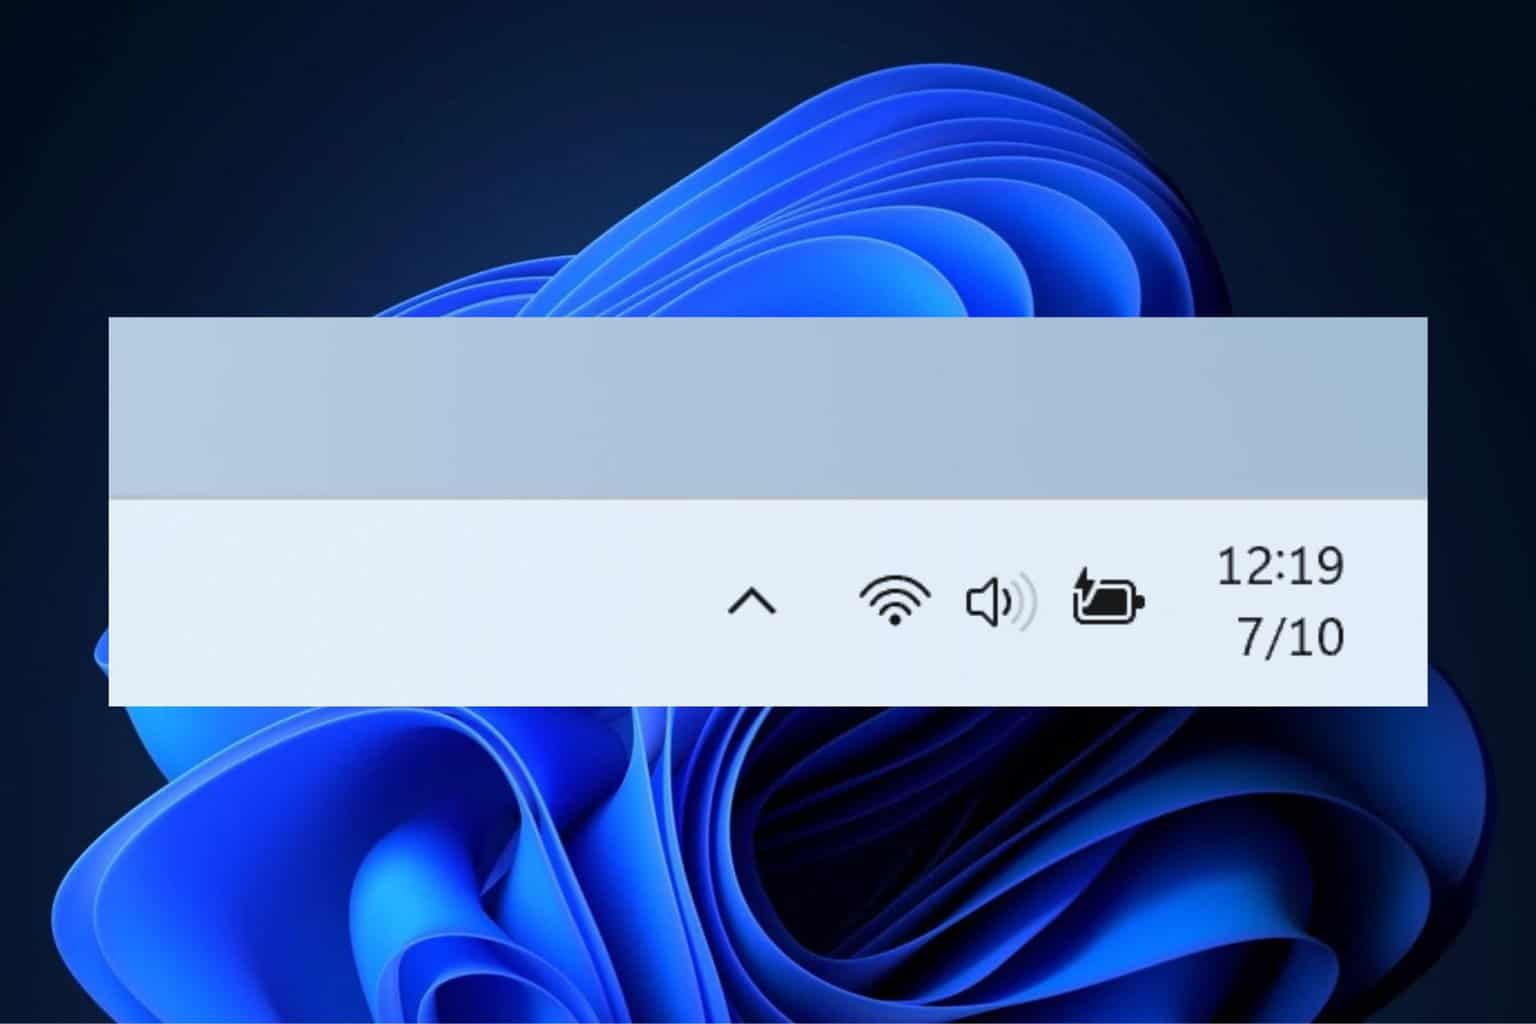
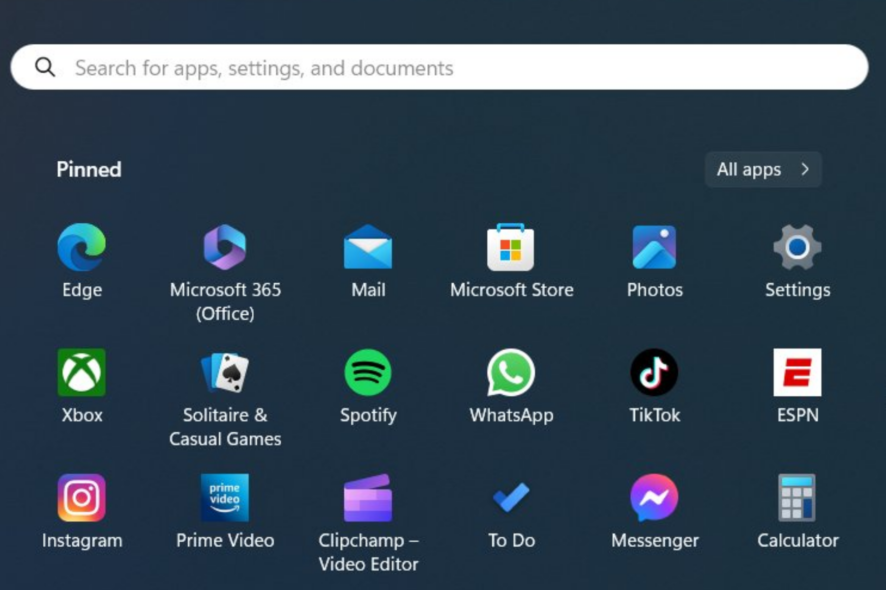
With this feature, you can change the color of the search box on your taskbar and from the start menu. It’s not that big of a feature but it’s still a nice addition, especially if you want to fit it to your desktop wallpaper’s aesthetics.
Though, you can still disable the functionality with a few registry tweaks via the third-party app ViVeTool.
Read along to find out how to enable/disable the color change of the search box in Windows 11.
How to enable/disable the color change of the search box in Windows 11
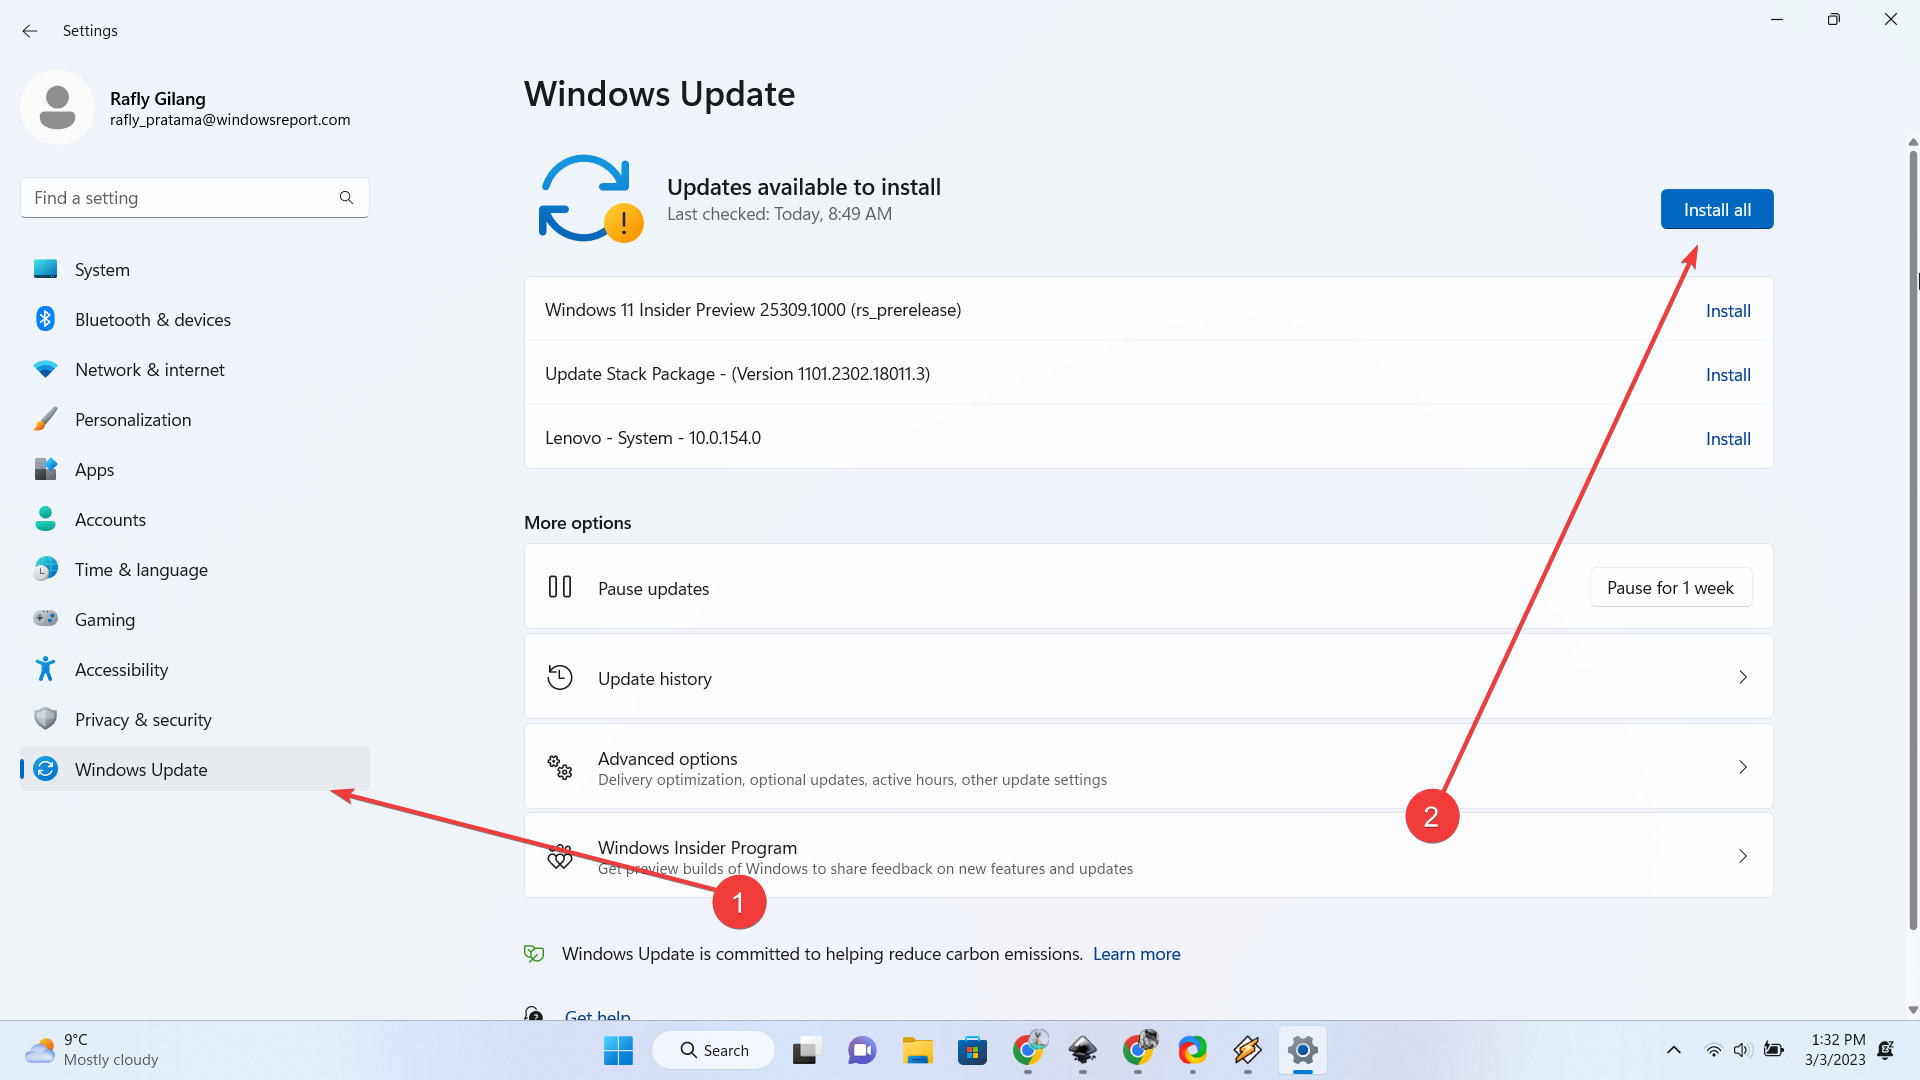
1. Make sure to join the Windows Insider Program and have the latest Windows 11 Insider Build installed in your system. If not, head over Settings ➜ Windows Update ➜ Install all.
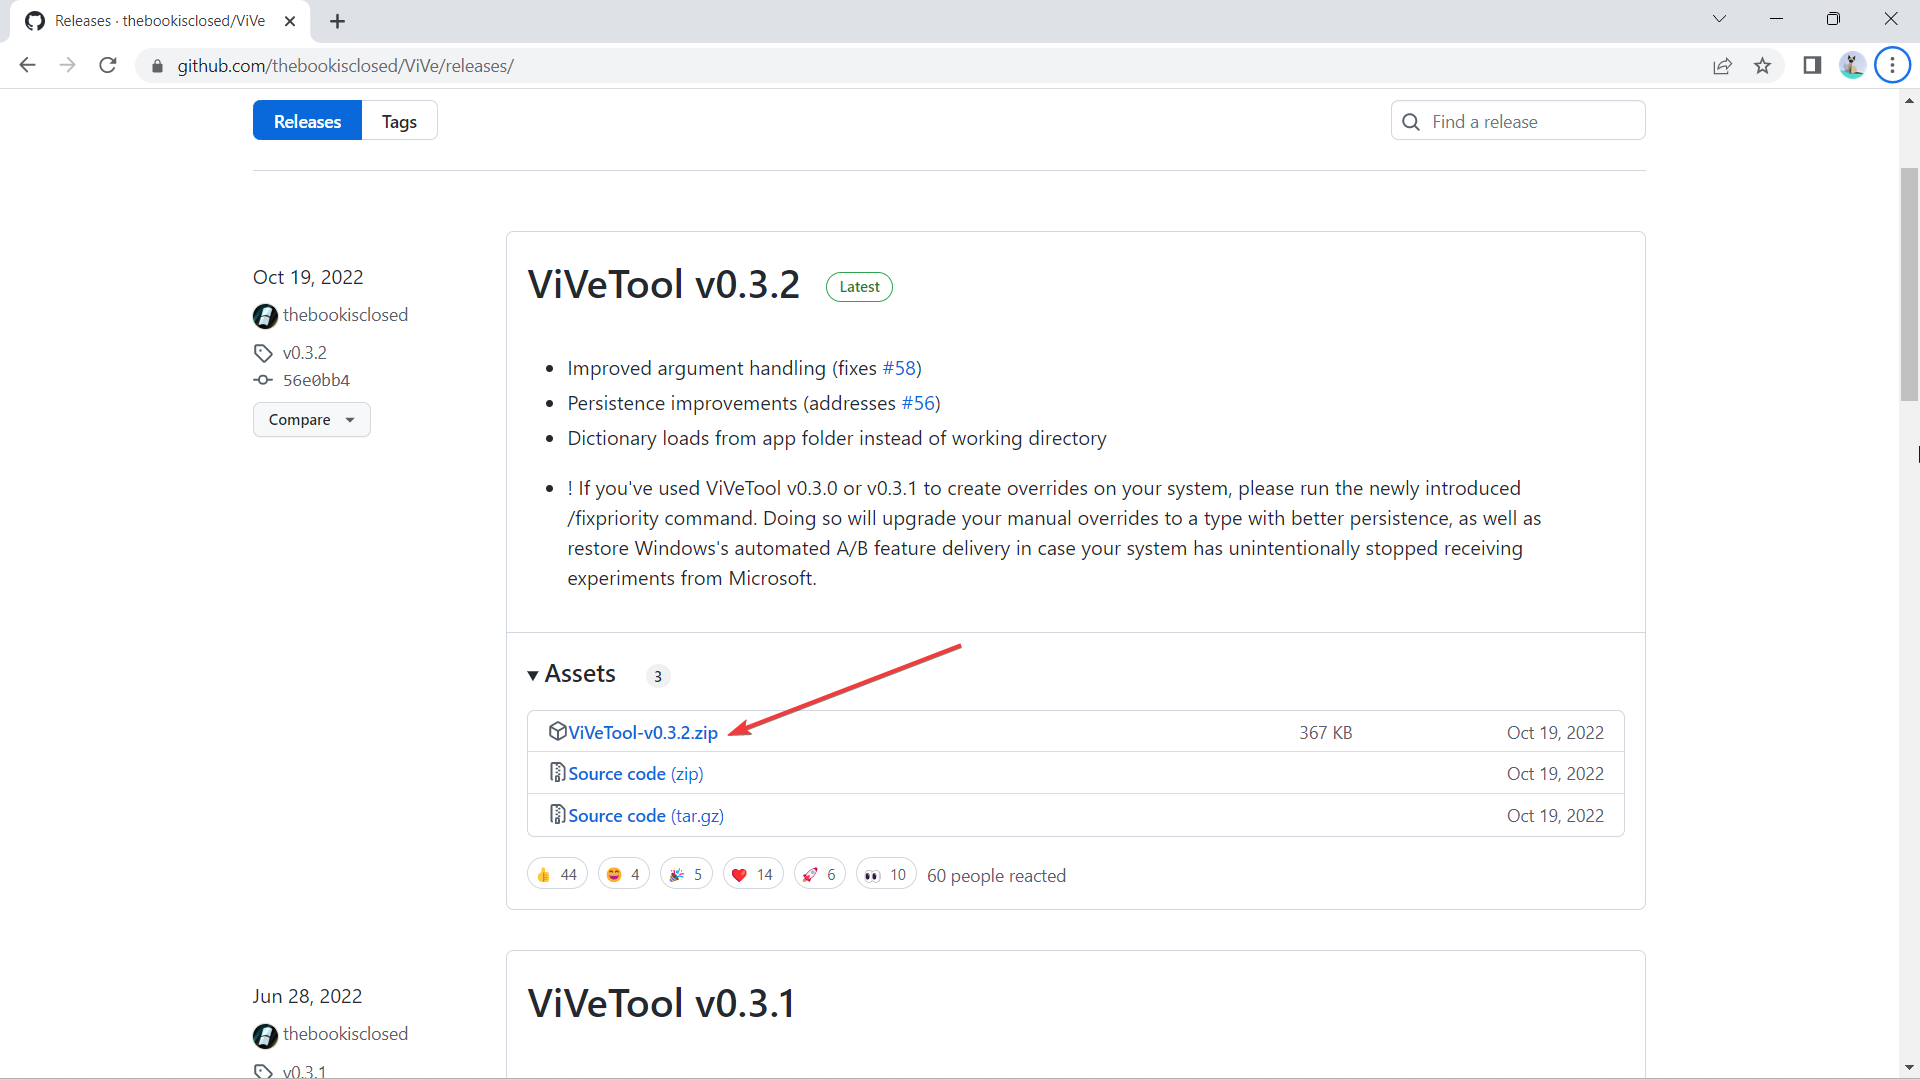
2. Head over to GitHub to download the latest version of ViVeTool.
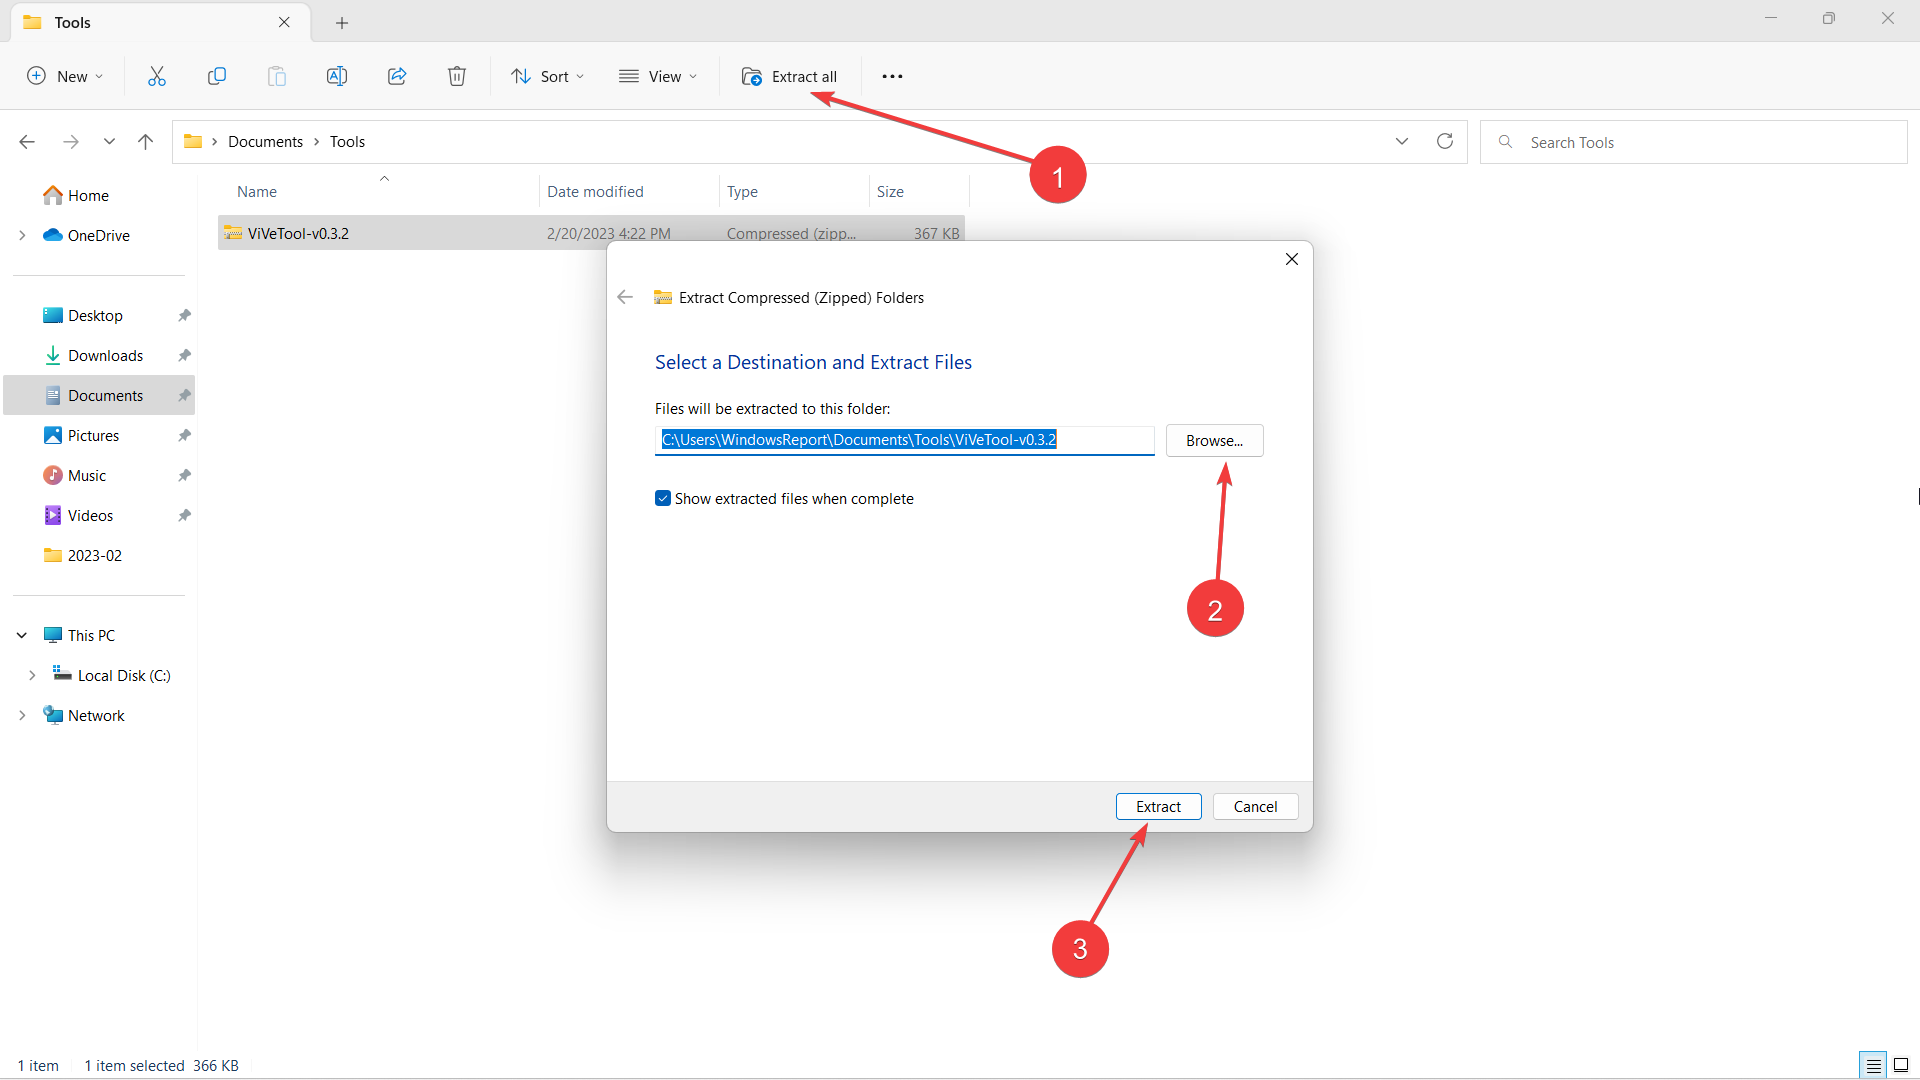
3. Once downloaded, click Extract all, select the location where you want to extract it by clicking Browse, then hit Extract. In this case, we extract it at C:\Users\WindowsReport\Documents\Tools\ViVeTool-v0.3.2.
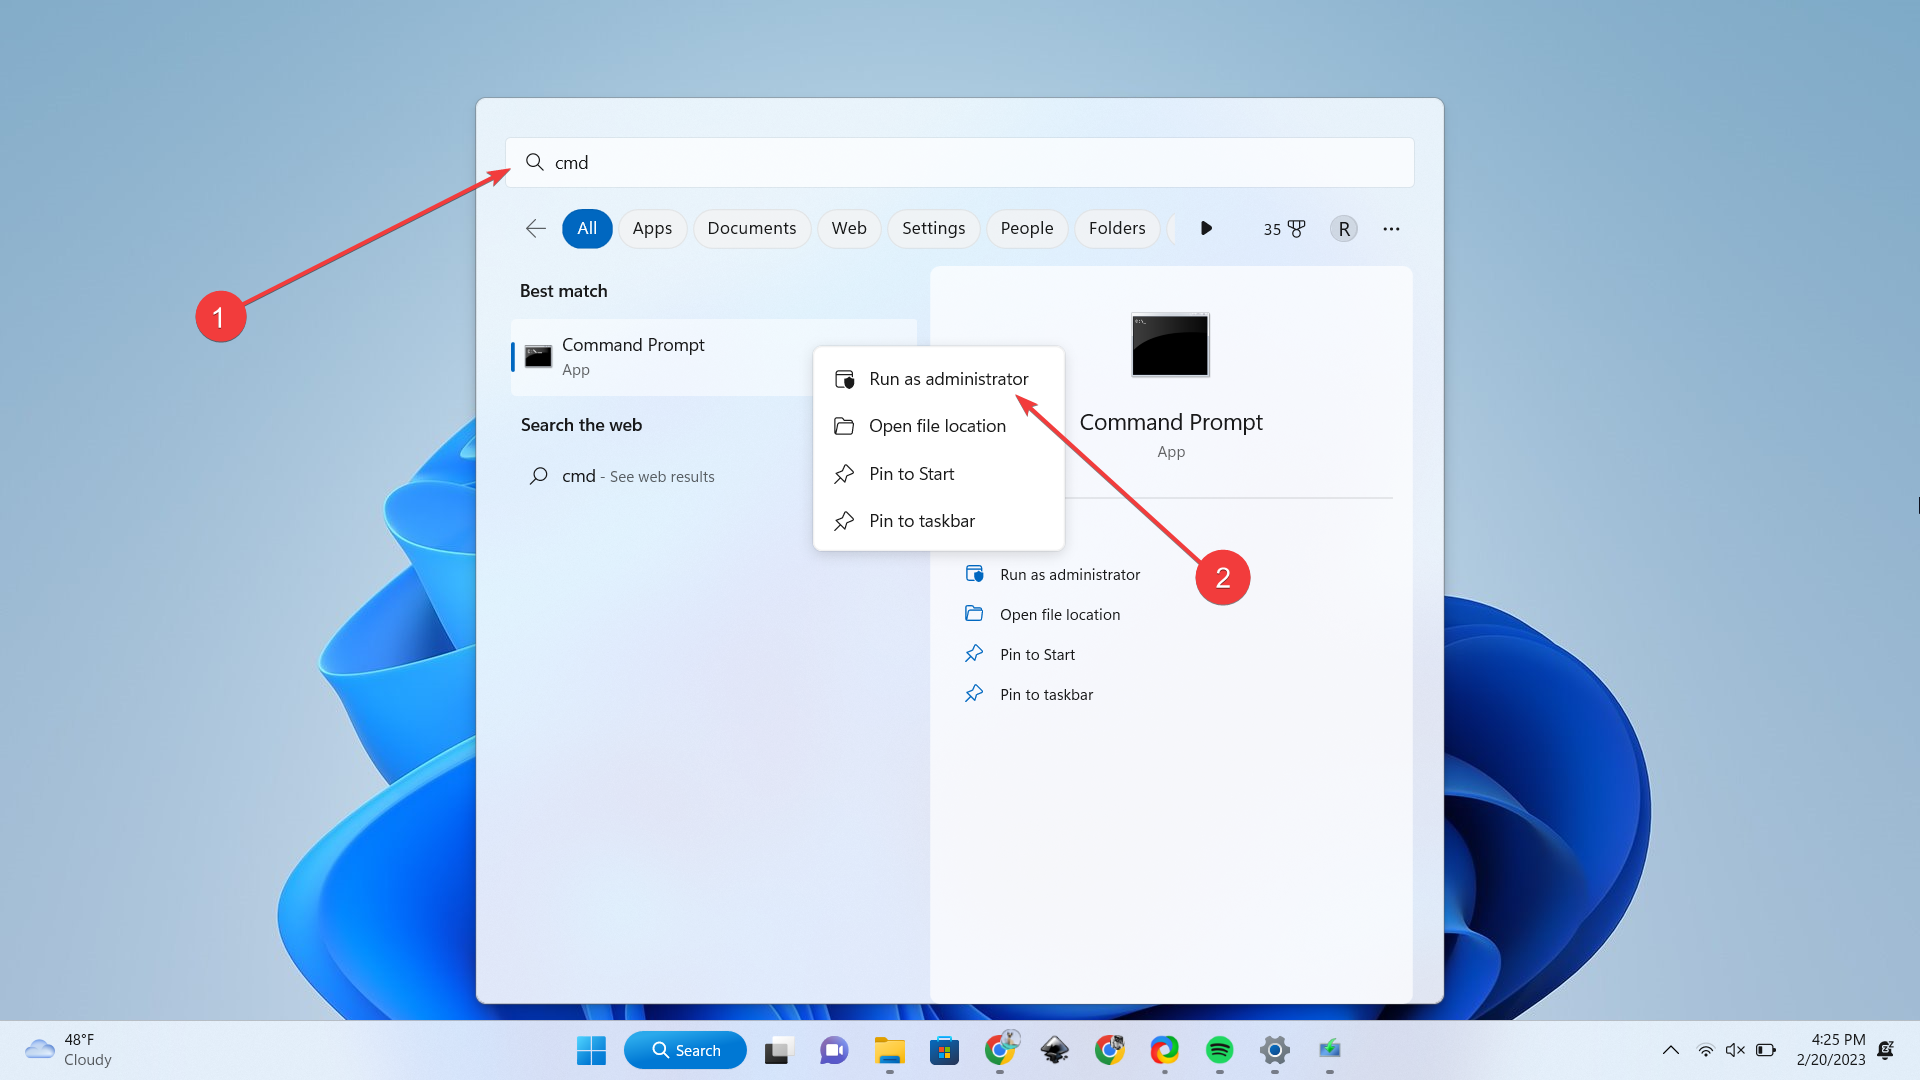
4. Hit ? on your keyboard, then type “cmd” and right-click on Command Prompt -> Run as administrator.
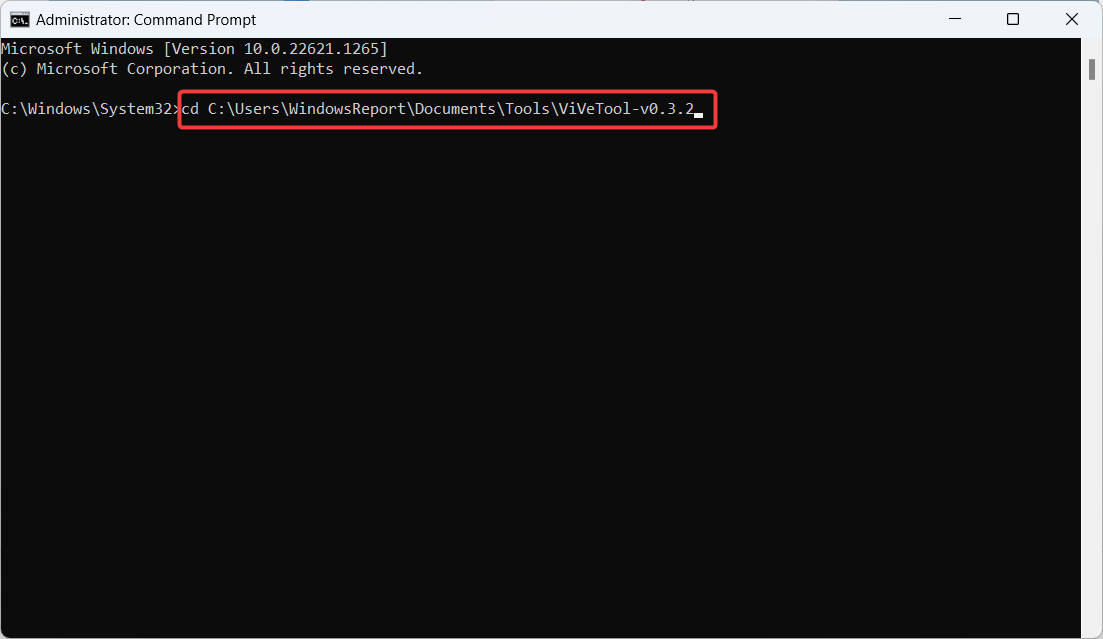
5. Type in cd + the directory where we extracted ViVeTool. In this case, it’s at C:\Users\WindowsReport\Documents\Tools\ViVeTool-v0.3.2, then hit Enter.
6. If you want to disable the feature, type the following command then hit Enter.
vivetool /disable /id:42922989
7. Reboot the computer.
In the meantime, it’s still worth noting that being an insider-only feature that isn’t out for primetime yet, you may be running into some performance problems here and there, so, patience is a virtue.
Are you excited about this upcoming feature? Let us know in the comments!

