Clear DNS Cache in Chrome //net-internals/#dns [PC & Mobile]
Check out the method to clear DNS cache in Google Chrome

Chrome //net-internals/#dns is a streamlined process that organizes your DNS cache in Chrome so you can access webpages faster. For you to access the Internet, your DNS has to work without any problems. But what if you run into an error on your favorite Google Chrome browser? Interestingly, you might not be aware that Google Chrome does come with a DNS and proxy caching server built in.
Here’s how to clear DNS Cache in Google Chrome so you can solve errors on your PC and phone.
How to Clear DNS Cache on Google Chrome
Here’s how to do it for every device, whether its a Windows PC, Mac, Android or iOS device.
Clear the DNS cache on Windows PC or Mac from Browser
To access your DNS cache in Chrome browser, follow the next steps:
- Launch the Chrome browser
- In the address bar, type the below address and press Enter.
chrome://net-internals/#dns - On the page that opens, hit the Clear host cache button.
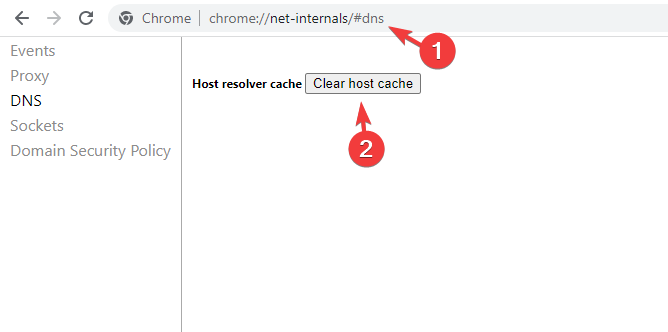
- This will clear the browser’s DNS cache. Do note that no prompt or message will be shown, but the click of the button actually clears the browser cache.
- Restart your browser.
DNS cache is not only stored by your Windows operating system but by your browser as well. Moreover, you might also have to flush the socket pools too, which you can do by following the steps below:
- Type the below in the address bar of Chrome and press Enter.
chrome://net-internals/#sockets - Hit the Flush socket pools button.
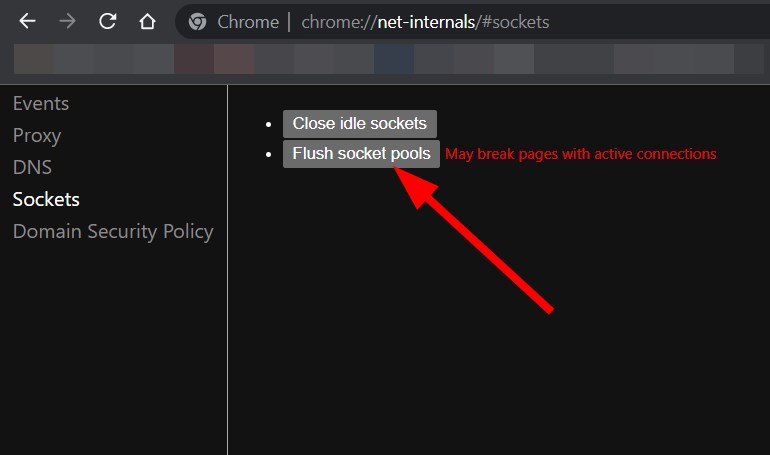
- Restart your browser.
Clear the DNS cache on Android and iOS
- Open Chrome on your Android/iOS device and then type the following line in the address bar: chrome://net-internals/#dns

- When the DNS lookup page shows up, click on the Clear host cache button to clear the DNS cache on your mobile device.
- Now, head back to the home screen, long tap the Chrome icon, and open its App info menu.
- Finally, go to Storage usage and select Clear cache.
- If you’re using another browser, skip to the 3rd step in this solution to clear its cache.
How can I fix chrome://net-internals/#dns not working?
1. Release a new IP address
- Open the Start menu.
- Search for command prompt and open it as an administrator.
- Type the below command and hit Enter.
ipconfig /release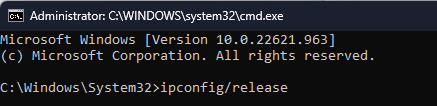
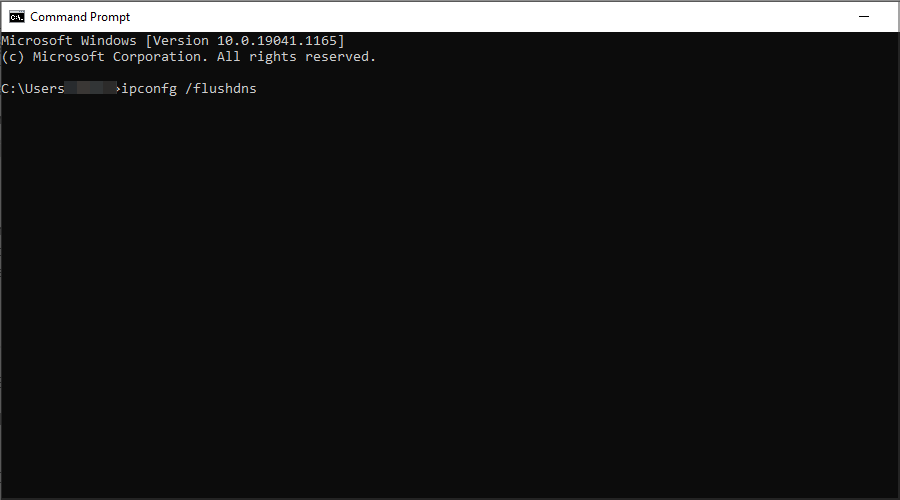
- Then type the below to flush your DNS cache and press Enter.
ipconfig /flushdns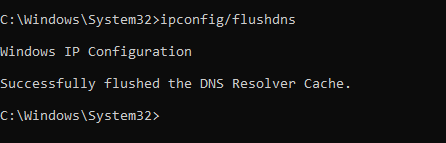
- Now, type
ipconfig /renewto renew your IP address and press Enter.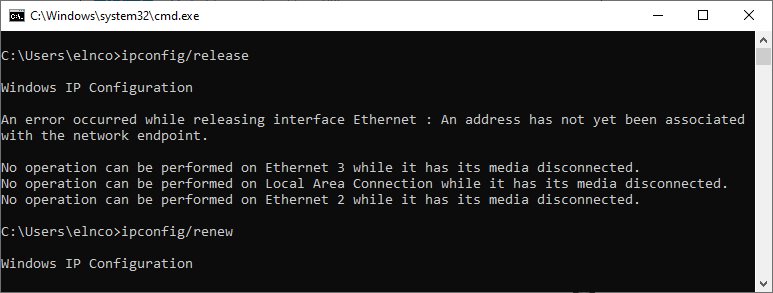
When you execute the above command, your PC will release your current IP address. Now, you can head back to Chrome and check if the chrome://net-internals/#dns is working or not.
2. Restart the DNS service
- Press the Win + R keys together to open the Run dialogue.
- Type the below command and press Enter.
services.msc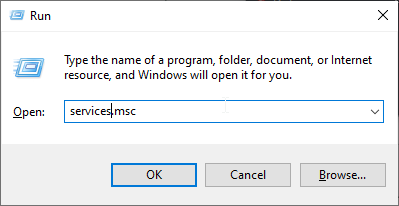
- Scroll down and locate DNS Client.
- Right-click on it and select Restart.
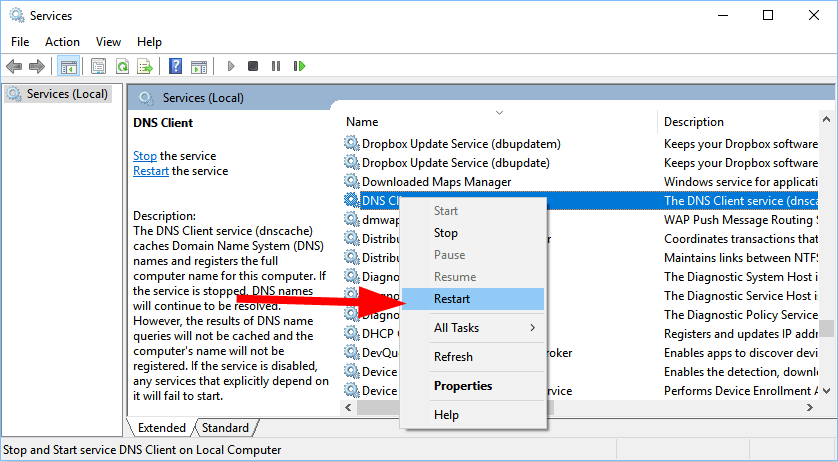
- In case the Restart option is greyed out, you need to open the command prompt.
- Type the following commands and press Enter.
net stop dnscachenet start dnscache
3. Reset Chrome flags
- Open Chrome.
- Type the below command in the address box and press Enter.
chrome://flags - At the top, click on the Reset all button.

- Restart your browser.
Often, when you turn on certain Chrome flags, they can mess up the in-browser settings and cause issues such as chrome://net-internal not working. In such a case, we would suggest you reset all flags in the browser and check if the problem is resolved or not.
4. Disable the VPN
VPNs can also cause the chrome://net-internal not working problem since they can override your network settings, including your DNS servers.
If disabling it fixes the issue, remember to do the same next time you want to clear the DNS cache. Alternatively, consider switching to a better VPN that won’t interfere.
Additionally, it may be that this is also caused by some Windows component. In that case, you will need to check how to solve the DNS not responding on your Windows PC, Mac, or mobile.
That is it from us in this guide. We hope that the solutions in this guide helped you understand how you can clear the DNS cache on your Google Chrome browser.
Read our disclosure page to find out how can you help Windows Report sustain the editorial team. Read more


Improve this guide


User forum
1 messages