This Computer Doesn't Have VT-X/AMD-V Enabled [Fix]
Install optional features to fix this error on your PC.
Key notes
- Change BIOS settings if you get This computer doesn't have vt-x/amd-v enabled, enabling it in the BIOS is mandatory error.
- Installing optional features in Windows can help you fix this problem easily.
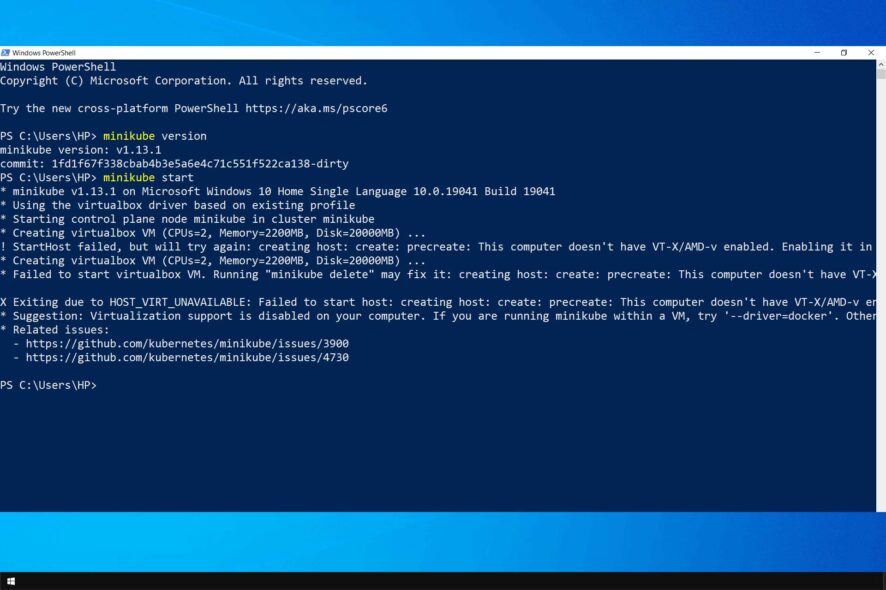
Virtualization software enables users to utilize alternative platforms within Windows. However, many reported This computer doesn’t have vt-x/amd-v enabled while using it.
It can be a major issue and completely block virtualization from working on your PC. However, you can fix it with these few guidelines.
Why does this computer doesn’t have VT-X/AMD-V enabled message appear?
- Hyper V isn’t installed as an optional feature on your PC.
- VT-X isn’t enabled properly in BIOS.
How can I fix This computer doesn’t have VT-X/AMD-V enabled error?
1. Turn Off Hyper V
- Press the Windows key + R keyboard shortcut.
- Open the Programs and Features applet by entering appwiz.cpl in Run and clicking OK.

- Then click Turn Windows features on or off on the left of the Control Panel applet to open the window shown directly below.

- Then deselect the Hyper V checkbox.
- Click OK to uninstall Hyper V.
- Restart Windows 10 after uninstalling Hyper V.
This is the simplest way to fix This computer doesn’t have vt-x/amd-v enabled error, so don’t hesitate to try it.
2. Enable VT-x/AMD-v via the BIOS
- Press the Windows key + S hotkey.
- Enter the keyword recovery options in the search box.
- Then select Recovery options to open the window shown directly below.

- Click the Restart now button.
- After it restarts, click the Troubleshoot button on the Choose an option screen.
- Click Advanced options and UEFI Firmware Settings.
- Then select the Restart option to reboot to the UEFI BIOS.
- Press F10 on the Startup Menu to enter the BIOS Setup.
- Select the System Configuration tab in the BIOS.
- Select the Virtualization Technology option, and press the Enter key.
- Then select Enabled.
- Press F10 to save the settings and exit BIOS.
- Press the Y key to confirm.
So, that’s how users can enable VT-x or AMD-v to fix the This computer doesn’t have vt-x/amd-v enabled error. Note, however, that not all UEFI BIOS settings include an option that enables VT-x.
Keep in mind that a few users reported that VT-X is disabled in BIOS for all CPU modes, but there’s a way to fix that.
Thus, not all users can enable VT-x virtualization from the BIOS.
Read our disclosure page to find out how can you help Windows Report sustain the editorial team. Read more


Improve this guide


User forum
0 messages