3 Easy Ways to Add a VPN Connection to Windows 10
A VPN secures your device and protects it from prying eyes
Key notes
- Discover how to add a VPN connection to your Windows PC in three ways: using the built-in VPN provider, PowerShell, or a commercial VPN service.
- If you use the integrated VPN provider, you don't have to install anything else.
- However, it doesn't support modern VPN protocols like OpenVPN or WireGuard.
- PowerShell requires expert computer skills because you have to use a special cmdlet and enter the parameters correctly.


World-class 24/7 support with 82% for a 2 years plan and 2 months free
70% of our readers choose Private Internet Access
70% of our readers choose ExpressVPN
Amazing connection speed with 61% off and 4 months free for the 2-years plan.
Best security protocols with 83% off and 2 months free for a 2-year plan.
You can add a VPN connection to Windows 10 in several ways, whether you’re a seasoned computer user or just a casual home user.
A VPN creates a secure tunnel to divert your network traffic to another service. It can be used for two main reasons: to remotely connect to another LAN or to secure your Internet access.
In this article, we’re showing you how to set up a VPN connection on a Windows 10 desktop, laptop, or tablet for both reasons.
How do I add a VPN connection on Windows 10?
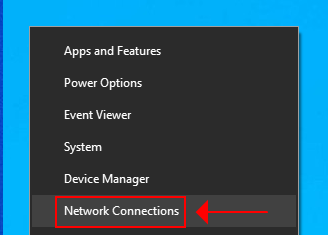
1. Press the Windows + X keys at the same time to bring up the WinX menu.
2. Select Network connections from the menu.
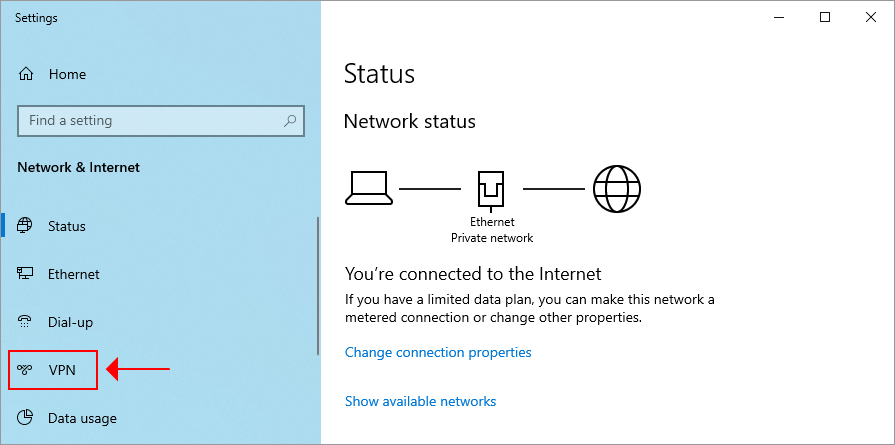
3. You are now in the Network & Internet center. Select the VPN tab from the left pane.
4. Click on Add a VPN connection.
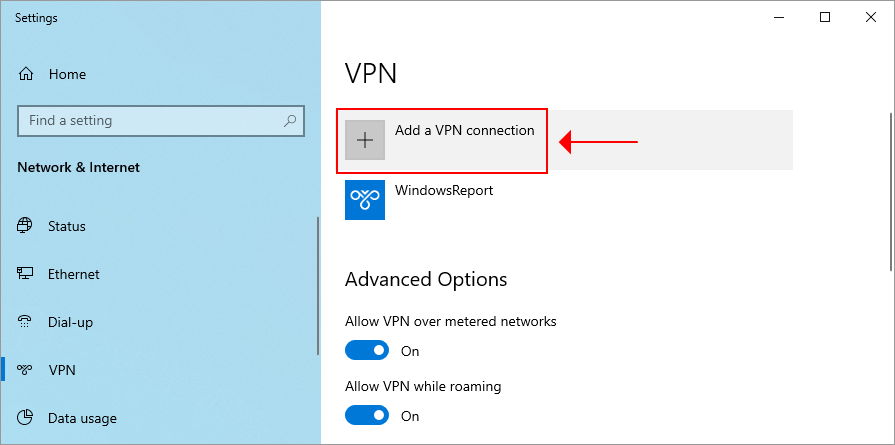
5. Set the following properties:
- VPN provider to Windows (built-in)
- Connection name to a display name of the VPN connection
- Server name or address to the remote VPN server address or domain
- VPN type to Automatic (unless you have specific instructions about the VPN protocol)
- Type of sign-in info to User name and password (usually)
- User name (optional) and Password (optional) to the login credentials provided by your VPN service
6. Check the Remember my sign-in info box.
7. Click Save.
Windows 10 has a built-in VPN provider, which means that you don’t have to install anything to connect to a VPN. All you need to do is navigate to the Network & Internet settings menu and configure your VPN.
However, keep in mind that the built-in VPN provider doesn’t support modern protocols like OpenVPN or WireGuard.
If your office administrator shared VPN connection details for OpenVPN or WireGuard, then you have to separately install the OpenVPN or WireGuard clients.
Use the Add-VpnConnection cmdlet in PowerShell
You can also set up a VPN connection on your Windows 10 PC by adding it to the Connection Manager phone book.
To do this, you need PowerShell and advanced computer skills:
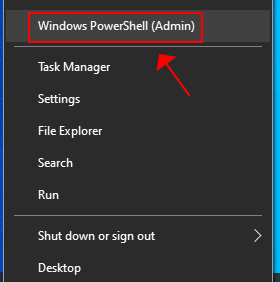
- Right-click the Windows 10 Start button
- Select Windows PowerShell (Admin) and click Yes if prompted by UAC
- Paste the following code
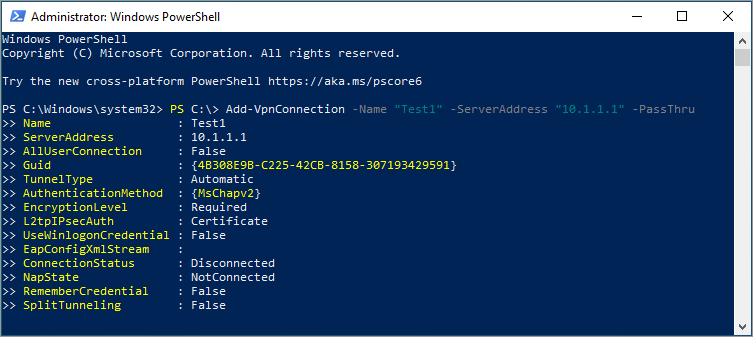
Add-VpnConnection[-Name] <String>[-ServerAddress] <String>[-RememberCredential][-SplitTunneling][-Force][-PassThru][-ServerList <CimInstance[]>][-DnsSuffix <String>][-IdleDisconnectSeconds <UInt32>][-PlugInApplicationID] <String>-CustomConfiguration <XmlDocument>[-CimSession <CimSession[]>][-ThrottleLimit <Int32>][-AsJob][-WhatIf][-Confirm][<CommonParameters>]
- Fill out the parameters by following the Microsoft instructions.
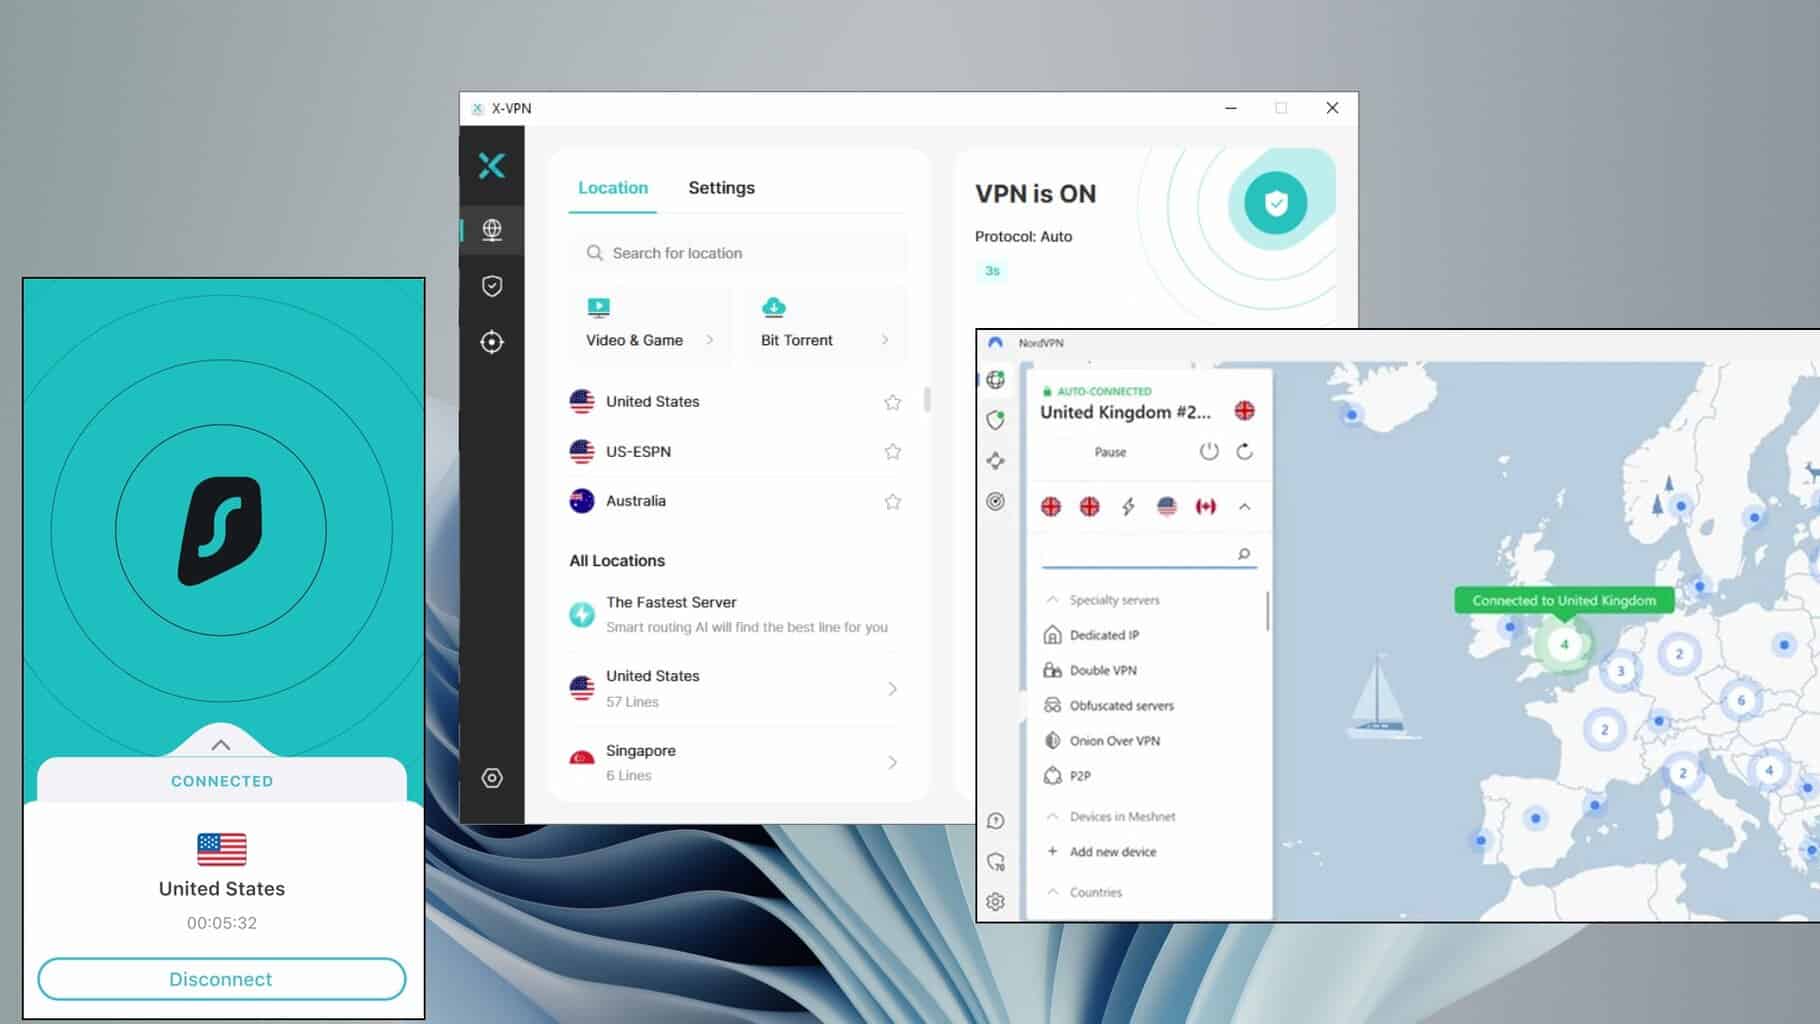
Use a VPN service
If you’re looking for a solution to change your IP address, protect your online privacy, and remain anonymous when browsing the Internet, use a commercial VPN service.
It’s the easiest way to not only set up a VPN connection on your Windows 10 computer but also to change VPN servers. Plus, you can benefit from advanced security settings and effortlessly customize your options.
And we can’t think of a better VPN for the job than Private Internet Access. It’s compatible with Windows, Mac, Android, iOS, Linux, and even routers. And it allows 10 simultaneous device connections through the same account.
PIA comes with some awesome advanced options that can be easily explored: OpenVPN and WireGuard protocols and Shadowsocks proxy (which Windows 10 lacks), split tunneling, kill switch, private DNS servers, and native port forwarding.
Here’s how you can add a VPN connection on Windows 10 using PIA:
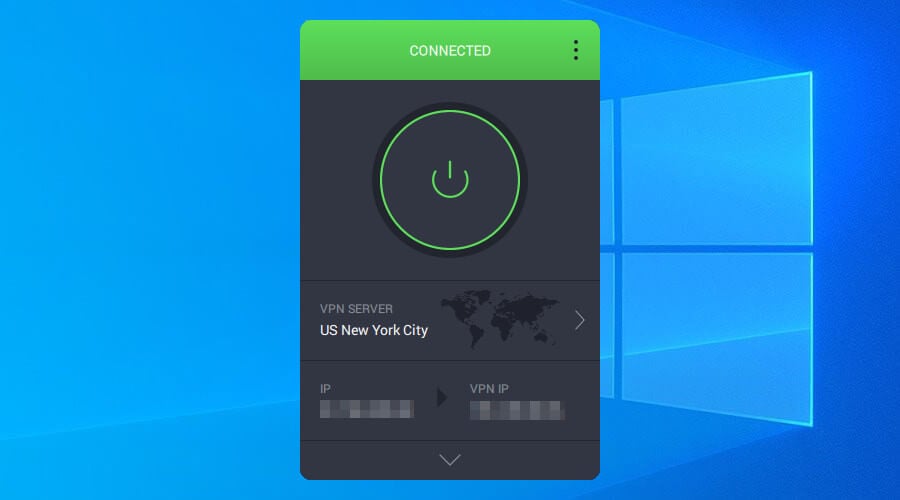
- Get a Private Internet Access subscription plan
- Download and install PIA for Windows 10
- Launch PIA and log in with your credentials
- Press the big power button to connect to a VPN server
More about PIA:
- More than 23,500 VPN and proxy servers across 77 countries
- No logs or leaks
- 24/7 live chat support
- 30-day money-back guarantee (no free trial)
- Pay with a credit card, PayPal, crypto

Private Internet Access
Easily connect to a VPN and change settings on your Windows 10 PC using this reliable VPN service.We firmly believe that Private Internet Access is the best VPN for Windows 10.
To sum up, you can easily add a VPN connection using the Windows 10 built-in provider, without having to install any software.
Or, you can use the Add-VpnConnection cmdlet in PowerShell to achieve the same results, although this requires expert skills.
The fastest way for casual users to secure their Internet connections is by turning to a reliable commercial VPN service like Private Internet Access. It’s easy to install, set up, and customize preferences.
We hope that our article helped you set up a VPN connection on your device. Let us know in the comments section below if you have any questions.
Read our disclosure page to find out how can you help Windows Report sustain the editorial team. Read more


Improve this guide


User forum
1 messages