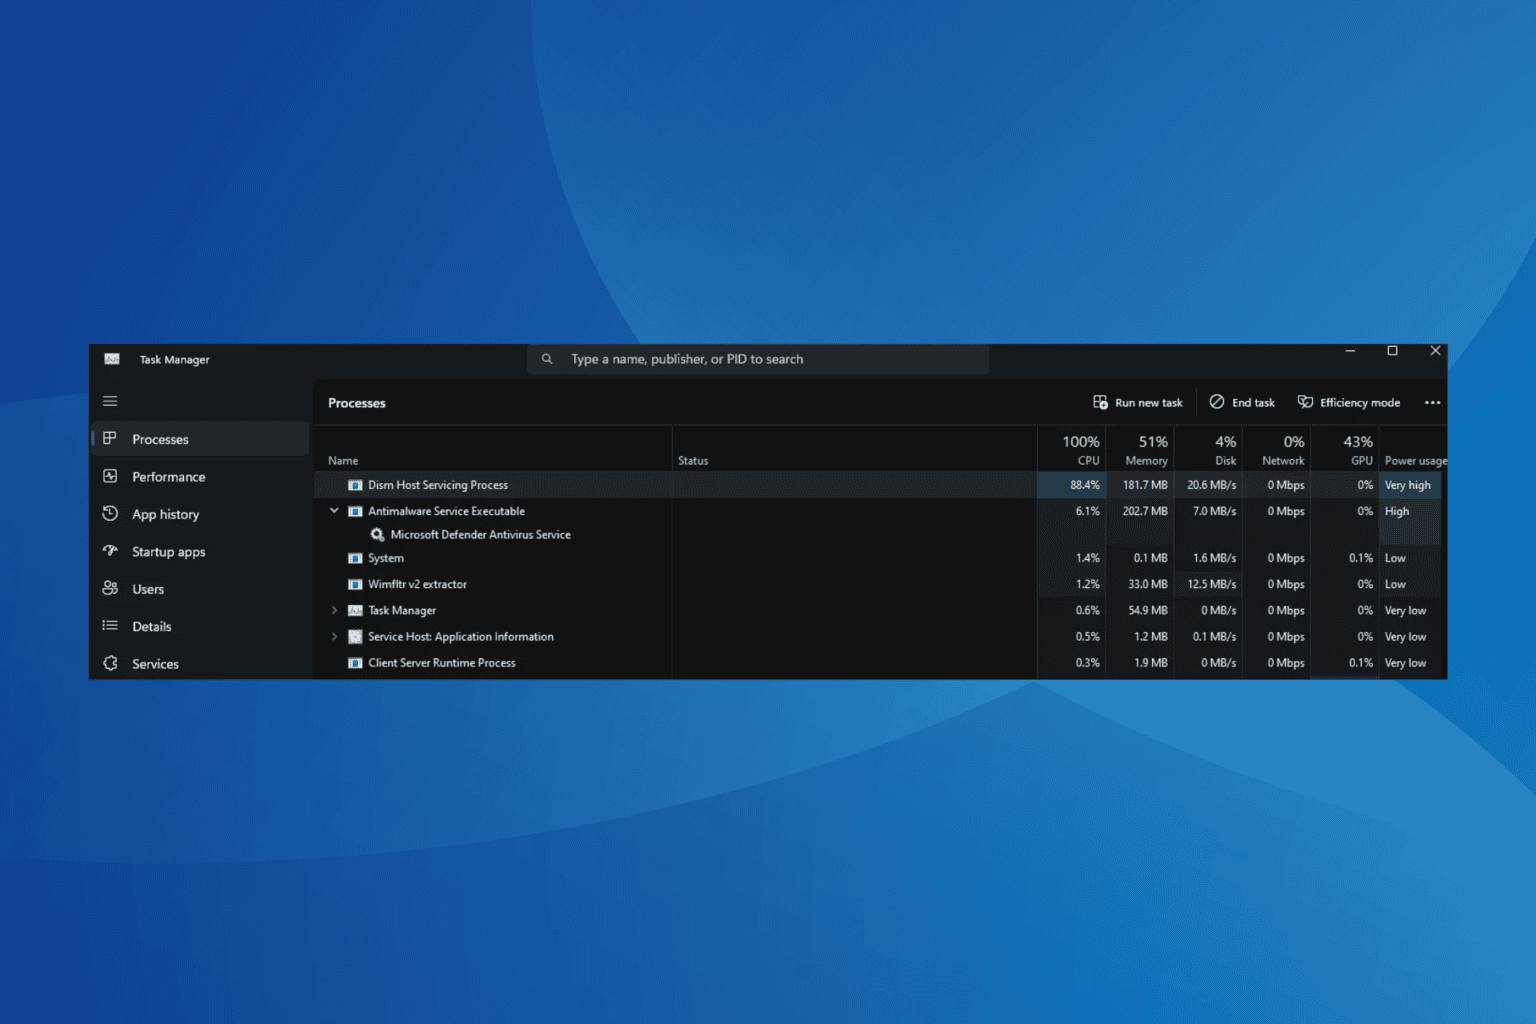
FIX: DISM error 2 in Windows 10/11 PC
4 min. read
Updated on
Read our disclosure page to find out how can you help Windows Report sustain the editorial team. Read more
Key notes
- DISM is built into the Windows operating system and is available as a command-line tool to mount Windows images from files and to update a running system as well.
- Sometimes, errors can occur when running the tool. Fix them quickly by disabling antivirus, updating the tool, and by doing some general cleanup.
- More articles about this tool can be found in the DISM section.
- Nobody likes errors. That's why we have a comprehensive Windows 10 Errors Troubleshooting Hub with clear instructions on how to deal with any issue.

The DISM or Deployment Image Servicing and Management tool, also known as the System Update Readiness tool, helps fix some Windows corruption errors that may cause updates and service packs not to install, like if a file is damaged.
This tool can be used to service a Windows image or prepare a WinRE (Windows Recovery Environment) and/or WinPE (Windows Preinstallation Environment) image, but, it can also be used to service .wim (Windows image) or .vhd/.vhdx (virtual hard disk).
Whenever you try to use the DISM command line and get the DISM error 2 displayed as a message, you may not know the first thing to do in such a case, but there are solutions you can try as outlined below, to fix the error.
How to fix DISM error 2
- Temporarily disable or uninstall your antivirus
- Check your DISM version
- Refresh the DISM tool
- Reset your PC with Keep my files option
- Use Disk Cleanup tool
1. Temporarily disable or uninstall your antivirus
Sometimes your security software can get in the way of some of the processes on your computer, so in the case of a DISM error 2 issues, you can temporarily disable the antivirus, or uninstall it, and if the issue persists, you can unmount the image and check the result again.
Remember to reinstall or enable your antivirus once you’re done.
2. Check your DISM version
Ensure you’re using the correct version of DISM that is installed with the Windows ADK. Also, do not mount images to protected folders like the UserDocuments folder.
If DISM processes are interrupted, temporarily disconnect from the network, and consider running commands from WinPE instead.
3. Refresh the DISM tool
- Right click Start and then select Command Prompt (Admin)
- Type this command: exe/image:C /cleanup-image /revertpendingactions. This will revert pending tasks, and this includes any Windows updates that are pending
- Boot your computer and then run in recovery command prompt
- Execute this command: exe /online/Cleanup-Image /StartComponentCleanup. This cleans up the component store and helps everything to run properly again
Restart and then run an SFC scan in Safe Mode by doing the following:
- Click Start and then go to the search field box and type CMD
- Go to Command Prompt on the search results
- Right click and select Run as Administrator
- Type sfc/scannow
- Press Enter
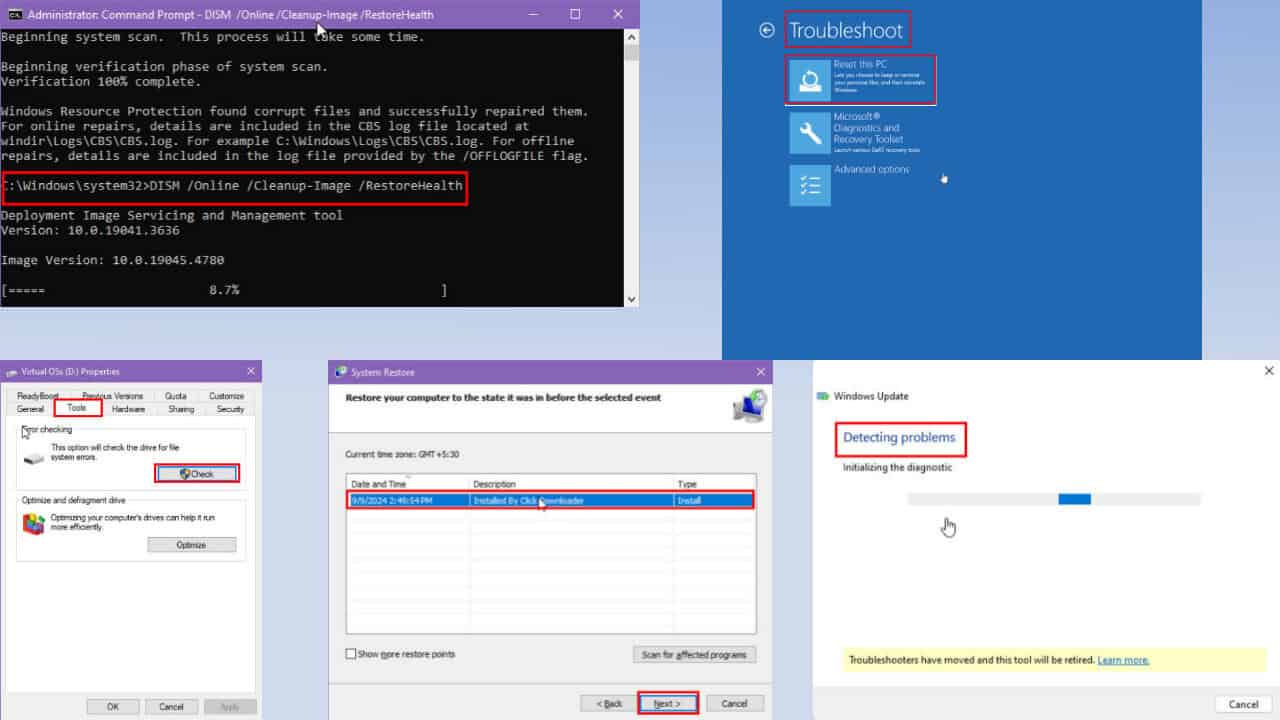
- Restart your computer and then run this command: dism.exe /online /Cleanup-Image /RestoreHealth
If this doesn’t help, try the next solution.
4. Reset your PC with Keep my files option
If you’ve tried the system restore and it doesn’t work, reset your PC with Keep my files option.
Performing a reset allows you to choose which files you want to keep, or remove, and then reinstalls Windows, so follow the steps below:
- Click Start
- Click Settings
- Click Update & Security
- Click Recovery on the left pane
- Click Reset this PC
- Click Get started
- Select Keep my files option
Note: all your personal files will be deleted and settings reset. Any apps you installed will be removed, and only pre-installed apps that came with your PC will be reinstalled.
5. Use Disk Cleanup tool
Since DISM tool won’t work or brings up DISM error 2, and Disk Cleanup can’t release much space, use the Disk Defragmenter to rearrange fragmented data on the system by doing the following:
- Log in as Administrator
- Click Start and select File Explorer
- Expand This PC
- Right click on Local Disk (C:) and click Properties
- Go to Tools tab
- Under Optimize and defragment drive, select Optimize
- Click Apply and then press enter or click OK
Have you managed to fix DISM error 2 on your computer using any of these solutions? Let us know by leaving a comment in the section below.


User forum
0 messages