Epson Printer is Skipping Lines? 3 Ways to Fix it
Clean your cartridges to fix Epson printer line problem
3 min. read
Updated on
Read our disclosure page to find out how can you help Windows Report sustain the editorial team Read more
Key notes
- If Epson printer skipping lines when printing, clean your contacts.
- Issues with cartridges can also cause this problem to appear, so check them as well.
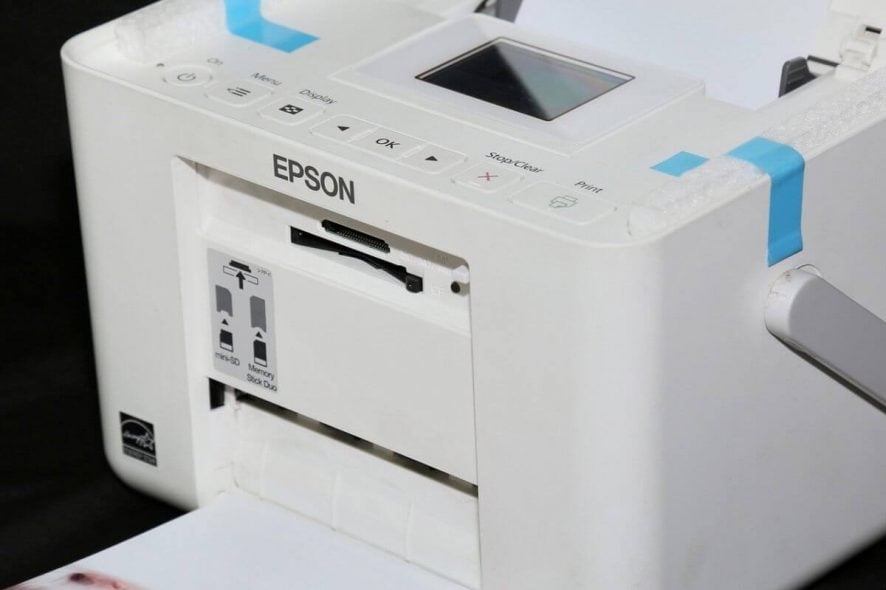
Epson printers are amazing, but even the greatest things are not perfect, and many reported that their Epson printer is skipping lines.
There are many printer issues you can encounter, and we already wrote about issue with printer not printing full page in a separate guide, so you might want to check it out.
Today we will show you what to do if your Epson doesn’t print all the lines.
Why is the Epson printer skipping lines?
- Your cartridges are clogged, and they are causing the issue.
- Dirty electrical contacts can sometimes lead to various problems.
- Issues with the black cartridge on your printer.
How do I fix a missing line on an Epson printer?
1. Run the utility for cleaning cartridges
- Connect your printer to the computer.
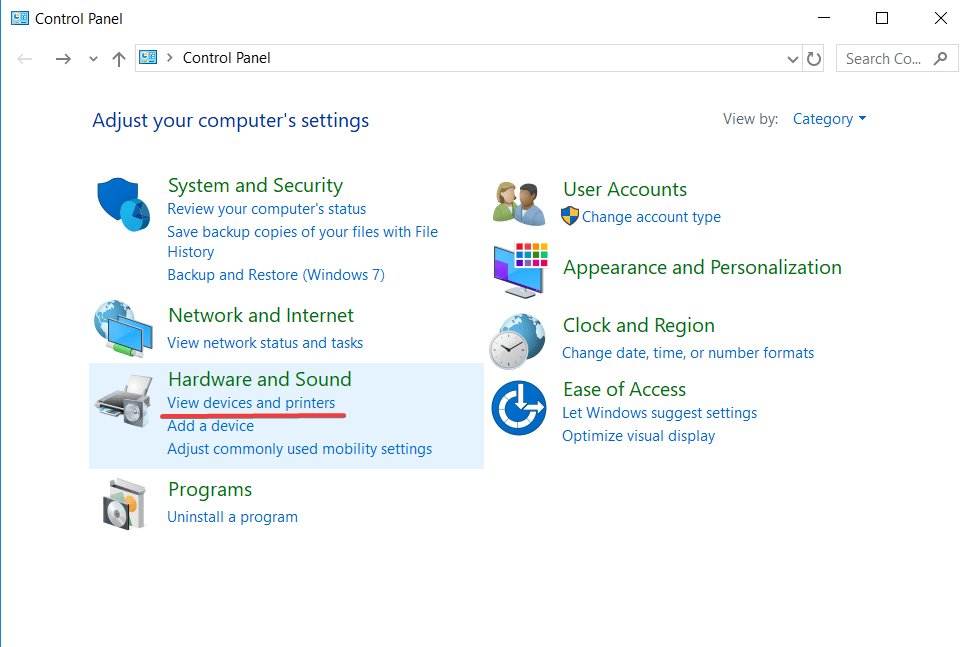
- Open Control Panel.
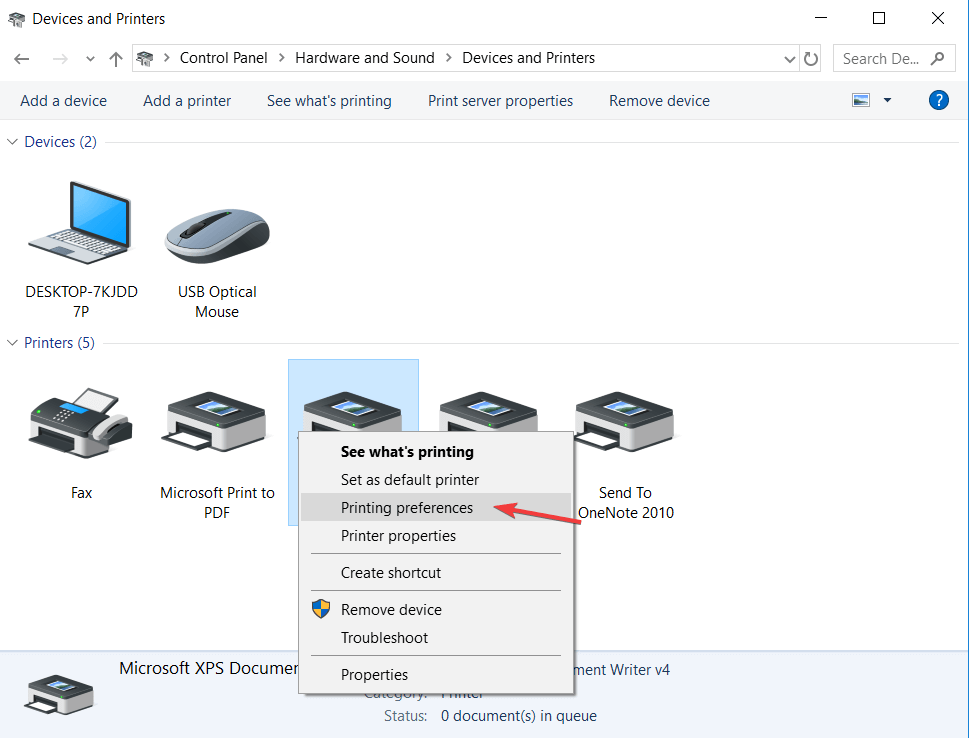
- Open Devices and Printers.
- Select Printing preferences.
- Select Service this Device from the Services tab.
- Click on Clean the Print Cartridge and follow the instructions.
- Print a test page to see the results.
2. Clean the electrical contacts
- Turn off the printer and disconnect it from the power source.
- Remove the cartridges. The nozzle plate should be facing up to avoid ink leaks.
- Identify electrical contacts. They’re copper-colored.
- Clean them with distilled water and lint-free cloth.
- Clean the electrical contacts from the carriage as well.
- Let the contacts dry for several minutes.
- Put the cartridges back and start the printer.
- Print a test page to see if the problem persists.
Keeping your contacts clean can help with Epson printer missing lines, so be sure to give it a try.
3. Remove the black ink cartridge for a few hours
- Turn off the printer and disconnect it from the power source.
- Remove the cartridge that carries the black ink.
- Put the component on a piece of paper with the nozzle plate facing up.
- Wait for a few hours.
- Reinstall the cartridge and check if the problem persists.
Usually, this problem appears if the ink gets stuck somewhere along the way. Also, there might be an electrical issue. This is why it is necessary to clean the contacts as well.
Moreover, keep in mind to clean your printer regularly. Even if you don’t have anything to print for several weeks, print a test page to prevent ink clogging.
For more solutions, we suggest reading our guide on printer printing blank pages in between.
Did our solutions help you? Let us know in the comments section below.

