How to Fix the ERROR_DISK_REPAIR_DISABLED Bug Check
How to fix the error and bring back Disk Repair
3 min. read
Published on
Read our disclosure page to find out how can you help Windows Report sustain the editorial team. Read more

ERROR_DISK_REPAIR_DISABLED code 780 (0x30C) is a Windows system error code that typically indicates that the disk repair feature has been disabled, preventing the system from automatically repairing issues on a drive.
This error usually occurs when the system detects potential disk errors but cannot proceed with repairs because the feature has been turned off, either manually by the user or due to system policy restrictions. Potential causes for this error point to Group Policy restrictions or Registry changes, third-party software interference or corrupted system files.
How do I fix ERROR_DISK_REPAIR_DISABLED?
1. Enable Disk Repair in Group Policy
- Press Win + R, type gpedit.msc, and hit Enter to open the Group Policy Editor.
- Navigate to Computer Configuration → Administrative Templates → System → Troubleshooting and Diagnostics → Disk Diagnostic.
- Locate Disk Diagnostic: Configure Execution Level.
- Set it to Enabled, and ensure the execution level is set to Full.
- Click Apply and OK.
If your PC is part of an organization’s network, contact the system admin to manage this problem since you won’t be able to change the Group Policy settings.
2. Enable Disk Repair in the Registry
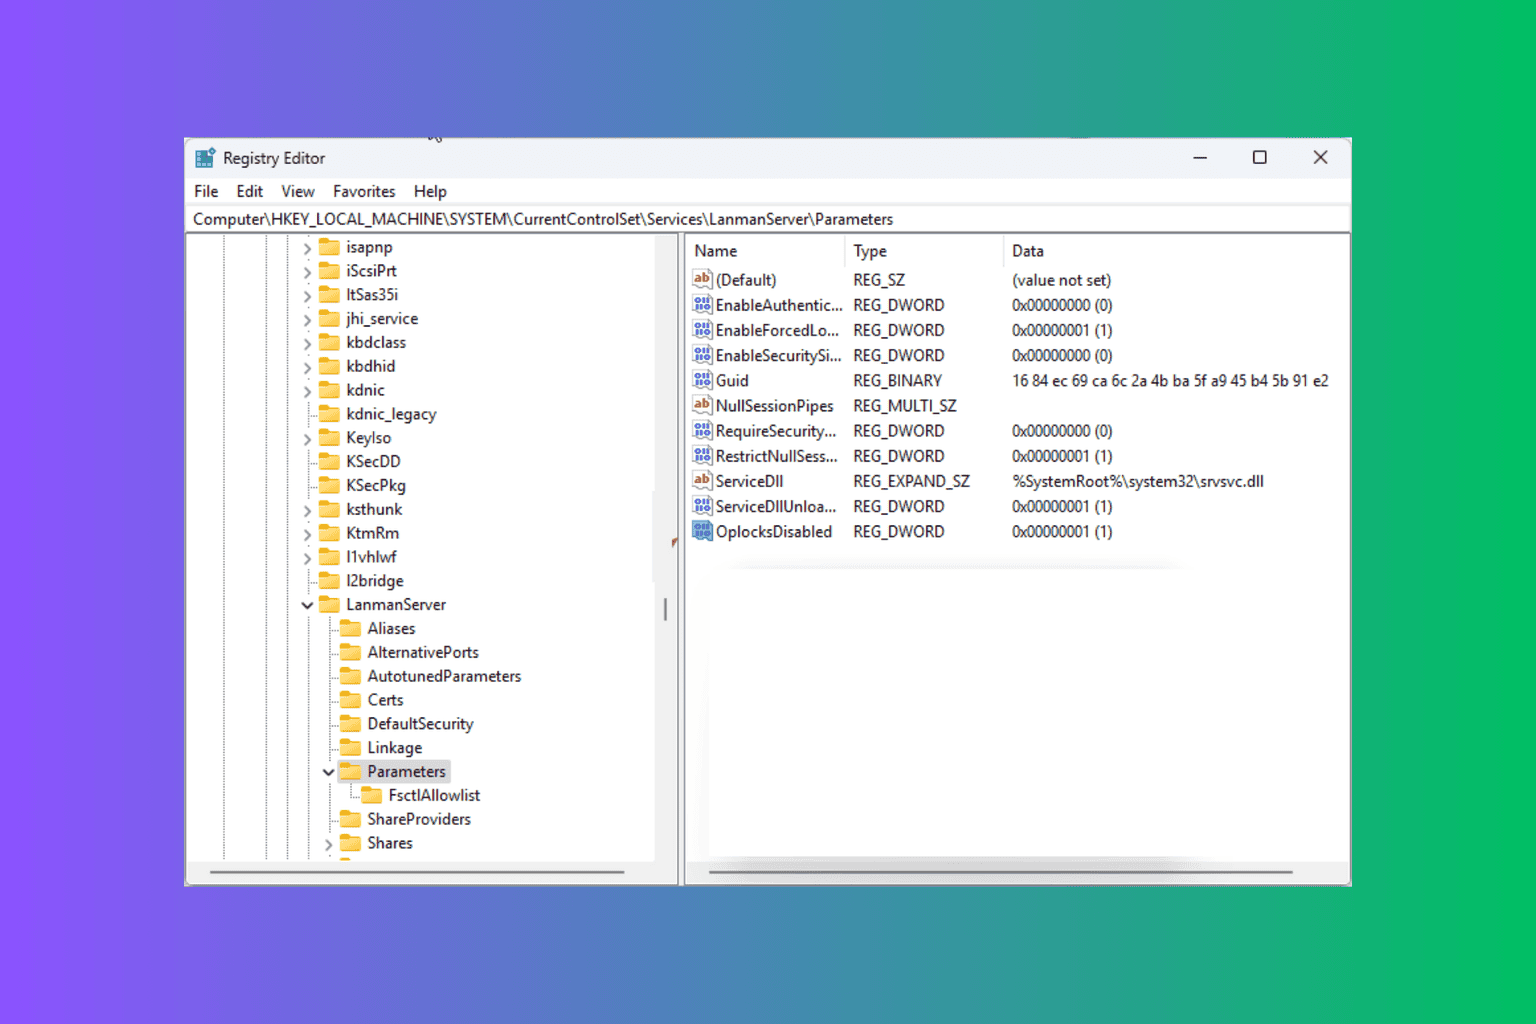
- Press Win + R, type regedit, and hit Enter.
- Navigate to:
HKEY_LOCAL_MACHINE\SYSTEM\CurrentControlSet\Services\Defrag - Check for a value named Start, double click on it and ensure it is set to 2 (Automatic).
- If the key is missing or incorrectly configured, create or modify it.
- Right-click in the right pane, select New → DWORD (32-bit) Value, name it Start, and set the value to
2. - Restart your computer for the changes to take effect.
Of course, as with the Group Policy, you will need administrative privileges to make the changes.
3. Use command-line tools
- Press Win + S, type cmd, and select Run as Administrator.
- Enable disk repair by running the following command:
fsutil repair set C: 1 - Run a disk check by using the following command:
chkdsk C: /f /r - To verify if disk repair is enabled, run the following command:
fsutil repair query
4. Perform a Clean Boot
- Open System Configuration (Win + R, type msconfig and press Enter).
- Select the Services tab, check Hide all Microsoft services, and click Disable all.
- Go to the Startup tab and click on Open Task Manager.
- Disable all startup programs.
- Restart your computer and attempt disk repair.
By following these steps, you can resolve ERROR_DISK_REPAIR_DISABLED and re-enable the disk repair feature to maintain the health of your system’s drives. Again, if your PC is managed by an organization, contact the system administrator to help you fix the problem.
You may also check our guide on how to use Disk Repair on Windows. If you still need more information, drop a note in the comments section below.


User forum
0 messages