Error Drivers Leaking Locked Pages: How to Fix it
Updating or disabling problematic drivers usually fixes this issue
![]() 3 min. read
3 min. read
![]() Published on
Published on
Share this article
Improve this guide
Read our disclosure page to find out how can you help Windows Report sustain the editorial team. Read more
Dealing with the Error_Drivers_Leaking_Locked_Pages on Windows can be incredibly frustrating, especially when it leads to those dreaded blue screen errors. But don’t worry, we got you covered with some tried-and-true solutions that can help you get your system back on track.
How can I fix Error_Drivers_Leaking_Locked_Pages?
Before we start fixing this error, ensure that all your drivers are up to date.
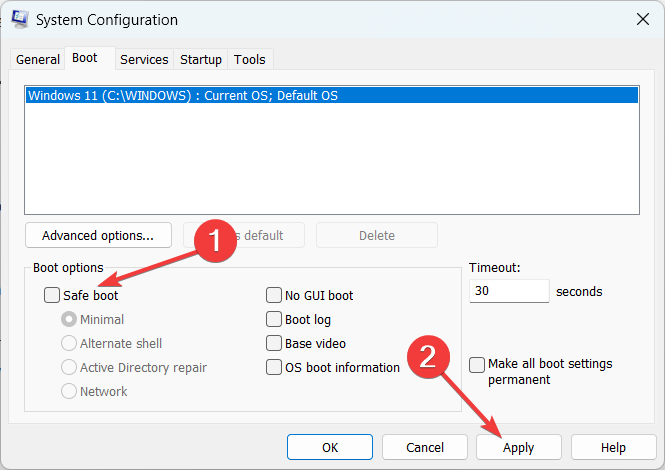
1. Disable problematic driver from Safe Mode
- Press Win + R, type msconfig, and press Enter. Go to the Boot tab, check Safe boot, and select Minimal. Restart your computer.

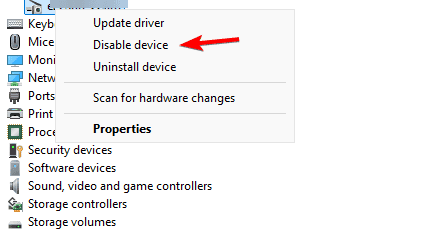
- Press Win + X and select Device Manager.
- Locate the problematic driver, right-click on it, and select Disable device.

- Open msconfig again, uncheck Safe boot and restart your computer.
Disabling a problematic driver can stop the blue screen errors if the driver is faulty or incompatible with your system.
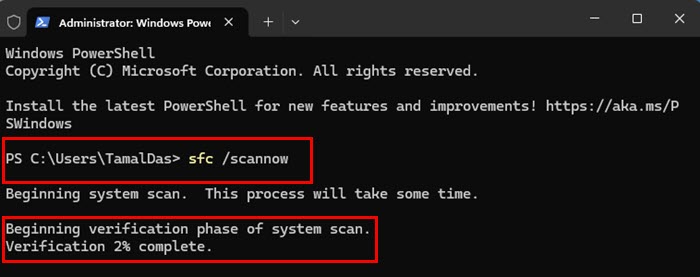
2. Check system integrity
- Press Win + X and select Command Prompt (Admin).
- Type
sfc /scannowand press Enter. Wait for the process to complete.
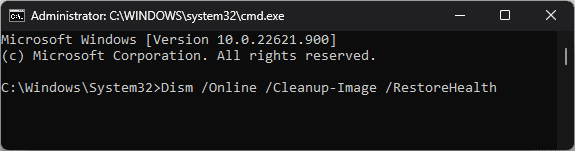
- If SFC finds errors but can’t fix them, type
DISM /Online /Cleanup-Image /RestoreHealthand press Enter.
3. Enable Driver Verifier
- Press Win + R, type verifier, and press Enter.
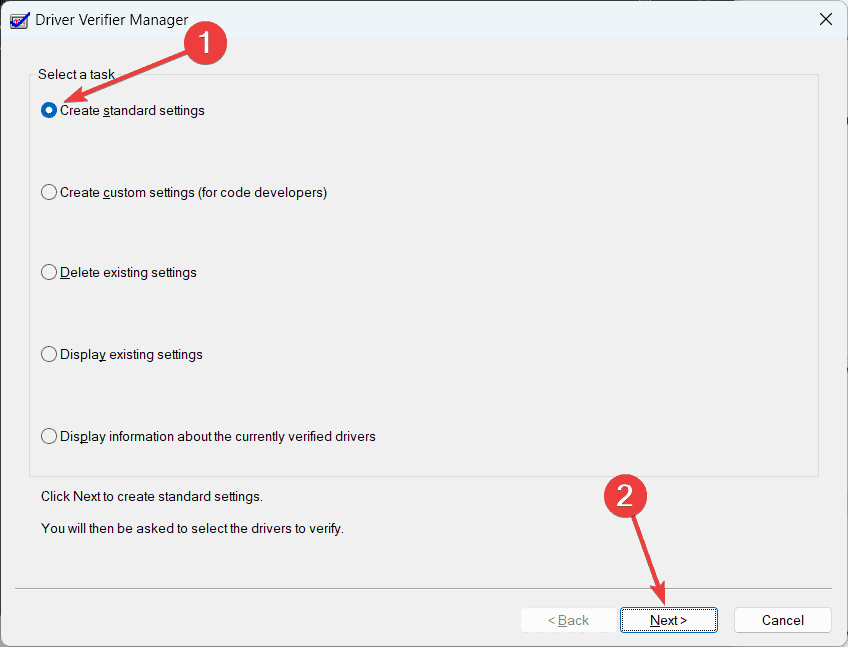
- Choose Create standard settings and click Next.

- Select Automatically select unsigned drivers or Select driver names from a list.
- After setting up the Driver Verifier, restart your machine.
Driver Verifier will put stress on your drivers and crash your system if it detects any violation, helping you pinpoint the faulty driver.
4. Edit the registry
- Press Win + R, type regedit, and press Enter.

- Go to
HKEY_LOCAL_MACHINE\SYSTEM\CurrentControlSet\Control\Session Manager\Memory Management - Right-click on the Memory Management key, select New > DWORD (32-bit) Value, name it TrackLockedPages, and set its value to 1.

- Save your changes and reboot.


Editing the registry to track locked pages helps Windows save stack traces and identify which driver is causing the problem.
5. Use Debugging Tools
- Press Win + R to open the Run dialog box, type cmd, and press Enter.
- If you haven’t already, download the debugging tools from the Microsoft website or use the Windows SDK installer.
- Open WinDbg (the Windows Debugger). You can find it in the Start menu after installation.
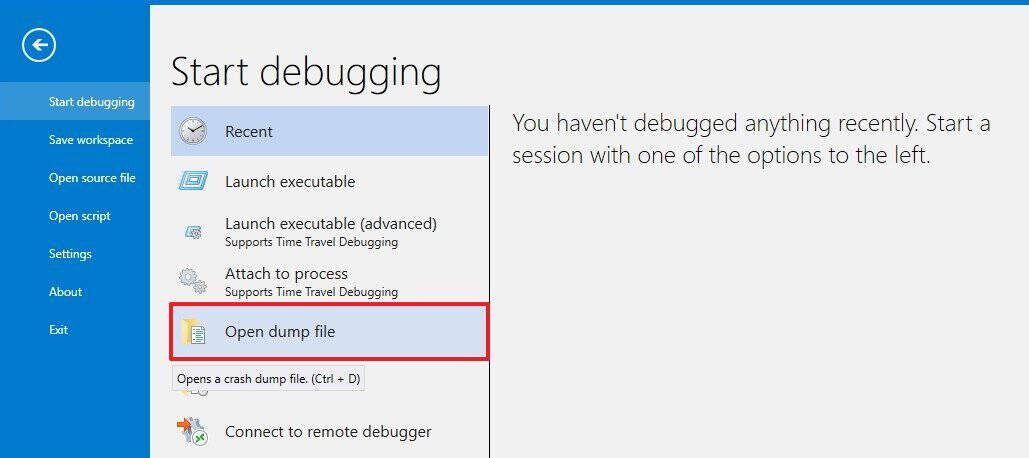
- In WinDbg, go to File > Open Crash Dump, and navigate to your minidump file, which is usually located in
C:\Windows\Minidump
- Type
!analyze -vinto the command bar at the bottom of the WinDbg window and press Enter.
If the problem persists, you might have to factory reset Windows 11.
By following these solutions, you will be able to pinpoint and resolve the Error_Drivers_Leaking_Locked_Pages error. Keep in mind that sometimes you might get a blue screen after installing drivers, but we have a guide that will help you fix that.
Driver Violation error and Driver Power State Failure are the most common driver errors you can encounter, but we already covered them in separate guides.


User forum
0 messages