6 Ways to Fix The ERROR_DISCARDED 157 (0x9D) Error
First, end all the unwanted processes
4 min. read
Updated on
Read our disclosure page to find out how can you help Windows Report sustain the editorial team. Read more
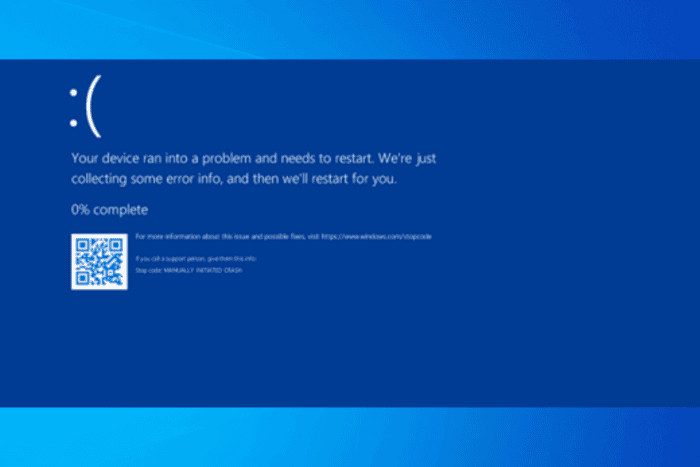
The Error_Discarded 157 (0x9D) with the error message The segment is already discarded and cannot be locked appears when an operation or process tries to interact with a memory segment or a buffer/file that has been discarded or is no longer accessible. This error can occur when using device drivers, memory buffers, or kernel-level operations.
To begin with, check if your system has sufficient RAM and ensure there are no memory leaks. Then, check for memory usage and close unwanted apps to reduce the load. Restart the affected app or the computer to refresh the hardware or memory segment state.
How can I fix the ERROR_DISCARDED 157 (0x9D) error?
1. Update or reinstall the problematic driver
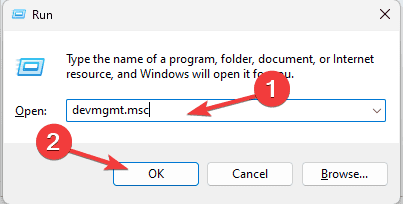
- Press Windows + R to open the Run window.
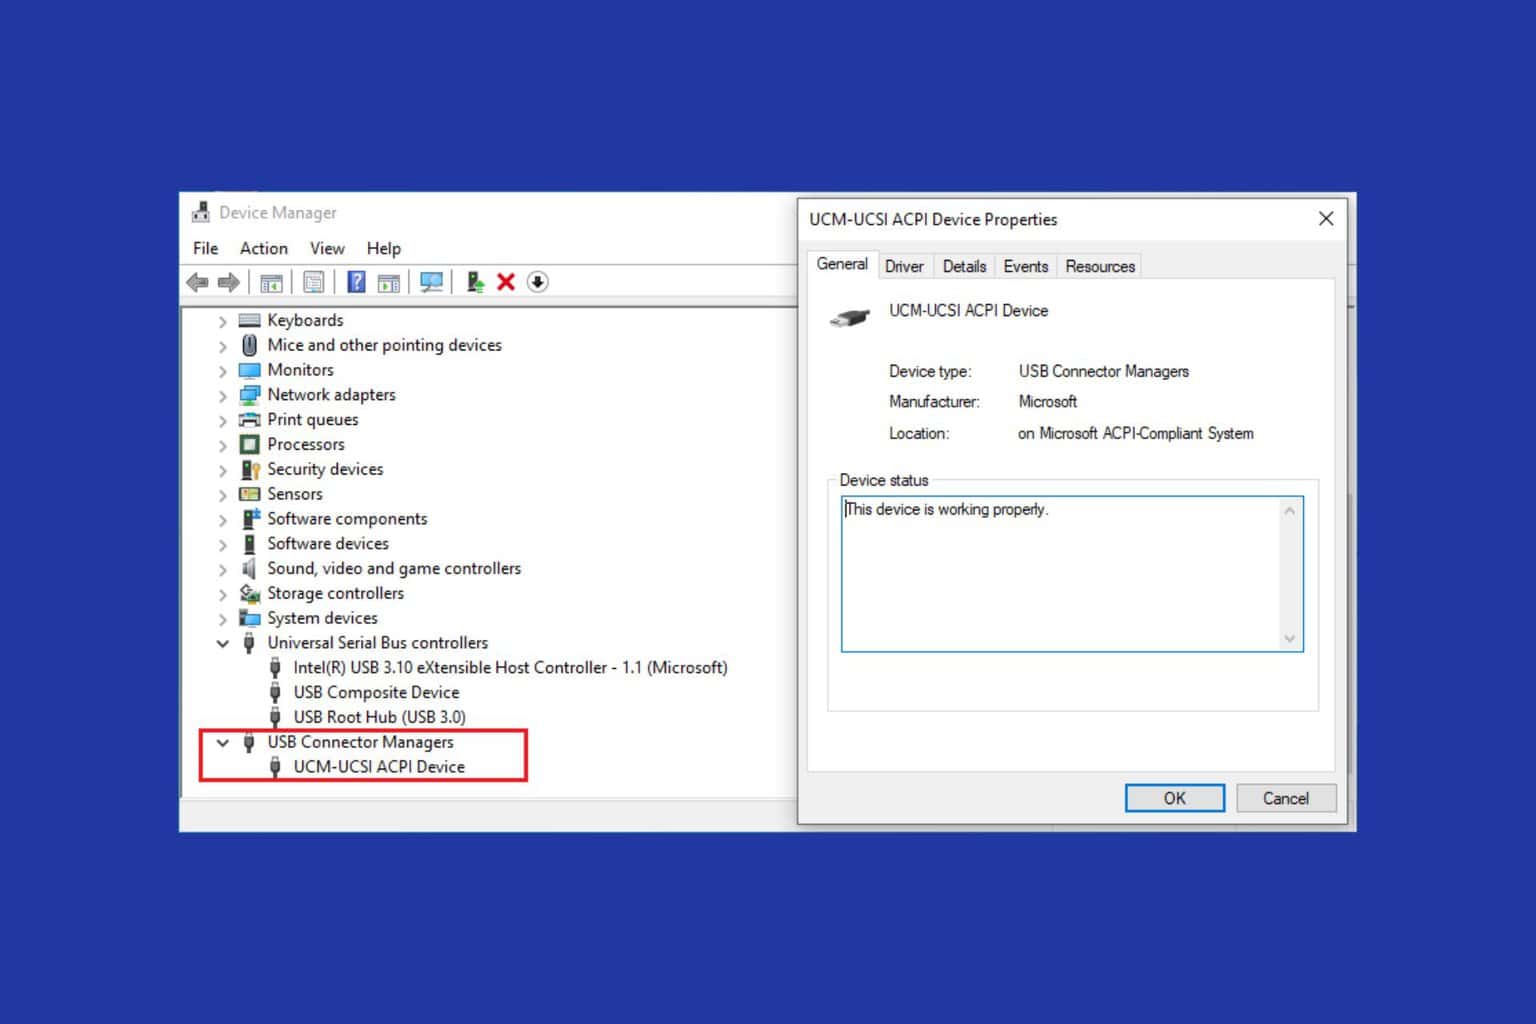
- Type devmgmt.msc and click OK to open the Device Manager app.
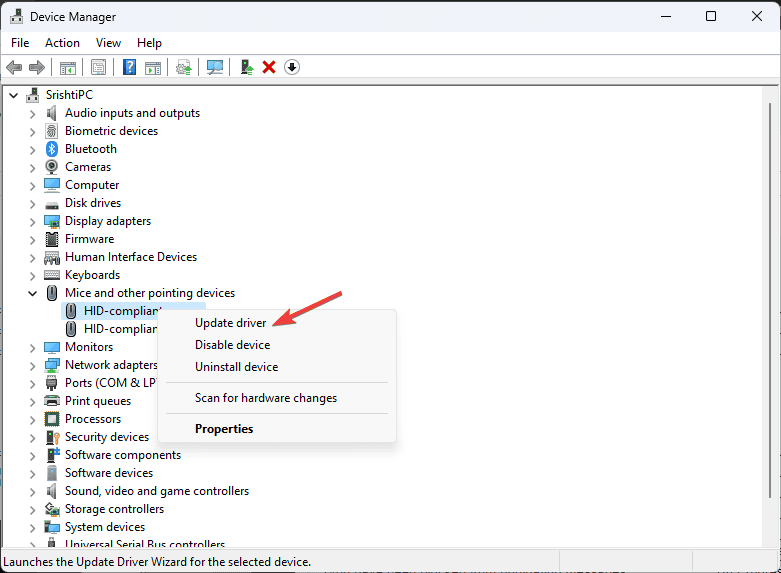
- From the list of system components, expand each category and look for a driver with a yellow triangle with an exclamation mark inside.
- Right-click the problematic driver and click the Update driver from the context menu.
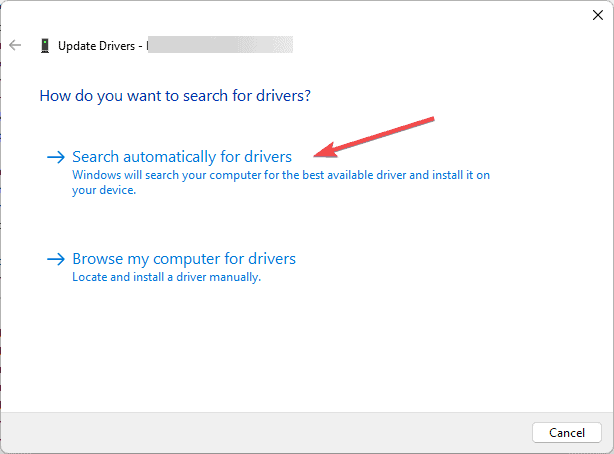
- Select the Search automatically for drivers option, then follow the on-screen instructions to complete the process. Repeat these steps if there is more than one outdated or corrupted driver.
If Windows cannot find the latest version of the driver, you can visit the manufacturer’s website to download it. Alternatively, you can use a reliable driver updater tool to scan and update the driver in no time. However, if you already have the latest version of the driver and are still getting the error, try reinstalling the driver. For that, follow these steps:
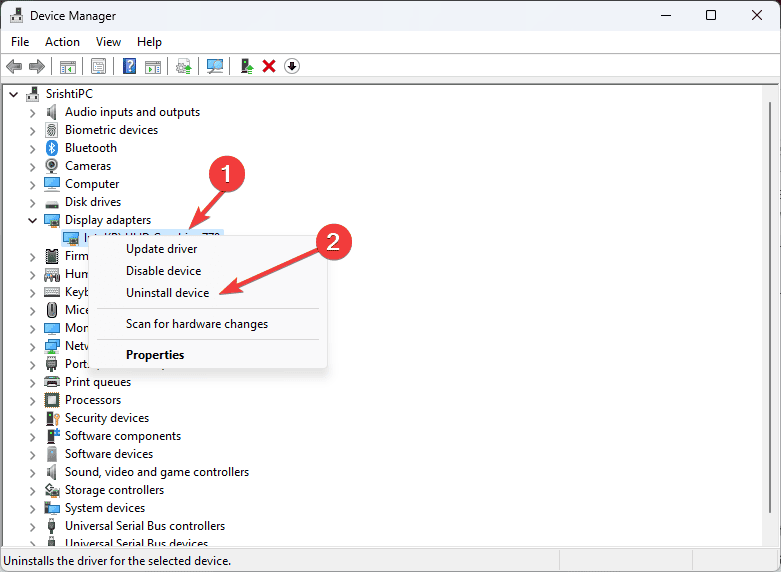
- Open Device Manager again and locate the problematic driver.
- Right-click it and select Uninstall device.
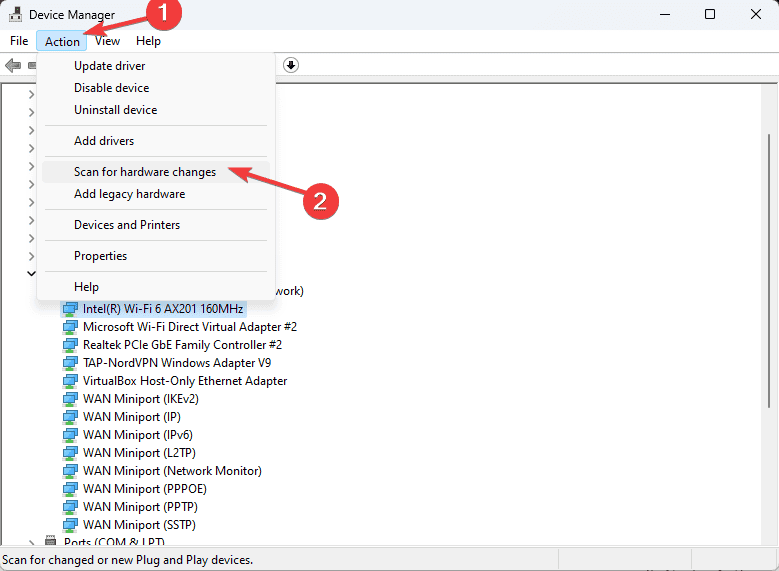
- Go to Action and select Scan for hardware changes from the drop-down menu to reinstall the driver.
2. Run the CHKDSK scan
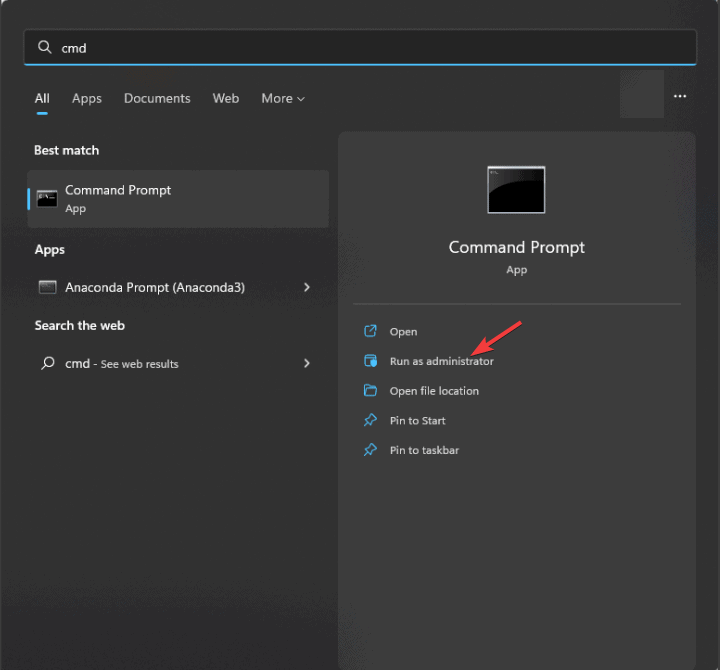
- Press the Windows key, type cmd in the search box, and select Run as administrator from the options.
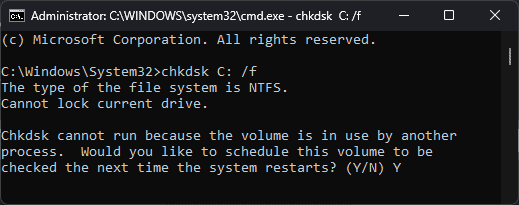
- Type the following command after replacing C with the system drive on your computer to run the disk scan and hit Enter:
chkdsk C: /f - You will be informed that the scan will run after the restart. To schedule it, type Y and press Enter.
- Now reboot your computer and wait for the scan to complete.
3. Disable the Windows Firewall temporarily
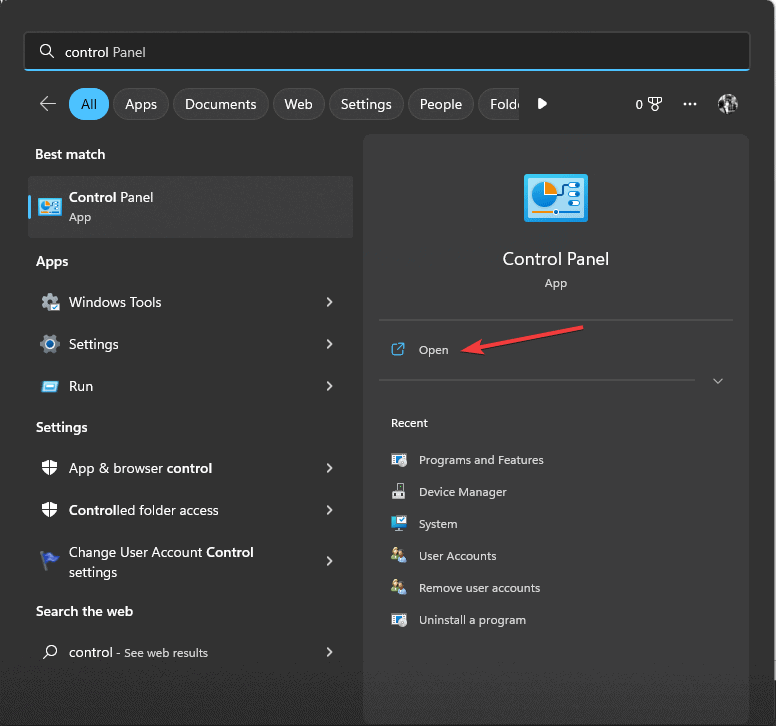
- Press the Windows key, type control panel in the search box, and click Open from the options.
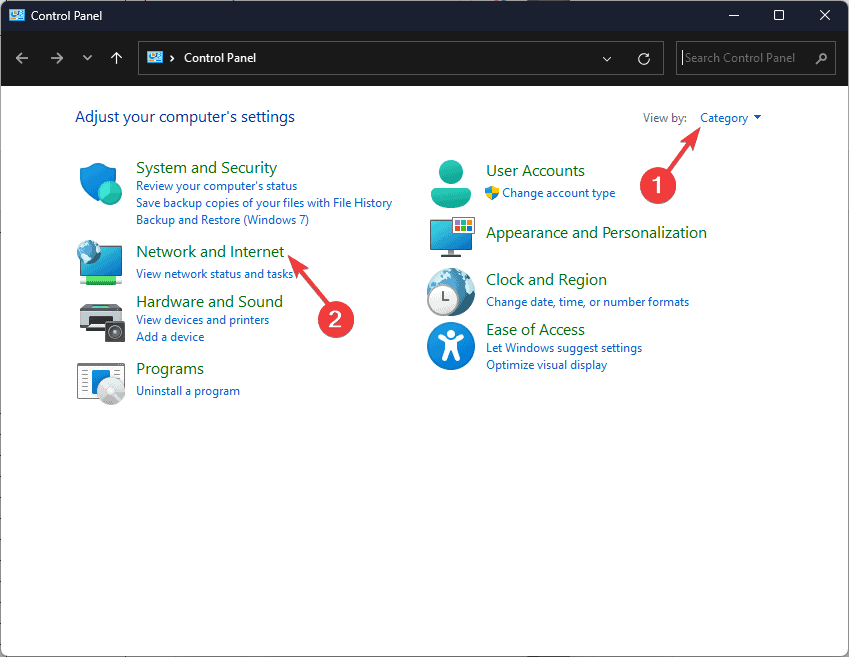
- Select Category for View by and click System and Security.
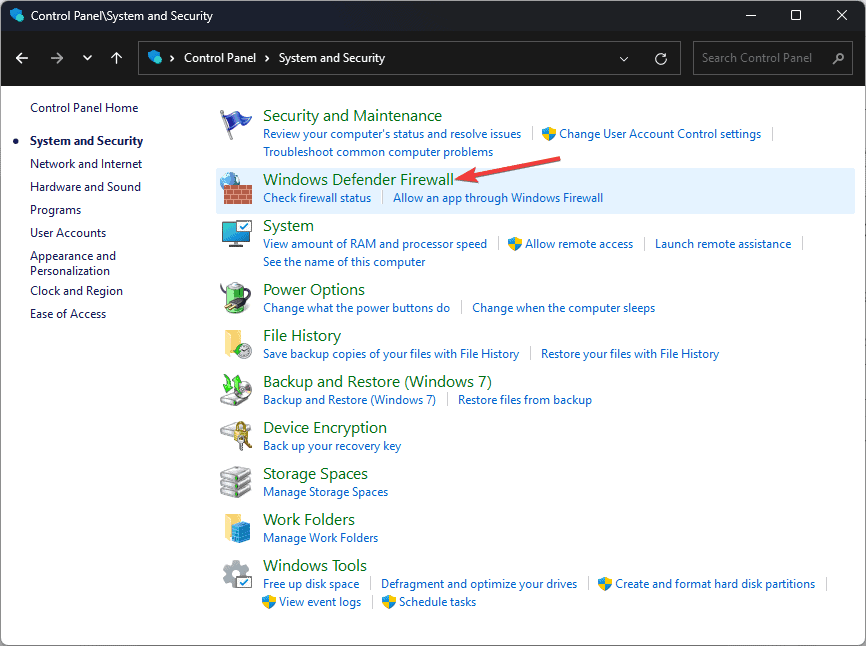
- Click the Windows Defender Firewall option.
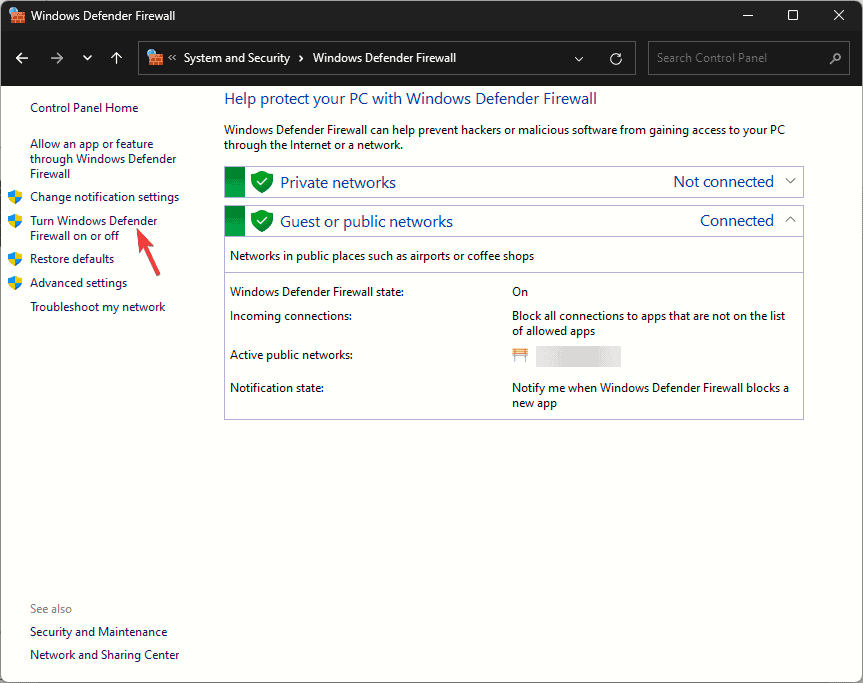
- Select the Turn Windows Defender Firewall on or off link.
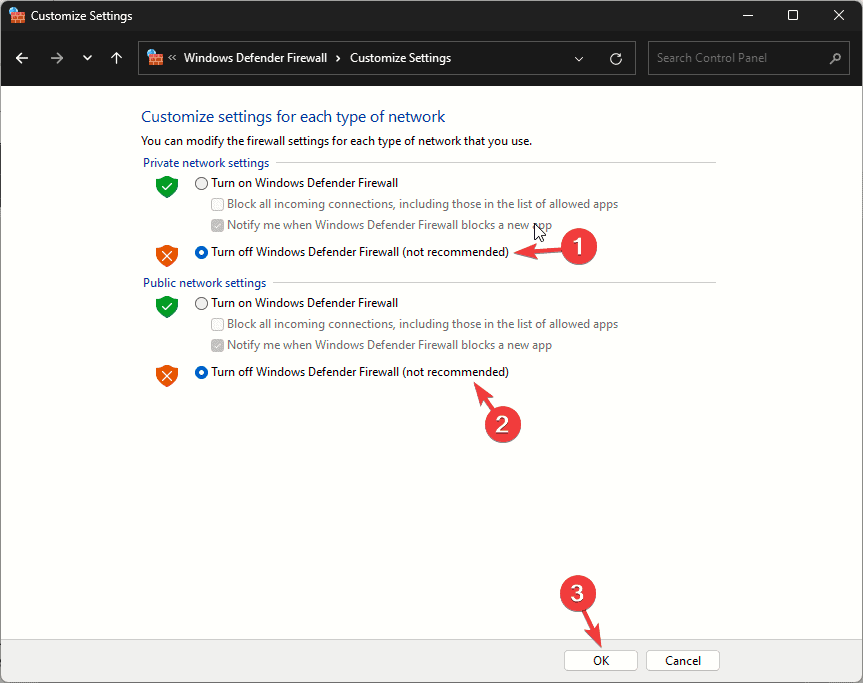
- Remove the checkmark next to Turn on Windows Defender Firewall under Private network settings, and Public network settings.
- Click OK to save the changes.
4. Check the Event Viewer for errors
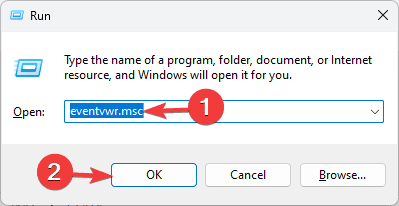
- Press Windows + R to open the Run window.
- Type eventvwr.msc and click OK to launch the Event Viewer.
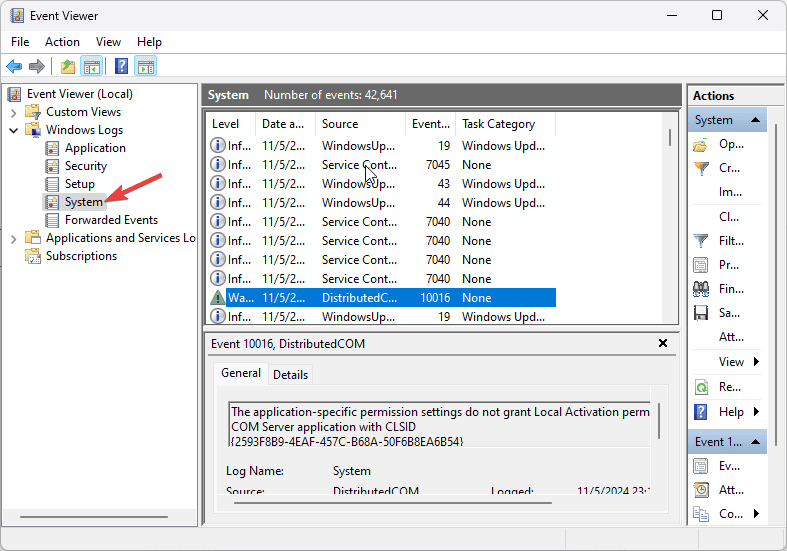
- From the left pane, go to Windows Logs > System or Application.
- Now, look for any errors or warnings related to memory management, hardware, or any specific app causing Error_Discarded.
5. Run an SFC scan
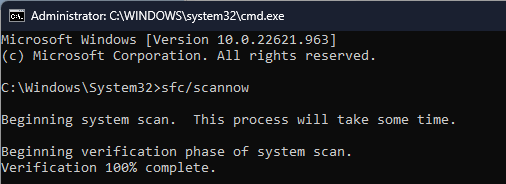
- Press the Windows key, type cmd in the search box, and click Run as administrator from the list of options.
- Copy & paste the following command to repair/restore the corrupted system files and hit Enter:
sfc /scannow - Wait for the scan to complete. If issues are found, it will try to repair the corrupted files. Restart the computer to let the changes take effect.
6. Perform a system restore
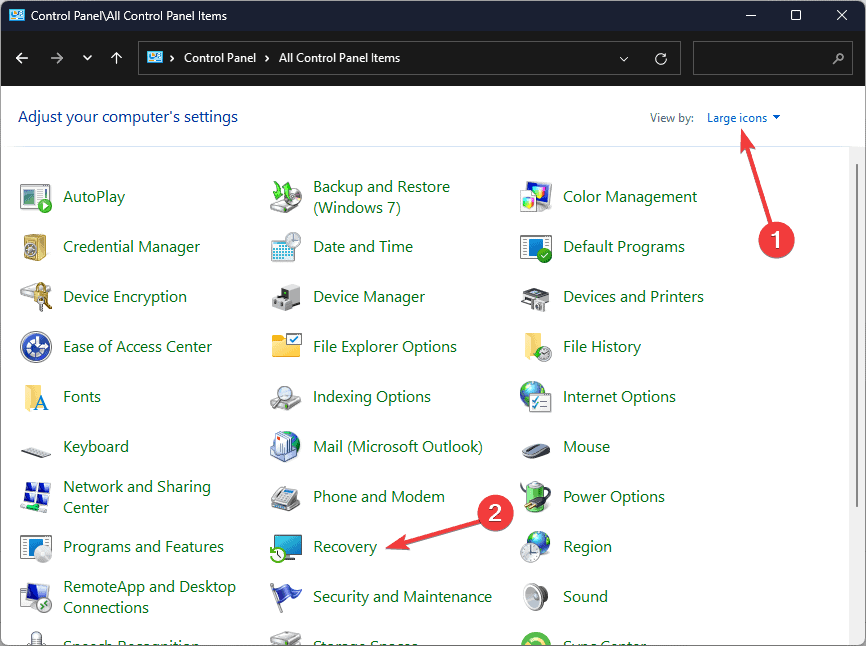
- Press the Windows key, type control panel in the search box, and click Open from the list of options.
- Select Large icons for View by and click Recovery.
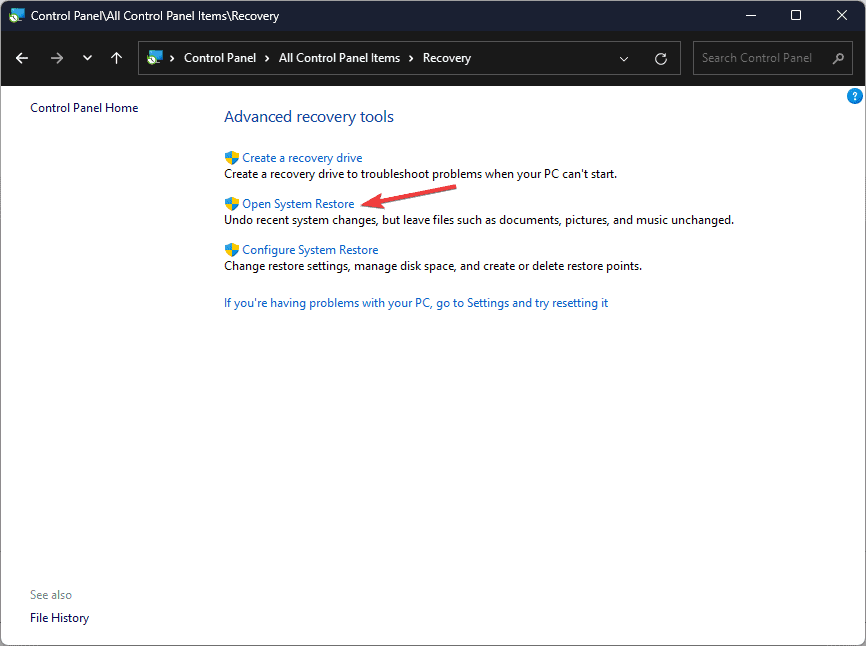
- Click the Open System Restore link.
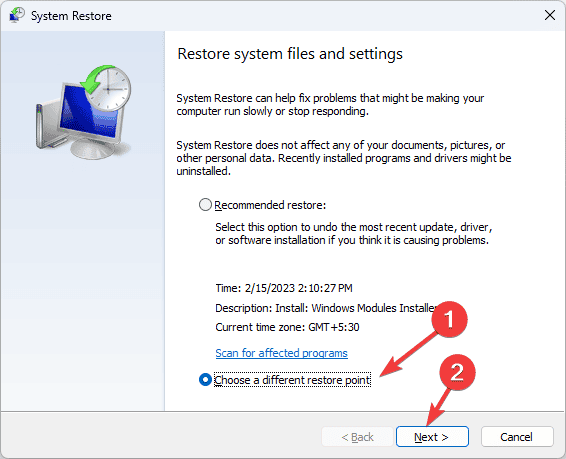
- Select Choose a different restore point and click Next.
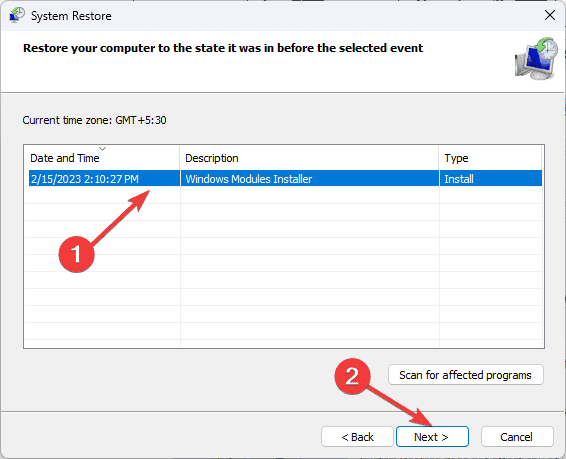
- From the list of available restore points, select the most recent one created before the error occurred, then click Next.
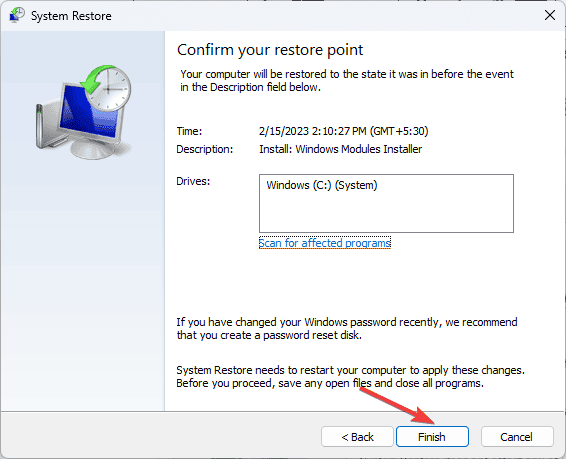
- Click Finish to initiate the process.
Windows will restart and restore the system settings to the selected point. If you see System Restore was not successfully completed error message after the system boots up, it could be due to conflicting drivers or corrupted system files; try the methods mentioned in this detailed guide.
If you still see the Error_Discarded message, consider reinstalling Windows or replacing the hardware causing the issue.
If you have any questions or suggestions about the issue, feel free to mention them in the comments section below. We’re happy to help!

User forum
0 messages