What is Event ID 1026 & How to Quickly Fix it
Setting the application pool identity should do
3 min. read
Updated on
Read our disclosure page to find out how can you help Windows Report sustain the editorial team. Read more
Key notes
- The Event ID 1026 is logged when the World Wide Web Publishing Service (WWW Service) faces an error.
- You can fix this issue by restarting the application pool.
- Another surefire solution is to download the latest version of .Net Framework.
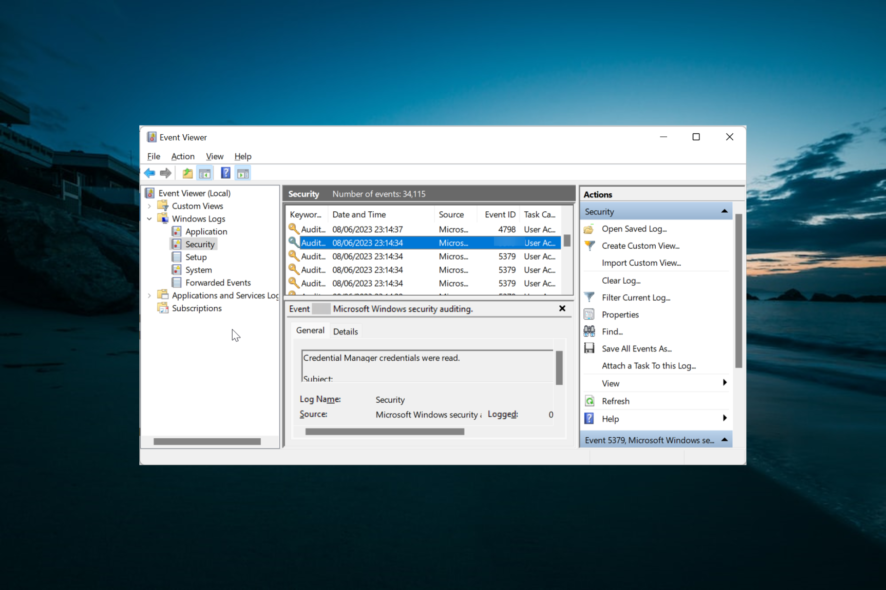
The Event ID 1026 prompt occurs when the World Wide Web Publishing Service (WWW Service) encounters an error. Like Event ID 5136, this event is not one of the worrisome issues.
Still, if you want to know how to get rid of the event, this guide will take you through the steps to follow.
What is Event ID 1026?
Event ID 1026 denotes that the World Wide Web Publishing Service (WWW Service) faced an error. This happens when it tries to secure the handle of application pool %1 from HTTP.sys.
To know the error number, check the data field. This will give you an insight into what might have caused the error.
How can I fix Event ID 1026?
Below are some preliminary troubleshooting steps to perform before moving to the solutions in this section:
- Set the application pool identity.
- Restart the application pool.
Should this fail to fix this issue, you can now delve into the fixes below:
1. Install the latest version of .Net Framework
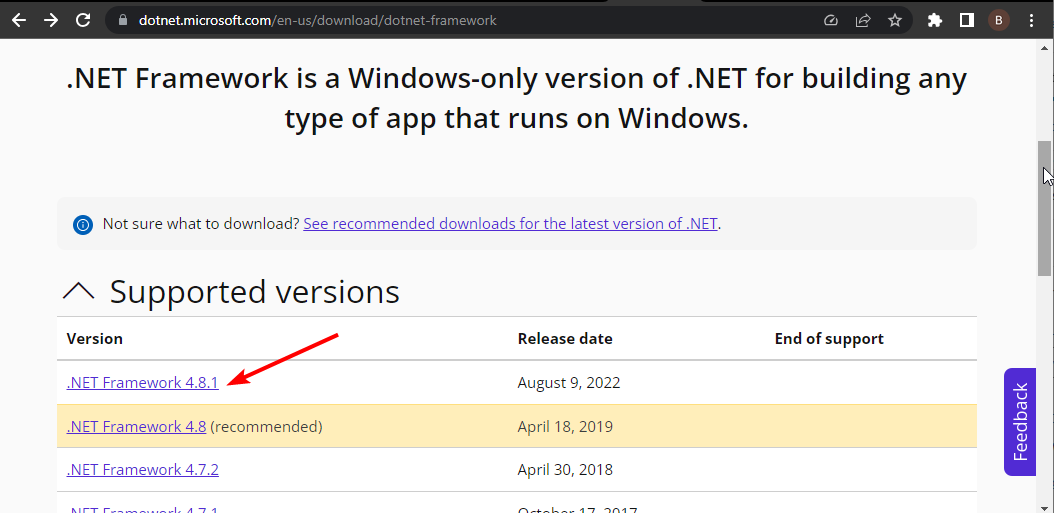
- Visit the official .Net Framework download page and click the latest version available.
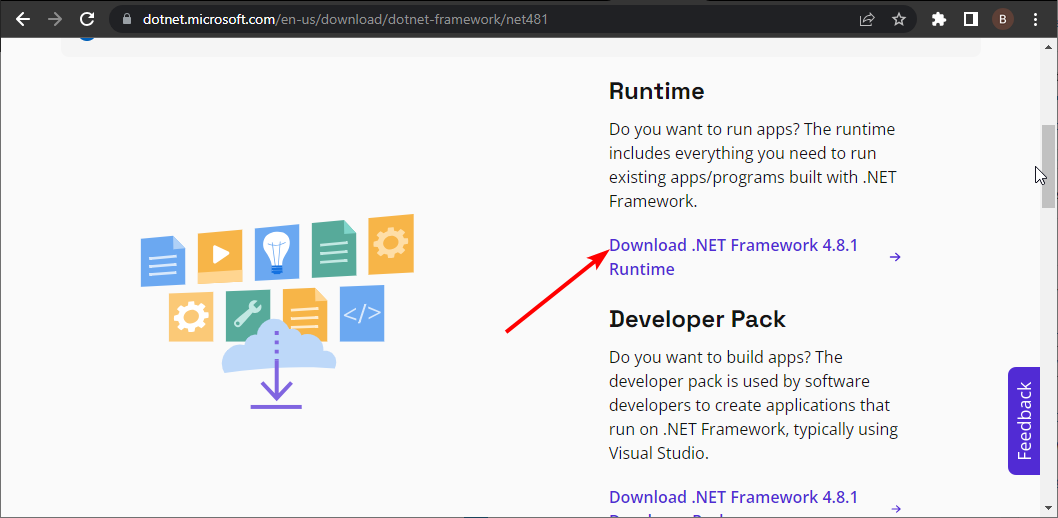
- Now, click the link to download the runtime version on the next page.
- Finally, double-click the download file and follow the onscreen instructions to complete the process.
Sometimes, the Event ID 1026 prompt can be due to problems with the .Net Framework. Downloading and installing the latest version of the tool fixed this issue for many users, and you should try it too.
2. Perform an in-place upgrade
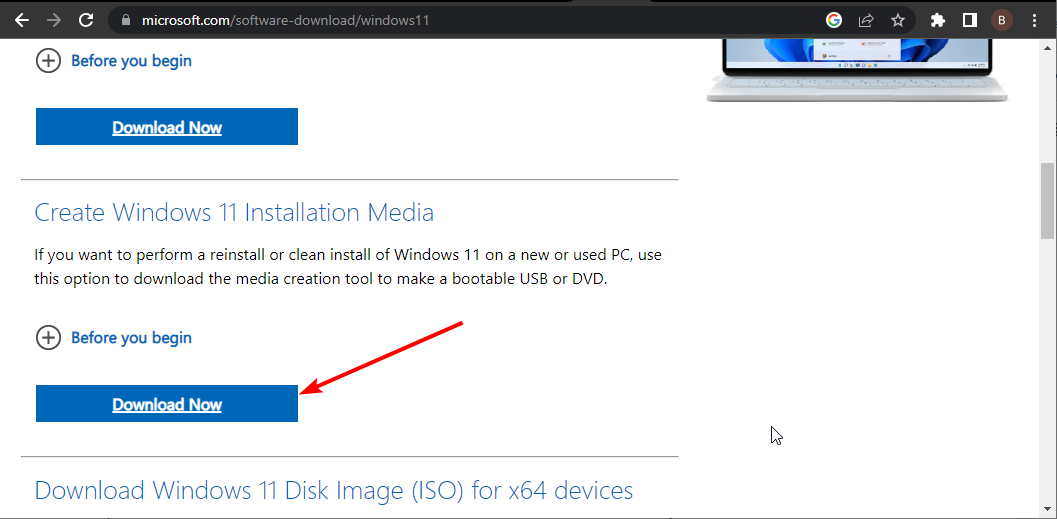
- Visit the official Windows 11 download website and click the Download Now button under the Create Windows 11 Installation Media section.
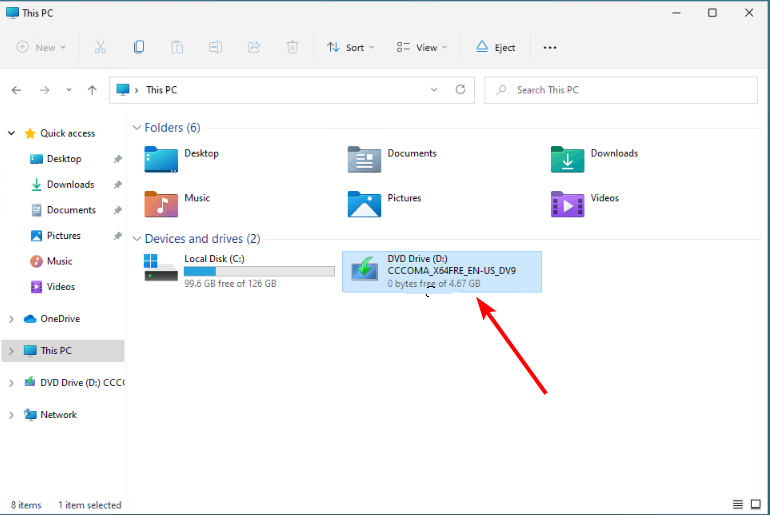
- Double-click the downloaded file to launch it.
- Now, wait for Windows to prepare the setup and click the Yes button when prompted.
- Next, accept the Licence Agreement and wait for Windows to download the required updates.
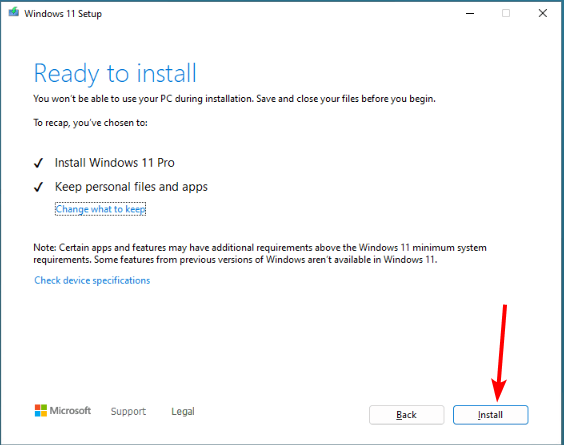
- Choose Whether to keep your files and apps or not. Since this is an in-place upgrade, leave the recommended settings, i.e., keep your files and apps.
- Now, click the Install button to start the in-place upgrade.
- Finally, wait for Windows to copy the necessary files to upgrade your device and restart your PC.
Another effective method that has worked for many users in eliminating the Event ID 1026 is to perform an in-place upgrade. This will help you install the latest patches on your PC without deleting your files. With this, you can eliminate the potential causes of this prompt.
There you have everything you need to get rid of the Event ID 1026. All you have to do now is to follow the instructions in this guide carefully, and things should be back to normal.
If you are dealing with a similar issue in Event ID 5145, check our comprehensive guide to fix it.
Feel free to let us know the solution that helped you solve this problem in the comments below.


User forum
0 messages