Filters Are Not Working in Planner? Here's What to Do
Try applying the filters by copying the task elsewhere
Key notes
- Any organization can attest that the Microsoft Planner has helped them stay organized while keeping track of the tasks at hand.
- With the numerous features available such as filtering, you can easily find out due tasks and attend to them immediately.
- But what happens when the filters are not working? Find out why this happens and how to resolve it.

Filters are a powerful and flexible tool in Microsoft Planner that can help you find exactly what you want. They are a great way to narrow your Planner view and get a more focused view of what’s happening in your business.
You can easily prioritize your tasks and attend to them with the help of filters. But what happens if your filters aren’t working as expected? This article will walk you through the steps of troubleshooting this issue.
What are the ways a filter can be applied in the Planner app?
Microsoft Planner is a powerful project management tool that allows users to create plans, organize tasks and assign them to team members. The app also comes with a filter option that makes it easy for users to find specific tasks or projects
The filtering capability allows you to filter your data in many different ways. Depending on what you’re looking for, you can filter based on various categories such as:
- Keyword – This is particularly helpful when looking for a specific task, but the list is vast. The filter will bring up all related keywords, and you choose which ones apply to you.
- Date – This is a very handy filter and one of the most commonly used. Date filtering is useful for viewing your tasks over a long period of time and keeping track of what you need to do each day. It’s also helpful for seeing how much time you have left before a deadline or the due date for an activity.
- Priorities – Tasks can also be filtered according to their priority level, from low to high. This allows you to never miss a deadline because you can attend to pressing issues in a timely manner.
- Labels – Label filtering can be done within tasks to easily keep track and stay organized, especially if one task has lots of activities.
- Buckets – This filter is more like labels, but the only difference is that it is more powerful. It allows you to apply multiple filters at the same time. You can group tasks together based on their criteria and then create another filter, say the date or priority filter.
What can I do if filters are not working in Microsoft Planner?
Before you jump to the main solutions, we advise you first to check the following:
- Make sure you’re using the latest version of Microsoft Office 365.
- Test your network connection. Make sure that you have a good Internet connection.
- Ensure you’re signed into the right account and that the account has permission to view or edit tasks in your workspace. Remember, Microsoft Planner does not work with personal accounts.
- Sign out and sign in again as another user (if available).
- Check with your organization whether your Microsoft 365 subscription is up-to-date.
- Make sure that you’re using a supported filter type. For example, if you have a date range filter set up, ensure that your date range is set up correctly. You cannot filter tasks for a time frame that has already expired.
- Try another browser. Your current browser may have some issues.
1. Copy the plan
- Launch the Planner app and find the plan that is not accepting any filters to copy.
- Click on the three ellipses at the top right corner, then select Copy plan.

- You can choose to rename the copy to differentiate the two.
- Copy the plan under Copy to a group. This can be any of the plans to which you are a member or you can create a new one.
- Choose the items you wish to copy under the Include section and select Copy plan.

- Wait for the plan to complete copying, open it and try the filters.
2. Clear browser cache
- The exact steps will vary depending on the browser you’re using. For this step, we’ll be using the Chrome browser.
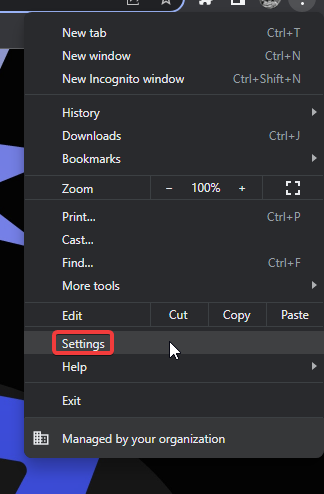
- Launch your Chrome browser and click the three vertical ellipses in the top right corner.
- Select Settings.
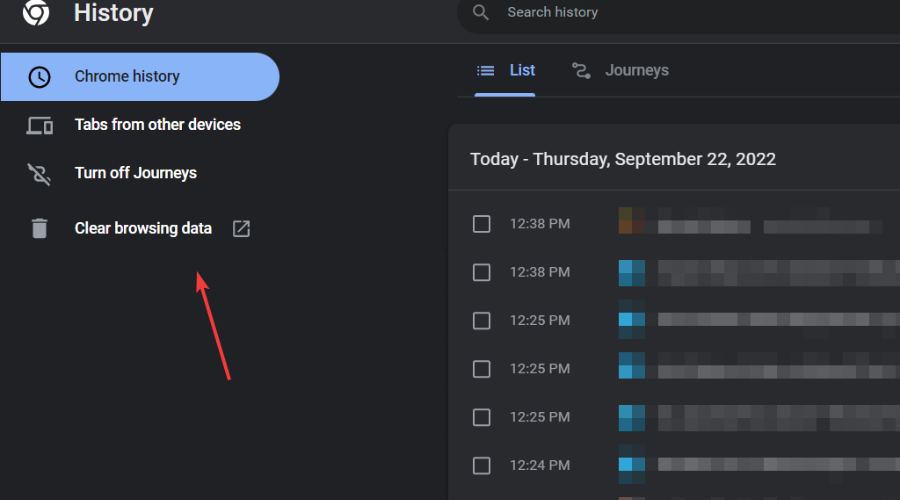
- Click on Privacy and security, then select Clear browsing data.
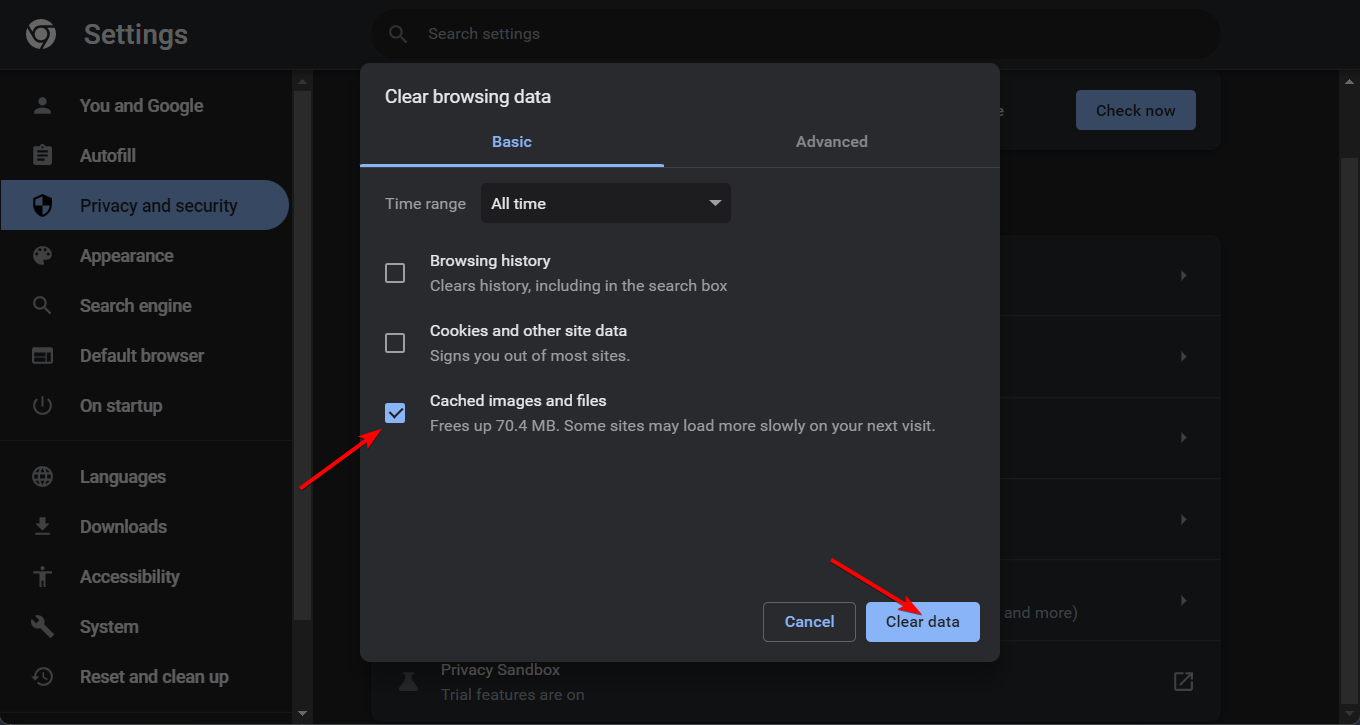
- Check Cookies and other site data and Cached images and files, then hit Clear data.
- If you’re using another browser, also proceed to clear the cache.
3. Reinstall Office
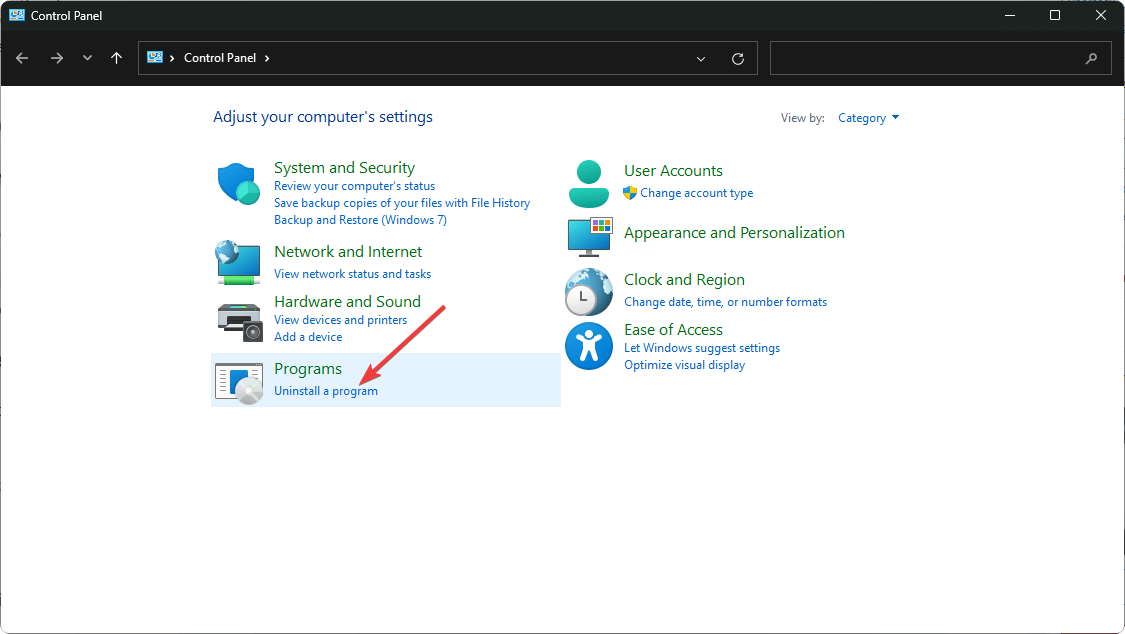
- Hit the Windows key, type Control Panel in the search bar, and click Open.

- Click on Uninstall a program under Programs.
- Find Microsoft Office and click Uninstall. If there’s more than one copy, proceed to uninstall them too.

- Download Office and follow the on-screen prompts to complete the installation.
If none of these methods bear fruit, we recommend you raise a service request Microsoft 365 admin for further assistance.
That’s all we had for this article but do let us know of any additional thoughts you may have on this issue.
Read our disclosure page to find out how can you help Windows Report sustain the editorial team. Read more


Improve this guide


User forum
0 messages