FIX: Windows 10 update error 0x80080008
Key notes
- The 0x80080008 errors is one of the most frequent install errors on Windows 10 PC and Mobile. Don't worry because we can fix it and read all about it in our article below.
- Don't be shy in using the Windows 10's built-in troubleshooter. You can use it to resolve various kinds of system issues, including the update problems. It might work like a charm.
- Windows Update generates a lot of errors but if you bookmark our Windows Update errors how to hub you will be covered in the future.
- If you experienced any other Windows 10 errors we've got you covered. Check out our Windows 10 errors hub.

Installing the latest Windows 10 build can sometimes turn into a nightmare.
There are various errors that may occur during the download and install process, preventing Insiders from getting the latest updates on their devices.
Speaking of which, error 0x80080008 is one of the most frequent build install errors on Windows 10 PC and Mobile.
As a matter of fact, many Insiders who installed the latest Windows 10 Mobile build confirmed they encountered this error during the install process.
The good news is that there are a few quick workarounds that you can use to fix it.
Here’s how one user describes this error:
Rebooting fixed this error. But after it’s downloaded and installed, when I click restart, now it gave me 0x80070002 error!
I’ve restarted again and click update, it showed me restart option, clicked on it and then again 0x80070002.
On that error, I’ve clicked retry and now it’s downloading again.
It is good to know that error 0x80080008 affects non-Insiders, as well. Both Insiders and non-Insiders can use the solutions listed below.
Table of contents:
- Run DISM
- Run the SFC scan
- Create a batch file
- Delete the Boot Configuration bad memory
- Run the Update troubleshooter
- Reset Windows Update components
- Make sure the Windows Update service is running
- Make sure the BITS service is running
- Change DNS settings
How can I fix Windows 10 update error 0x80080008?
Fix – Windows 10 error 0x80080008
Solution 1 – Run DISM
The first thing we’re going to try is running DISM. Deployment Image Servicing and Management (DISM) is a tool for, as its name says, deploying the system image all over again.
Hopefully, it will also resolve the problem on the way.
We’ll walk you through both standard and the procedure that utilizes the installation media below:
- Standard way
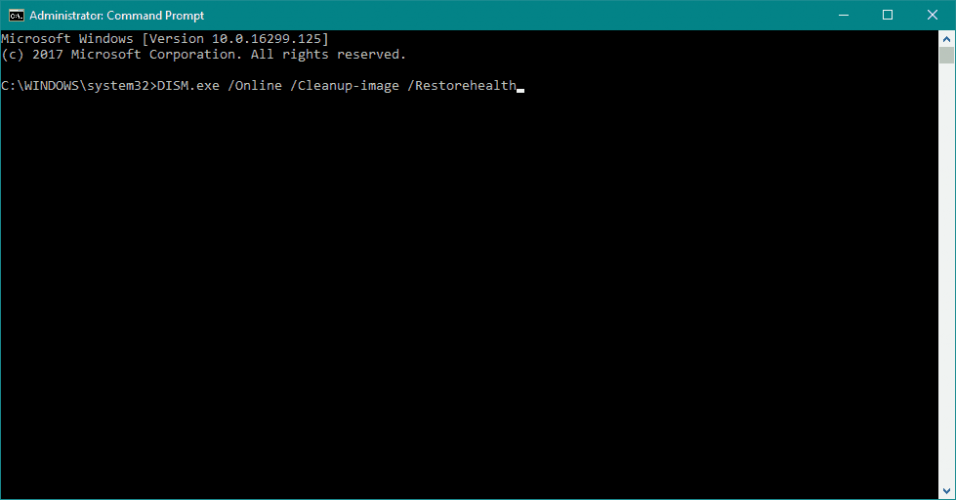
- Right-click Start and open Command Prompt (Admin).
- Paste the following command and press Enter:
-
- DISM /Online /Cleanup-Image /RestoreHealth
- DISM /Online /Cleanup-Image /RestoreHealth
-
- Wait until the scan is finished.
- Restart your computer and try updating again.

- With the Windows installation media
- Insert your Windows installation media.
- Right-click the Start menu and, from the menu, choose the Command Prompt (Admin).
- In the command line, type the following commands and press Enter after each:
- dism /online /cleanup-image /scanhealth
- dism /online /cleanup-image /restorehealth
- Now, type the following command and press Enter:
- DISM /Online /Cleanup-Image /RestoreHealth /source:WIM:X:SourcesInstall.wim:1 /LimitAccess
- Make sure to change an X value with the letter of the mounted drive with Windows 10 installation.
- After the procedure is finished, restart your computer.
Solution 2 – Run the SFC scan
The SFC scan is another command-line tool for resolving various system issues. So, we can also use it to resolve Windows update problems. Here’s how to run the SFC scan in Windows 10:
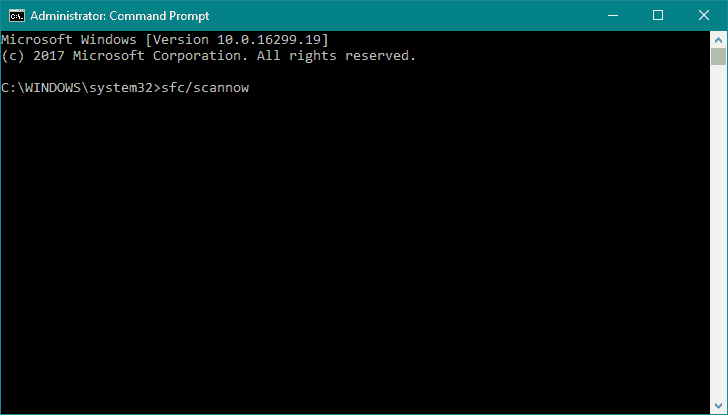
- Right-click on the Start Menu button, and open Command Prompt (Admin).
- Enter the following line and press Enter: sfc/scannow
- Wait until the process is done (it may take a while).
- If the solution is found, it will automatically be applied.
- Now, close the Command Prompt and restart your computer.
Solution 3 – Create a batch file
- Open Notepad
- Create a batch file with the following contents:
- REGSVR32 WUPS2.DLL /S
- REGSVR32 WUPS.DLL /S
- REGSVR32 WUAUENG.DLL /S
- REGSVR32 WUAPI.DLL /S
- REGSVR32 WUCLTUX.DLL /S
- REGSVR32 WUWEBV.DLL /S
- REGSVR32 JSCRIPT.DLL /S
- REGSVR32 MSXML3.DLL /S
- Save the file as register.bat on your desktop.
- Right-click and run it as administrator.
- Reboot your PC and try to update again.
Solution 4 – Delete the Boot Configuration bad memory
The next thing we’re going to try is deleting the Boot Configuration. Here’s what you need to do:
- Right-click the Start menu and run Command Prompt (Admin).
- In the command line, type the following commands and press Enter after each:
- bcdedit /enum all
- bcdedit /deletevalue {badmemory} badmemorylist
- Restart your PC and give upgrading another try.
Solution 5 – Run the Update troubleshooter
And the third troubleshooting tool we’re going to use here is Windows 10’s built-in troubleshooter.
You can use the troubleshooter to resolve various kinds of system issues, including the update problems. So, running this tool might be helpful in this case.
Here’s how to run Windows 10’s troubleshooting tool:
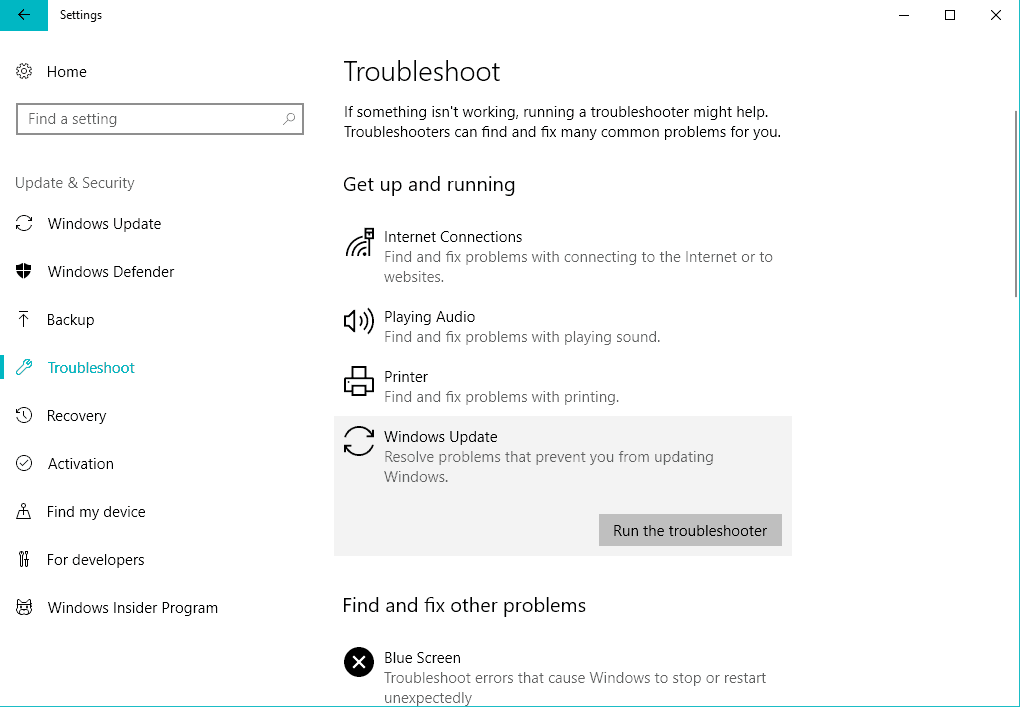
- Go to Settings.
- Head over to Updates & Security > Troubleshoot.
- Select Windows Update, and go to Run the Troubleshooter.
- Follow further on-screen instructions and let the process finish.
- Restart your computer.
Solution 6 – Reset Windows Update components
Windows Update components are crucial for obtaining updates. So, if one of these components is corrupt, you’ll have problems receiving updates.
The best solution, in this case, is to simply reset the update components to their original state. Here’s how to do that:
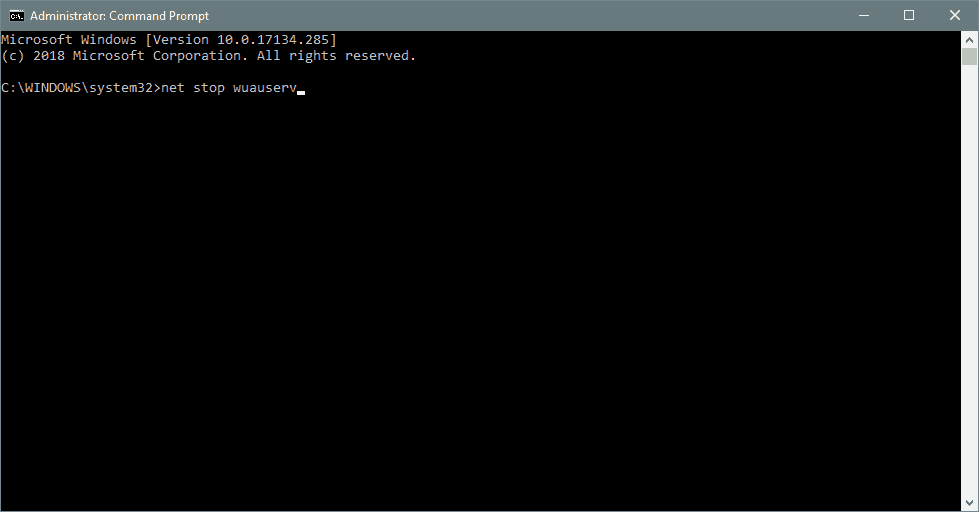
- Start Command Prompt as administrator.
- When Command Prompt starts, run the following commands:
- net stop wuauserv
- net stop cryptSvc
- net stop msiserver
- ren C:\Windows\SoftwareDistribution SoftwareDistribution.old
- ren C:\Windows\System32\catroot2 Catroot2.old
- net start wuauserv
- net start cryptSvc
- net start msiserver
Solution 7 – Make sure the Windows Update service is running
Just like other components, the Windows Update service is important for receiving updates. So, were going to make sure this service is running.
- Go to Search, type services.msc, and open Services.
- Find the Windows Update service. Right-click and open Properties.

- On the General tab, find Startup type and choose Automatic.
- If the service is not running, right-click and choose Start.
- Confirm selection and close window.

Solution 8 – Make sure the BITS service is running
The same thing goes for the BITS service:
- Press Windows key + R. In search line type services.msc and press Enter.
- Look for Background Intelligent Transfer Service (BITS) and double-click it to open its properties.
- If the service isn’t running, click the Start button.
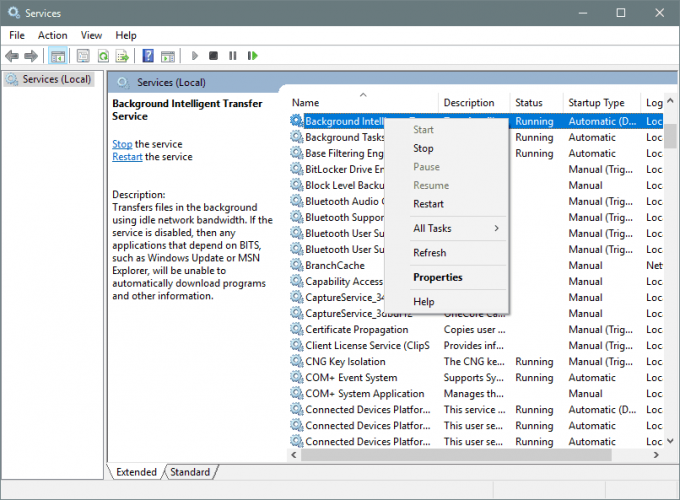
- Choose Recovery tab and make sure that First failure and Second failure are set to Restart service.
- Confirm selection and check for updates.

Solution 9 – Change DNS settings
If none of the previous workarounds resolve the problem, we’ll try and change the DNS settings. Here’s how to do that:
- Go to Windows Search, type control panel, and open Control Panel.
- Go to Network and Sharing Center, and click on Change adapter settings from the left pane.
- Choose the network you’re currently using, right-click it, and choose Properties.
- Scroll down to Internet protocol version 4 (TCP/IPv4), and choose Properties.
- Now, choose Use the following DNS Server addresses
- Enter the following values: DNS Server – 8.8.8.8 and Alternate DNS Server – 8.8.4.4
- Save changes, and restart your computer
If you’ve come across other workarounds to fix error 0x80080008, list the troubleshooting steps in the comment section below.
Read our disclosure page to find out how can you help Windows Report sustain the editorial team. Read more


Improve this guide


User forum
0 messages