How to Update BIOS if the PC Won't Boot [2 Easy Ways]
To flash the BIOS, you will need a USB flash drive
Key notes
- Make sure that your PC is plugged in, or your laptop is fully charged before attempting to flash BIOS when the computer won’t boot.
- Manufacturers’ guides can be extremely helpful, thus reading the guides is highly recommended.
- Downloading the wrong BIOS may render your PC unusable, that is why choosing the right BIOS is crucial.
When your PC doesn’t boot, it’s nearly hard to fix anything, so flashing the BIOS may be your only option.
A computer’s basic input-output system is one of its most important components and extremely sensitive to alteration or adjustment.
Flashing the BIOS means upgrading it or restoring it to its default settings, which will undo any changes.
Even if your computer won’t boot up, you can flash the BIOS with the help of this article. So, without further ado, let’s get started.
How can I flash BIOS when the computer won’t boot?
1. Flash or update BIOS from a bootable USB
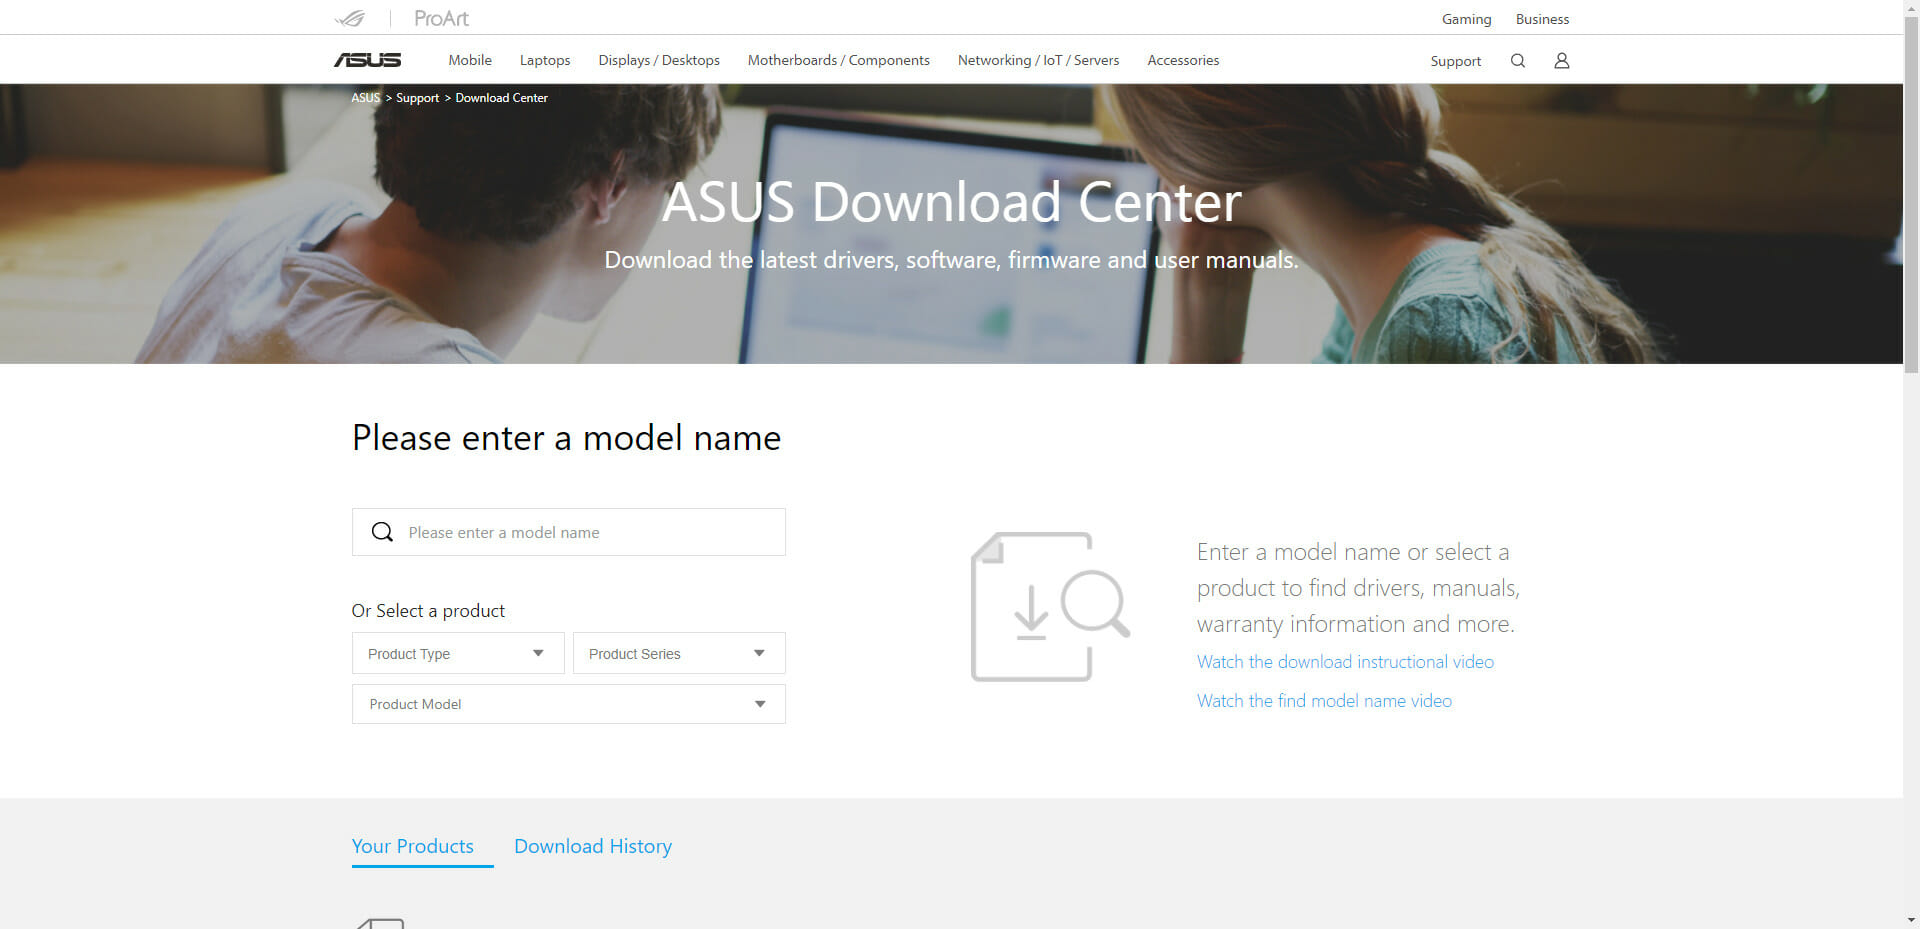
- Using another computer or laptop, visit your motherboard’s or computer’s manufacturer’s website and look for a support page.
- They should have your motherboard or laptop model listed. In our example, we go to the ASUS help center and type our motherboard model.
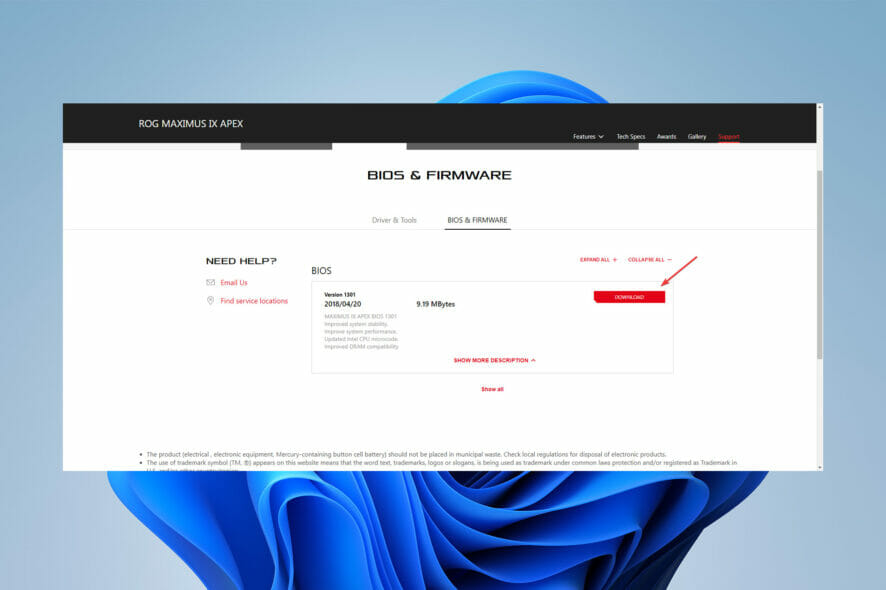
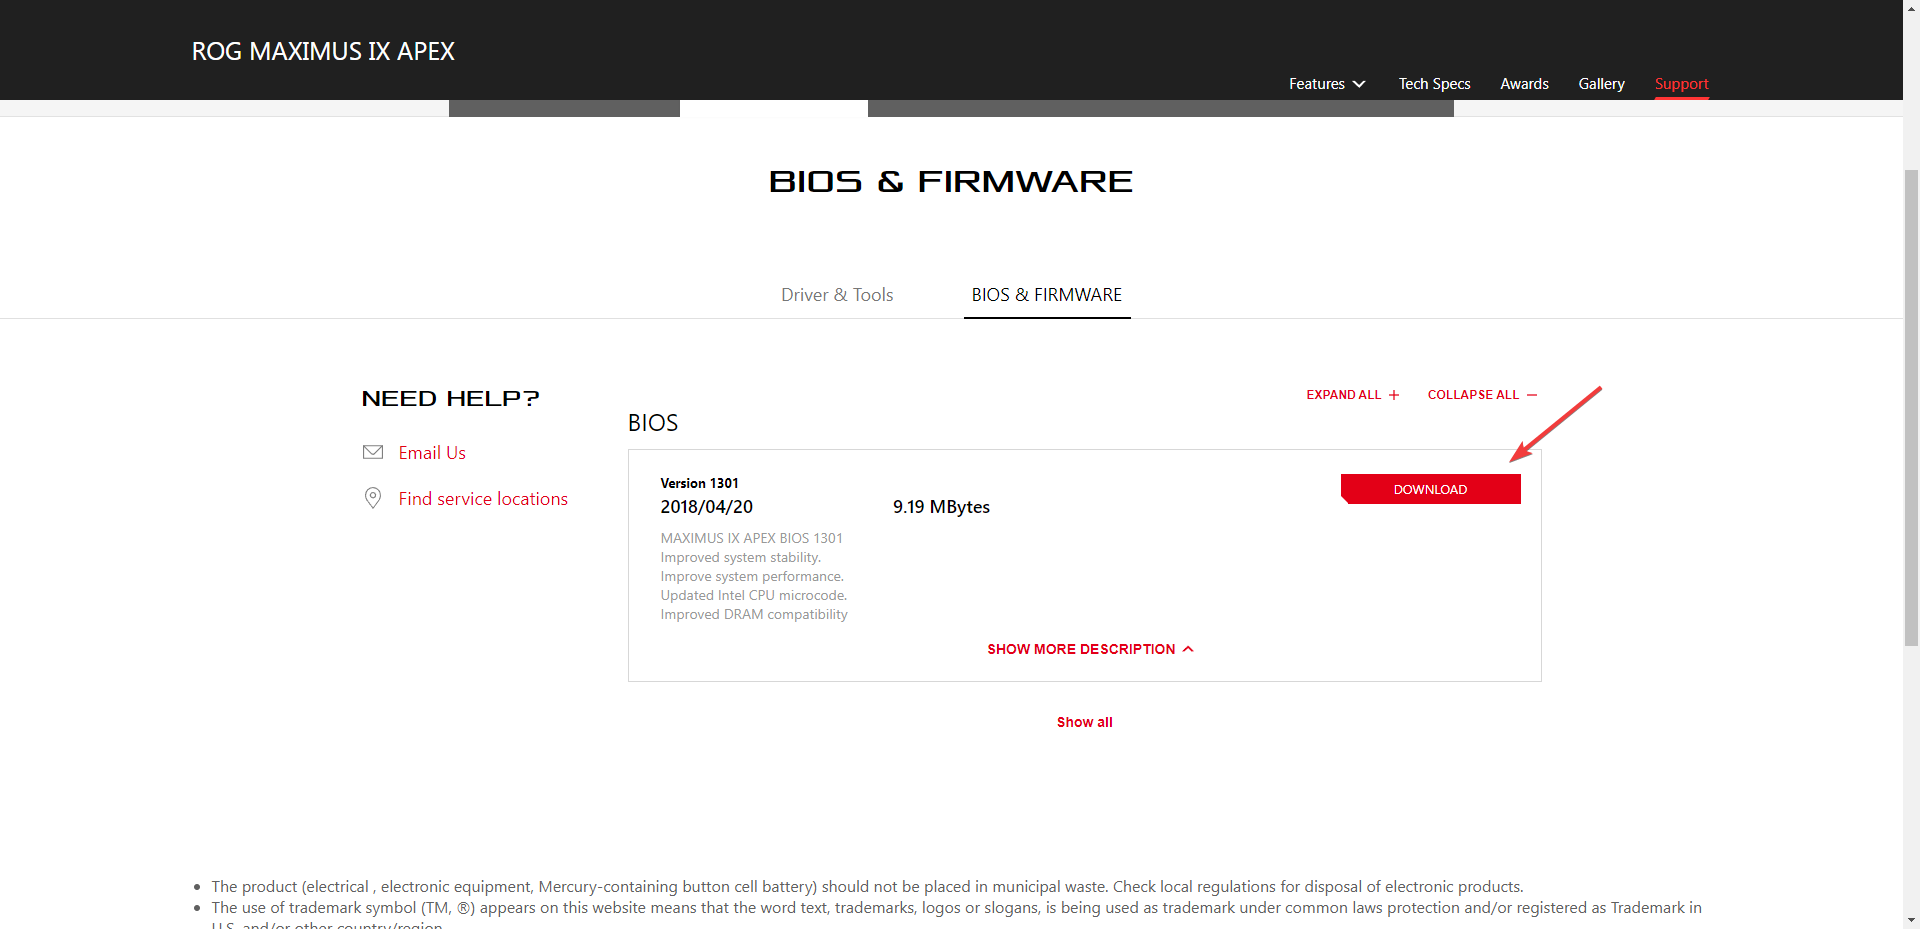
- Then download the BIOS file.
- If the downloaded file is a ZIP file, extract the contents.
- Look for the BIOS file in the contents of the unzipped file and make a note of where this BIOS file is located.
- Before beginning the BIOS flash process, save the BIOS file to an external device like a USB drive.
- Boot your faulty computer after ensuring that it is plugged in or that your laptop is completely charged and plugged in.
- Enter the BIOS screen by pressing the key specified by the manufacturer’s instructions for a BIOS update as soon as the computer starts. F1, F2, Delete, F8, Esc, or another key could be used.
- Start the update process based on your computer’s model once you’re on the BIOS panel. (To complete the upgrade, you may need to look at different tutorials on the manufacturer’s website.)
- The BIOS flash can take anywhere from a few minutes to several hours, and your system will restart after the BIOS update is completed.
It is critical not to interrupt the computer’s power supply; thus, any interruption can cause the BIOS to become corrupted, rendering your computer unusable.
Remember that this is only an option if your computer can boot into BIOS but not Windows. Reflashing the BIOS also works against the Please Power Down And Connect The PCIe Power Cable(s) For This Graphics Card error.
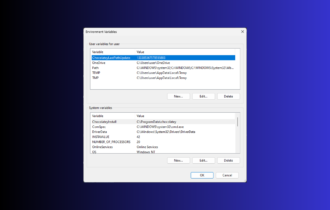
For a detailed guide on how to update BIOS in Windows 11, check out this article on updating BIOS in Windows 11.
2. Reset BIOS by removing the motherboard battery
- Unplug your computer from the power outlet and turn it off. Make sure to discharge any residual electricity in the machine by pressing and holding the Power button.
- Remove the case side door.
- Look for the CMOS battery on the motherboard. Most of today’s motherboards use flat circular batteries that are a little less than an inch in diameter.
- Slide your finger under one of the battery’s edges and pry it up gently. The battery may feature some locking mechanism that you will need to open.
Even though this may seem like a complicated process, following the steps will make it easy to update or flash your BIOS to get your PC working again.
If none of the other options have worked, flashing the BIOS may be the answer, and don’t worry, it won’t damage your motherboard if done without interruption.
Reading manufacturer manuals can also help to lessen the chances of the BIOS flashing procedure failing, so it’s a good idea to go to the manufacturer’s website and read relevant information.
If your PC won’t exit BIOS, read this article.
Comment below and let us know which method worked best for you to fix the problem or if you have a different solution that could help our readers.
Read our disclosure page to find out how can you help Windows Report sustain the editorial team. Read more


Improve this guide


User forum
0 messages