How to use desktop shortcuts in Windows 10
2 min. read
Published on
Read our disclosure page to find out how can you help Windows Report sustain the editorial team. Read more
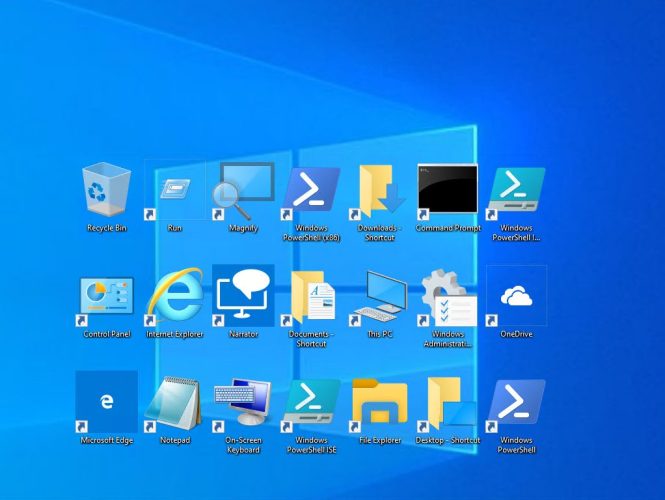
Desktop shortcuts are a staple of the Windows interface. Despite the move to Start menu live tiles with Windows 8 and Windows 10, desktop icons remain as a less distracting and simpler alternative. In this guide, we’ll show you a different approaches to creating and organising your shortcuts.
In general, the quickest way to create a new shortcut is by right-clicking a file, folder or program and dragging it over your desktop. Click “Create shortcut” in the context menu to add a link to the desktop.
You may also right-click your desktop and choose New > Shortcut. You’ll need to choose an item to link to from your PC. This could be a file, folder or program. An alternative method is to right-click an item in File Explorer and choose Send to > Desktop (create shortcut).
You can create shortcuts to apps from the Microsoft Store too. To do this, open your Start menu and find the app to link to. Drag it from the menu onto your desktop to create the shortcut.
With your shortcuts created, you can now customise how they display. If you like, you can manually rearrange them into a unique layout. However, Windows does have built-in sorting options which can automate the process. Right-click your desktop and click “Sort by” to rearrange your icons.
The “View” sub-menu houses some useful options too. You can change the size of your desktop icons or opt to hide them altogether, decluttering your desktop. Further settings let you remove the hidden icon grid, enabling true freeform positioning, or automatically arrange icons into a tidy layout. Experiment to build a desktop that works for you.



User forum
0 messages