Fix: Incompatibility Issue of Maple 18 in Windows 10, Windows 8.1
![]() 4 min. read
4 min. read
![]() Updated on
Updated on
Share this article

Improve this guide
Read our disclosure page to find out how can you help Windows Report sustain the editorial team Read more
How to fix Maple 18 compatibility problems in Windows 10, 8.1?
- Run Maple 18 in compatibility mode
- Install the newest Visual C++
- Run a PC Refresh
- Create a new user account
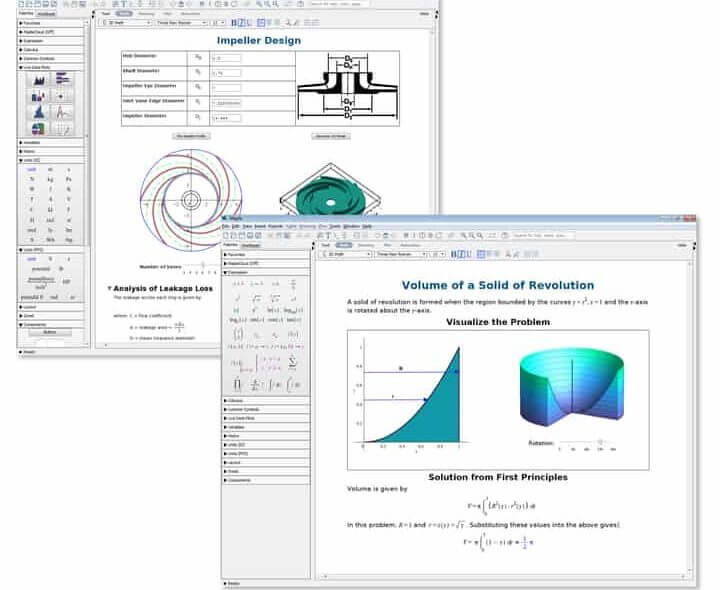
Even though our Windows 10 or Windows 8.1 users were having no particular issues with the Maple 18 application in the past it seems that with Windows 10 or Windows 8.1 there are some glitches. They prevent you from running the maple 18 application properly. You will find by reading the lines below how you can fix the Maple 18 app and get it running again in Windows 8.1 and Windows 10.

Even though the Maple 18 application is supposed to run normally on Windows 10 or Windows 8.1 you might not have installed it correctly in the first place or you will need a Visual C++ feature installed. Nevertheless, you will in just a few minutes of your time find out what to do and from where you need to install the needed applications in order to run Maple 18 on your Windows device.
Fix Maple 18 app incompatibility issues in Windows 10, 8.1
1. Run Maple 18 in compatibility mode
- Log off from your current user and log in with your administrator account.
- While in your administrator account go to the executable file if the Maple 18 application.
- Right-click or hold tap on the icon in order to bring up the properties menu.
- Left click or tap on the “Properties” option you have present in that menu.
- In the “Properties” window left-click or tap on the “Compatibility” tab situated in the upper side in this window.
- Left click or tap on the checkbox next to “Run this program in compatibility mode for”.
- From the drop-down menu next to “Run this program in compatibility mode for” you will need to select the ‘Windows 8.1’ or ‘Windows 10’ operating system.
- Left click or tap on the “Apply” button situated on the lower right side in the window.
- Now close all the windows you opened and right click or tap on the installation file of the Maple 18 application.
- Left click or tap from the menu that shows on the “Run as Administrator” feature.
- Now you should be able to follow the instructions on the screen and get your Maple 18 application installed.
2. Install the newest Visual C++
- Left click or tap on the link posted below to download Visual C++ feature for your Windows 8.1 or Windows 10
- Download here latest version of Visual C++
- Now left click or tap on the “Download” button in the page above.
- Left click or tap on the “Save” button in order to download the installation package to your Windows 8.1 or Windows 10 device.
- Go to the directory where you saved the installation file and right click or hold tap on it.
- Left click or tap on the “Run as Administrator” feature.
- Follow the instructions on the screen to finish the Visual C++ installation.
- Reboot your Windows 8.1 or Windows 10 operating system.
- Check and see if you still have issues running the Maple 18 application on your Windows 8.1 or Windows 10 device.
READ ALSO: How to fix Microsoft Visual C++ runtime library error r6025 in Windows
3. Run a PC Refresh
- Move the mouse over to the upper right side of the screen.
- Left click or tap on the “Settings” feature present in the menu that pops up
- In the “Settings” window left-click or tap on the “Change PC settings” feature.
- Now in the “Change PC Settings” window Left click or tap on the “Update and Recovery” option.
- Left click or tap on the “Recovery” option.
- You will have there a topic named “Refresh your PC without affecting your files” and you have a button on it that says “Get started” which you will need to select.
- Follow the instructions on the screen in order to finish the system refresh of your Windows 8.1 or Windows 10 device.
4. Create a new user account
If you are able to install Maple 18 on your Windows 10, 8.1 PC, but you have problems while starting it, this might be caused by corrupted user account. In this case, try to create a new user account. After it is created, try to relaunch the software. An ultimate solution will be to contact Maple Support and ask them for help.
I am sure it wasn’t very hard to apply the methods posted above and get the Maple 18 app running once again in Windows 8.1. Please write us below in the comments section of the page if you need any further assistance with the Maple 18 application using Windows 8.1 or Windows 10.
READ ALSO: How to Delete or Forget Unused Network Names for WiFi in Windows 8.1/10