How to Fix the INSTALL_MORE_MEMORY Bug Check 0x7D
The RAM is probably not seated correctly or some of the modules is malfunctioning
![]() 5 min. read
5 min. read
![]() Published on
Published on
Share this article
Improve this guide
Read our disclosure page to find out how can you help Windows Report sustain the editorial team. Read more
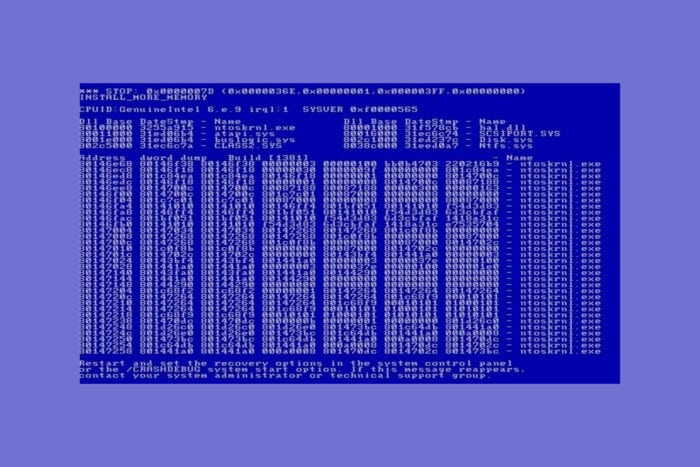
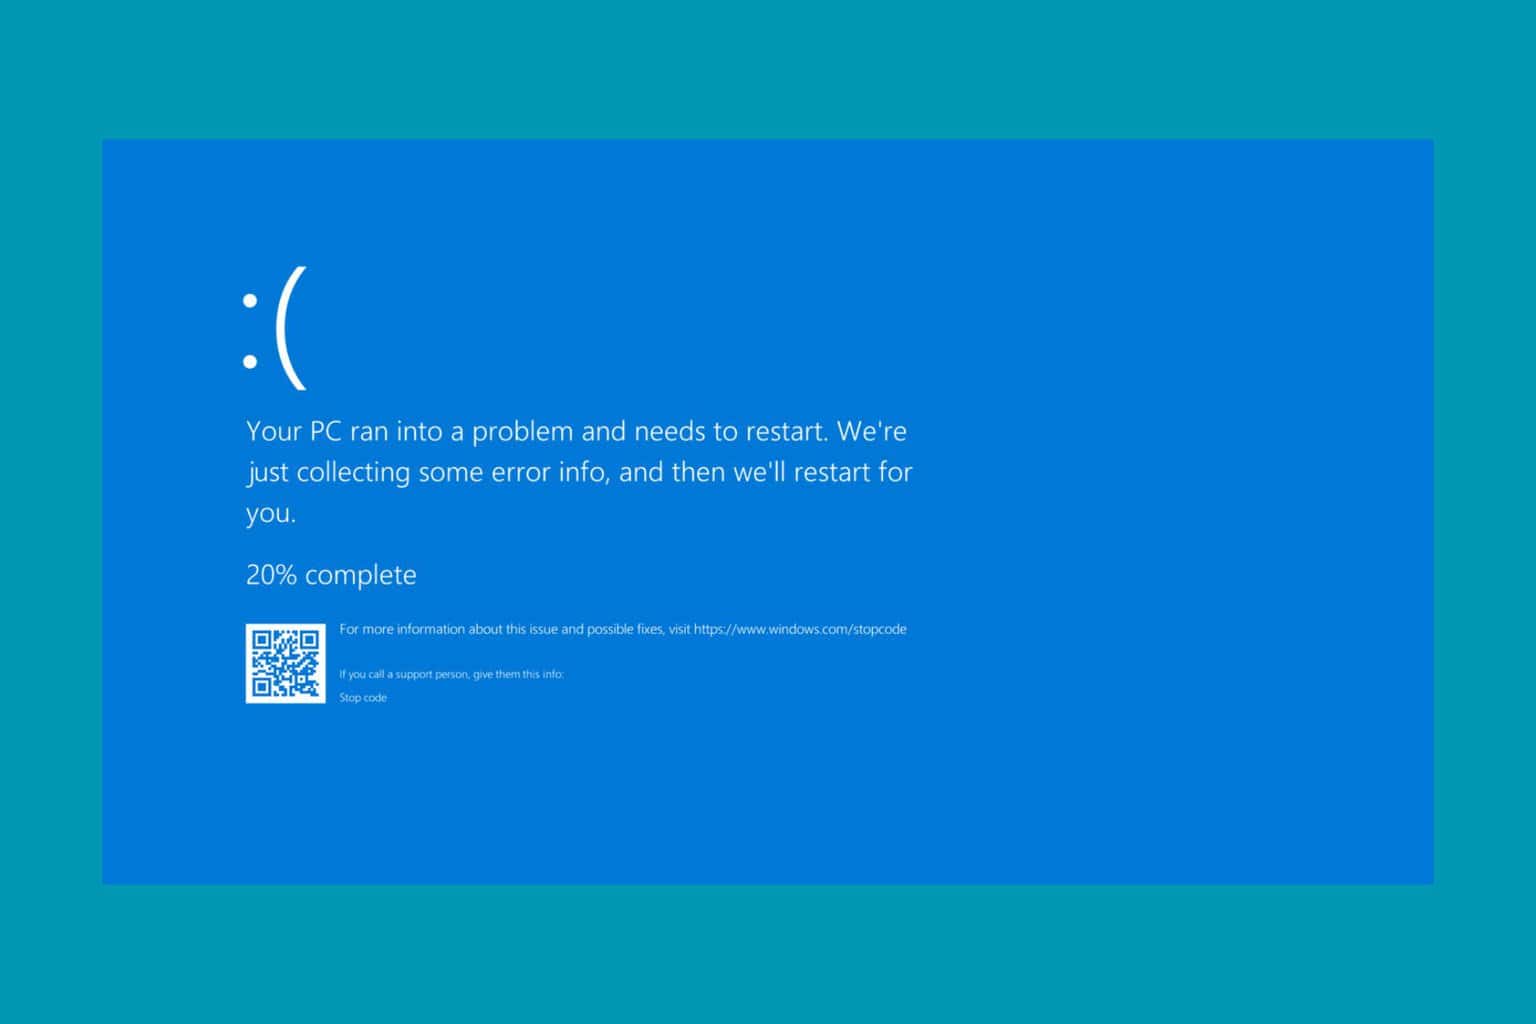
If you’re encountering the dreaded INSTALL_MORE_MEMORY 0x7D Blue Screen error on your Windows machine, you’re not alone. This error typically points to memory-related issues, but don’t worry, we’ve got a range of solutions to help you get your system back on track.
How do I fix the INSTALL_MORE_MEMORY BSoD?
1. Install more RAM
- Shutdown your computer and unplug your computer from the power source to ensure safety.
- Open the computer case by unscrewing the screws on the back or sides (refer to your computer’s manual if needed).
- Locate the RAM slots on the motherboard. These are long slots with clips on each end.
- Push the clips on each side of the current RAM modules to release them.
- Align the notch on the module with the notch in the slot, then firmly press the module into the slot until the clips snap back into place.
- Close the computer case and screw it back securely.
- Plug your computer back in and power it on. The additional RAM should be recognized automatically.
Installing more RAM directly addresses the error by increasing the available memory, allowing Windows to start up correctly.
2. Check for Hardware Issues
- Download a memory testing tool like MemTest86 from its official website.
- Create a bootable USB drive with the downloaded tool by following the instructions on the website.
- Insert the USB drive into your computer and restart it.
- Enter the BIOS/UEFI settings by pressing the designated key (often F2, F10, DEL, or ESC) during startup.
- Set the USB drive as the primary boot device by navigating to the Boot menu and moving the USB drive to the top of the list.
- Save the settings and exit the BIOS/UEFI. Your computer will now boot from the USB drive.
- Run the memory test and wait for it to complete. This might take some time, depending on the amount of RAM.
- Review the results to see if any errors are detected.
Running a memory test helps identify if the existing RAM is faulty, which can be causing the error.
3. Adjust the Virtual Memory settings
- Open Control Panel by typing Control Panel in the Start menu and pressing Enter.
- Navigate to System and Security, then click on System.
- Select Advanced system settings on the left sidebar.
- In the System Properties window, click on the Advanced tab and then the Settings button under Performance.
- Go to the Advanced tab in the Performance Options window and click on Change under Virtual Memory.
- Uncheck Automatically manage paging file size for all drives.
- Select your system drive (usually C:), click on Custom size, and set the Initial size (MB) and Maximum size (MB) to values suggested based on your system’s needs.
- Click Set, then OK to save the changes.
- Restart your computer for the changes to take effect.
Adjusting virtual memory ensures Windows has sufficient virtual memory to support physical memory, improving system stability.
4. Clean install Windows
- Backup important files to an external drive or cloud storage.
- Create a bootable USB drive with the Windows installation media using the Media Creation Tool from Microsoft’s website.
- Insert the USB drive into your computer and restart it.
- Enter the BIOS/UEFI settings by pressing the designated key (often F2, F10, DEL, or ESC) during startup.
- Set the USB drive as the primary boot device by navigating to the Boot menu and moving the USB drive to the top of the list.
- Save the settings and exit the BIOS/UEFI. Your computer will now boot from the USB drive.
- Follow the on-screen instructions to install Windows. Choose Custom install, select your system drive, and format it if needed (this will erase all data on the drive).
- Complete the installation by following the prompts.
Performing a clean installation of Windows can resolve persistent software-related issues by providing a fresh start for the system.
5. Reset BIOS/UEFI to default settings
- Restart your computer and enter the BIOS/UEFI settings by pressing the designated key (often F2, F10, DEL, or ESC) during startup.
- Navigate to the Reset or Restore Defaults option (this may be under the Exit menu or another section depending on your BIOS/UEFI version).
- Select Load Setup Defaults or a similar option and confirm your choice.
- Save the settings and exit the BIOS/UEFI. Your computer will restart.
Resetting the BIOS/UEFI to default settings can resolve configuration issues that may be affecting memory management.
By following these steps, you can tackle the INSTALL_MORE_MEMORY 0x7D error head-on. To prevent similar issues in the future, regularly update your system and drivers, and keep an eye on your system’s memory usage.
Sometimes, your PC doesn’t use all the available RAM, so click on the highlighted link to sort this out. We also have a helpful guide on how to fix memory leaks in Windows.
We hope that now, you have been able to boot up Windows and got rid of the INSTALL_MORE_MEMORY bug check. Let us know in the comments below if our solutions helped you.

User forum
0 messages