Invalid Operation for Device 0: How to Fix It
To fix this error, simply remove the snapshots in the VM
2 min. read
Updated on
Read our disclosure page to find out how can you help Windows Report sustain the editorial team Read more
Key notes
- Consolidating the disks in VMware is an effective method to resolve this issue.
- When resizing the disk always remember to use decimal numbers.
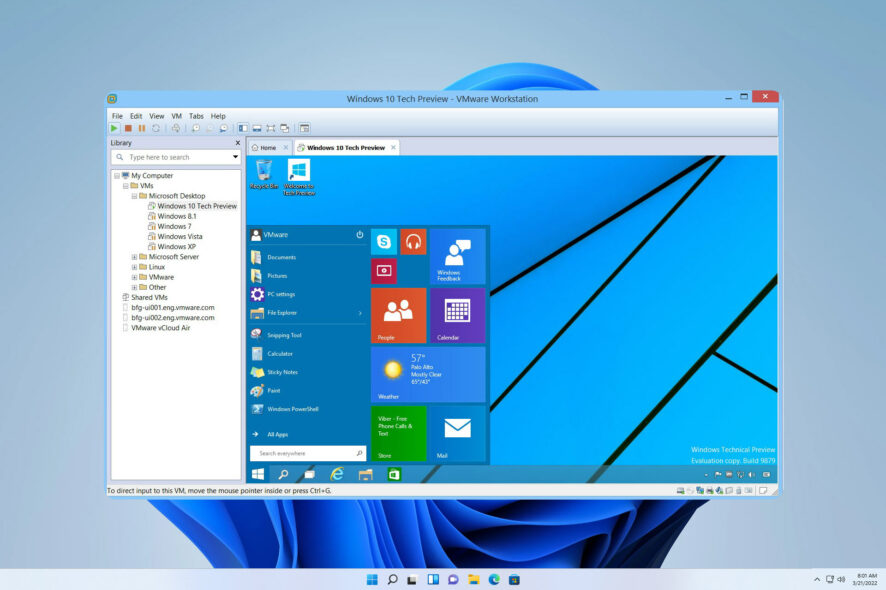
Have you ever come across this kind of error message Invalid operation for device 0 while trying to expand the disk on your virtual machine? Well sit tight and scroll down for more info.
Vmware is a virtual machine software, but just like any other application, it can experience problems. We will take you on step-by-step troubleshooting methods on how to fix this issue.
What is Invalid operation device 0?
Invalid operation device 0 is a Vmware error, and it’s usually caused by the following:
- Improper configuration – In case the virtual machine has not been configured correctly, it is possible that you may encounter this error.
- Issues with snapshots – The snapshots should be omitted, if they are not removed you might experience this specific error.
How can I fix this Invalid operation device 0?
- Use decimal number when resizing disk – To avoid this issue, use decimal number when resizing disk in VMware.
1. Use powercli
- Open powercli.
- Run this Get-HardDisk -vm MyVMName | where {$_.name -eq “Hard disk 1“} | Set-HardDisk -capacityGB 100.
- Close powercli.
 NOTE
NOTE
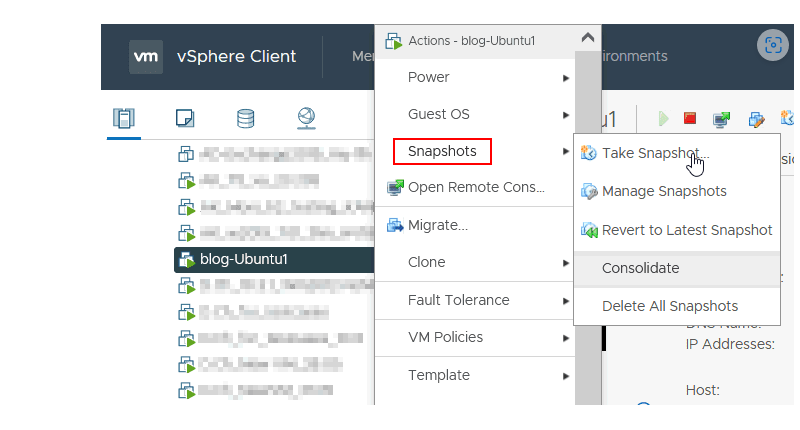
2. Consolidate disks in VMware
- Right-click the VM name in the VMware vSphere client.
- In the menu, click Snapshots.
- Lastly, select Consolidate.
 NOTE
NOTE
3. Remove the snapshots in VM
- Select Inventory and click on Virtual Machine.
- Next, pick Snapshot, and select Snapshot Manager.
- Choose a snapshot by clicking it.
- Click Delete. After deleting, the data is permanently saved and added to the parent data, while simultaneously removing the specific snapshot that was selected.
- Click Yes in the confirmation dialog
- Click Close to exit the Snapshot Manager.
 NOTE
NOTE
We hope that this guide has helped resolve your issue. Many users reported that Vmware is not working on Windows 11, and we covered this issue in a separate guide, so be sure not to miss it.
We would be grateful if you could kindly let us know which solution proved most effective in your case by leaving a comment below.


