Mailbox Quota Exceeded: What It Means & How to Fix It?
To avoid this error, set a limit for your mailbox
Key notes
- If you get this error on Microsoft 365, it can be resolved by deleting unwanted emails or asking your IT admin to increase the limit.
- Fixing this issue is essential as the error could create problems in sending and receiving emails.

Many users have complained that their mail server sends a quota exceeding the mailbox for users is full warning message. Luckily, it can be fixed in no time.
Here, we will discuss what this warning means and what we can do to fix the mailbox quota exceeded for Outlook.
What does exceeding the Quota for the mailbox mean?
The mail server sending quota warning appears when users are about to or have exceeded the limit provided for their email account.
Addressing it is essential to avoid the problems such as not being able to login into your account and error sending emails from your mailbox. Moreover, due to this error, the receiving emails will bounce back to the sender.
What causes the mailbox quota exceeded error?
There could be several reasons why you are getting this error; here are some of the popular ones:
- Trash and Spam folder is full – If you get a lot of spam messages on your email account, hundreds of emails stored can consume the space provided. Check if you have the Spam quarantine feature enabled; it can accumulate space. Disable it and remove unwanted emails to recover space.
- IMAP account not maintained – We sync our email on multiple devices, for which we use IMAP in place of POP. This results in storing a lot of emails. Deleting them is also not easy, as these emails might be needed for references. So, you need to be very careful while deleting these emails.
- POP3 account is configured – With a POP account, all emails are downloaded on the device, and no emails are on the server unless a user has confirmed otherwise, resulting in unnecessary space on the server.
- Catch-All address feature is enabled – Users enable Catch-All to avoid sending messages to the wrong email addresses. However, the problem with the feature is that it also stores spam emails. Hence taking up unnecessary space and causing the issue.
- Exhausted the hosting space – If you have exhausted the quota assigned for keeping the database, mail files, and other data, you might get this error. Look for old site backup, unmaintained apps, database dump, & other unnecessary data on the server and delete them.
What can I do if the mailbox quota is exceeded?
Before moving to the troubleshooting steps, you should consider performing the preliminary checks first:
- If you are using Microsoft 365, you can ask your IT administrator to increase the mailbox space.
- Empty your spam folders to retrieve space in your mailbox.
- Unsubscribe from unwanted mail chains and delete the unwanted messages in the inbox.
- Save your essential email attachments to OneDrive and delete them from your mail account
1. Delete older inbox items
- Launch Outlook on iOS or Android and go to Settings.

- Click Swipe Options. Select Delete as the Swipe option.

- Now you can swipe your way through your inbox to clean it.

2. Remove files from the server if POP3 is configured
- Open the Outlook app on your Windows 11 computer. Go to the File tab.

- Click Account Settings.

- Double-click the mail address.

- Click the More Settings button.

- Go to the Advanced tab.

- Place a checkmark next to Leave a copy of messages on the server.
- Place a checkmark next to Remove from server after and reduce day to 1.

- Click Next and then Finish.
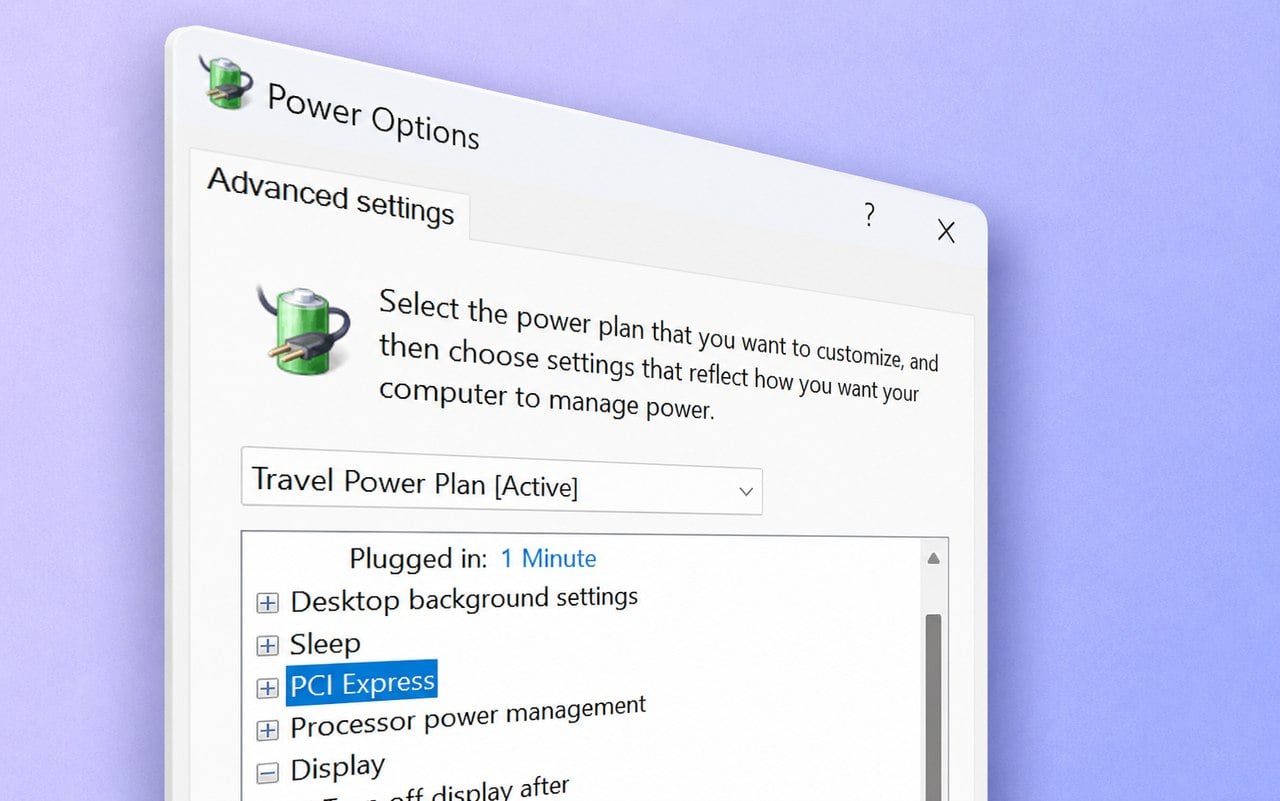
3. Set the Mailbox limit
 Tip
Tip
3.1 For single user
Once you have connected Exchange Online, type the following command on PowerShell, replace User ID with either GUID or email address, replace the Value parameter with the number in GB or MB, and press Enter: Set-Mailbox < UserID > -ProhibitSendQuota < Value > -ProhibitSendReceiveQuota < Value > -IssueWarningQuota <value>
To check if the current list of quotas is attached to the mailbox, copy and paste the following command and press Enter: Get-Mailbox < User ID > | Select *quota
3.2 For multiple users
After connecting the Exchange Online PowerShell module, copy and paste the following command, replace the value parameter which a number in GB or MB, and press Enter:
Get-Mailbox | Set-Mailbox -ProhibitSendQuota < Value > -ProhibitSendReceiveQuota < Value > -IssueWarningQuota < Value >
So, these are the ways to fix the mail exceeded quota error on Outlook 365. Try them and let us know which worked for you in the comments below.
Read our disclosure page to find out how can you help Windows Report sustain the editorial team. Read more


Improve this guide


User forum
0 messages