Steps to Create Different Header on Each Page on Microsoft Word
You need to disable Link as Previous option
2 min. read
Updated on
Read our disclosure page to find out how can you help Windows Report sustain the editorial team. Read more

Creating different headers for each page on a Microsoft Word document can enhance its clarity, especially if you are working on complex reports, manuscripts, or other complex documents. In this guide, we will discuss the easy steps to set up a different header on each page in Microsoft Word; read on!
How can I create a different header on each page of Microsoft Word?
- Launch Microsoft Word, and click New to create a new document.
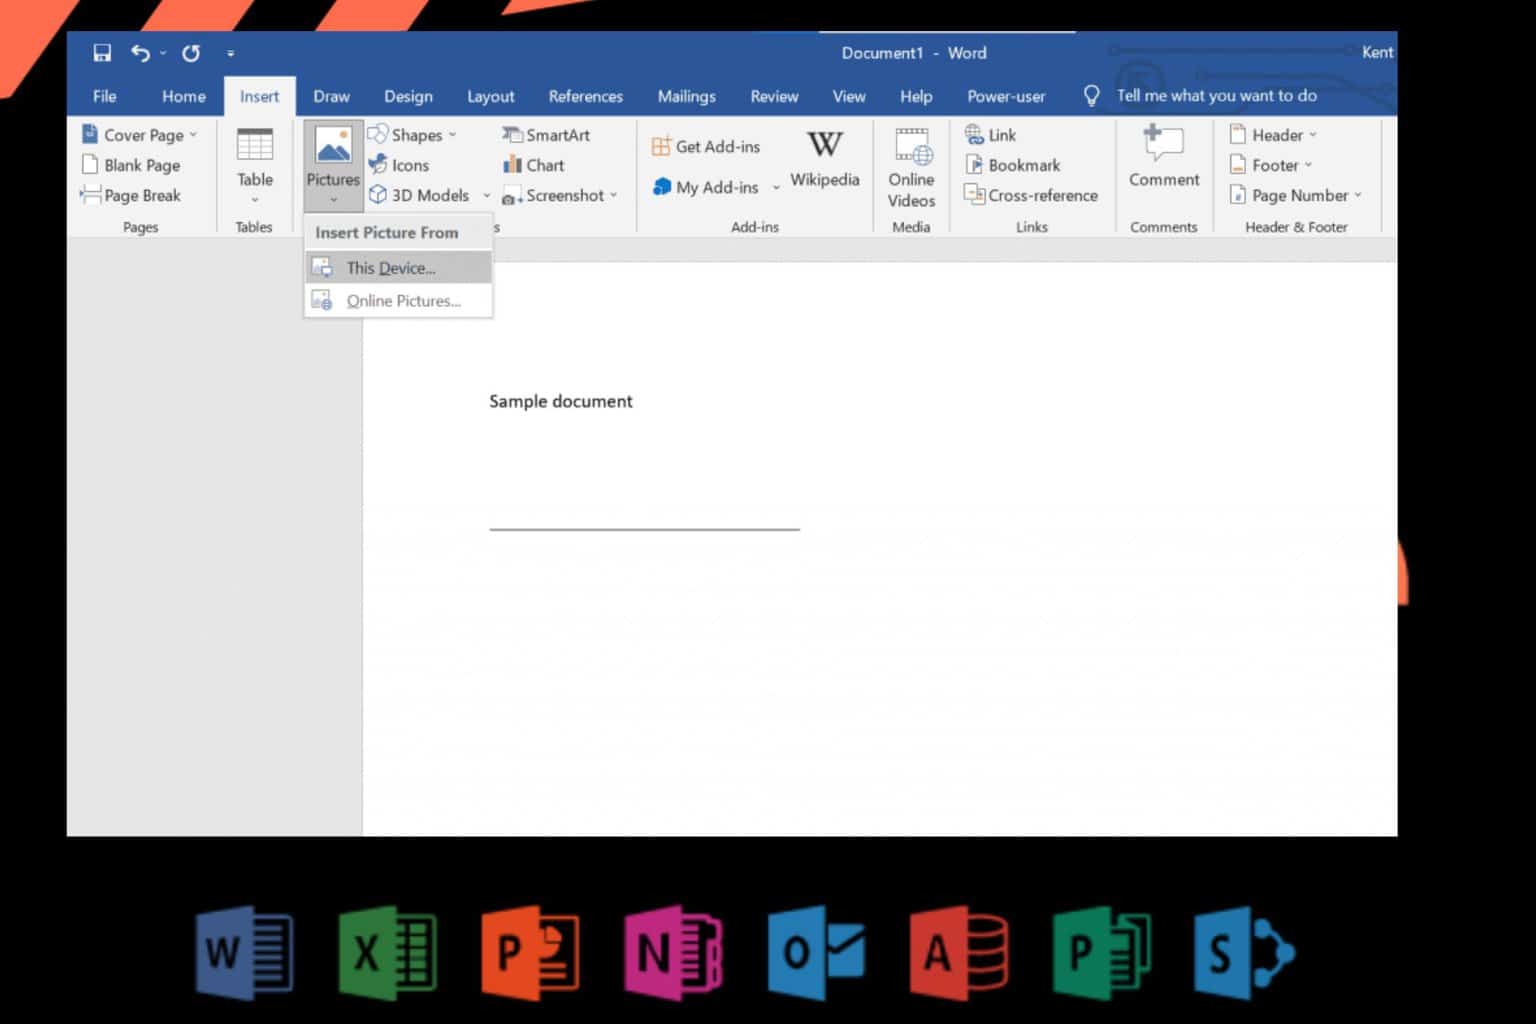
- On the document, go to the Insert tab in the main menu.
- Under the Header & Footer section, click the Header drop-down and choose an appropriate one.
- Now click in the body part of the document, and go to the Layout tab from the main menu.
- Select Breaks to open the context menu, then from the drop-down menu, choose Next Page.
- Now, go to the next page, double-click the header to open the Headers & Footers tab on the main menu, and click it.
- Under Navigation, look for Link to Previous and click it to disable it.
- Next, click Close Header and Footer. This will disconnect the header and you can rename it according to the context of your page.
Similarly, you can also have a different footer for each page in your Word document. All you need to do is double-click the Footer to select it, then follow the same process.
If you want to keep the Microsoft Word keyboard shortcuts handy, we have a complete cheat sheet for you; go to this guide. You can also learn how to use business card templates.
In case you are facing problems with Word, like Microsoft Word has stopped working in Windows 10, read this guide for quick solutions.
If you have any questions or suggestions about the topic; feel free to mention them in the comments section below


User forum
0 messages