Transcribe Feature in Microsoft Word: How to Use it
You can access this feature in Word for Microsoft 356 and the web version
Did you know that Microsoft Word has a transcribe feature? That’s right, and if you’re not familiar with it, in today’s guide we’re going to show you everything you need to know about it.
How can I transcribe in Microsoft Word?
Us Word for Microsoft 365 or Word for the web
1. Record directly
- Navigate to the Home tab.

- Select Dictate and then Transcribe from the menu.

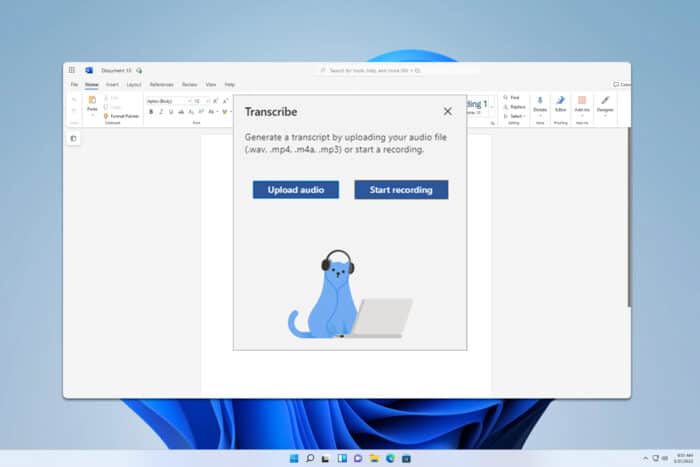
- Click on Start recording.

- The recording should now start.
- You can pause it at any time by selecting the microphone button.
- Once done, click on Save and transcribe now.

2. Upload audio
- Follow the first two steps from the previous section.
- Select Upload audio.

- Once the audio file is uploaded, it will be transcribed automatically.
Keep in mind that this feature is only available in Word for Microsoft 365 in Commercial Tenants.
If you choose to the Word for the web, you should know that it’s available only in Microsoft Edge and Chrome.
Additional features
Now that you know that to how to transcribe audio to text in Word, let’s learn about additional features. Once the file is uploaded, you can find it in your OneDrive inside of the Transcribed Files folder.
At any time, you can play the recording and view the relevant transcribed text.
If needed, you can relabel a speaker or edit a section by clicking the Edit transcript section. It’s also possible to change all speaker instances if needed.
Keep in mind that Transcribe feature doesn’t automatically add the transcript to the document. Instead, you need to go to the Transcript section and select Add section to document or choose Add all to document to add all transcripts.

As for sharing, you can use the previously mentioned Add all to document option that will add a hyperlink to the original audio file.
Alternatively, you can just share the file regularly and the recipient will be able to open the Transcribe pane and interact with it, but it won’t be able to access the file.
What is the shortcut for transcribe in Word?
Use the following key sequence Alt+Windows key and then press H, D, T, S.
Why is transcribe not available in Word?
If the transcribe option is not showing or it’s missing in Microsoft Word, that’s because it’s available only in Word for the web and Word for Microsoft 365, which means that you can’t use it in the regular version of Word.
As you can see Transcribe audio feature is easy to use in Microsoft Word, and if you haven’t tried it, this might be the perfect time to do so.
Keep in mind that you might encounter issues, but if you do, we have a whole guide dedicated to how to fix transcribe in Microsoft Word if it’s not working. Another similar feature that might interest you is Voice typing in Word, and we have a great article that explains how to works.
Read our disclosure page to find out how can you help Windows Report sustain the editorial team. Read more


Improve this guide


User forum
1 messages