No Driver was Found Exit Code 8: How to Fix It in 5 Steps
Viruses and malware can be responsible for this error
4 min. read
Updated on
Read our disclosure page to find out how can you help Windows Report sustain the editorial team Read more
Key notes
- The no driver was found exit code 8 error is usually caused by a conflict between two graphics card drivers.
- Removing and uninstalling the PCI Express graphics card usually fixes the error.
- It is also recommended that you install the correct drivers for your graphics card.
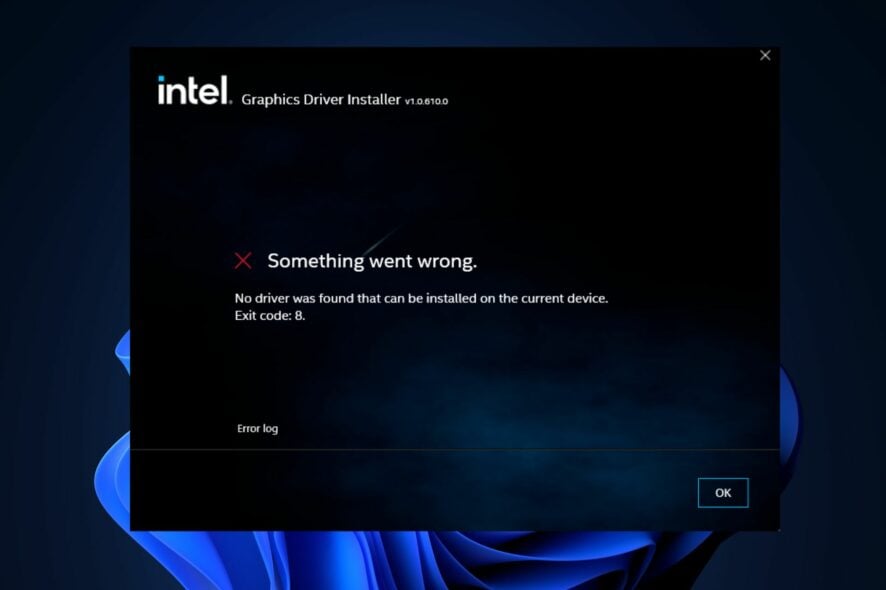
Driver-related issues usually cause the error exit code 8. The error is rare, but many Windows users still reported witnessing it.
If you’re currently experiencing the No driver was found that can be installed on the current device. Exit code: 8 on your PC; this article will provide the necessary steps to help resolve the error.
Why do I get no driver was found that can be installed error?
- Graphics configurations – If you install a PCI graphics card on your system, it disables the main graphics driver.
- Incompatible or outdated drivers – While trying to install drivers in your system, you might accidentally install an incompatible driver. Also, outdated drivers can cause driver corruption. For further understanding of driver issues, especially if you encounter the message An exception occurred in the driver: Could not find driver, see our detailed guide here.
- Virus or malware – A system infected with a virus or malware can trigger this error. Check out our guide on the best antivirus for Windows and run a full scan.
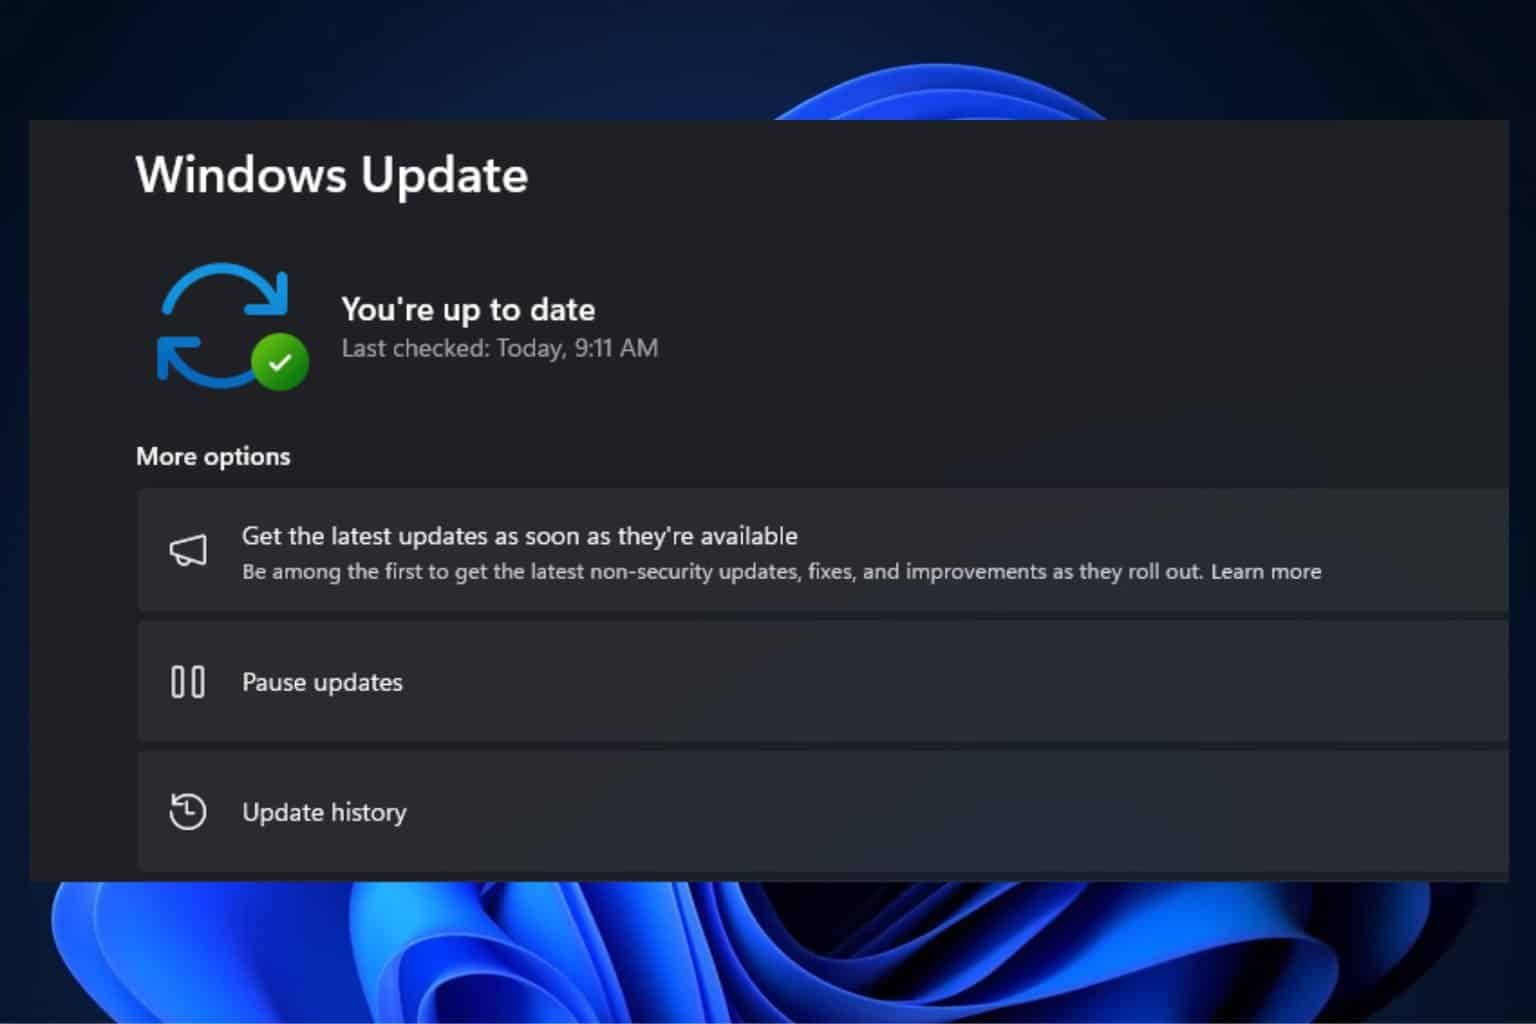
- Faulty Windows Update – If you recently experienced this error after updating your system, the error was likely triggered by this event. You can check how to run the Windows Update troubleshooter in this guide.
How can I fix no driver was found exit code 8?
Before we move on with more advanced troubleshooting solutions, restart your PC. If you can’t use the Intel GPU, try to remove the PCI Express graphics card from your system.
1. Uninstall the external PCI Express card
- Remove the external PCI Express card from your system.
- Type in Device Manager in the Windows Search bar and hit Enter.
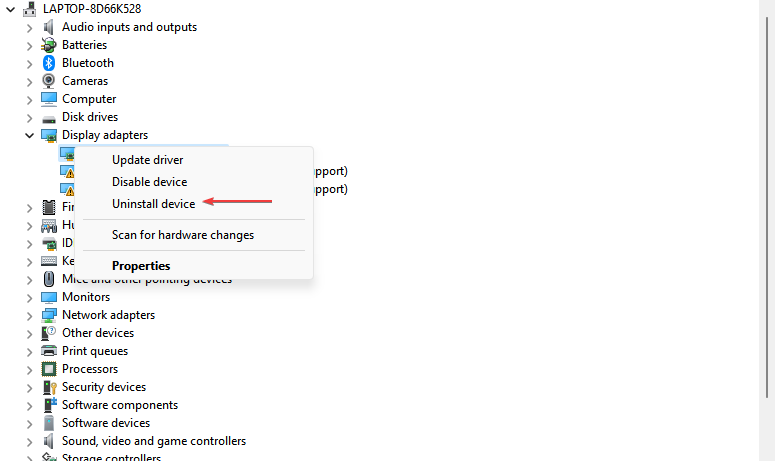
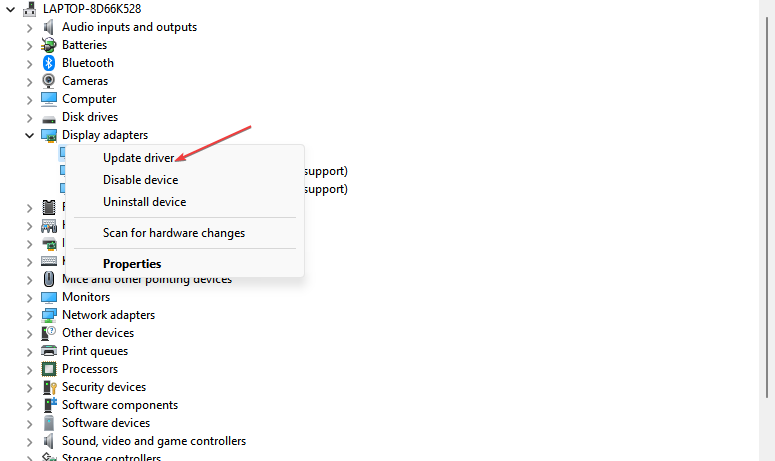
- Then, expand the Display adapters section, locate the drivers for the PCI express card, right-click on the selection, and select Uninstall device.
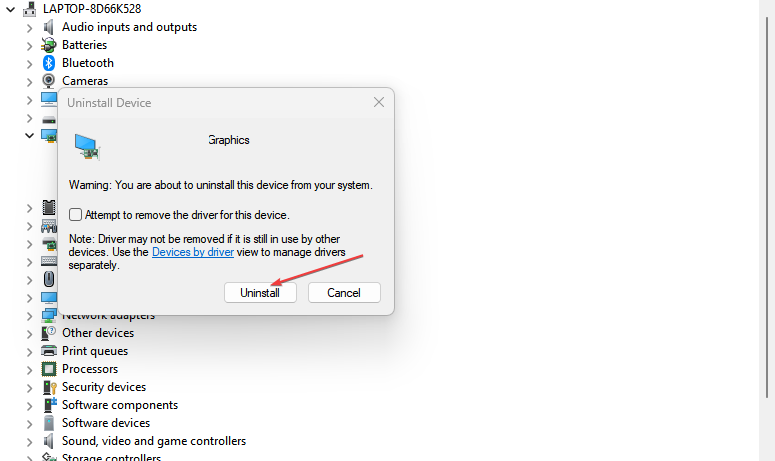
- In the next Windows prompt, select Uninstall to confirm the process.
- Restart your PC and check if the error persists.
2. Reset the BIOS settings
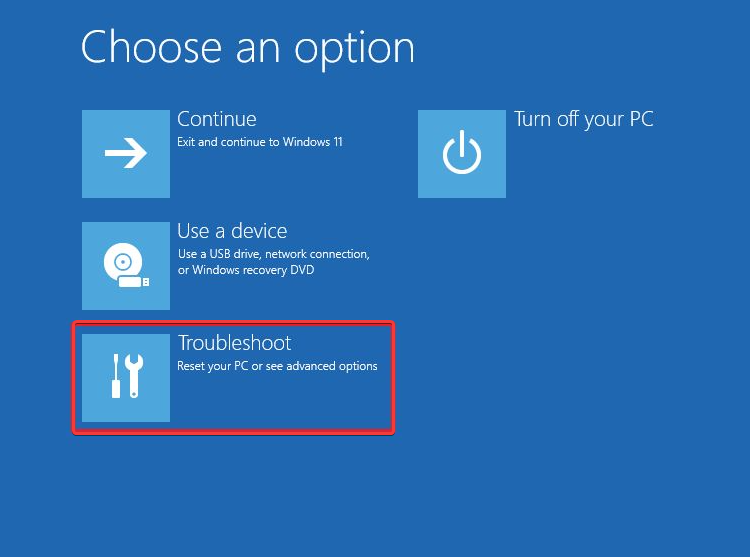
- Select the Start menu and click on the Power icon. Then while pressing the Shift key, click on Restart. Your PC will boot to the Advanced Startup screen.
- Then click on Troubleshoot and click on Advanced Options.
- After that, click on UEFI Firmware Settings.
- Click Restart and your PC will boot to the BIOS menu.
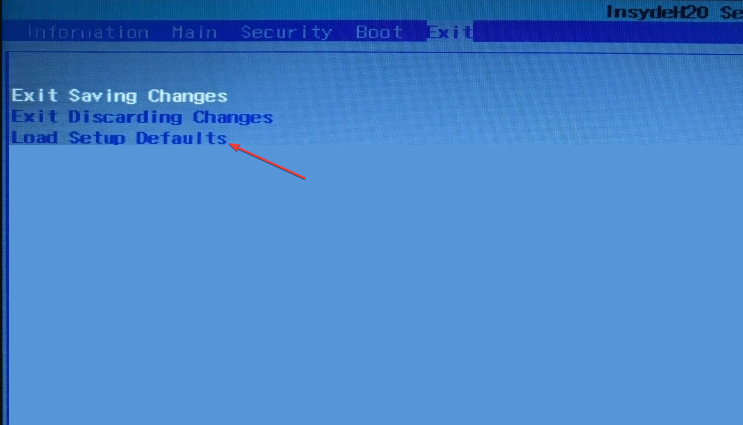
- Now go to the Exit tab via the arrow keys.
- Select Load Setup Defaults and hit Enter.
- Finally, select Yes in the confirmation dialog box.
It is always advisable not to tamper with the BIOS settings except in rare situations like this. Hence, If the PC won’t boot after BIOS update or reset, kindly follow the fixes in this guide.
3. Install drivers from the USB
- For this step, you’ll need to download the latest SATA or AHCI drivers from the Manufacturer’s website.
- Plug any USB stick into your PC and copy the downloaded offline driver installer file from your computer to the USB.
- Right-click the Start button and select Device Manager.
- Then, locate the Integrated Drivers tab, click on it to expand it, and select Update driver.
- Then, select the option of Browse my Computer for drivers.
- Click on the Browse button and navigate to the directory on the USB stick where you’ve copied the driver file.
- Click the Next button and wait for the PC to complete the installation.
In some cases, downloading and installing drivers from the Internet might be problematic. Alternatively, you can try installing the drivers from a USB stick.
Depending on the drivers, the installer will usually be a setup or an exe file. If the drivers are compressed in a zip file, you’ll need to decompress or extract the folder.
4. Adjust Integrated Graphics settings in Device Manager
- Right-click the Windows Start button and select Device Manager.
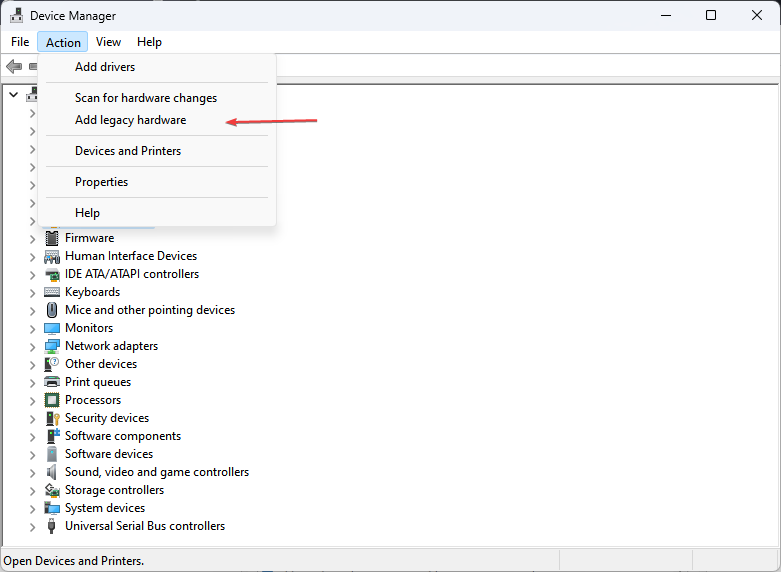
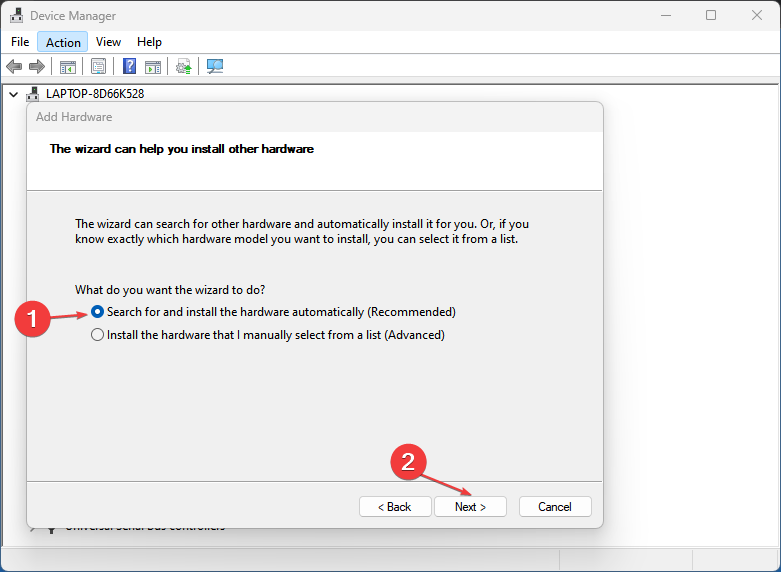
- Navigate to the Actions tab, select the Add Legacy Hardware option, and click Next on Add Hardware Wizard.
- Further, select Recommended Option, and click Next.
- Click on Display Adapters and select Intel Corporation from the manufacturer’s list.
- Select the appropriate Intel Graphics Controllers based on your GPU graphics.
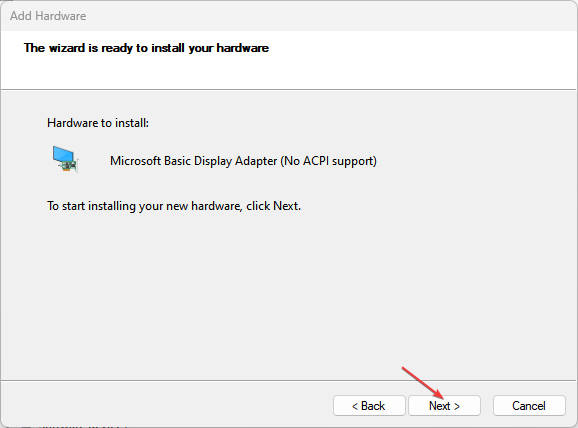
- Click Next and follow the instructions to complete the process.
5. Perform a clean boot
- Press Windows + R keys to launch the Run window, type msconfig, and launch it.
- Select the Services tab, click to Hide all Microsoft services, then click on Disable all and click OK.
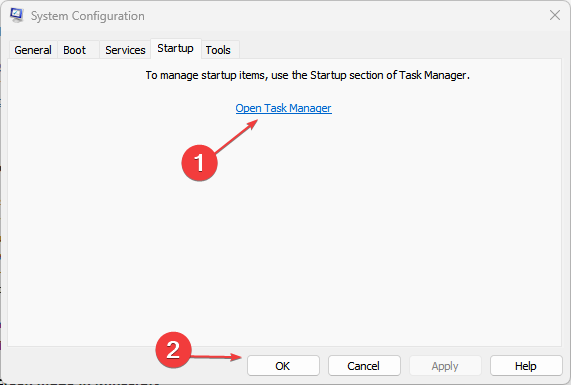
- Select the Startup tab and select Open Task Manager.
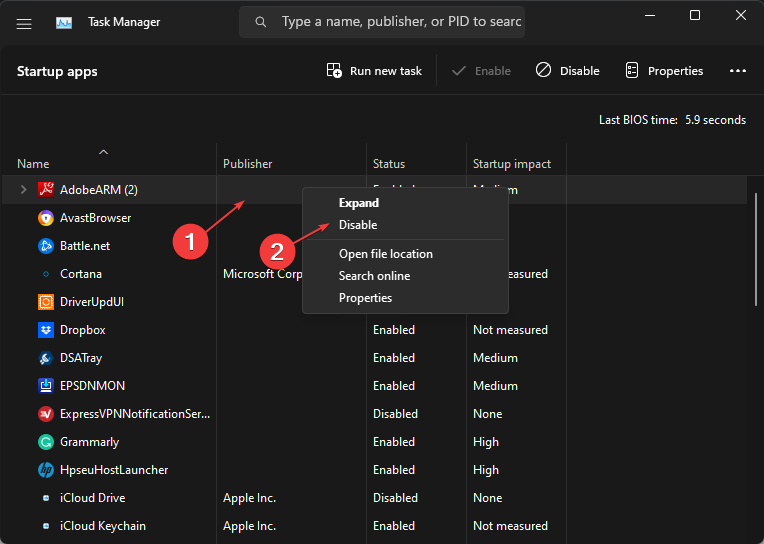
- Then, locate the startup programs, right-click them, and select End task.
- Close this and restart your PC to effect the changes.
A clean boot could help troubleshoot the no driver was found exit code 8 error. Also, you can check other ways to perform a clean boot on your Windows here.
If you’ve any alternative ways to resolve exit code error 8 on your PC, please let us know in the comments below.

