Is Outlook Scheduling Assistant not Showing? Try this
Fix the scheduling assistant with ease using the solutions below
4 min. read
Updated on
Read our disclosure page to find out how can you help Windows Report sustain the editorial team Read more
Key notes
- The Outlook scheduling assistant might not be showing because of too much data to load, so disabling a few add-ins might help.
- Also, there are multiple types of errors from the Outlook scheduling assistant which you can fix using the solutions below.

If you use an Office 365 or Microsoft Exchange account with Outlook, you can take advantage of the Scheduling Assistant to improve your time management. But what if Microsoft Outlook Scheduling Assistant is not working properly?
You got used to creating and updating meetings at the best time for all attendees and easily tracking who has replied and what they replied to. Furthermore, Outlook adds the meeting to your Outlook calendar and sends that great reminder before the meeting starts.
Sometimes, things don’t turn out as planned and various Outlook Scheduling Assistant issues arise. If you’re one of the Outlook users with such a problem, continue reading as this tutorial may be able to help you one way or another.
What to do if Microsoft Outlook Scheduling Assistant is not showing availability?
1. Scheduling Assistant is not showing availability
- Open Outlook in Safe mode.
- Close out of Outlook and hold the CTRL key down when you click on the Outlook icon.
- Check and see if Scheduling Assistant is working.
- If the issue doesn’t persist, it might be due to add-ins.
- When having the confirmation, open Outlook.
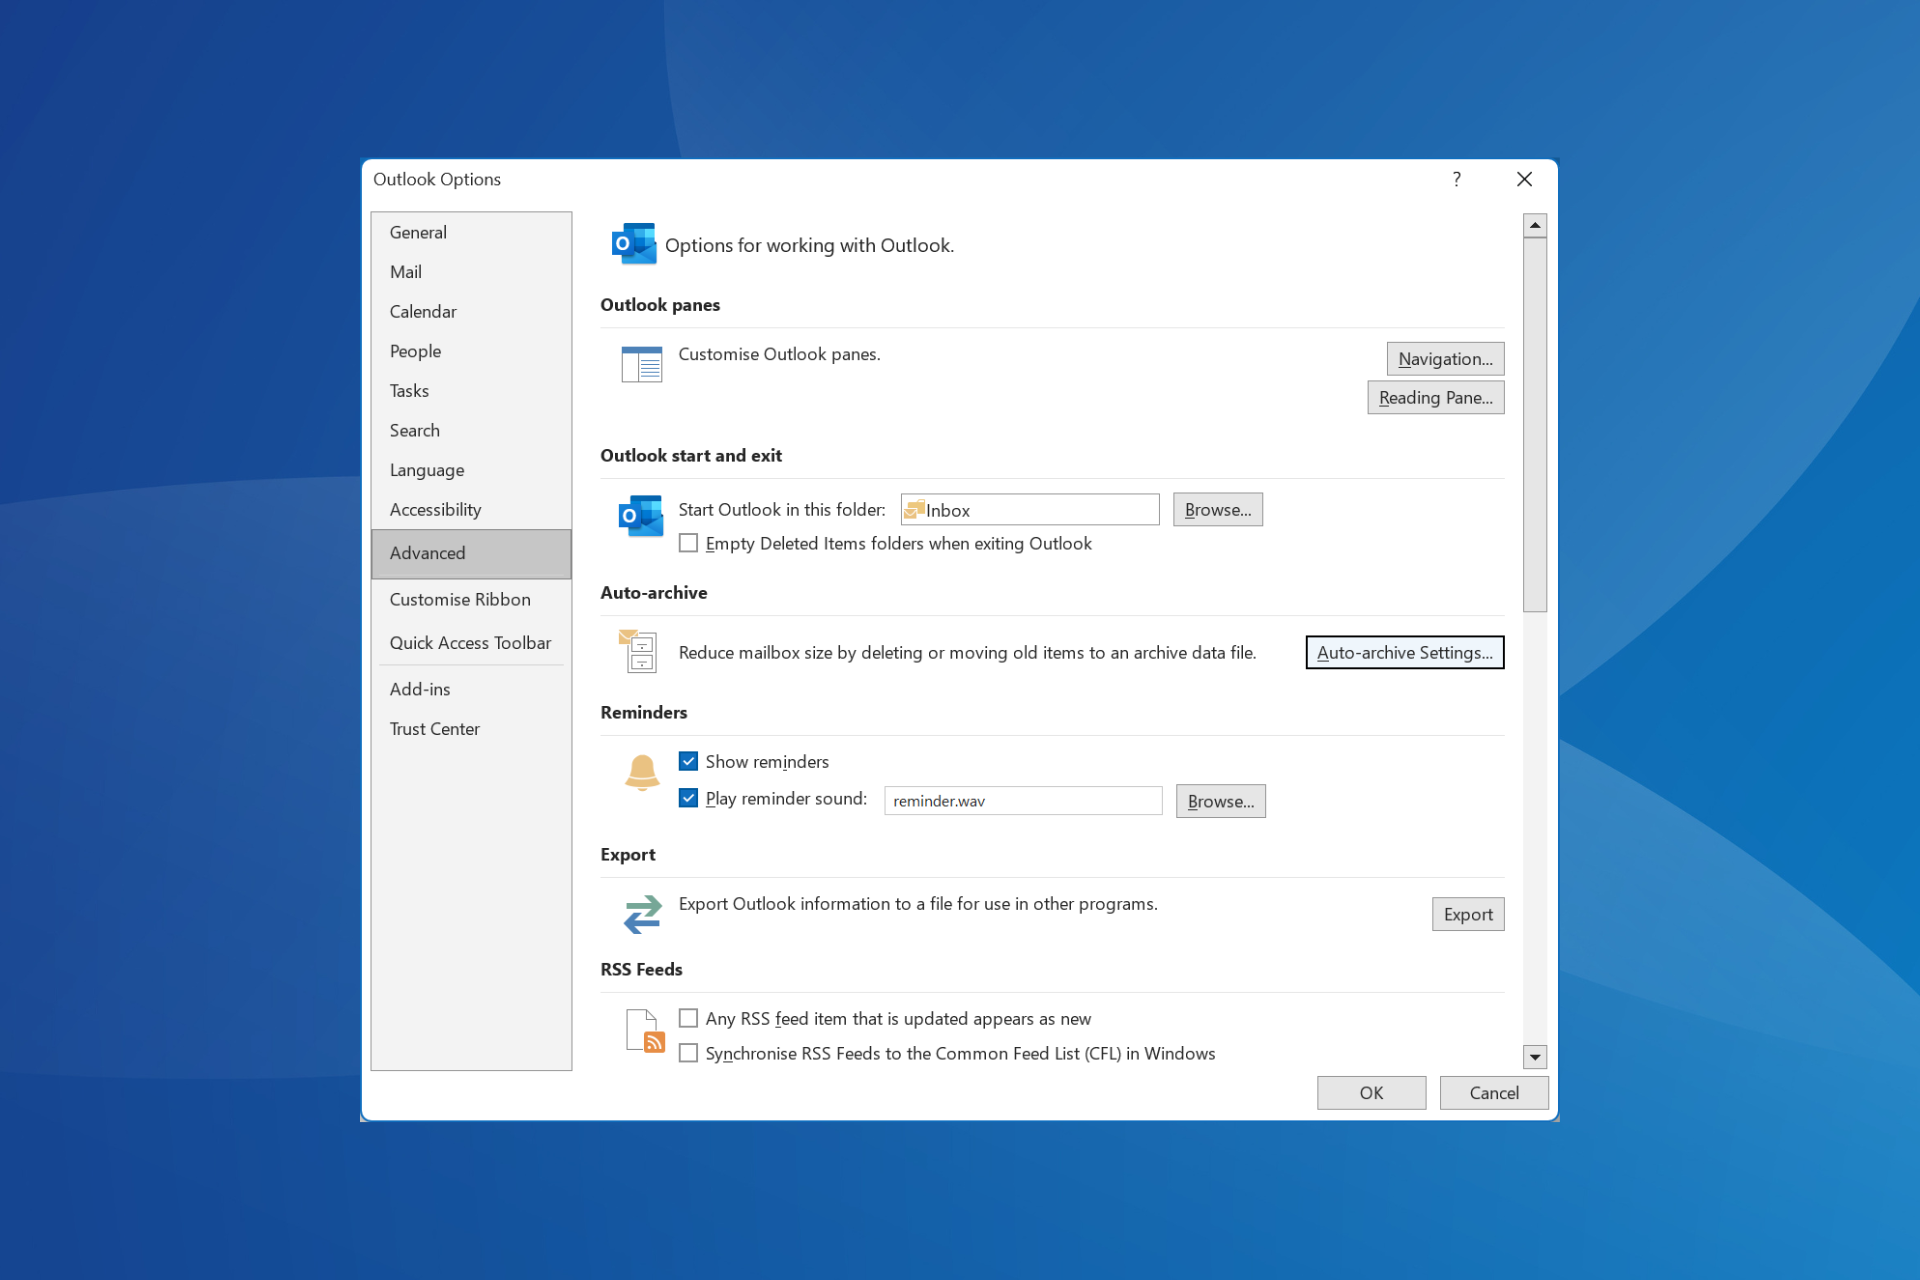
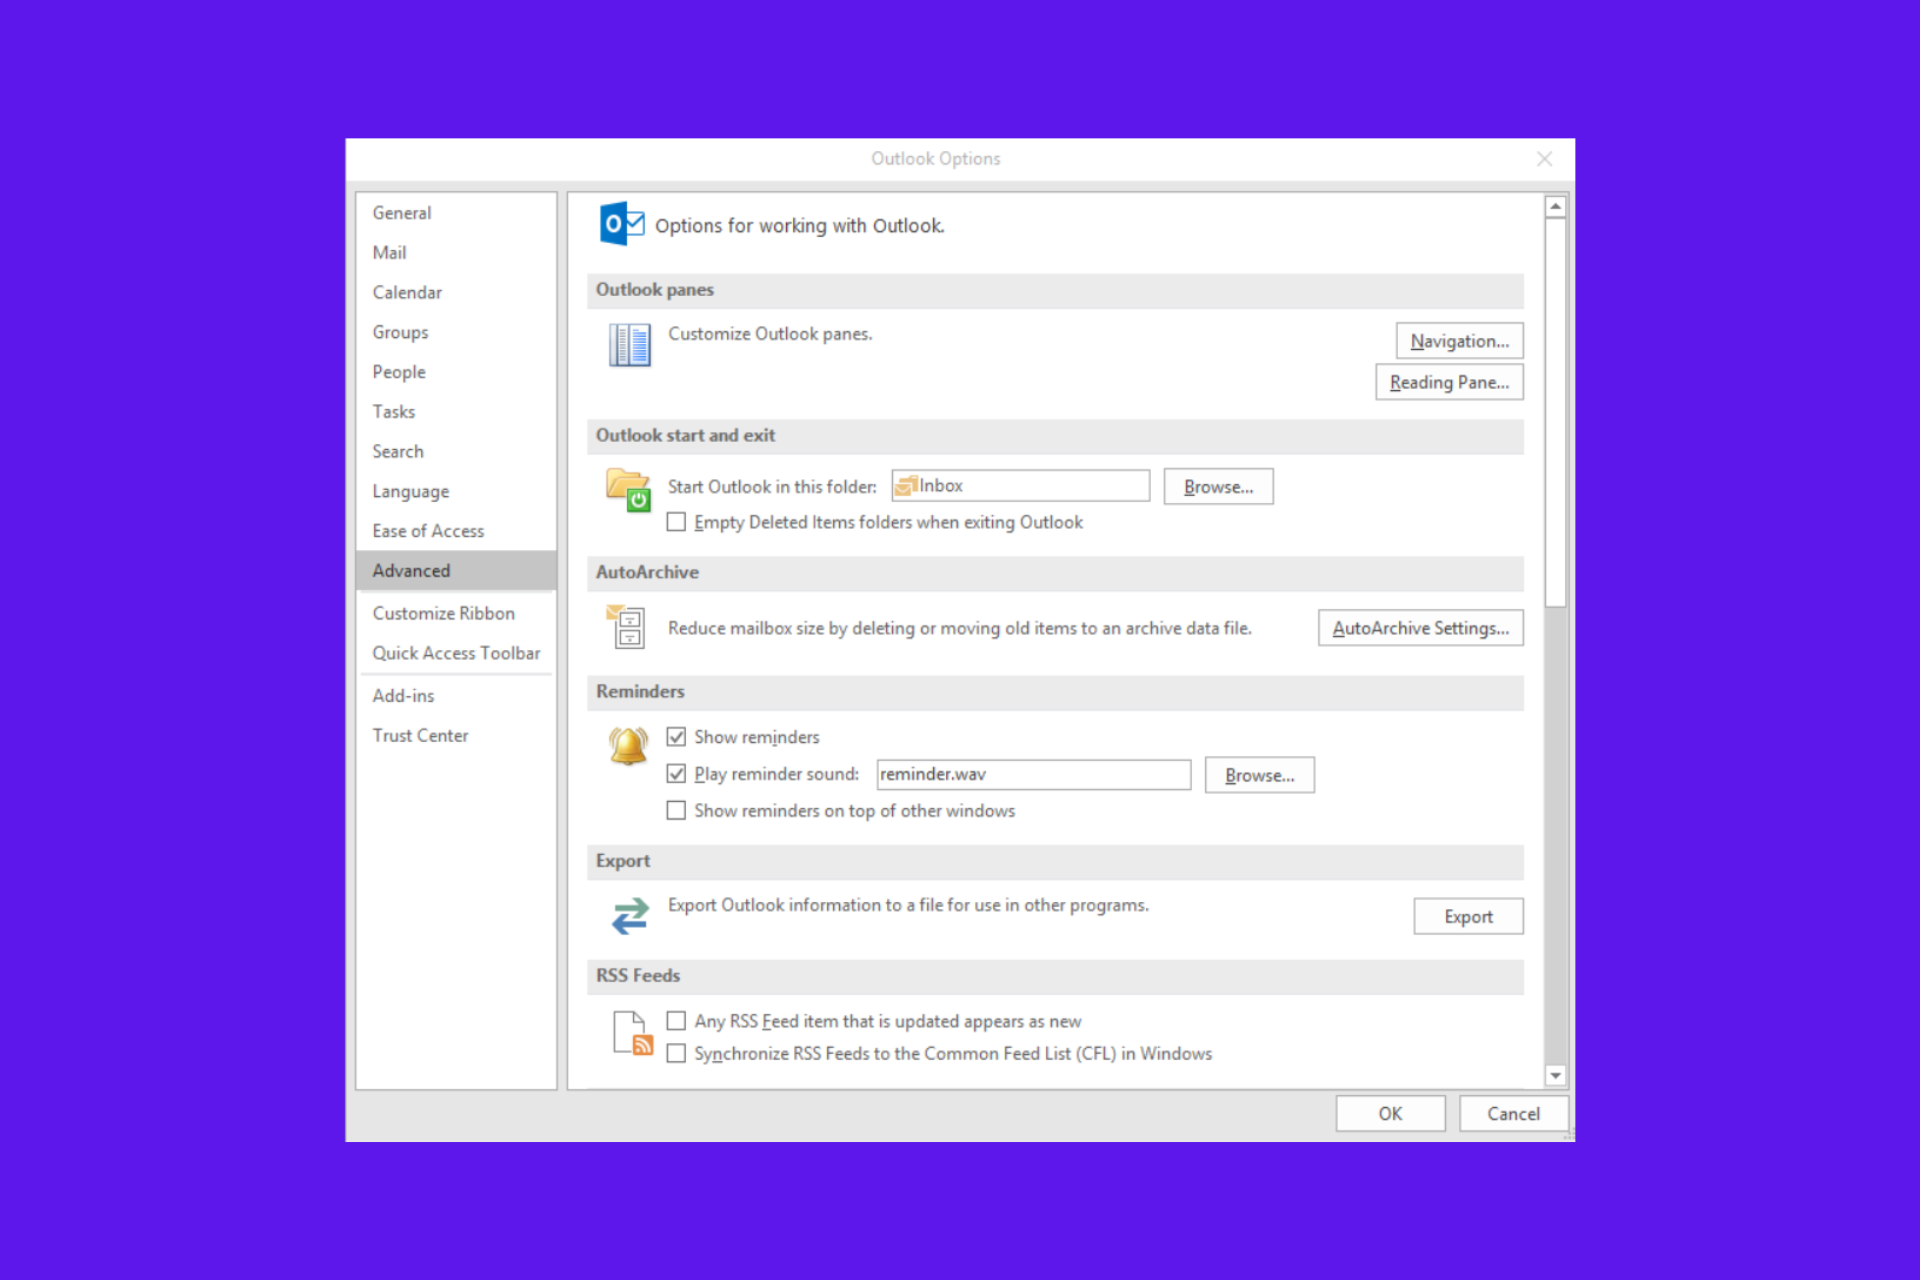
- Go to File < Options < Add-ins.
- Under Manage, select COM Add-ins.
- Click on GO (beside Manage).
- Uncheck all the add-ins and click OK.
- Try to open Outlook. What is the result?
To begin with, when attempting to use Scheduling Assistant, it either takes a long time for the information to come through on a user’s schedule or it just says all the info is unavailable no matter whose schedule users try to view.
You might need to disable the add-ins to solve the problem.
2. Outlook Scheduling Assistant is not showing rooms
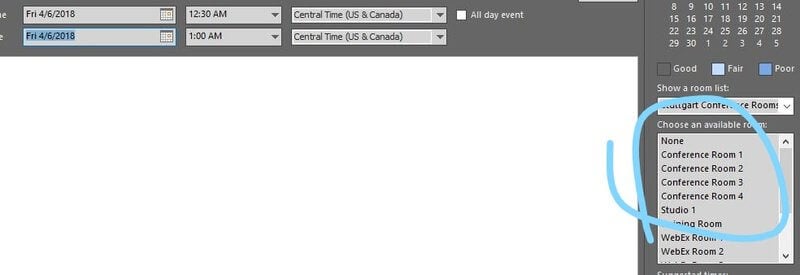
Scheduling a meeting in Outlook seems to work properly at first, yet the room list will not show available rooms for meetings that last over 13 hours. Simply adding rooms individually will immediately correct the issue.
Other users say that creating a meeting and then adding an individual conference room in Scheduling Assistant leads to the room being displayed briefly. To solve this, reset the working hours in the room mailbox to a valid value.
3. Outlook Scheduling Assistant is not showing all hours
Worried about this issue too? Add this to your troubleshooting tips as this is a quick, yet efficient one: within the Scheduling Assistant window, look for the Options button.
There you’ll see a checkbox called Show only my working hours. Uncheck it right away and the Assistant will open up at all hours. You have to do this each time you use Scheduling Assistant, but it’s an inconvenience users got used to.
4. Scheduling Assistant is not showing all meetings and attendees
- In Outlook, right-click Calendar folder.
- Then, choose Properties.
- In the Permissions tab, make sure that the Default user’s permission is Free/Busy time.
- Click Other Free/Busy.
- Then, set Update free/busy information on the server every 45 minutes.
- Click OK to confirm action.
After creating a new meeting request, check the Free/Busy information, when Scheduling Assistant is refusing to show all meetings.
If the meeting is not present on the OWA calendar, you should contact your system administrator for further Exchange Server data analysis.
When facing any attendee relates issues, remember that Office 365 accounts usually update the attendees for all invitees within the org. This happens despite forwarding the invite to a new person to avoid the send an update message.
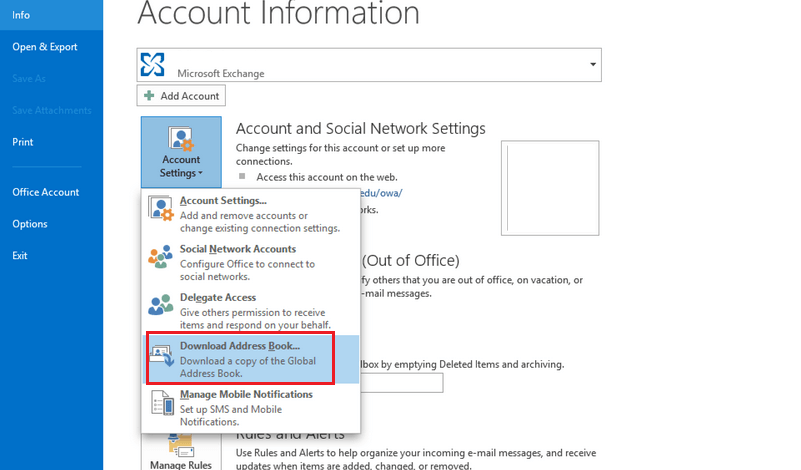
Moreover, when finding a particular attendee on the global address list isn’t possible, you just need to refresh the locally cached Address Book. In Outlook, click on File, select Account Settings, and then choose Download Address Book.
5. We’re checking everyone’s calendars Scheduling Assistant error
The error We’re checking everyone’s calendars pops up while scheduling a meeting in Outlook client. If that’s your case too, how do you choose the attendee’s address?
In case of choosing it from autocomplete cache, click the “X” to delete the entry. Then, re-type the email address to see the result.
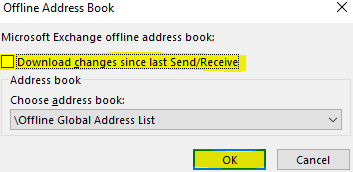
If you choose addresses from GAL, you may try to update the Offline address book. To do this, follow this path Send/Receive > Send/Receive Groups > Download Address Book. Unselect Download changes since last Send/Receive. Finally, click OK.
Should the issue persist, you could also try recreating your Outlook profile to see if it helps or uninstall and reinstall Microsoft Office Pro Plus as this often resolves the problem.
In this post, we’ve guided you in troubleshooting some common Microsoft Outlook Scheduling Assistant errors.
If anything is unclear or if you have any other concerns, remember we can help. Use the comments area to let us know how we may assist you.


