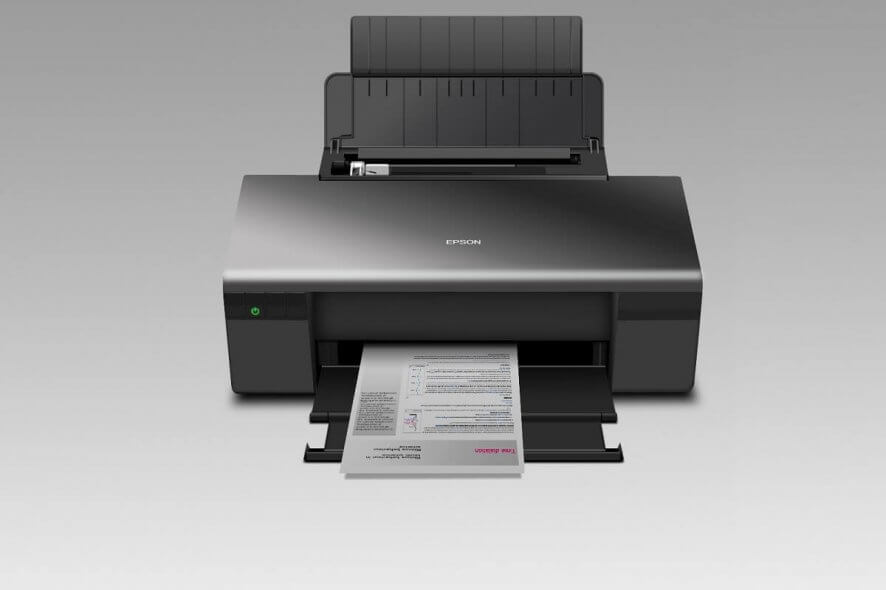
Fix Epson printers’ 0xE errors in just a couple of steps
4 min. read
Updated on
Read our disclosure page to find out how can you help Windows Report sustain the editorial team. Read more

Some Epson printer users might encounter 0xE errors when they try to print. Those printer errors can have 0xE1, 0xE3, 0xE5, oxE8 and 0xE9 error codes, which the Epson printers show on their own displays.
The fixes for those 0xE errors are often much the same. These are some of the potential resolutions for fixing Epson printer 0xE errors.
How can I fix a 0xE error on my Epson printer?
1. Check if any paper is jammed in the printer
The 0xE errors are often due to printer paper jams. Thus, removing the paper stuck in the printer can often resolve those errors. If the printer has a removable paper tray, remove it to have a peek inside. Open the lid on the printer to check if there is any jammed paper.
If you see paper jammed in the printer, turn the printer off and unplug it. You can often pull stuck paper out from Epson printers by removing their duplexers. Press the tabs to detach the duplexer from the printer. Then remove the jammed paper from the duplexer.
2. Reset the printer’s ink cartridges
- Some users might need to reseat their printers’ ink cartridges to fix 0xE errors. First, turn on your printer.
- To reseat the cartridge for an Epson XP printer, press the home button on it.
- Select the Setup, Maintenance, and Ink Cartridge Replacement options on the printer’s display.
- Press the OK and Start buttons.
- Lift the printer’s scanner unit up when the display shows a replace ink cartridge message.
- Squeeze the tabs on each cartridge to remove them.
- Then reinsert the ink cartridges one at a time. Make sure they click back into place.
- Close the printer’s scanner unit after reseating the cartridges.
3. Clean inside the printer
- The 0xE errors can arise due to debris and dirt within the printer. To clean inside the printer, turn off and unplug it first.
- Then open the top cover on the printer. Look for and remove any debris, such as small scraps of paper, foam blocks, or paperclips.
- Next, wipe away dust inside the printer with a soft, clean cloth. If there’s a lot of dust, you can dampen the cloth with a detergent for more thorough cleaning.
- Wipe the encoder strip that runs along the printer just behind the carriage to clean it.
- Close the top of the printer.
- Then plug the printer back in and turn it on.
4. Scan for malware
The 0xE errors can also be due to malware. For this reason, scanning your PC with a powerful antivirus software is highly recommended.
We suggest you to use a third-party antivirus with multiple layers of protection because these are typically able to detect threats quickly and accurately.
Make sure to run a thorough, full system scan and allow your security tool to remove or quarantine all threats found. Then restart your PC and see if you still experience the error.
5. Replace incompatible ink cartridges
Some users might need to replace incompatible ink cartridges. Have a look through your printer’s manual for further details about cartridge compatibility to check if the cartridges might need changing.
If an ink reference card came with the printer, have a look at that. If replacements are required, replace them with official Epson cartridges for the printer.
So, that’s how you can fix 0xE errors for Epson printers. If the printer is still within warranty, you can also return it to Epson for repairs (or a replacement model if needed). However, try fixing the 0xE issue with some of the potential resolutions above first.
For any other questions or suggestions, don’t hesitate to reach in the comments section below.


User forum
0 messages