Remote Desktop Microphone Not Working? How to Fix it
Outdated audio drivers can cause such issues in Remote Desktop
3 min. read
Updated on
Read our disclosure page to find out how can you help Windows Report sustain the editorial team Read more
Key notes
- Some users reported that the remote desktop is not detecting the microphone, but this article will show how you can easily solve it.
- Before going through any stress, you should check if your ports and cables are in good working condition.
- Another efficient option to fix your remote desktop microphone is to update associated drivers.
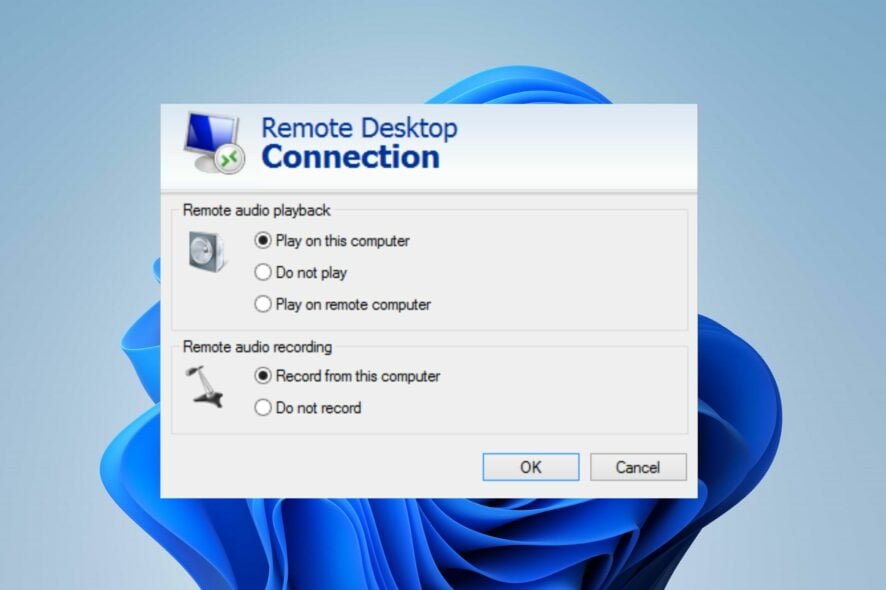
Several users have been complaining about Remote Desktop not detecting the microphone, but not to worry, this comprehensive guide provides simplified fixes for this issue.
Some users also specify the connection errors they encounter, such as; Remote Desktop microphone with no input devices found, headphones not working on Remote Desktop, and so forth.
These problems are common; however, the solutions can fix both built-in microphones and external headsets’ microphones.
If your Remote Desktop presents this problem, this guide will help you fix your microphone.
Why is my mic not being detected?
- Microphone Permission turned off: If your microphone is not detected after updating Windows, then it could be that the app permissions have been turned off, hence the need to toggle it back on.
- Microphone not set as default device: If you have connected multiple microphones and headset devices to your computer, it may have selected the wrong device for use. To fix this, you need to choose the microphone device of your choice and set it as default.
- Outdated audio drivers: You may experience Remote Desktop not detecting microphone errors when your audio drives are outdated. To fix this, you need to update your audio drivers.
How can I fix the Remote Desktop if it fails to detect the microphone?
1. Enable your disabled microphone
- Click the Starts button and select Settings.
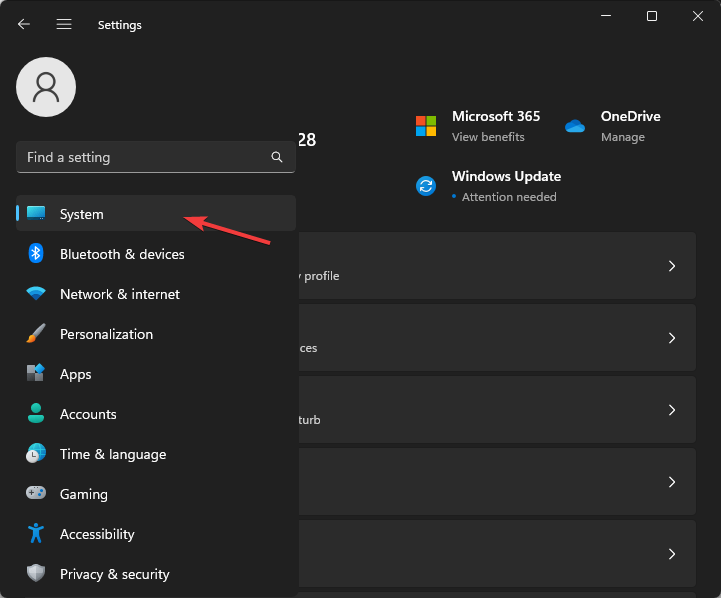
- Navigate to System settings.
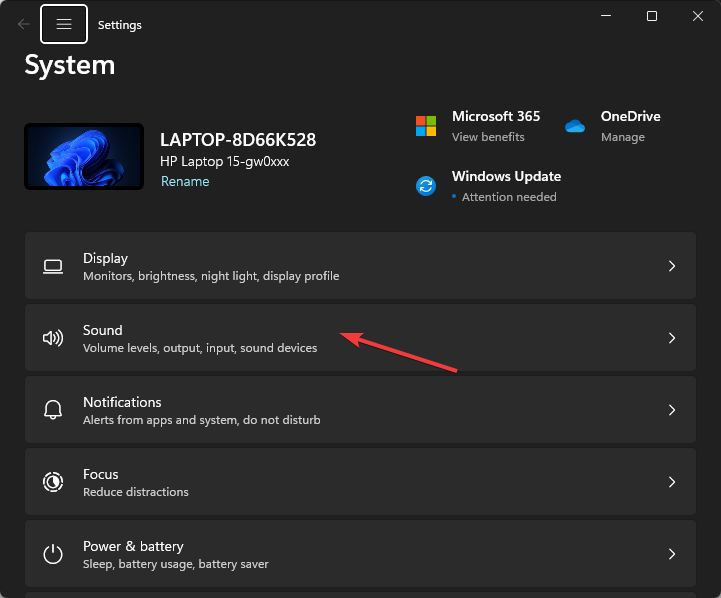
- Click on Sound in the left sidebar.
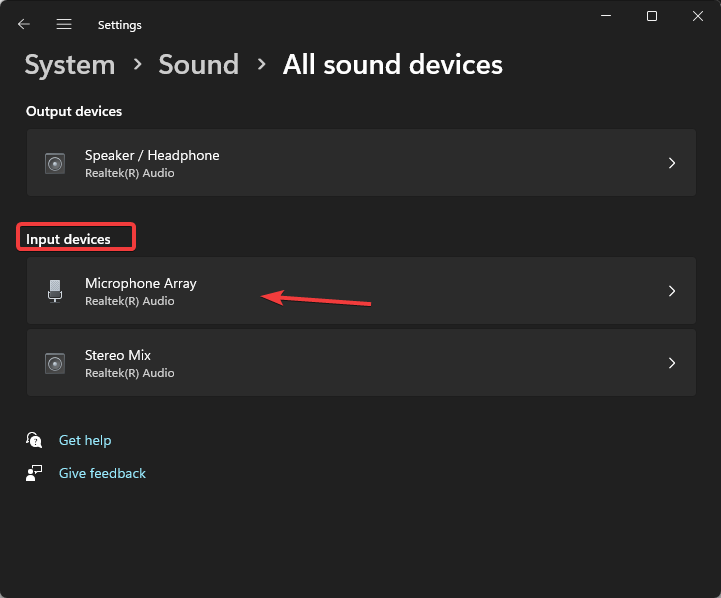
- Next, locate and click on Manage sound devices in the Input devices settings.
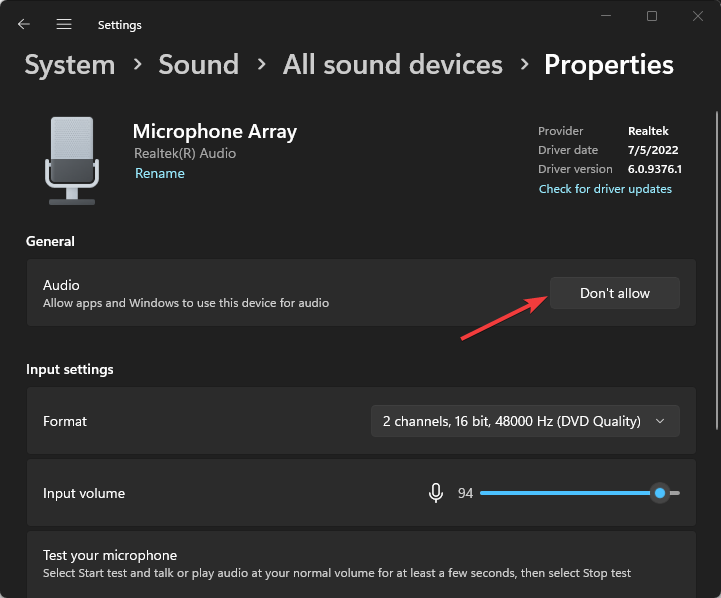
- Locate your microphone device under the Allow or Don’t allow section.
- Click on Allow to enable your microphone.
2. Adjust the default audio settings
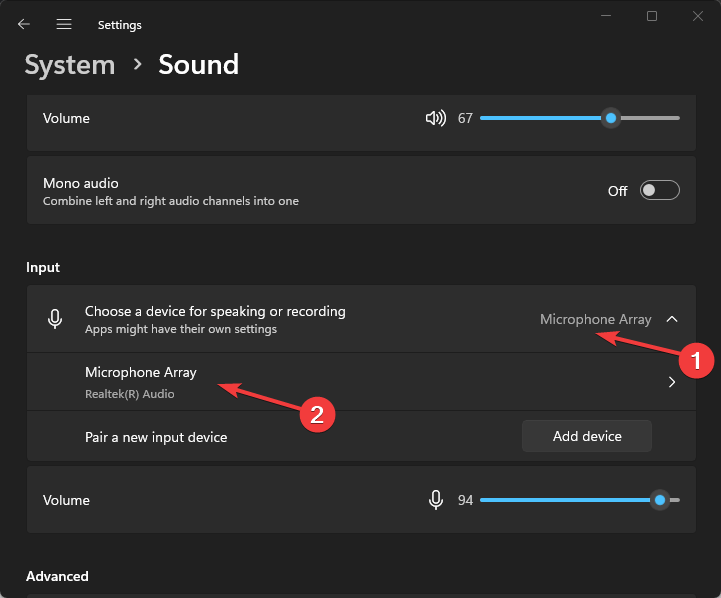
- Press the Starts button and select Settings.
- Navigate to System settings from the list of options.
- Then, click on Sound in the menu on the left sidebar.
- Open the Input devices dropdown menu and select your microphone as the default audio.
3. Confirm that the microphone and computer’s ports are working
Firstly, check if your microphone’s wire is not broken, especially at the ends where it connects to your PC.
If there’s any other available device, plug your microphone into its ports to test if it works. Inspect the connecting jack to see if there are any bending or burns.
In the availability of other devices, you can test it by plugging it into the same port you’ve tested with your microphone to see if it works.
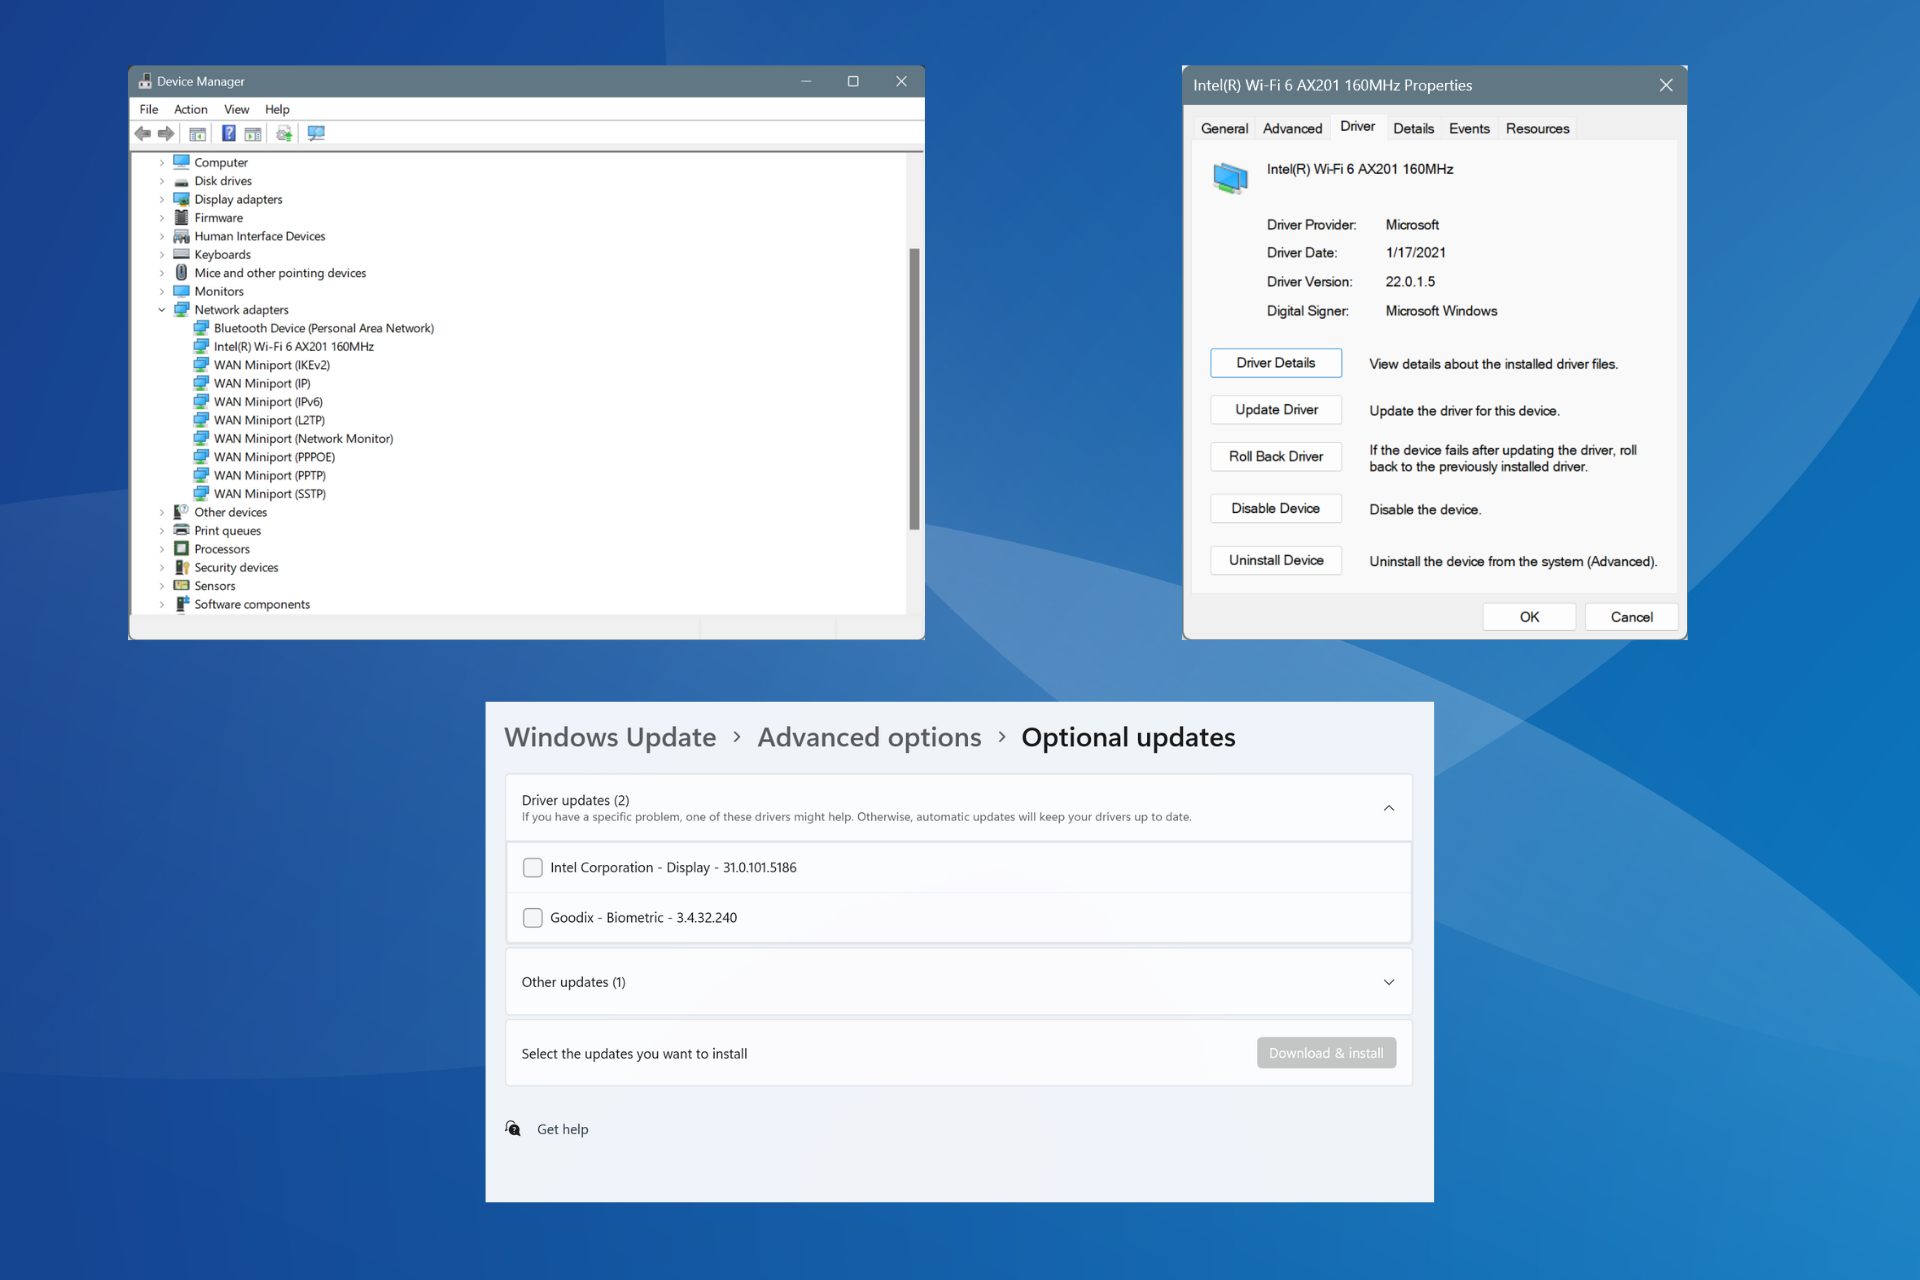
4. Update the audio drivers
- Press the Windows + R keys to launch the Run dialog box.
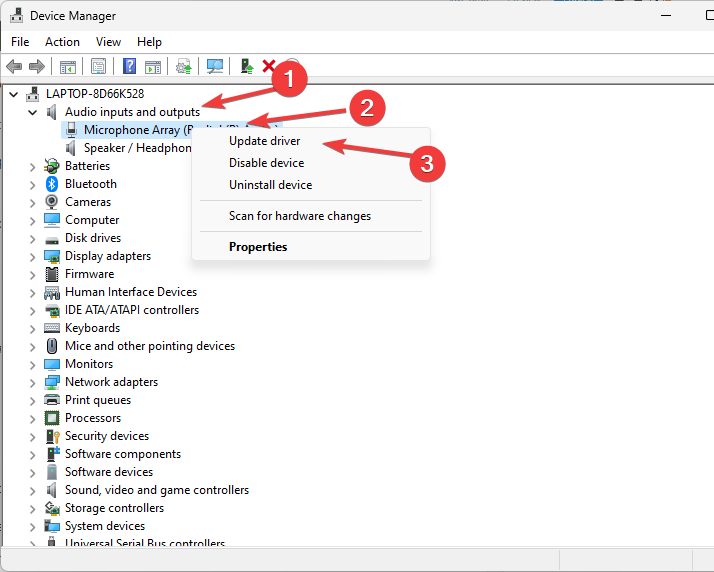
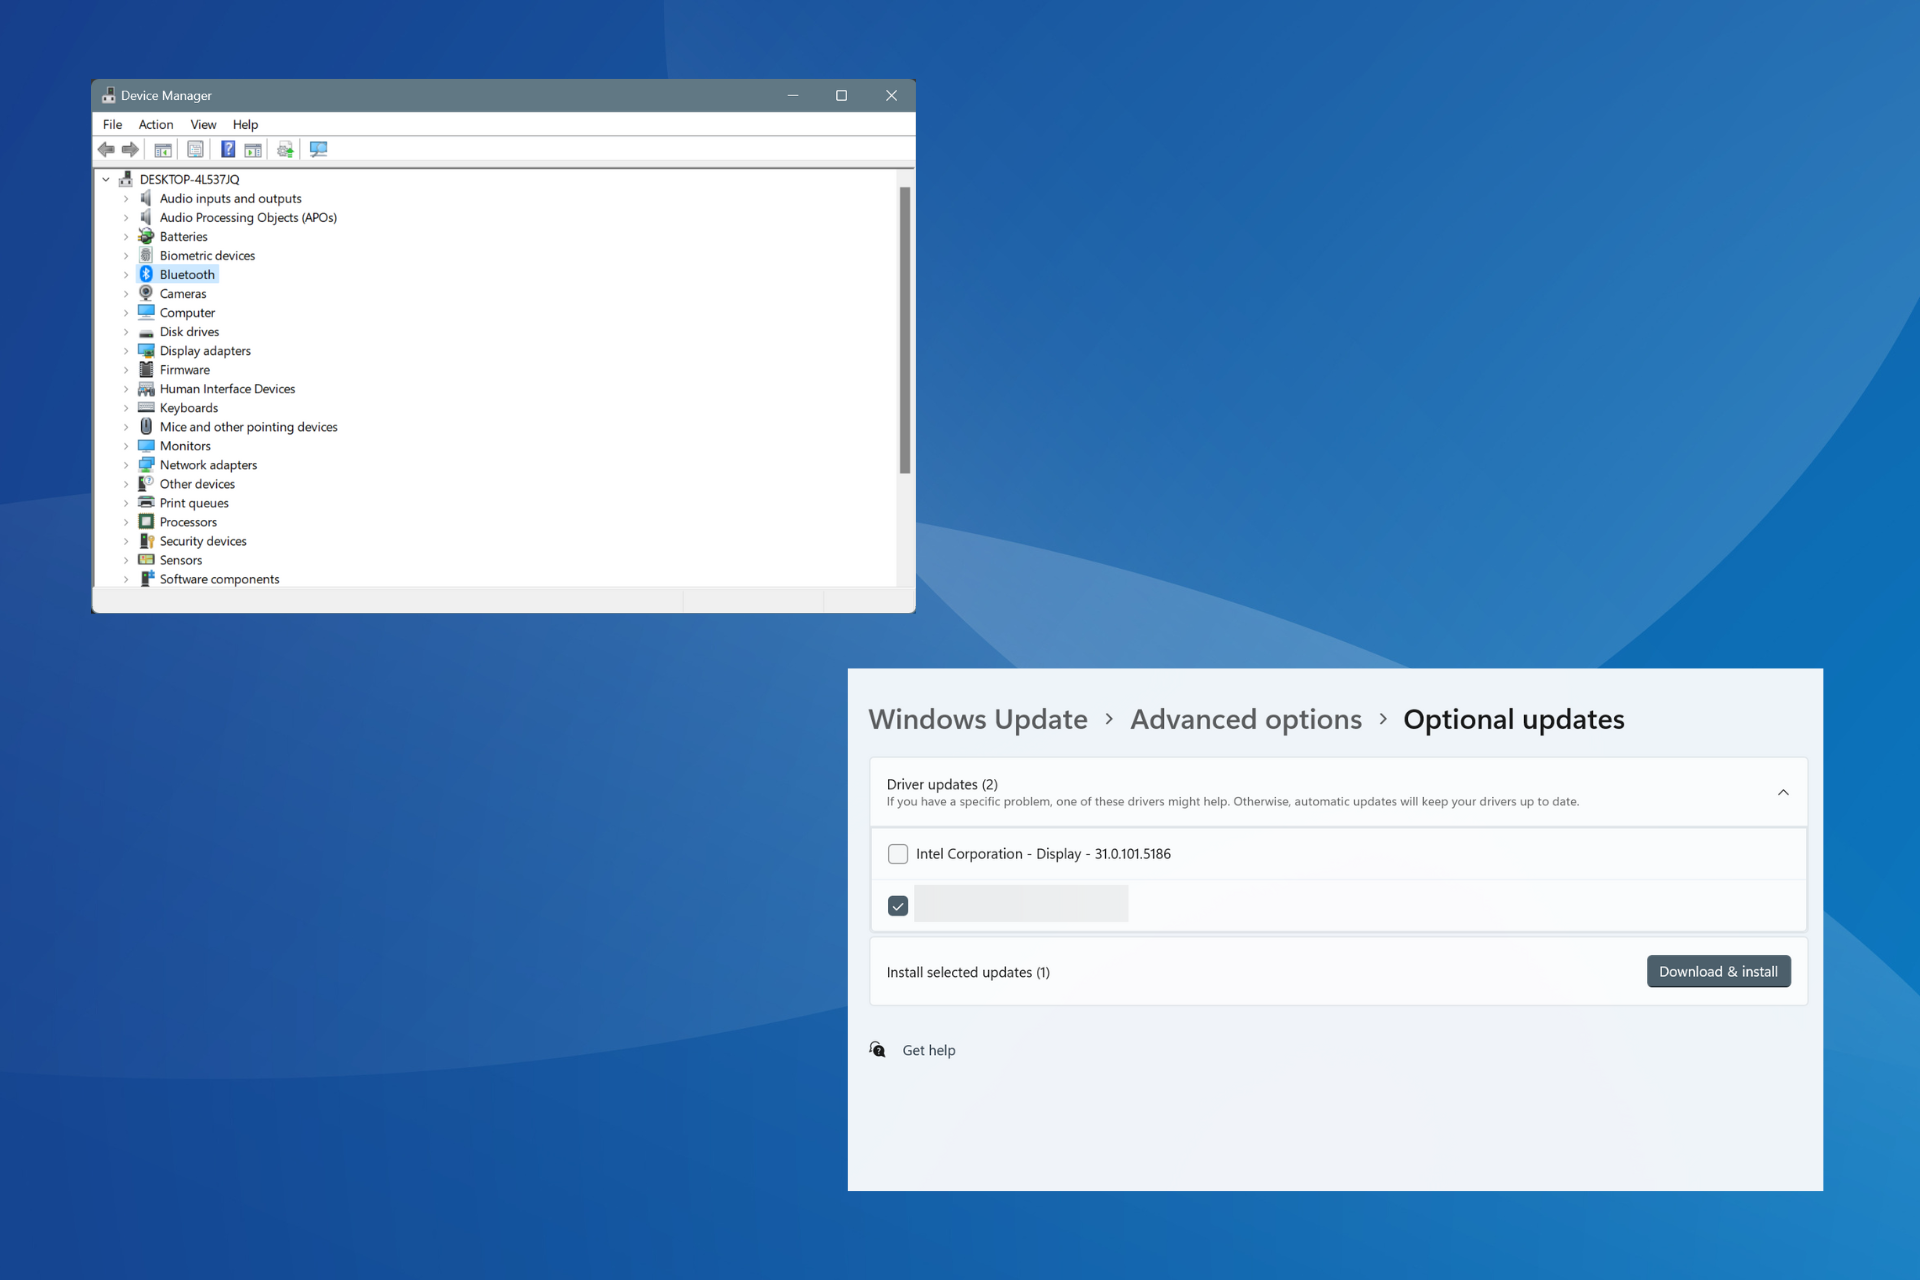
- Input devmgmt.msc and press Enter to launch the Device Manager.
- Locate the Audio Inputs and Outputs and expand it.
- Right-click the audio driver and choose Update driver.
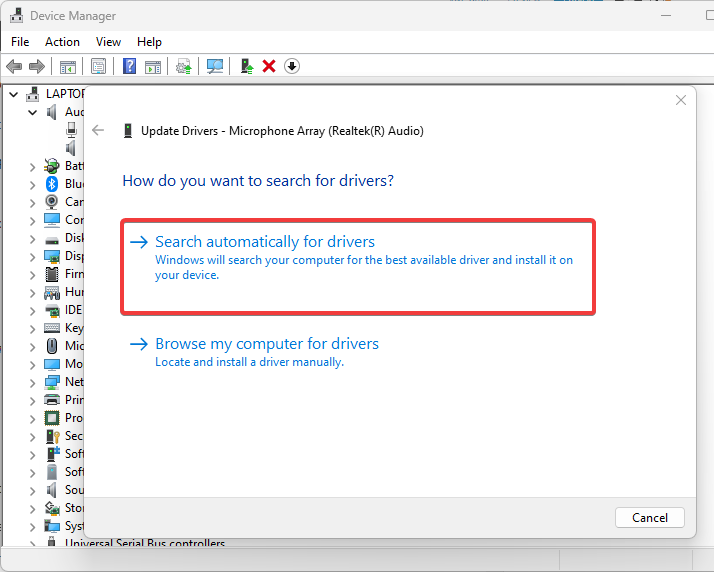
- Then select Search automatically for drivers.
Alternatively, you can use third-party tools to download and install the latest drivers for all your devices. Instead of having to manually download each driver, you can automatically download all the drivers your PC needs.
- Download and install the Outbyte Driver Updater app.
- Launch the software and wait for the app to detect all incompatible drivers.
- Now, it will show you a list of all outdated drivers to select the ones to Update or Ignore.
- Click on Update & Apply Selected to download and install the latest versions.
- Restart your PC to ensure the applied changes.

Outbyte Driver Updater
Maintain your device healthy by letting OutByte Driver Updater find the latest driver options.Does the microphone work through RDP?
You cannot access your microphone over a Remote Desktop Protocol unless you enable it manually.
Also, you can explore any of the solutions provided above if you experience Remote Desktop not detecting microphone errors. You can also check our detailed guide on quick ways to fix the microphone not working in Windows 11.
However, if you have issues with your built-in microphone, you can check the troubleshooting steps for the built-in microphone not working on Windows 10.
At times, users who are not tech-savvy may find it difficult to access their microphones. Hence, you can follow the easy ways to turn on the microphone in Windows 10/11 to know better.


