Fix Unsupported hardware message in Windows
Some users have been a little baffled by an Unsupported hardware popup that appears in Windows 7 and 8.1. The popup window states, Your PC uses a processor that isn’t supported on this version of Windows and you won’t receive updates.
That popup window appears when users click the Check for updates button. It can also pop up more randomly after users boot up seventh gen Intel (Kaby Lake) and AMD (Bristol Ridge) laptops or desktops.
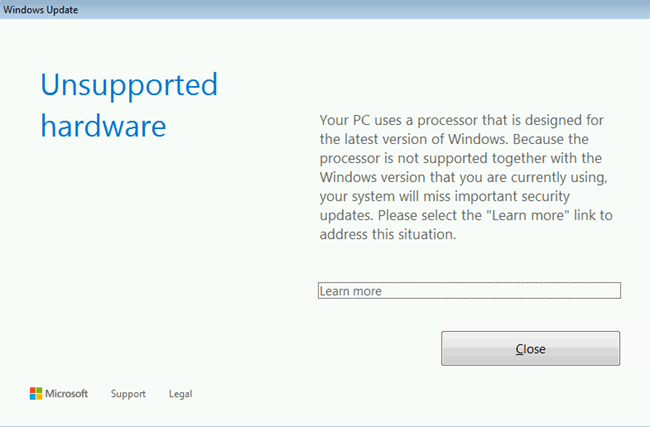
The Unsupported hardware popup window makes it clear that users won’t receive any Windows 7 and 8.1 patch updates. This is because users are utilizing Intel and AMD PCs that Windows 8.1 and 7 do not support. Microsoft confirmed a while back that Win 10 is the only platform that supports seventh generation Intel, AMD Bristol Ridge, and Qualcomm 8996 processors.
Users can still install Win 7 and 8.1 on systems with those processors, but Microsoft does not provide any update support for those platforms when they’re installed on seventh gen Intel, AMD Bristol Ridge, or Qualcomm 8996 PCs.
How can I remove the Unsupported Hardware popup?
- Disable Windows Update
- Select the Never Check for Updates Option in Win 7
- Add Wufuc to Windows
- Remove and skip the problematic updates
1. Disable Windows Update
Users can disable the Unsupported hardware popup window to ensure that it doesn’t keep popping up after the Windows startup. To that, users will need to turn off Windows Update.
There isn’t really much point keeping that service on when it isn’t providing any updates. This is how users can turn off Windows Update in Win 8.1 and 7.
- Open Run with the Windows key + R keyboard shortcut.
- Enter ‘services.msc’ in the Open text box. Then press the OK button to open the window shown directly below.
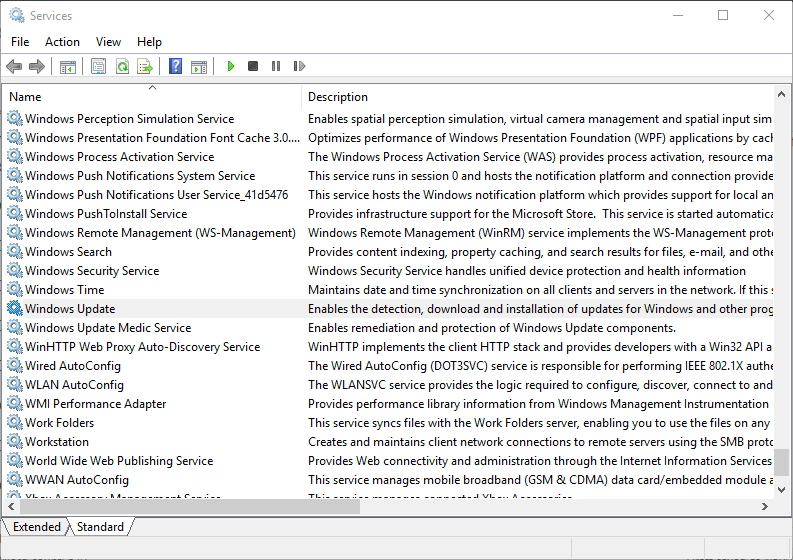
- Double-click Windows Update to open the service’s window.
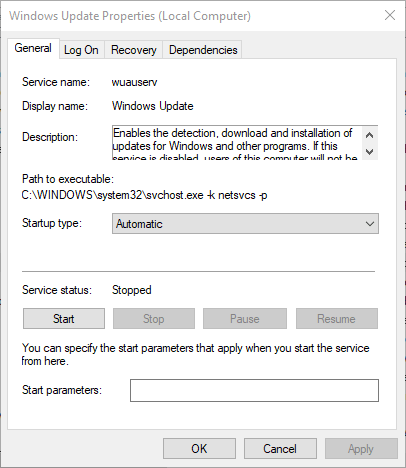
- Click Stop to stop the service.
- Press the Apply button, and select the OK option to exit the window.
- Open the Run accessory again.
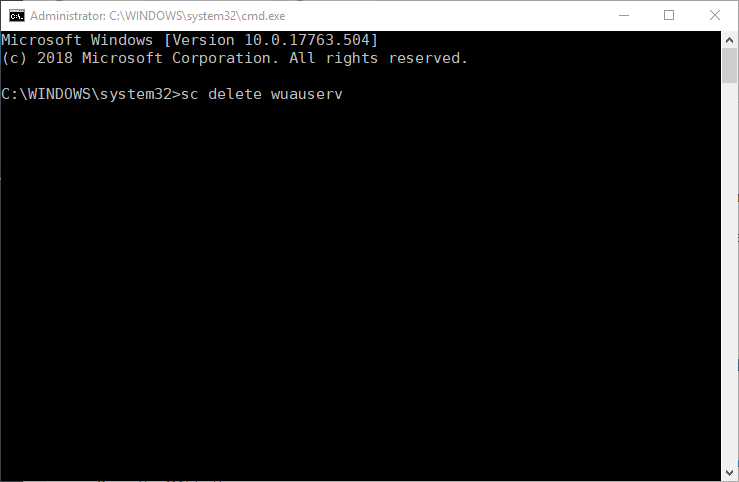
- Enter ‘cmd’ in Run’s text box. Then press the Ctrl + Shift + Enter hotkey to open an elevated Command Prompt.
- Enter sc delete wuauserv in the Command Prompt and press Return to delete the Windows Update service.
2. Select the Never Check for Updates Option in Win 7
- Note, however, that Win 7 users can turn off automatic updates by selecting a Never check for updates setting. To select that option, enter ‘Windows Update‘ in the Start menu’s search box.
- Click Windows Update to open that Control Panel applet.
- Click Change settings on the left of the Control Panel to open further options.
- Then select the Never check for updates option on the Important updates drop-down menu.
- Press the OK button.
3. Add Wufuc to Windows
However, users can still get updates for Windows 8.1 and 7 on seventh gen Intel and AMD Bristol Ridge PCs with Wufuc. Wufuc is a program that enables updates for Windows 7 and 8.1 on unsupported seventh gen Intel and AMD Bristol Ridge systems.
That program scans for kill switches that trigger the Unsupported hardware popup window so that Win 8.1 and 7 users can get updates. Thus, Wufuc might be a more preferable resolution than deleting Windows Update for some users.
- To add Wufuc to Windows, click Assets on the Wufuc Github page.
- Then select wufuc v1.0.1.201-x64.msi to download the installer for 64-bit Windows platforms. Click wufuc v1.0.1.201-x86.msi to get the Wufuc setup wizard for 32-bit platforms.
- Then open File (or Windows) Explorer by pressing the Windows key + E hotkey.
- Open the folder that includes the Wufuc installer.
- Click the Wufuc setup wizard to open its window.
- Press the Next button.
- Select the I accept the terms option.
- Click Browse to choose an installation folder.
- Press the Next and Finish buttons.
- Restart the desktop or laptop after installing.
4. Remove and skip the problematic updates
If the previous methods didn’t help with Unsupported hardware message, perhaps you can fix the issue by removing and blocking the problematic updates. Users reported that removing one of the following updates fixed the problem for them:
- KB4048957
- KB4054518
- KB4095874
- KB4015549
- KB4012218
To remove an update, do the following:
- Open Control Panel.
- Go to Programs and Features > View installed updates.
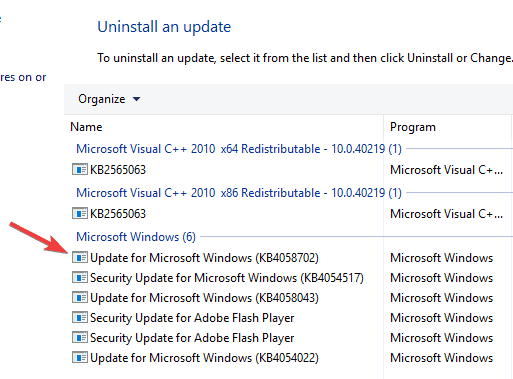
- Locate the update you want to remove and click Uninstall.
Bear in mind that these updates might get installed again, so it’s advised to change your Windows Update settings. To do that, follow these steps:
- In Control Panel go to System and Security > Windows Update.
- Click on Change settings in the left pane.
- Set Important updates to Check for updates but let me choose whether to download and install. In addition, check Give me recommended updates the same way I receive important updates option and click OK to save changes.
After doing that, you’ll have to choose which update you want to install, so be sure not to install the one that caused the issue in the first place.
Thereafter, the Unsupported hardware window will not pop up. Note, however, that Microsoft will stop supporting Windows 7 from January 2020. So, Windows 7 users might as well upgrade to 10 at the beginning of next year (or delete the update service as outlined above).
RELATED ARTICLES TO CHECK OUT:
Read our disclosure page to find out how can you help Windows Report sustain the editorial team. Read more


Improve this guide

User forum
3 messages