How to Rename Your Windows 11 PC [4 Different Ways]
Ensure that you select a PC name you can easily remember
Key notes
- Renaming your PC allows you to identify it easier on the network, or in case you want to send files to it by using another Bluetooth device.
- You can easily rename your PC by accessing the Settings application, but there are a few other methods available as well.
- Depending on your level of proficiency, you might find it easier to perform the change by using the Command Prompt.

Customizing your digital environment should be a must in your day-to-day work actions. You can do it in various ways, but today, we will show how to quickly rename your Windows 11 PC.
It seems like many users are concerned about this aspect, so we prepared 5 accessible options that will take no more than a few seconds.
Because renaming your computer is recommended, let’s look at some valuable reasons.
Why should I rename my Windows 11 PC?
- Customize your digital workplace – Firstly, when renaming your Windows 11 PC, you’ll personalize the digital environment, making your device easier to identify if you use multiple computers with your Microsoft account.
- Protect your data – Data protection is becoming increasingly important every day, so renaming your PC will also contribute to the amount of information third parties can access without your knowledge.
- Use certain Internet service providers – Note that some ISPs require using a specific computer name to identify your PC, and then validate your account. If the Internet Service Provider requires a specific title, do not change the name they give you.
After you find out why you should rename your Windows 11 PC, let’s see how you can do that.
How can I rename my PC in Windows 11?
1. Use the Settings menu
- Hit the Windows key, then open the Settings menu.
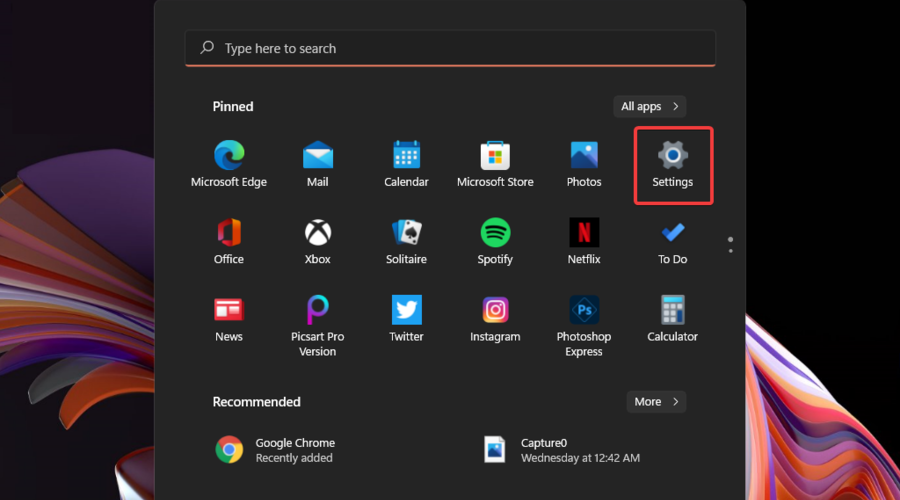
- Remain on the System page.

- In the right side, look at your PC’s name, then click on the Rename button.

- Enter the new desired computer name, then click on Next.

- Nou, you’ll be asked to rename your PC for the new name to come into effect.
- Reboot your computer and you’ll find the changes the Settings menu.
After renaming your PC through Settings, you might also want to confirm its updated name by following our guide to find your computer name in Windows 11.
2. Modify the System Properties settings
- Hit again the Windows key, then type sysdm.cpl, and open it.

- Remain on the Computer Name tab, then click on the Change button.

- In the Computer Name section, type the new desired name, then click on OK.

- You’ll now be asked to reboot your PC, so click on Restart now.
3. Use the Control Panel
1. Press the Windows key on your keyboard to open the search box.
2. Type control panel in the search box and click on the first result to open the app.

3. Navigate to the System and Security section in Control Panel.

4. Under the System section, click on the Allow remote access option.
5. Select the Computer Name tab, then click on the Change button.

6. In the Computer Name section, type the new desired one, then click on OK.

7. Restart your PC.
The Control Panel menu comes in handy when it comes to making changes to your PC. You can set up a new PC name in just a few clicks from the System and Security tab.
4. Run some commands in Command Prompt
- Click on the Windows icon from your taskbar.
- Type cmd, then right-click on the result, and choose to Run as administrator.

- In the opened window, copy and paste the following command, then press on the Enter key:
wmic computersystem where name="Present Name" call rename name="New Name" - Now, the command will be executed.
- Next to the ReturnValue, look for 0.
- If it shows 5, it means that you haven’t launched the Command Prompt with administrator privileges.
- Restart the computer to apply the changes.
 NOTE
NOTE
Can I change the name of my Windows 11 Remote Desktop?
Some of you might need more specific names for additional Windows 11 instances. This happens particularly if you have a Remote Desktop Web Access server displaying multiple apps or desktops.
You can easily do it by logging on to the Remote Desktop Session Host server as an administrator.
Also, remember that remote desktops are only available for Windows 11 Pro and Enterprise editions. If you’re running the Windows 11 Home version, use a suitable third-party remote desktop app.
If you often face display issues, check the monitor details and determine whether it’s the underlying cause. Should you feel like you want to modify the names of other devices, check out our article on how to rename your printer.
You can keep your folders organized as well by following this guide on how to rename a file in Windows 11.
If you have other questions or curiosities, feel free to leave a comment in the section below.
Read our disclosure page to find out how can you help Windows Report sustain the editorial team. Read more


Improve this guide


User forum
0 messages