Runtime Error: Could Not Call Proc [Fix Guide]
Here's how to fix the Runtime Error: Could not call proc
Key notes
- The Runtime Error: Could not call proc message occurs when the software you’re trying to install is missing some files.
- Redownloading and reinstalling the app again usually fixes this problem quickly but we have other solutions as well.
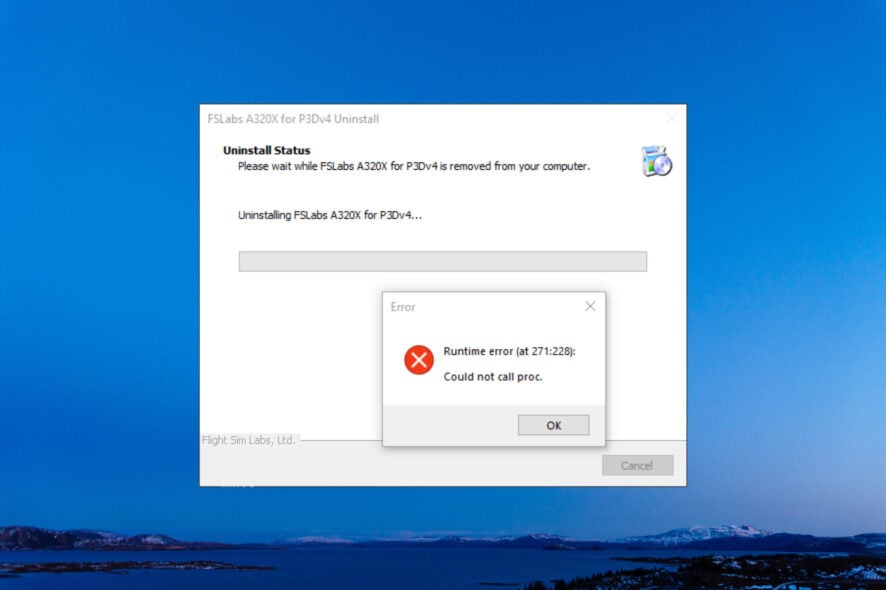
Runtime errors occur when running or executing a program that hangs or crashes, displaying an error message. The Could not call proc part means the app or script can’t execute a function or procedure. This often occurs due to a missing library or dependency.
Why do I get the Runtime error: Could not call proc?
There are many causes of the Runtime error: Could not call proc, but we will highlight the most probable:
- The PC doesn’t meet the system requirements – If you’re trying to install software or a game without meeting the minimum system requirements, this error may occur.
- Memory leaks – Due to memory leaks, although you have the right amount of RAM or GPU memory, the app is detecting less.
- Corrupted installer – If the installer download didn’t finish properly, you might have a corrupted software kit, and installing it will return this error instead.
- Virus or malware infection – Viruses and malware are known to mess with the system and files and if some of the installation files are corrupted, you will get this runtime error.
Now that we know the possible causes for the Runtime error: Could not call proc, let’s try to fix it.
How do I fix the Runtime error: Could not call proc?
Before getting into more complicated solutions, let’s check a few trusted methods for quicker recovery:
- Check if your device meets the app system requirements.
- Try to download the app installer again and ensure you have all the files for it.
- Close all the programs and processes you don’t need before running the installer.
- Run a full scan using a reliable antivirus.
If these preliminary measures didn’t fix the problem, apply the solutions below.
1. Change the Temp folder location
- Click the Start button, type cmd, and select Run as administrator from the results.
- Type or paste the following commands one by one, pressing Enter after each:
set TEMP=C:\Windows\temp
set TMP=C:\Windows\tmp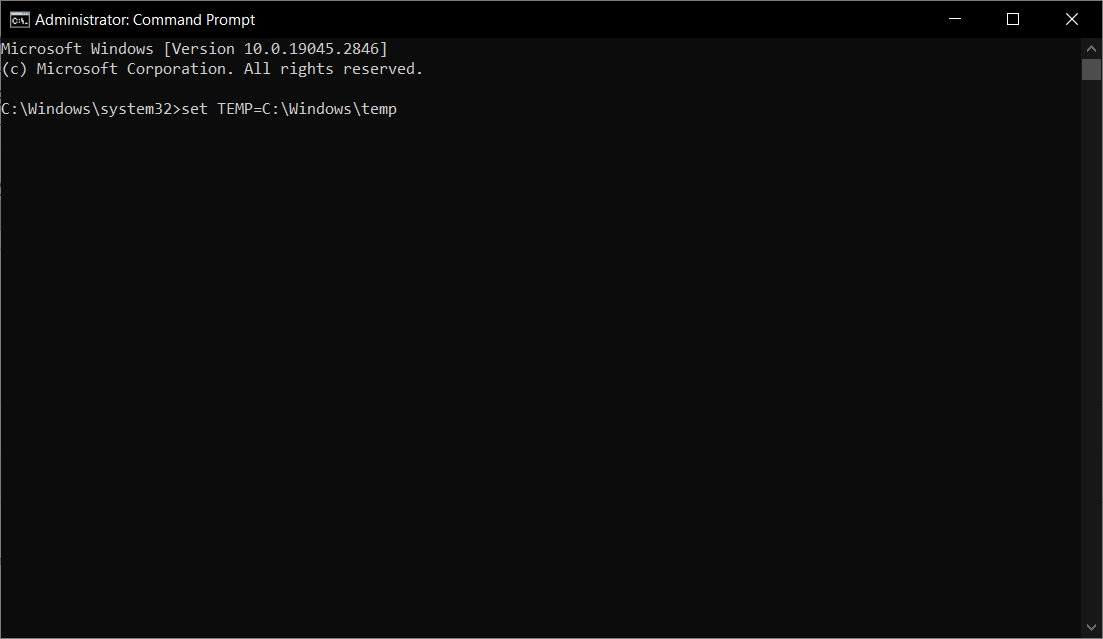
- Now, try to relaunch the installer and see if the error persists.
As weird as it seems, if the Temp folder doesn’t have the right location, it can cause runtime errors while installing an application. Setting things right will solve the issue like magic.
2. Run SFC and DISM scans
- Click the Windows button, type cmd, and select Run as administrator from the results.
- Type or paste the following command and press Enter to run it:
sfc /scannow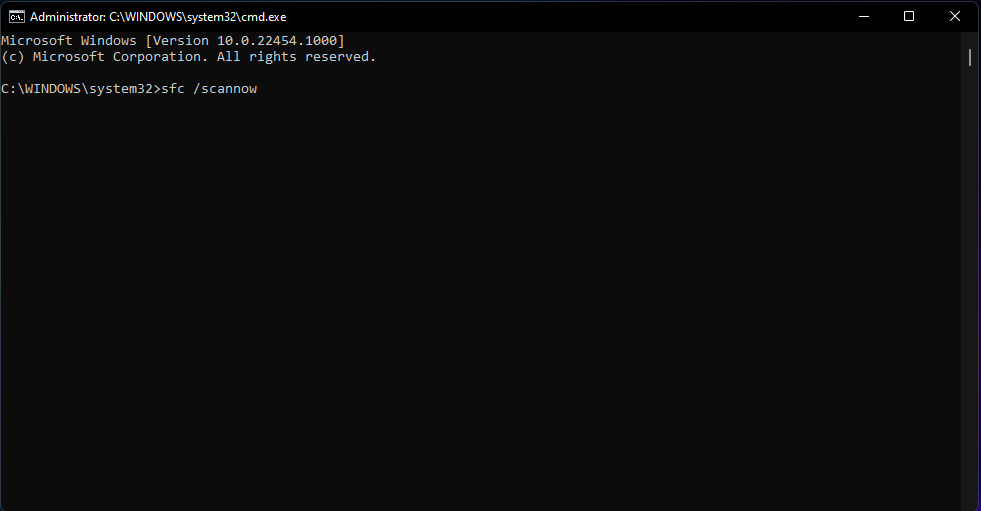
- Wait for the scan to finish, then paste the following command to execute the DISM scan and press Enter:
DISM /Online /Cleanup-Image /RestoreHealth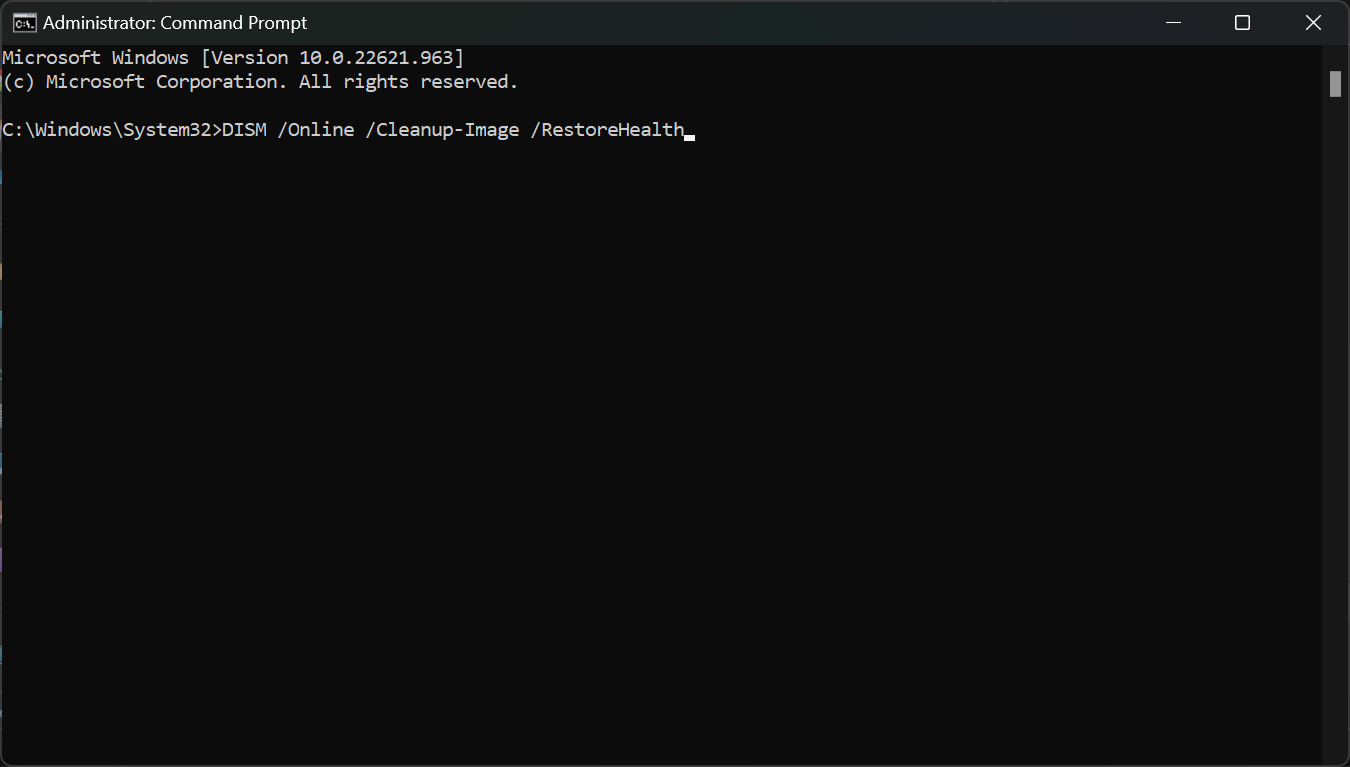
- Wait for the scan to finish, then restart your PC and check if the error persists.
In case you find the steps below too technical and time-consuming, there is another method we tested for you.
It’s more likely to fix this runtime error code using a dedicated PC repair tool, as it can diagnose the system and replace corrupted system files immediately.
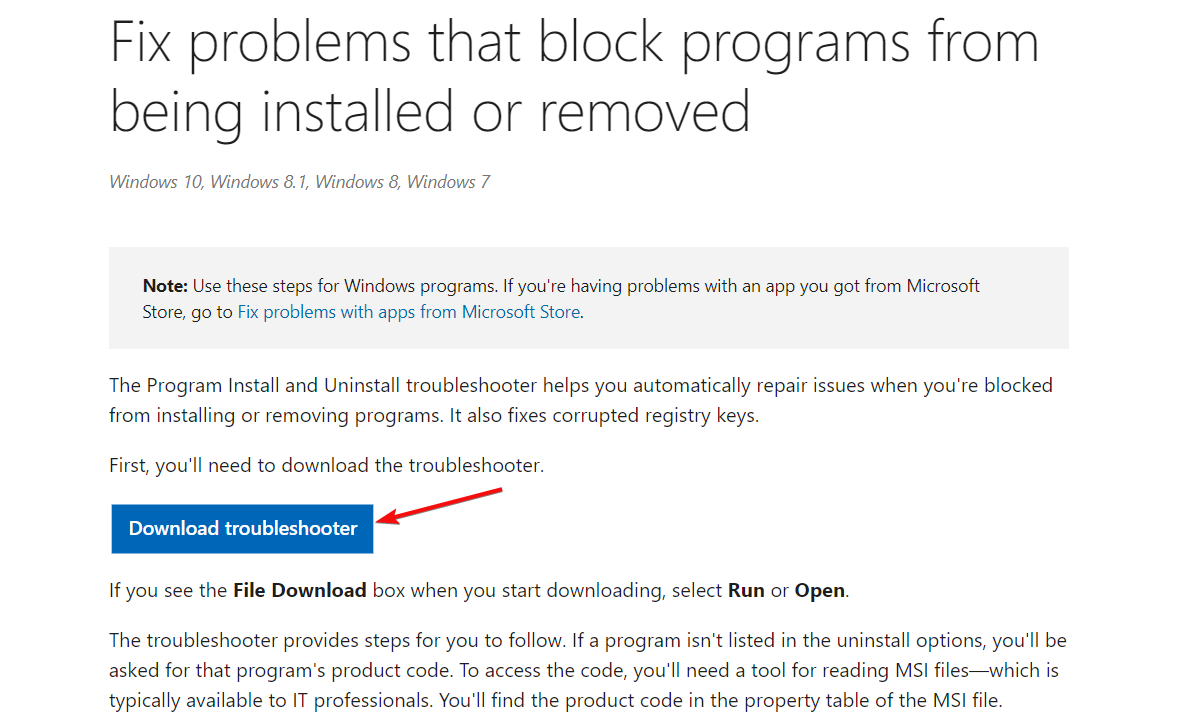
3. Use the Program Install and Uninstall troubleshooter
- Go to Microsoft’s official page and download the Program Install and Uninstall troubleshooter.
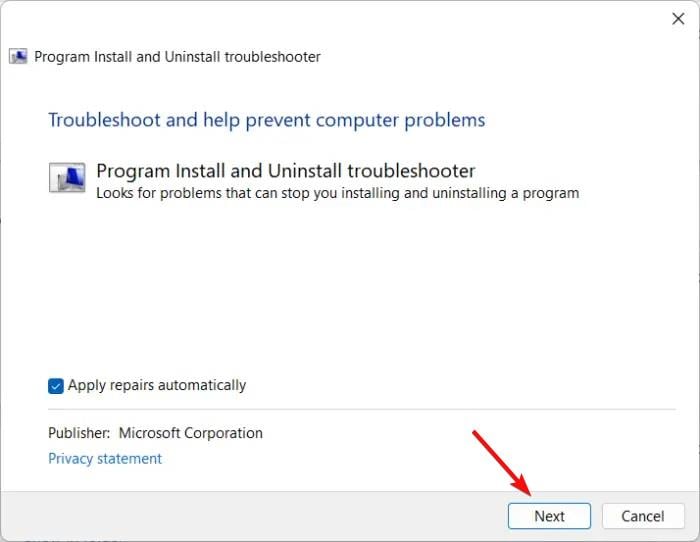
- Double-click the installer, then hit Next and Install.
- Select the program you’re having trouble installing and follow the on-screen instructions to fix it.
4. Run the installer in Compatibility mode
- Right-click on the apps shortcut file on your PC and select Properties.
- Go to the Compatibility tab.
- Check the option Run this program in compatibility mode for and select Windows 8 from the drop-down below.
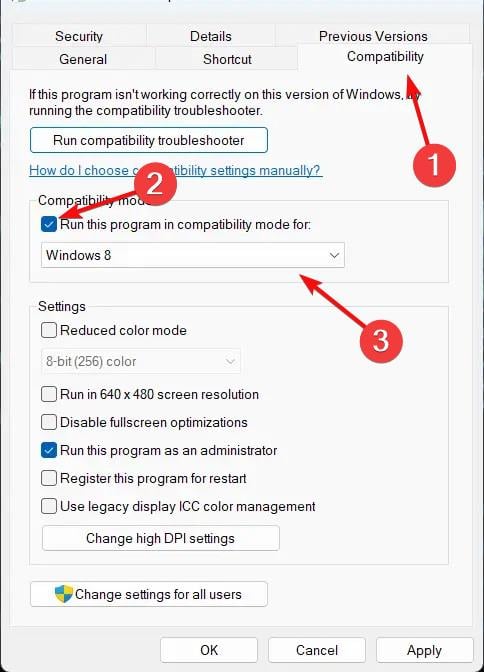
- Now check the option Run this program as an administrator.
- Click on OK to save changes.
Maybe the app you’re trying to run is not compatible with Windows 11 or even with the older Windows 10, and this solution will fix that problem.
All the solutions we highlighted above can also be applied to Windows 10 without any problems.
We also recommend exploring our runtime errors guides for more information regarding this problem. To understand these errors better, read our complete guide on what are runtime errors.
If you have any questions or suggestions, we wait for your feedback in the comments section below.
Read our disclosure page to find out how can you help Windows Report sustain the editorial team. Read more


Improve this guide


User forum
0 messages