Windows Cannot Install Required Files: 3 Ways to Fix it
This error appears due to hardware problems or BIOS settings
2 min. read
Updated on
Read our disclosure page to find out how can you help Windows Report sustain the editorial team Read more
Installing Windows can be a complicated process, and sometimes errors such as Windows cannot install required files can appear and interrupt your installation.
This is a big problem, and today we’ll show you how to fix it.
How can I fix Windows cannot install required files error?
Before we start, ensure that your DVD drive is clean and that the installation disc isn’t damaged. You can also try connecting your SATA drive to a different port. Also, try to install it on a drive that has two or more paritions.
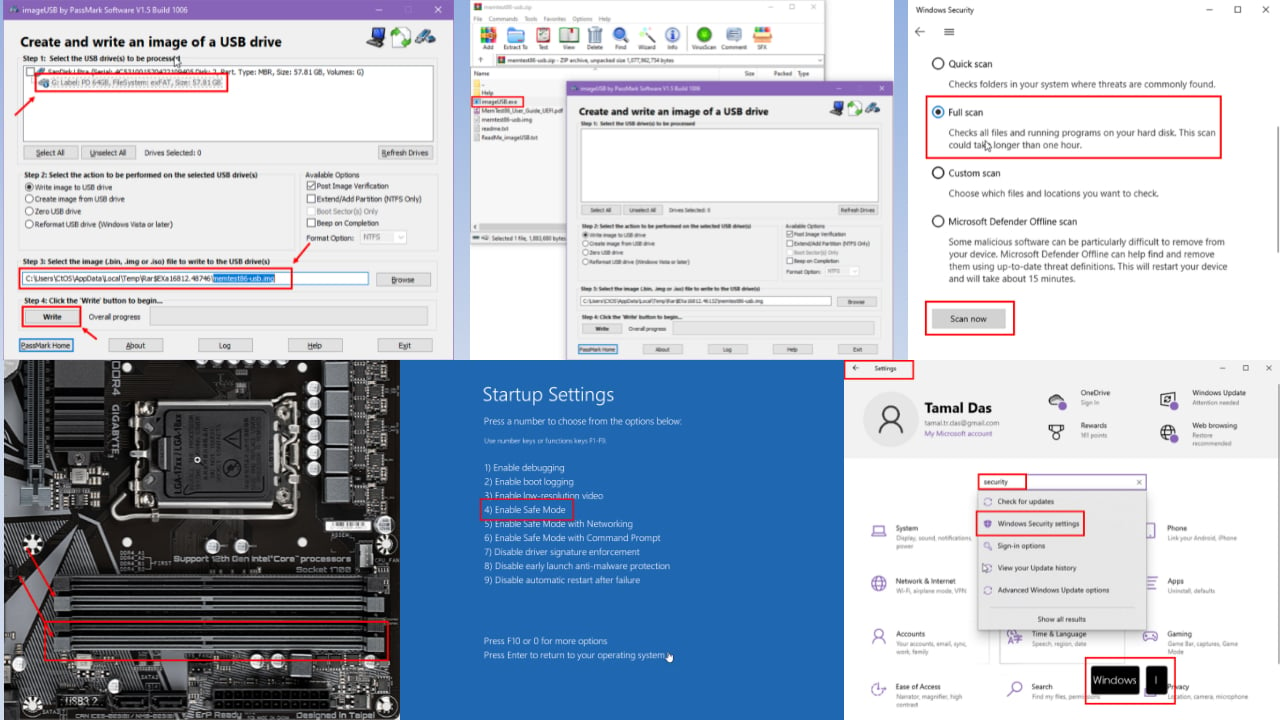
Try to use the right version of Windows, since 64-bit ones can’t work on certain processors. Lastly, make sure that your RAM is working correctly. You might want to test it with MemTest86+.
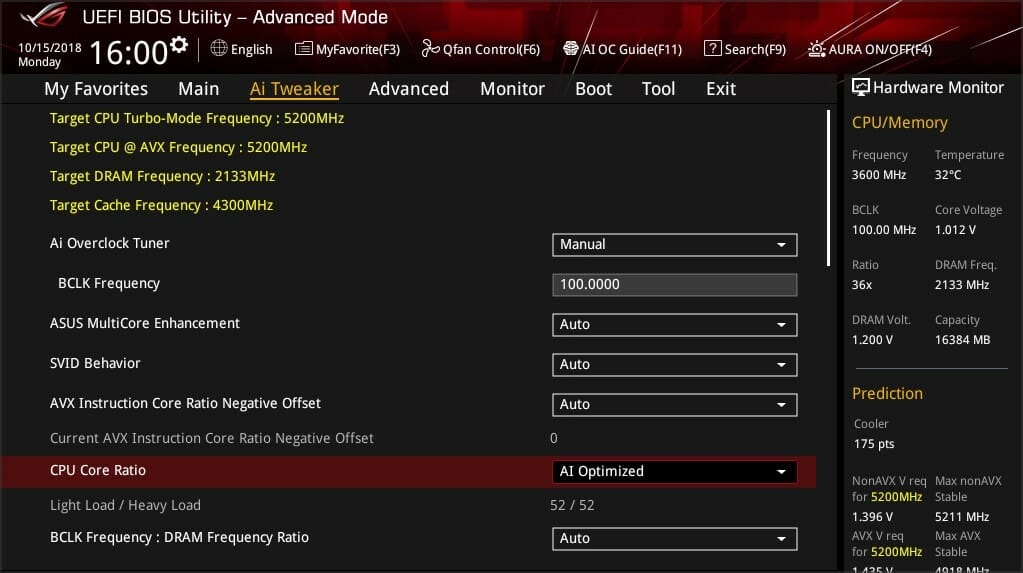
1. Remove overclock settings
- Restart your PC.
- While it boots, keep pressing F2 to enter BIOS.
- Navigate to Advanced Settings or Tweaker.
- Locate the Overclocking section and restore the value to defaults.
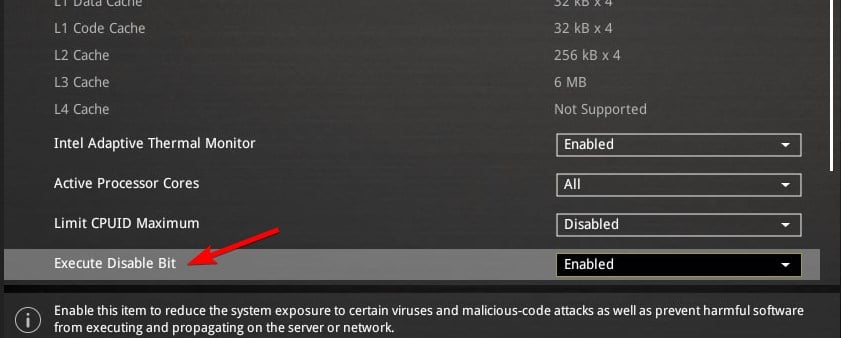
2. Disable Execute Disable Bit option in BIOS
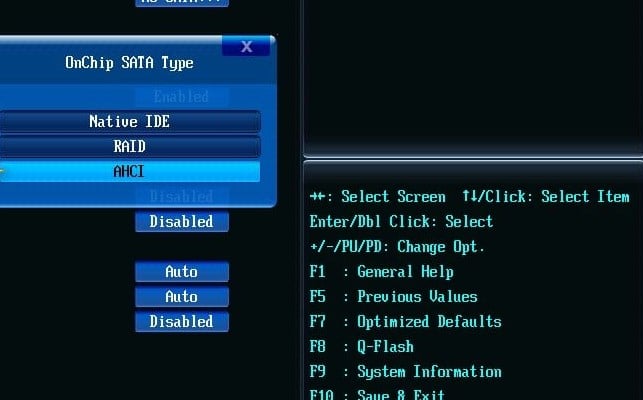
3. Change the hard drive type to IDE
This isn’t the only issue, many reported that Windows cannot be installed to this disk error. In some cases, our Windows installation can fail due to this error, so it’s crucial to fix it.
Windows cannot install required files message will appear if Windows won’t Install on your PC, but you should be able to fix this problem by using one of our solutions.


